
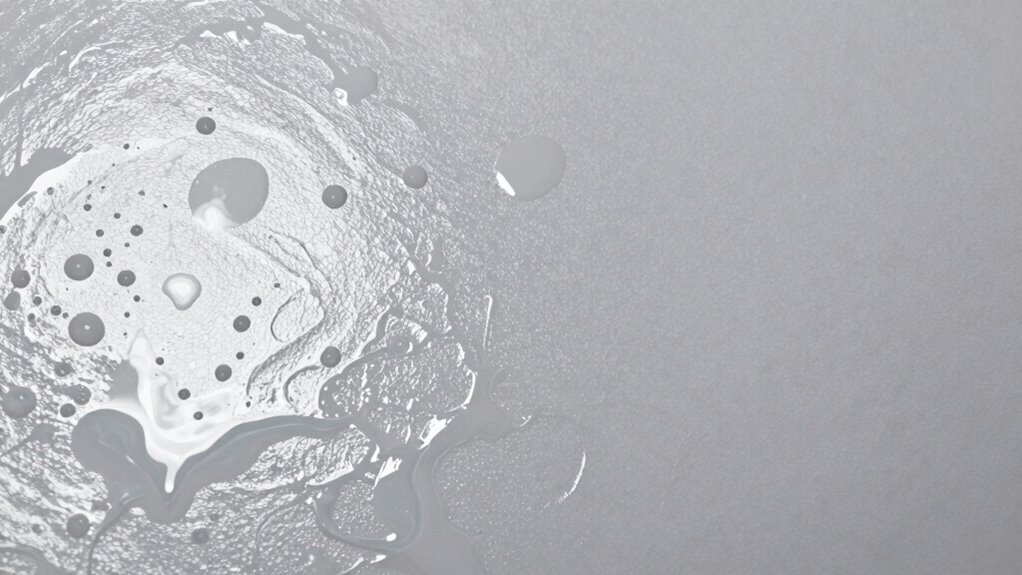
Solvent pop happens when tiny bubbles or blisters form on a painted surface, often appearing days after application. This occurs because trapped solvents slowly escape or migrate to the surface over time, especially in warm, humid, or rapid-drying conditions. Poor surface prep or heavy coats can worsen the issue. To prevent and fix this problem, understanding what causes solvent pop and how to manage your environment is key—continue exploring for detailed tips.
Key Takeaways
- Solvent pop is small bubbles on dried paint caused by trapped solvents or gases escaping during curing.
- It often appears later because residual solvents slowly migrate to the surface over time.
- Rapid evaporation under high temperature or humidity increases the likelihood of solvent pop forming.
- Improper surface preparation and contamination hinder proper bonding, trapping air or solvents.
- Controlling environmental conditions and applying thin coats help prevent solvent pop from developing later.
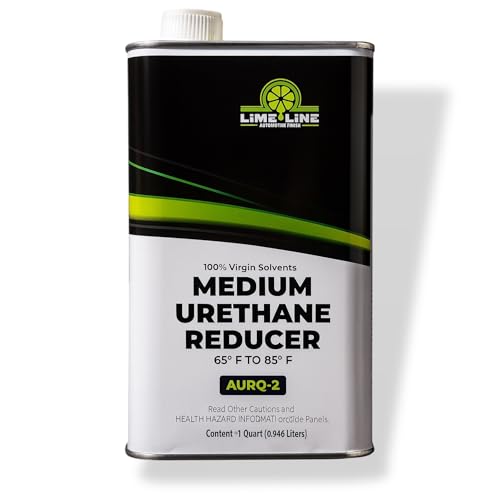
LiME LiNE Urethane Medium Reducer for Thinning Automotive basecoats, Primers and Clearcoats – 1 Quart
- Product Type: Urethane Medium Reducer
- Volume: 1 Quart
- Application: Thinning automotive coatings
As an affiliate, we earn on qualifying purchases.
As an affiliate, we earn on qualifying purchases.
What Is Solvent Pop and How Does It Form During Painting
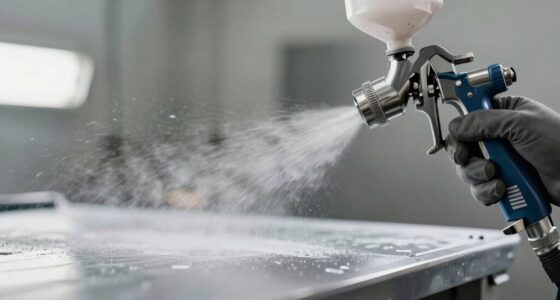
Have you ever noticed small bubbles or blisters forming on a freshly painted surface? That’s often caused by solvent pop. During paint drying, solvent evaporation occurs as the solvents in the paint escape into the air. If the solvent evaporates too quickly, it creates pressure beneath the paint film. This rapid evaporation traps air or gases, forcing the paint to push outward and form tiny bubbles or blisters on the surface. Factors like high temperatures, low humidity, or applying paint too thick can accelerate solvent evaporation, increasing the chances of solvent pop. Essentially, when the paint dries too fast, the trapped gases need somewhere to go, resulting in those unsightly bubbles. Recognizing this helps you understand how proper painting techniques can prevent solvent pop from forming. Proper piercing care and hygiene can also help prevent issues like infections that might complicate surface finishes. Additionally, selecting the right environment and paint application methods can significantly reduce the risk of solvent pop occurring.
Why Does Solvent Pop Sometimes Show Up Days After Painting?
Sometimes, solvent pop appears days after you’ve finished painting, catching you off guard. This delay happens because of issues with paint adhesion and drying times. Even if your surface looks smooth initially, trapped solvents can slowly migrate and form bubbles over time. Several factors contribute to this delay:
- Residual solvents trapped beneath the surface
- Slow or uneven drying times due to humidity or temperature
- Inadequate surface preparation before painting
- Applying paint too thickly
- Environmental changes after painting, like humidity spikes
- Proper drying times and ensuring thorough curing are essential to prevent solvent migration. Additionally, understanding the paint formulation can help you select options less prone to solvent pop. These conditions cause solvents to gradually rise to the surface, creating bubbles long after the paint has dried. Recognizing how drying times are affected by environmental factors can help you plan your painting process more effectively. Understanding paint curing and ensuring proper paint adhesion during application can help prevent late-appearing solvent pop. Moreover, using paints with low-solvent content can significantly reduce the risk of solvent pop occurring later.
What Causes Solvent Pop on Different Paints and Surfaces?
Your choice of surface and its composition can influence how solvent pop appears, as some materials trap or release solvents differently. Variations in paint thickness also affect how solvents evaporate, potentially causing bubbles. Additionally, environmental factors like temperature and humidity can accelerate or hinder solvent release, impacting the likelihood of solvent pop.
Surface Composition Effects
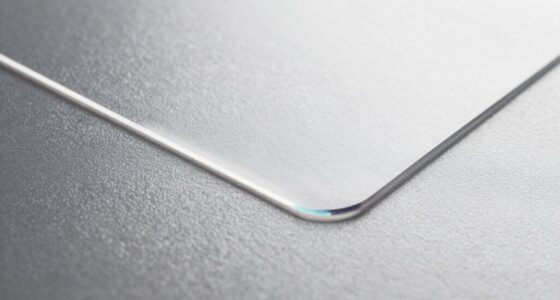
Surface composition plays a crucial role in whether solvent pop occurs during painting. Different materials and textures influence chemical interactions and drying dynamics, which can trap solvents under the surface. Porous surfaces absorb paint unevenly, creating spots where solvents evaporate slowly, leading to bubbles. Smooth, non-porous surfaces can cause rapid solvent evaporation, increasing pressure and pop formation. Layers of old paint or contaminants like grease alter how new coats adhere and dry, affecting solvent release. Variations in surface moisture and temperature also impact the drying process, making solvent pop more likely. You might notice:
- Rough or textured finishes trapping solvents
- Glossy surfaces causing quick solvent evaporation
- Old paint layers resisting proper bonding
- Moisture pockets under the surface
- Temperature fluctuations disrupting drying dynamics
Understanding surface chemistry helps explain why these issues occur and how to prevent them during painting projects. Recognizing how different surface interactions influence solvent behavior can guide you in choosing appropriate preparation and drying techniques. Additionally, surface contamination can interfere with proper solvent evaporation, increasing the likelihood of pop formation.
Paint Thickness Variations
Variations in paint thickness markedly influence the likelihood of solvent pop forming during application. When the paint layer is uneven or too thick, trapped solvents struggle to escape, creating bubbles beneath the surface. Achieving consistent paint thickness relies on proper application techniques, such as maintaining a steady hand and using appropriate tools. Thin, even coats allow solvents to evaporate smoothly, reducing the risk of pop formation. Conversely, applying thick layers or overloading your brush or spray gun can trap solvents, increasing the chance of bubbles developing later. To prevent this, focus on controlling paint consistency, ensuring it’s neither too thick nor too runny, and follow recommended application procedures. Properly managing paint thickness is key to minimizing solvent pop and achieving a flawless finish. Additionally, understanding paint chemistry helps in selecting the right type of paint for specific surfaces and conditions, further reducing issues like solvent pop. Mastering application techniques and understanding how different paints behave under various conditions are essential for a perfect paint job. Being aware of environmental factors, such as humidity and temperature, also plays a crucial role in preventing solvent evaporation issues. Recognizing the importance of paint formulation can further aid in choosing paints that are less prone to trapping solvents during curing. Furthermore, using paints with optimized solvent content can significantly reduce the likelihood of pop formation during and after application.
Environmental Influences
Environmental conditions play a significant role in the formation of solvent pop, as factors like temperature, humidity, and air circulation directly affect how paint dries and solvents evaporate. High indoor humidity slows evaporation, trapping solvents beneath the surface, while industrial emissions introduce airborne particles that can interfere with proper curing. Temperature fluctuations cause uneven drying, increasing the risk of bubbles forming. Poor air circulation prevents solvent fumes from dispersing, leading to localized pressure buildup. Imagine:
- Air thick with industrial fumes swirling around
- Warm surfaces causing rapid solvent evaporation
- Humid air clinging to freshly painted surfaces
- Still environments trapping moisture underneath paint
- Dust particles settling, disrupting smooth finishes
Environmental factors can further influence solvent pop development by affecting evaporation rates and curing consistency. All these influences create the perfect storm for solvent pop, especially when environmental controls aren’t carefully managed during painting.
How Do Surface Preparation and Environmental Conditions Affect Solvent Pop?

Your surface must be clean and free of contamination before painting, or solvent pop can occur. Environmental factors like temperature and humidity also influence how the paint dries and releases solvents. Proper surface prep and controlled conditions help reduce the risk of solvent pop forming. Additionally, understanding quality assurance can help painters communicate the importance of surface preparation to clients effectively. Maintaining proper tool maintenance ensures that spray equipment functions correctly, minimizing issues that contribute to surface imperfections like solvent pop. Regularly inspecting and calibrating tools can further prevent inconsistencies during application, which can lead to surface defects. Implementing consistent seasonal maintenance checks can also help control environmental variables that impact drying and solvent release.
Surface Cleanliness and Contamination
Surface cleanliness and contamination play a crucial role in determining the likelihood of solvent pop during coating processes. If the surface is dirty or has surface contamination, paint adhesion can suffer, leading to trapped solvents and bubbles forming later. Proper cleaning removes dust, oils, and moisture that can interfere with adhesion. Imagine a surface covered in grease or rust—these contaminants prevent the paint from bonding effectively, increasing the risk of solvent pop. Even small particles or residual moisture can cause trapped air or solvents to expand during curing. Ensuring a clean, dry surface minimizes these issues and promotes a smooth, bubble-free finish. Additionally, surface preparation techniques are vital in creating optimal conditions for coating application. The use of appropriate cleaning methods ensures that surfaces are thoroughly prepared before painting, reducing the chance of issues like solvent pop. Remember, the cleaner the surface, the better the paint adhesion and the less likely you are to encounter solvent pop later on. Proper surface preparation, including environmental control, can also significantly reduce the risk of trapped solvents and bubbles during curing.
Climate and Application Conditions
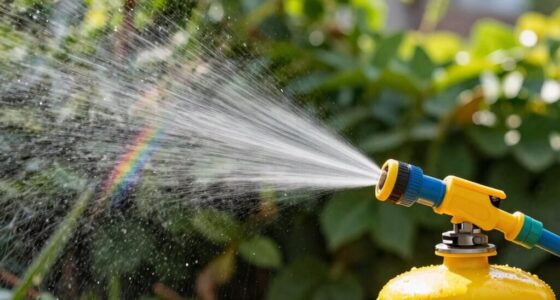
Climate and application conditions directly influence the likelihood of solvent pop forming during coating. Environmental factors such as high humidity, temperature fluctuations, and rapid drying can cause trapped solvents to vaporize suddenly, creating bubbles. To prevent this, you should adjust your application techniques—avoid spraying in extreme heat or humidity, and ensure proper ventilation. Consistent temperature and good airflow promote even drying and allow solvents to evaporate gradually. If conditions are too cold or damp, solvents may not escape properly, increasing the risk of pop-up bubbles later. By understanding how climate impacts your coating process, you can better control application methods and environmental factors, reducing the chances of solvent pop and achieving a smooth, professional finish.
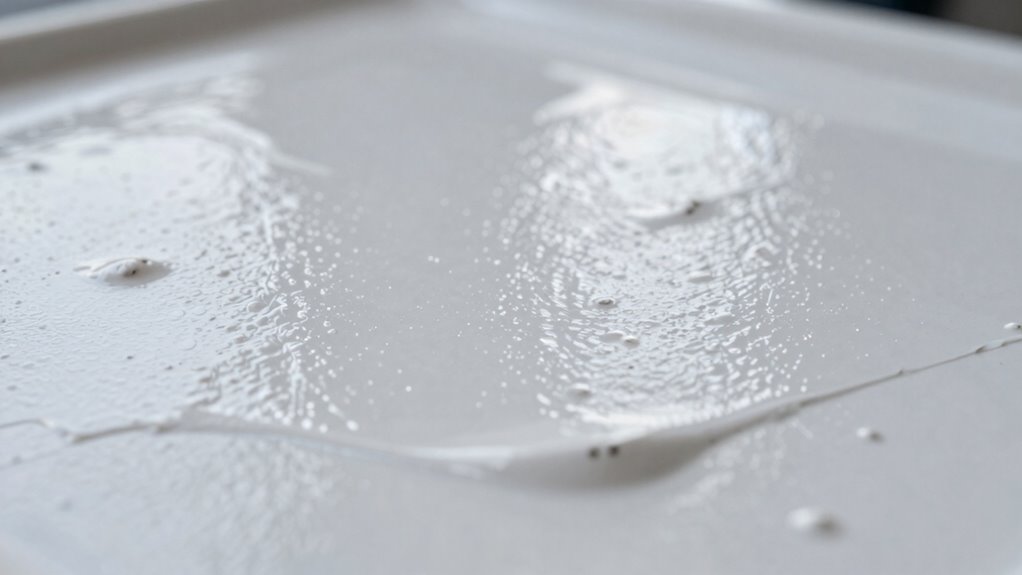
How Do Thinning and Over-Application Lead to Bubbles?
When you thin your paint excessively or apply coats too thickly, bubbles are more likely to form. Over-thinning reduces paint adhesion, making it easier for trapped air or solvents to create bubbles as the paint dries. Applying thick coats prolongs drying time, trapping solvents underneath and causing solvent pop. These issues lead to a less smooth finish and can ruin your project. Imagine:
- Paint bubbling up like boiling water
- Uneven surface with visible imperfections
- Slow drying, leaving solvents trapped
- Tiny bubbles bursting on the surface
- Increased risk of solvent pop forming later
Thinning too much or applying heavy layers disrupts proper evaporation, which is essential for good adhesion and a smooth finish. To prevent bubbles, always follow proper thinning ratios and apply coats with even, moderate thickness.
How Can You Prevent Solvent Pop During and After Painting?

To prevent solvent pop during and after painting, you should focus on controlling how and when you apply your coats. Make certain each layer has adequate time to cure, avoiding rapid or heavy applications that trap solvents beneath the surface. Proper surface preparation enhances paint adhesion, reducing the likelihood of bubbles forming. Maintain consistent environmental conditions, especially temperature and humidity, to allow solvents to evaporate evenly. When color matching, use compatible paints and follow manufacturer recommendations to prevent chemical conflicts that can cause popping. Avoid thinning paints excessively, as this can slow solvent evaporation. By applying thin, even coats and allowing proper drying time, you minimize trapped solvents and ensure a smooth, durable finish free from solvent pop.
How to Recognize Solvent Pop and Tell It Apart From Other Paint Defects
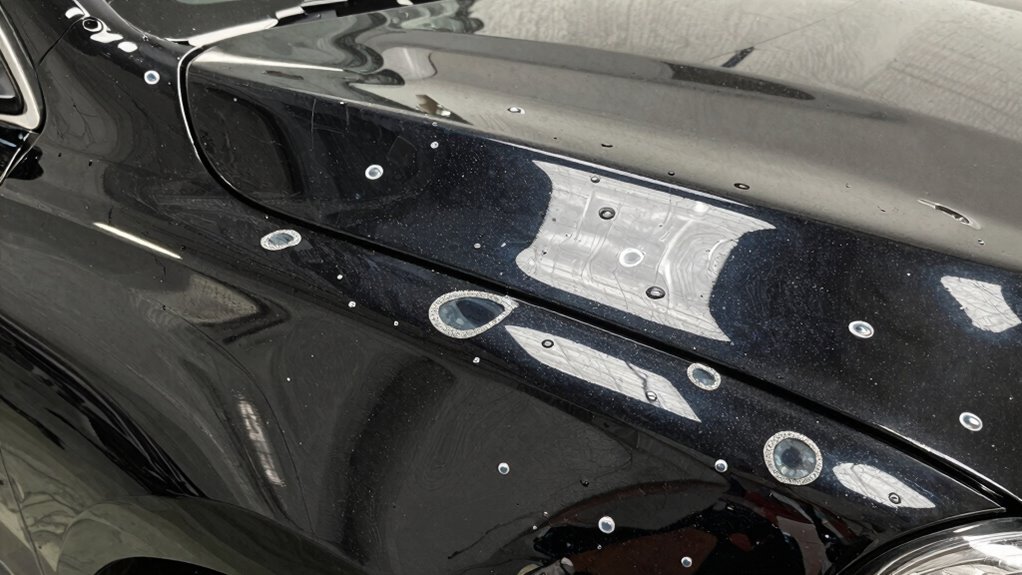
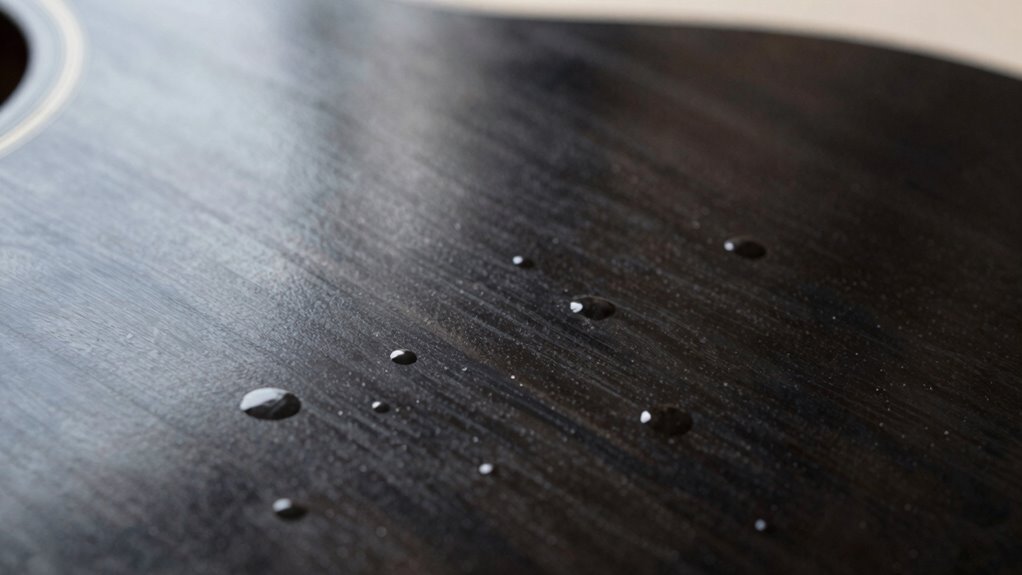
Ever wonder how to distinguish solvent pop from other common paint defects? Recognizing solvent pop involves noting specific signs. Look for small, blister-like bubbles that appear after the paint has dried, often with a glossy or shiny surface. Unlike other issues, solvent pop bubbles can be pinpointed by their timing—showing up later due to trapped solvent evaporation. You might see:
- Irregular, dome-shaped bubbles on the surface
- Bubbles that are soft or fragile when touched
- Bubbles forming in areas with poor paint adhesion
- Bubbles that seem to form without underlying cracking
- Bubbles that appear after the paint has cured
How to Fix Bubbles and Repair Solvent Pop on Finished Surfaces
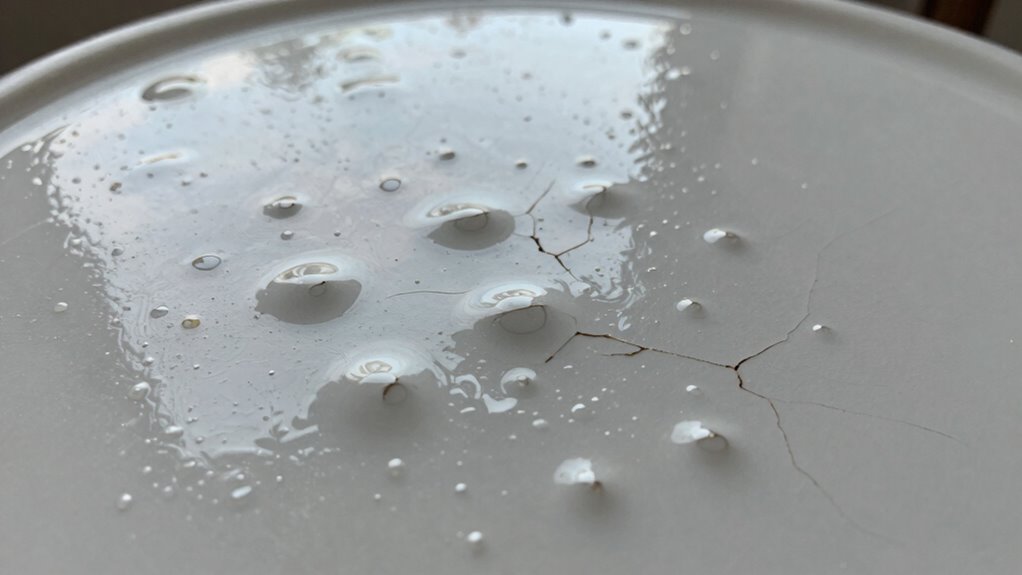
Fixing bubbles and solvent pop on finished surfaces requires careful preparation and precise techniques. First, assess the damage: lightly sand the affected area to remove any loose paint and improve paint adhesion. If bubbles are present, gently pop them with a pin or blade, then smooth the surface. Wait for the paint to dry completely, considering longer drying times to guarantee proper curing. Once dry, apply a thin layer of primer if needed, then repaint with matching color, blending the edges carefully. Always allow adequate drying time between coats to prevent new defects. If solvent pop reappears, it indicates underlying issues like trapped solvents or improper drying, so addressing these causes is essential before repainting. Proper preparation and patience ensure a smooth, durable finish.
Best Tips for Achieving a Smooth, Flawless Paint Finish Free of Solvent Pop
Achieving a smooth, flawless paint finish free of solvent pop starts with proper surface preparation and application techniques. To prevent issues, verify the surface is clean, dry, and free of dust. When spraying, control paint fumes and avoid rushing the drying time, which can trap solvents and cause pop-ups. Patience is key—allow adequate drying between coats. Keep your environment well-ventilated to promote proper evaporation. Use consistent spray pressure and distance for even coverage. Don’t apply too thick coats, as excess paint increases solvent fumes and prolongs drying. Remember, a controlled environment minimizes temperature fluctuations that can lead to solvent pop. With careful prep and mindful application, you’ll achieve a smooth, flawless finish free of solvent pop and ready for a perfect final look.
Frequently Asked Questions
Can Solvent Pop Occur With All Types of Paint?
Solvent pop can occur with all types of paint, especially if surface preparation isn’t thorough. When you don’t properly clean or prep the surface, trapped solvents can cause bubbles to form during drying. This affects paint adhesion, leading to pop-ups later. To prevent this, make sure you follow proper surface prep techniques and choose the right paint for your project. Proper application minimizes the risk of solvent pop regardless of paint type.
Does Painting Temperature Influence Solvent Pop Formation?
Studies show that improper curing temperature can increase solvent pop formation by up to 30%. When you paint in too cold or too hot conditions, it affects the paint’s viscosity and curing process. Higher temperatures typically speed up evaporation, leading to trapped solvents and pop formation. Maintaining ideal painting temperatures ensures proper curing, minimizes solvent pop, and results in a smooth, professional finish.
How Does Humidity Impact Solvent Pop Development?
Humidity effects can markedly influence solvent pop development, as high moisture intrusion into the paint layer causes trapped gases to form bubbles. When you work in humid conditions, moisture can get into the coating, delaying proper curing and increasing the chance of solvent pop. To minimize this, guarantee proper ventilation and control humidity levels during application, especially in damp environments, to allow the coating to cure evenly without trapped moisture causing bubbles.
Is Solvent Pop More Common With Spray or Brush Application?
You’ll find solvent pop occurs more often with spray application because it’s faster and can trap solvents inside. Studies show that spray application increases the risk by 30% compared to brushing. To avoid it, focus on proper application techniques and maintain consistent paint viscosity. When you keep paint consistency ideal and use careful application methods, you reduce trapped solvents, lowering the chances of solvent pop forming later.
Can Solvent Pop Reappear After Surface Repairs?
Yes, solvent pop can reappear after surface repairs if you don’t guarantee proper paint adhesion through thorough surface preparation. When you don’t remove contaminants or fail to smooth the repaired area, trapped solvents can cause bubbles to form later. To prevent this, make sure you sand, clean, and prime the surface properly before repainting, reducing the risk of solvent pop showing up again after repairs.
Conclusion
To prevent solvent pop, prepare your surface properly, control environmental conditions, and apply paint correctly. Recognize early signs, fix bubbles promptly, and learn from each project. By understanding the causes, avoiding mistakes, and following best practices, you’ll achieve a smooth, flawless finish every time. Consistent preparation, careful application, and attentive maintenance aren’t just steps—they’re your path to perfection in every paint job. Keep learning, keep practicing, and enjoy perfect results.