To guarantee good adhesion when spray painting plastics, you should start by cleaning the surface thoroughly with a mild detergent, then lightly sand it with fine-grit sandpaper to improve grip. Applying a plastic-specific primer with adhesion promoters is essential for better bonding. Use steady, sweeping motions and avoid heavy coats to prevent runs. Working in a well-ventilated area and following proper techniques will help you achieve a smooth, lasting finish—keeping these tips in mind will guide you through the process.
Key Takeaways
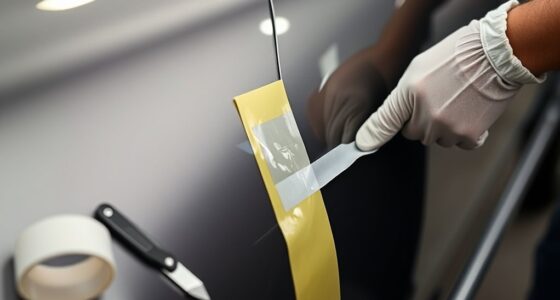
- Clean and dry the plastic thoroughly, then lightly sand with fine-grit sandpaper to improve paint adhesion.
- Choose a primer formulated for plastics with adhesion promoters, and apply with light, even coats.
- Ensure proper environmental conditions—well-ventilated, low humidity, moderate temperature—for optimal adhesion.
- Allow primer to fully dry before applying the spray paint, following manufacturer instructions.
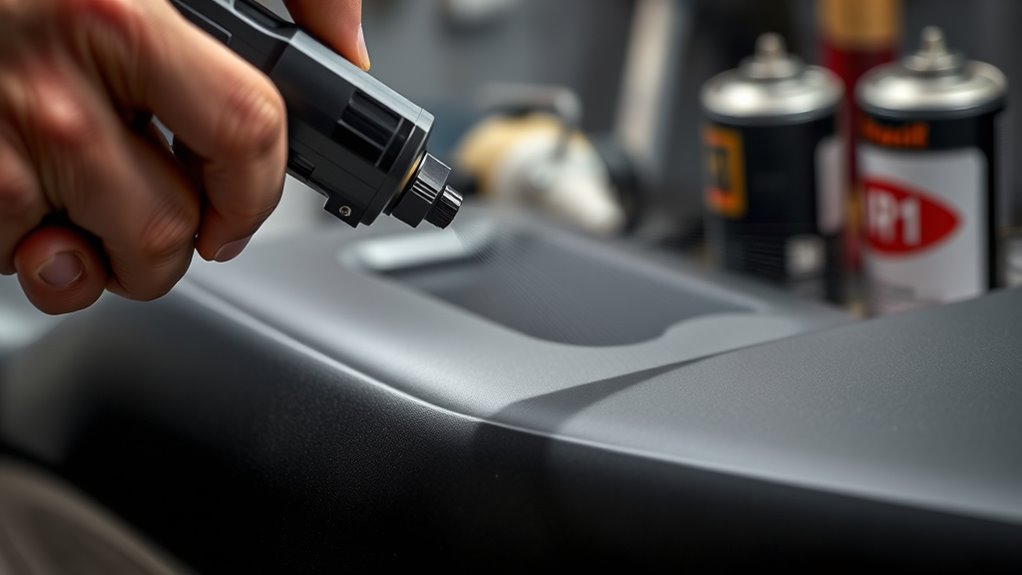
- Use steady, sweeping motions from 6-12 inches away to achieve even coverage and prevent runs.
Spray painting plastics can be a straightforward way to refresh or customize your projects, but it requires the right techniques and materials to achieve a smooth, durable finish. The first step in successful spray painting is proper plastic prep. Before you even think about applying paint, you need to clean the surface thoroughly to remove dirt, grease, or any residues that could interfere with adhesion. Use a mild detergent and rinse well, then dry completely. Next, lightly sand the plastic using fine-grit sandpaper—around 220 grit—to create a surface that allows the primer and paint to grip better. Be gentle but thorough; the goal is to roughen the surface slightly without gouging or damaging it. Wipe away any dust with a tack cloth or a damp cloth to ensure a clean surface for painting.
When it comes to spray techniques, your goal is to apply the paint evenly while avoiding drips or overspray. Hold the spray can or gun about 6 to 12 inches from the surface, maintaining a steady, sweeping motion. Start moving before you press the trigger, and keep moving continuously until you’ve covered the area. Use light, multiple coats rather than one heavy coat to prevent runs and achieve an even finish. Allow each coat to dry as per the manufacturer’s instructions before applying the next. Proper spray techniques also mean paying attention to the environment—work in a well-ventilated, dust-free space, and avoid painting in high humidity or temperatures that could affect the paint’s adhesion or drying time.
Choosing the right primer is key to guaranteeing your spray painting project lasts. Use a primer formulated specifically for plastics to improve adhesion and prevent chipping or peeling later on. Spray primers designed for plastics typically contain adhesion promoters that bond well with the surface and the topcoat. Apply the primer using the same spray techniques—light coats, even coverage, and proper distance—and let it dry completely before moving on to your topcoat. This extra step might seem small, but it substantially boosts the durability and appearance of your finished project. Remember, patience and attention to detail during plastic prep and spray techniques are what make the difference between a smooth, professional-looking finish and a messy, flaky one.
Frequently Asked Questions
Can Spray Paint Be Applied Directly on Flexible Plastics?
You can spray paint flexible plastics directly, but it’s not always ideal. Flexible plastic compatibility varies, so it’s best to prepare the surface thoroughly. Use surface preparation techniques like cleaning with alcohol or soap and water, then lightly sanding to create a better bond. Applying a flexible plastic primer ensures improved adhesion. Skipping these steps may cause the paint to peel or crack over time, reducing durability.
How Long Should I Wait Before Applying a Second Coat?
You should wait at least 15 to 30 minutes between coats, depending on the drying time and coating thickness. Thinner coats dry faster, so you might wait closer to 15 minutes, while thicker coats may need up to 30 minutes. Make sure the previous layer feels dry to the touch and is properly cured before applying the next coat. This helps guarantee good adhesion and a smooth finish.
Is It Necessary to Sand Plastics Before Primer Application?
Think of plastic surface preparation like getting ready for a big date—you want to be smooth and polished. Sand plastics before primer application to improve adhesion techniques, ensuring the primer grips well. Skipping this step is like wearing wrinkled clothes; it may look fine but won’t last. Lightly sanding creates a better surface, helping the primer bond effectively and giving your paint job a flawless, durable finish.
What Environmental Conditions Affect Plastic Spray Painting Results?
Environmental conditions like high humidity levels and temperature fluctuations can substantially impact your plastic spray painting results. Humidity may cause paint to bubble or not adhere properly, while temperature changes can lead to uneven drying or running paint. To achieve the best finish, paint in a controlled environment with stable humidity and temperature, ideally between 65-75°F and humidity below 50%. This ensures proper adhesion and a smooth, durable coat.
Are There Specific Primers for Different Types of Plastics?
Yes, you should choose specific primers for different types of plastics to guarantee proper adhesion. Different plastics like polypropylene, polyethylene, or PVC require compatible primers that promote adhesion and durability. Always check the label for plastic compatibility and select a primer designed for that material. Proper primer selection helps prevent peeling, chipping, and ensures a long-lasting finish, making your spray painting project more successful.
Conclusion
Now that you know the key tips for spray painting plastics, remember that proper preparation and priming are your best friends—like a loyal sidekick helping you succeed. When you follow these steps, your paint will stick better than glue on paper, giving you a smooth, professional finish. So, take your time, stay patient, and enjoy the process. With a little effort, you’ll transform your plastics into masterpieces, just like an artist turning a blank canvas into art.

Franz came aboard the Paint Sprayer Zone team with a background in both journalism and home renovation. His articulate writing style, combined with a passion for DIY projects, makes him an invaluable asset. Franz has a knack for breaking down technical jargon into easy-to-understand content, ensuring that even the most novice of readers can grasp the complexities of paint sprayers.