
To master fine finishes when spraying trim and molding, start by choosing the right spray gun and adjusting it for your paint’s consistency. Prepare your workspace with clean surfaces and drop cloths, then sand and clean the trim to guarantee adhesion. Practice your spraying technique on scrap material, maintain a steady distance, and overlap for even coverage. Pay attention to troubleshooting issues like drips or orange peel—if you keep refining your approach, you’ll achieve that flawless finish every time.
Key Takeaways
- Select the right spray equipment and adjust for paint viscosity to ensure smooth, detailed application.
- Properly prepare surfaces by cleaning, sanding, and covering surrounding areas to enhance finish quality.
- Use correct spray techniques, including maintaining distance, overlap, and practicing on scrap for consistent results.
- Troubleshoot issues like drips or orange peel by adjusting spray pattern, nozzle size, and paint flow.
- Finish with proper drying, light sanding, and touch-ups for a seamless, professional appearance.
Selecting the Right Spraying Equipment and Materials
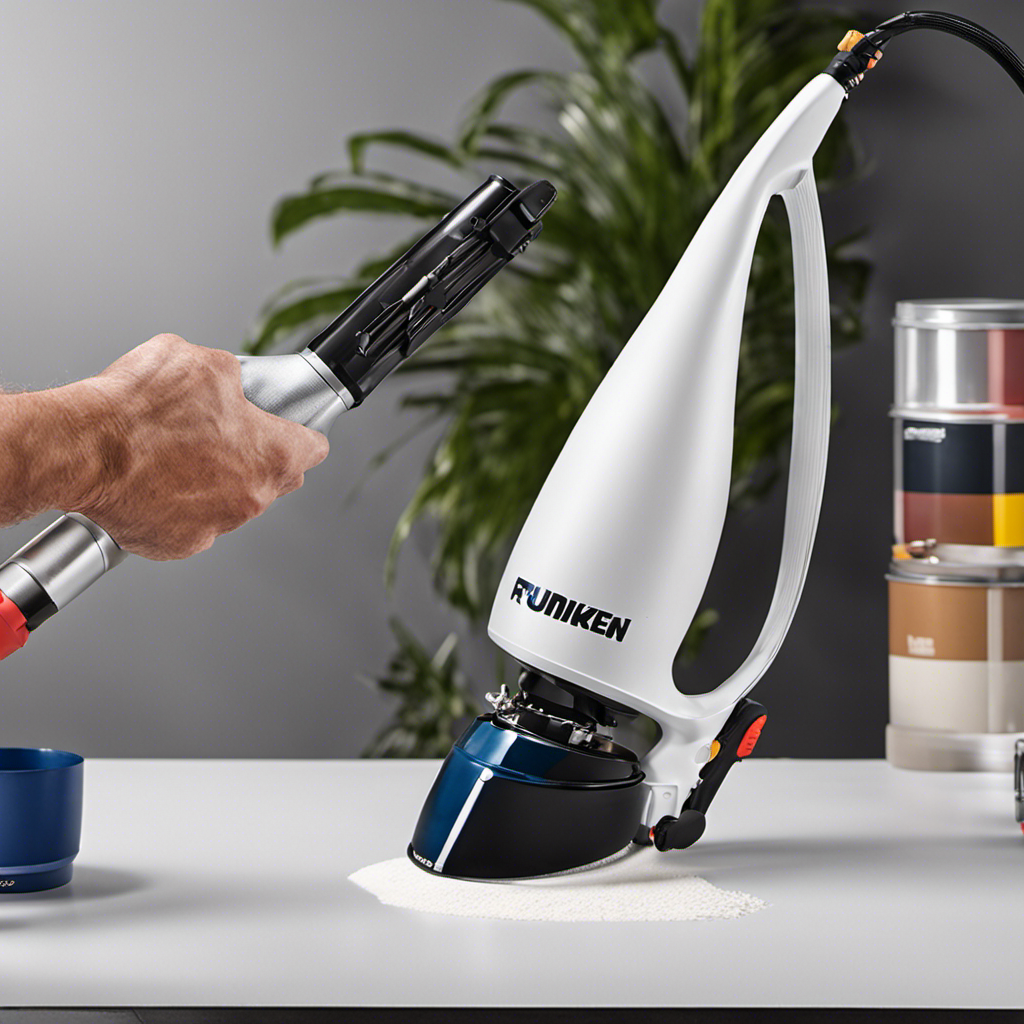
Choosing the right spraying equipment and materials is essential for achieving a smooth, professional finish on your trim and molding. Your choice of spray gun types impacts how easily you apply the paint and the quality of the finish. For detailed trim, a smaller, detail-oriented spray gun works best, while larger projects may require a broader spray gun. Pay close attention to paint viscosity, as it influences how smoothly the paint flows through the gun. Thicker paints might need thinning to prevent clogs or uneven coverage. Using the correct equipment and adjusting for paint viscosity guarantees an even spray pattern, reduces overspray, and results in a flawless finish. Selecting appropriate tools from the start sets the foundation for a professional-looking project. Ensuring your spray equipment is compatible with vetted paint products helps maintain consistent results and minimizes the risk of equipment damage. Additionally, considering the anti-drip mechanisms in spray guns can help achieve cleaner application and reduce waste. Proper maintenance routines are also vital to keep your equipment functioning optimally and extend its lifespan. Regularly cleaning and inspecting your spray equipment can prevent clogging issues and ensure a smooth operation throughout your project.
Preparing Your Workspace and Surface for Optimal Results
To achieve a professional finish on your trim and molding, it’s essential to prepare your workspace and surface thoroughly before you start painting. Organize your workspace to keep tools, drop cloths, and cleaning supplies within easy reach, reducing clutter that can interfere with your work. Proper surface preparation is key: clean the trim and molding to remove dust, grease, or old paint, ensuring the new finish adheres well. Sand any rough spots lightly to create a smooth surface, and wipe away dust afterward. Cover nearby floors and furniture with drop cloths to protect against overspray. A well-organized workspace and a properly prepared surface set the foundation for flawless spraying results, helping you achieve a smooth, professional finish on your trim and molding.
Mastering Proper Spraying Techniques for Smooth Finishes

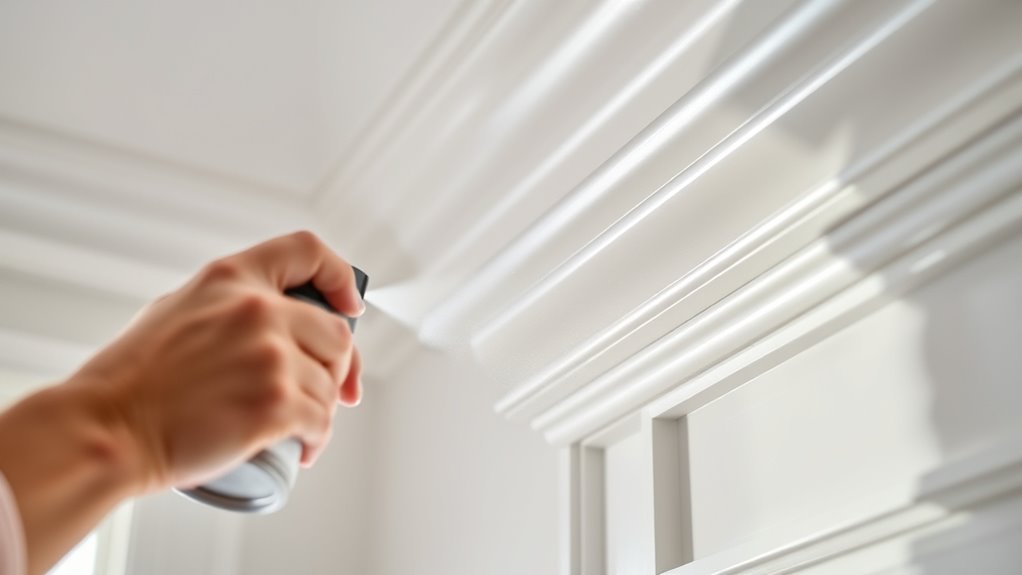
Once your workspace is organized and the surface is properly prepared, you can focus on mastering spraying techniques to achieve a smooth, professional finish. Start by selecting the right spray nozzle; a smaller tip provides more control for detailed trim, while a larger one covers faster. Make certain your spray nozzle is clean and compatible with your paint. Next, pay attention to paint viscosity—if your paint is too thick, thin it according to manufacturer recommendations to prevent drips and uneven coats. Maintaining a consistent distance from the surface, typically 6-12 inches, and keep your spray steady and overlapping each pass slightly. Practice on scrap material first to adjust your technique, ensuring even coverage and a smooth, flawless finish. Additionally, proper tip size is crucial for achieving the desired surface quality and avoiding overspray. Using the correct paint thinning techniques can further enhance spray quality and reduce defects. Remember that understanding spraying techniques can significantly improve your results and efficiency. Incorporating space optimization methods can also streamline your workflow and minimize clutter during your painting projects. Proper lighting and ventilation also play a vital role in ensuring consistent application and safety during your spraying process.
Troubleshooting Common Issues and Achieving Consistent Coverage

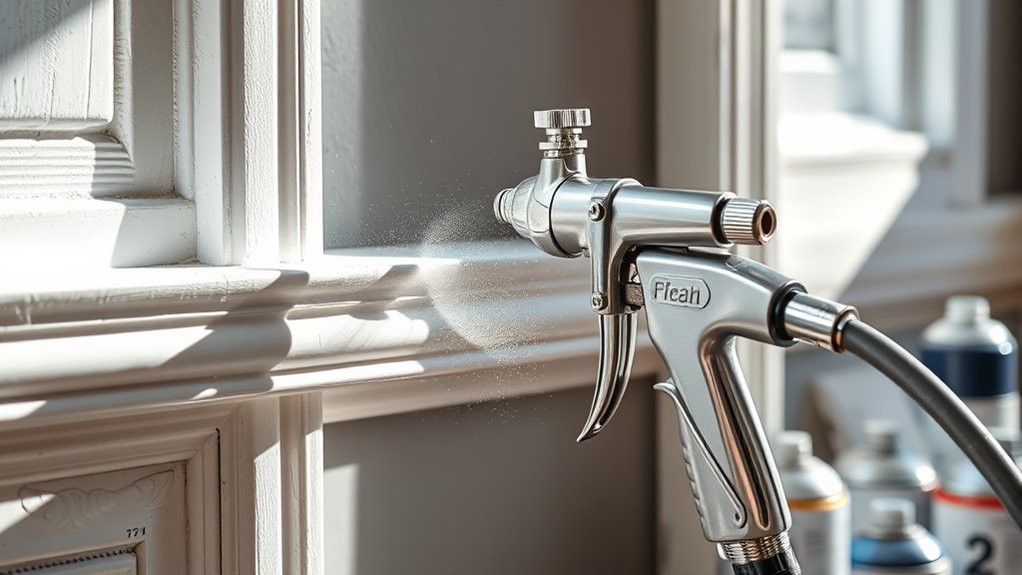
Even with proper spraying techniques, you may encounter issues like drips, uneven coverage, or orange peel texture. To fix these, start by adjusting your spray pattern for even distribution. A misaligned or inconsistent spray pattern often causes these problems. Next, perform paint viscosity testing to ensure your coating isn’t too thick or thin—thick paint leads to drips, while thin paint can cause uneven coverage. If you notice orange peel, it might be due to excessive paint thickness or improper spray distance. Adjust your spray pattern and thinning process accordingly. Consistent coverage relies on maintaining the right spray technique, adjusting the spray pattern as needed, and testing paint viscosity regularly. Proper nozzle selection can also help prevent common issues and improve finish quality. Additionally, understanding AI vulnerabilities can inform better safety practices when using automated spraying equipment. Moreover, being aware of essential oils for surface care can provide alternative methods for cleaning or preparing surfaces before painting. Recognizing automation in business intelligence can also help optimize your workflow and reduce manual errors during project preparation. Incorporating professional training and staying updated with the latest techniques can further enhance your results.
Finishing Touches: Drying, Sanding, and Touch-Ups

After you’ve applied your final coat of paint or stain, giving it adequate time to dry is essential for a flawless finish. Once dry, gently inspect your work for any imperfections. Sand lightly to smooth rough spots and ensure a seamless surface. If needed, perform touch-ups, focusing on color matching to maintain consistency. When working with stain, pay attention to stain application techniques to prevent blotchiness or uneven color. Use fine-grit sandpaper to refine the surface without removing too much finish. For touch-ups, carefully blend any mismatched areas by reapplying stain or paint, always matching the original color. Proper drying, sanding, and precise touch-ups will elevate your trim and molding, giving your project a professional, polished look. Remember to consider the rustic elements in farmhouse design to enhance the overall aesthetic. Additionally, understanding finishing techniques can significantly improve the quality of your project. Incorporating proper preparation can also ensure a smoother application and longer-lasting results.
Frequently Asked Questions
How Do I Choose the Best Spray Nozzle Size for Intricate Molding?
When choosing the best spray nozzle size for intricate molding, you should focus on spray pattern selection and nozzle adjustment techniques. For detailed work, opt for a smaller nozzle, like a 0.5 or 1.0 mm, to guarantee precision. Adjust the nozzle carefully to control paint flow, maintaining a steady, even spray. Practice on scrap material first, so you can fine-tune your spray pattern and achieve clean, crisp results on delicate moldings.
What Safety Gear Is Essential When Spraying Trim and Molding?
You can’t afford to skip safety when spraying trim and molding—your health depends on it! Always wear essential personal protective equipment like a respirator, goggles, and gloves to shield against fumes and overspray. Set up a proper spray booth to contain paint vapors and reduce risk. This setup, combined with the right gear, keeps you safe, ensuring your project stays precise and your lungs stay healthy.
How Can I Prevent Overspray During Detailed Spraying Work?
To prevent overspray during detailed spraying work, you should focus on proper surface preparation and paint mixing. Use painter’s tape and drop cloths to protect surrounding areas. Adjust your spray gun’s pressure and keep a consistent distance from the surface. Practice controlled, steady strokes, and avoid rushing. Properly mixed paint guarantees smooth spraying, reducing overspray. These steps help you achieve a clean, professional finish without mess.
What Are Eco-Friendly Options for Spray Finishes on Trim?
When choosing eco-friendly finishes for trim, you can opt for sustainable coatings and natural paint options. These environmentally conscious choices reduce your impact and often contain fewer volatile organic compounds (VOCs). Look for water-based or plant-based paints that are low in toxins. By selecting these alternatives, you’re protecting your indoor air quality while achieving beautiful, durable finishes without harming the environment.
How to Maintain and Clean Spraying Equipment for Long-Term Use?
Your spraying equipment is your secret weapon, and proper maintenance keeps it in top shape. To guarantee long-term use, follow cleaning protocols diligently after each project—disassemble parts, rinse with appropriate solvents, and oil moving components. Regular equipment maintenance prevents clogs and extends your sprayer’s life. Think of it as giving your tools a spa day, so they perform flawlessly every time and never let you down.
Conclusion
Think of your finishing project as tending a delicate garden; every step from selecting equipment to touch-ups nurtures your masterpiece. With the right tools, preparation, and techniques, you’ll cultivate smooth, flawless trim and molding that elevate your space. Stay patient through troubleshooting and finishing touches, and your craftsmanship will bloom into a stunning, professional-looking result. Mastering these skills turns a simple task into an artful creation you’ll be proud of every time you look at your work.

A seasoned painter with over 15 years in the industry, Mike transitioned from hands-on painting projects to the digital world of paint sprayers. His extensive experience gives him a unique perspective on what users truly need when it comes to painting tools. As the Editor in Chief of Paint Sprayer Zone, Mike ensures that every piece of content not only provides value but also reflects the realities of painting — the challenges, the joys, and the intricate details.