To mask brick and stone without sticky residue, choose painter’s tape designed for textured and porous surfaces, and test it on a small area first. Clean and dry the surface thoroughly before applying the tape, pressing it down firmly without stretching. Use quality masking products that peel off easily, and remove the tape slowly at a sharp angle once your job is done. If you’re curious about more tips, you’ll find helpful strategies to get a smooth, residue-free finish.
Key Takeaways
- Use painter’s tape specifically labeled for textured or porous surfaces to ensure gentle removal without residue.
- Clean surfaces thoroughly before masking to improve tape adhesion and prevent residue buildup.
- Conduct adhesion tests on small areas to confirm tape suitability for brick and stone surfaces.
- Apply tape smoothly without stretching, pressing firmly to ensure full contact and reduce residue risk.
- Remove tape slowly at a 45-degree angle, using visual cues and gentle peeling to prevent sticky residue.
What Masking Materials Work Best for Brick and Stone?
When masking brick and stone, choosing the right materials is essential to achieve clean lines and prevent damage. You’ll want painter’s tape designed for textured surfaces to ensure paint protection without tearing or peeling. High-quality painter’s tape with strong adhesion yet gentle removal helps secure the masking area firmly, reducing paint bleed. For surface priming, consider using a primer that adheres well to porous materials, creating a uniform base for paint and improving overall finish. Masking paper or film can also provide coverage for larger areas, offering extra paint protection. Avoid duct tape or generic tapes that may leave sticky residue or damage the surface upon removal. Selecting the proper masking materials guarantees a professional look while protecting your brick or stone during painting. Incorporating surface preparation techniques can help you better understand how different materials affect the final result and surface integrity. Additionally, understanding paint adhesion principles can optimize your masking strategy for long-lasting, clean results. Properly ventilating the area during and after painting can also improve drying and reduce lingering fumes, ensuring a safer environment. Incorporating environmentally friendly masking options can also help reduce the ecological impact of your project.
How to Prepare Brick and Stone Surfaces for Masking
Before masking brick and stone, you need to prepare the surface thoroughly. Clean off dirt and debris using gentle detergents to avoid damage. Also, fix any cracks or chips to make certain a smooth, effective masking process. Ensuring proper surface preparation helps prevent future issues and ensures a lasting, clean finish. Additionally, load‑planning tools can help you assess the extent of surface repairs needed and plan your masking project efficiently. Incorporating surface assessment techniques can further enhance your preparation process, ensuring optimal results. For optimal adhesion and long-term protection, understanding surface porosity can guide your choice of masking and sealing methods. Recognizing the importance of surface durability can help you select appropriate materials for your project, ensuring they withstand environmental factors over time. Understanding how deep-sky imaging techniques can be affected by surface irregularities can also inform your preparation approach.
Clean Surface Thoroughly
To guarantee your masking job adheres properly, you need to start by thoroughly cleaning the brick or stone surface. Surface contamination like dust, dirt, or grease can prevent proper adhesion and cause imperfections. Use a stiff brush or a vacuum to remove loose debris, ensuring the surface is free of loose particles. Avoid introducing incompatible masking materials by inspecting the surface for any residues or stains that could react with your chosen tape or paint. A clean, dry surface promotes better masking material compatibility, reducing the risk of peeling or bleed-through. Pay attention to textured areas or crevices where dirt can hide. Proper cleaning creates a smooth base, making the masking process easier and ensuring clean, professional results without sticky residue or damage. Additionally, ensuring the surface is free of any residual oils or chemicals helps prevent adhesion issues during the masking process. Incorporating surface preparation techniques can further enhance the effectiveness of your masking and painting project. Being aware of surface porosity can guide you in selecting the right cleaning methods and masking materials for optimal results. Recognizing the porous nature of brick and stone surfaces is crucial for choosing appropriate cleaning agents and sealants to improve adhesion and longevity.
Use Gentle Detergents
Using gentle detergents is essential for effectively preparing brick and stone surfaces without causing damage. These cleaning solutions remove dirt and grime without harming the porous material. Select mild, pH-neutral options to guarantee safety and effectiveness. When applying, use a soft brush or sponge to avoid abrasion. For best results, test a small area first.
| Cleaning Solution | Application Method | Benefits |
|---|---|---|
| Mild Detergent | Diluted with water | Gentle on surfaces |
| PH-Neutral Cleaner | Spray or wipe | Prevents residue buildup |
| Natural Soap | Soft scrub | Eco-friendly and effective |
| Commercial Cleaner | Follow instructions | Quick and thorough cleaning |
| Water + Vinegar | Rinse solution | Removes stubborn stains |
Repair Surface Imperfections
After cleaning the surface, inspect the brick or stone for cracks, chips, or other imperfections that could interfere with masking. Repair any damage by filling cracks and chips with a suitable filler, ensuring a smooth surface. If there are stains or discolorations, remove them with appropriate stain removal methods to create a uniform appearance. Once repairs are complete, consider applying a surface sealing product to protect against future damage and to facilitate easier masking. Sealing also helps prevent stains from seeping into porous surfaces, ensuring a cleaner finish. Additionally, understanding regulatory compliance requirements can help ensure that surface treatments meet legal standards in your region. Incorporating surface preparation techniques can further enhance the effectiveness of your masking process. Properly repairing imperfections and sealing the surface creates an ideal base, making your masking process more effective and reducing the risk of future surface issues. Ensuring that the surface is properly prepared aligns with best practices in material compatibility, helping to avoid unintended reactions or damage during masking. Taking the time to surface testing can identify potential issues before full application. Allow the surface to dry thoroughly before proceeding to masking.
Choosing the Right Tape for Porous Brick and Stone
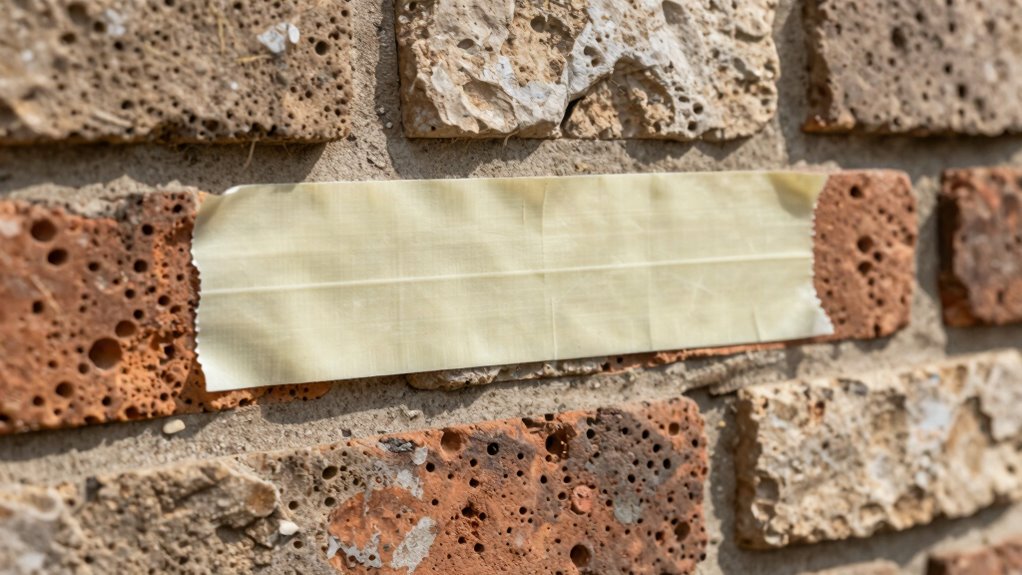
To choose the right tape for porous brick and stone, you need to take into account how well it sticks without damaging the surface. Make sure the tape’s adhesion strength matches the porosity to prevent peeling or residue. Also, pick a tape that removes easily without leaving marks or tearing the material. Considering art conservation principles, selecting the appropriate tape can help protect the integrity of your surfaces during various projects. Additionally, understanding the flushing mechanisms and efficiency of your toilet can help prevent accidental damage or residue buildup caused by improper tape application or removal. Proper surface preparation and choosing the correct body jewelry materials can also reduce the risk of surface damage or residue when working with delicate materials. Incorporating visual and auditory cues can further assist in the proper application and removal process, ensuring surface safety. Moreover, utilizing sound healing science techniques can provide subtle feedback during tape removal, reducing the risk of surface harm.
Adhesion Strength Requirements
Choosing the right tape for porous brick and stone requires paying close attention to its adhesion strength. You want a tape that sticks well enough to stay in place during the masking process but can be removed cleanly afterward. Conduct adhesion testing to determine how well the tape adheres to your specific surface, especially considering the porosity of brick and stone. Look for tapes with high durability, ensuring they won’t break down or lose stickiness over time. The ideal tape balances strong adhesion with easy removal, preventing residue or damage. Keep in mind that too strong an adhesion could cause difficulties during removal, so choose a tape with appropriate adhesion strength for your project’s duration and conditions. Additionally, selecting appropriate at-home masking tapes designed for porous surfaces can help achieve the best results without damaging your brick or stone.
Porosity Compatibility Tips
Because porous brick and stone can absorb adhesives and masking tapes, selecting a tape with the right porosity compatibility is essential. Start by performing porosity testing to determine how much moisture or adhesive the surface can absorb. This helps you choose a tape designed for porous materials, preventing seepage and ensuring clean removal. Look for tapes labeled as suitable for porous surfaces or those with high adhesion to textured materials. Sealing techniques, such as applying a primer or a sealing coat before masking, can also reduce porosity and improve tape performance. Proper testing and sealing help you avoid bleed-through and residue, making your masking process cleaner and more efficient. Always match your tape choice to your brick or stone’s porosity level for the best results.
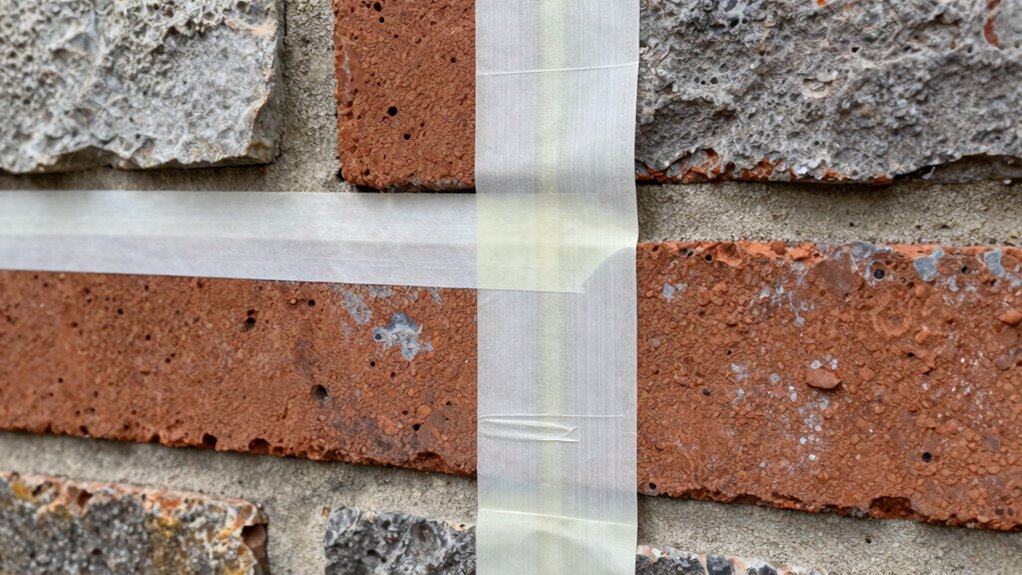
Tape Removal Ease
Selecting a tape that comes off easily without damaging your porous brick or stone is essential for a clean finish. Look for masking tape designed for delicate surfaces, which minimizes residue removal and prevents sticking issues. The right tape should peel away smoothly without pulling paint or leaving sticky spots.
| Tape Type | Ease of Removal | Residue Left Behind |
|---|---|---|
| Standard Masking | Moderate | Often sticky |
| Painter’s Tape | Easy | Minimal residue |
| Low-Tack Tape | Very easy | Virtually none |
| Specialty Tape | Varies | Designed for easy removal |
| General Tape | Difficult | May leave residue |
Choosing carefully guarantees your brick or stone remains pristine, with minimal cleanup needed after masking.
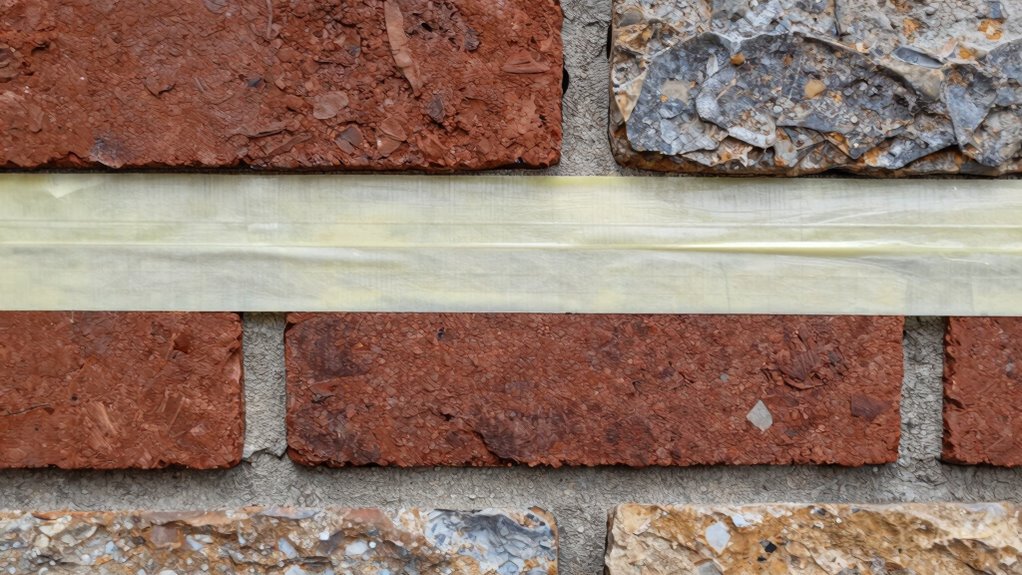
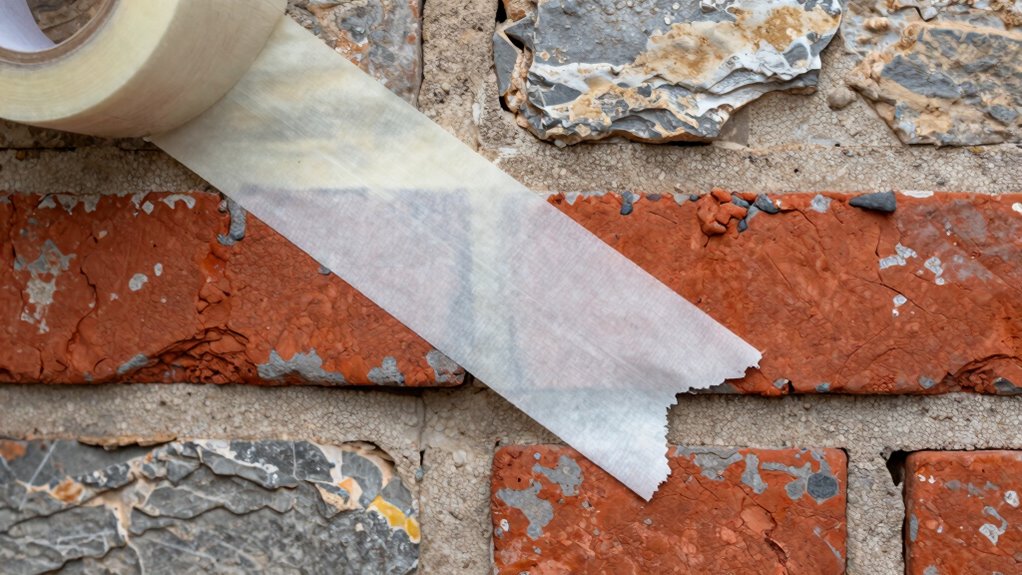
How to Apply Masking Tape Without Leaving Residue
Have you ever struggled to apply masking tape neatly without leaving sticky residue behind? The key is proper paint preparation and surface cleaning. Before applying tape, verify the brick or stone surface is thoroughly cleaned with a mild cleaner or water. Dirt, dust, and grease can cause the tape to adhere unevenly and increase residue chances. Once the surface is dry, select a high-quality masking tape suited for textured surfaces. Apply the tape smoothly, pressing down firmly along the edges to prevent paint bleed. Avoid stretching the tape, which can create gaps. Take your time, especially around intricate areas, to ensure full contact. Proper surface cleaning and careful application help the tape stick securely without leaving residue, giving you a clean, professional finish.
Alternative Masking Products That Leave No Sticky Residue
If you’re looking for masking options that won’t leave sticky residue behind, several innovative products can meet your needs. Masking alternatives like painter’s tape with low-tack adhesive or specialized residue free tapes are excellent choices. These tapes are designed to adhere securely during painting but peel away cleanly without leaving behind sticky remnants. Some residue free tapes use innovative materials that prevent adhesive transfer, making cleanup effortless. They’re ideal for masking brick and stone surfaces, ensuring you avoid damage or stubborn residues. By choosing these products, you get the protection you need without the hassle of sticky cleanup afterward. Always look for tapes labeled “residue free” or “low-tack” for the best results, and you’ll keep your surfaces pristine.
Tips for Removing Masking Without Damaging Brick or Stone
Removing masking from brick or stone can be tricky, but with the right techniques, you can do it without causing damage. Proper surface preparation is key—wait until the paint or coating is fully dry, and gently peel back the masking tape at a low angle to prevent surface damage. Use a plastic scraper or your fingers instead of metal tools to avoid scratching. Warm water or a mild solvent can help loosen adhesive if needed, but test first on a small area. Patience is essential—don’t rush the process.
Here are some tips to make removal easier:
- Peel tape slowly at a 45-degree angle
- Use gentle pressure during removal
- Avoid pulling tape away quickly
- Prepare the surface with a soft cloth if residue appears
Common Mistakes That Cause Sticky Residue on Brick and Stone

One common mistake that leads to sticky residue on brick and stone is using harsh or inappropriate cleaning products that don’t suit the surface. These products can interfere with paint adhesion, making it difficult for paint or sealants to stick properly. Additionally, neglecting to contemplate surface porosity can cause issues; highly porous surfaces absorb residues and cleaning agents, leaving behind sticky spots. Using incompatible cleaners or over-wetting the surface can trap residues, which stubbornly cling after masking removal. To avoid this, always choose gentle, surface-specific cleaning solutions and ensure thorough but careful cleaning. Understanding the porosity of your brick or stone helps you select the right products and techniques, ensuring a clean, residue-free surface ready for your project.
Pro Tips for Achieving a Flawless Finish on Brick and Stone Projects

Achieving a flawless finish on brick and stone requires attention to detail and proper technique. To guarantee your project looks professional, focus on surface protection and paint adhesion. Properly masking off areas prevents overspray and keeps your surface clean. Use high-quality primer to improve paint adhesion, which helps the finish stay intact over time. Be sure to clean the surface thoroughly before painting to remove dust and debris. Applying thin, even coats of paint avoids drips and uneven coverage, resulting in a smooth finish. Additionally, allow sufficient drying time between coats for ideal results.
A flawless brick and stone finish requires careful surface prep, primer, and thin coats for a professional look.
- Protect surrounding surfaces with painter’s tape and drop cloths
- Use a bonding primer to enhance paint adhesion
- Keep tools clean to prevent imperfections
- Work in suitable weather conditions for consistent drying
Frequently Asked Questions
Can I Use Painter’s Tape on Textured Brick Surfaces?
Yes, you can use painter’s tape on textured brick surfaces. Choose a tape color with low adhesion to prevent damage, and guarantee proper surface preparation by cleaning and drying the brick thoroughly. This helps the tape adhere better and reduces residue. Carefully apply the tape, pressing firmly into textured areas, and remove it slowly after painting to avoid peeling or leaving sticky residue behind.
How Long Can Masking Tape Stay on Brick Without Damage?
Imagine you’re prepping a brick wall for painting, and you wonder how long masking tape can stay without damage. Typically, you should remove it within 24 hours to prevent residue or paint damage. For best results, use tape removal tips like pulling at a 45-degree angle. Proper surface preparation techniques, such as cleaning the brick beforehand, make sure the tape doesn’t stick too long or cause harm.
Are There Eco-Friendly Masking Options for Stone Surfaces?
Yes, there are eco-friendly masking options for stone surfaces. You can use biodegradable tapes that break down naturally, reducing environmental impact. Look for tapes with plant-based adhesives, which stick securely without leaving sticky residue or harming the stone. These environmentally conscious choices help protect your surfaces while being gentle on the planet. Always check product labels to make sure they are both biodegradable and made with plant-based adhesives for the best eco-friendly results.
What Is the Best Method to Remove Tape From Delicate Brick?
Removing tape from delicate brick is like peeling a sticker off a fragile surface. Gently heat the tape with a hairdryer to soften the adhesive, making it easier to peel away. Use a plastic scraper or your fingers to lift the edges carefully. For stubborn tape residue, apply a mild adhesive remover or rubbing alcohol, then wipe gently. This method guarantees effective adhesive removal without damaging your brick.
Does Temperature Affect Tape Adhesion on Brick and Stone?
Yes, temperature affects tape adhesion on brick and stone surfaces. Higher temperatures increase adhesion temperature, making tape stick more firmly, which can make removal more difficult and risk damage. Conversely, cooler conditions reduce adhesion, making tape easier to peel off without residue or damage. To protect your brick surface, remove tape when the environment is cooler or at a moderate temperature, and always test a small area first to avoid issues.
Conclusion
Now that you know how to mask brick and stone without leaving sticky residue, your project can turn out flawless. But remember, even the best techniques can have surprises. Will your next masking attempt be completely residue-free? With careful prep and the right products, you’re closer than ever. Stay sharp, follow these tips, and watch your craftsmanship shine—because the ultimate finish is within your reach. Are you ready to master the art of residue-free masking?