
When painting a room with a sprayer, start with the ceiling to prevent overspray from falling onto your freshly painted walls and trim. Next, paint the walls, using careful masking to avoid splatters on adjacent surfaces. Finish with the trim, where precise brush strokes will give you clean, sharp edges. Following this sequence keeps your work neat and polished. Keep going to discover detailed tips for a professional finish from start to finish.
Key Takeaways
- Start with the ceiling to prevent drips and splatters on walls and trim later.
- Paint the walls after the ceiling to ensure clean edges and consistent coverage.
- Finish with the trim for sharp, precise lines and to avoid overspray on finished walls.
- Use painter’s tape to protect edges and ensure neat separation between surfaces.
- Allow proper drying time between each step for a smooth, professional final finish.
Assessing the Painting Sequence: Why Order Matters
Have you ever wondered why painters carefully plan the order of their work? It’s vital because the sequence impacts the final look and efficiency. When evaluating your painting sequence, consider how color matching influences your choices; starting with the ceiling or trim can prevent accidental splatters on freshly painted walls. Proper paint selection is also essential—using compatible finishes and colors minimizes touch-ups and guarantees consistency. Painting in the wrong order may cause smudges or uneven coverage, forcing you to redo work. By planning your steps carefully, you can avoid these pitfalls and achieve a polished result. Remember, choosing the right order isn’t just about convenience; it’s about guaranteeing the best appearance and a smooth process from start to finish. Additionally, understanding paint technology can help you select finishes that dry evenly and resist smudging during the process.
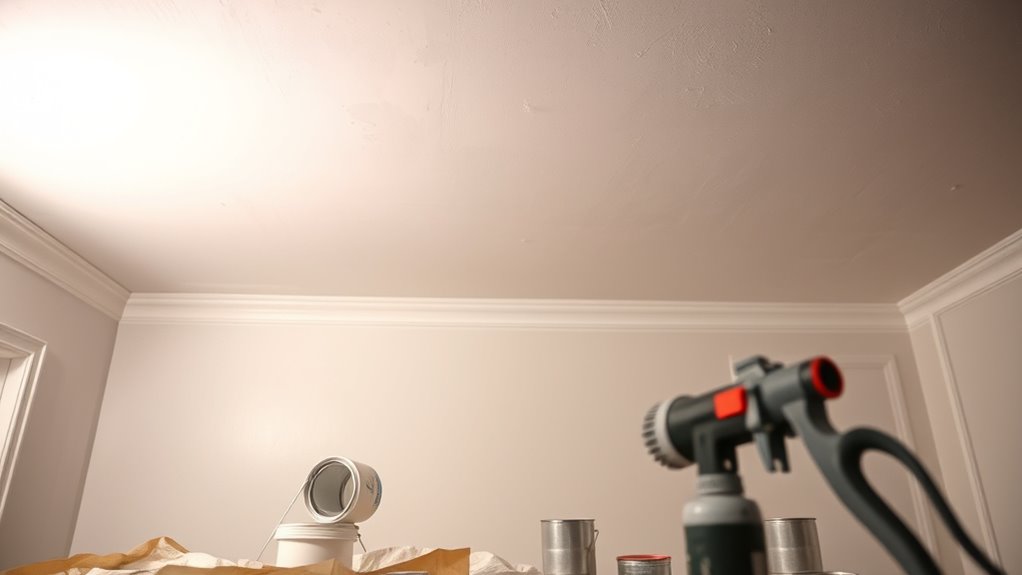
Preparing Your Workspace for a Sprayer Finish

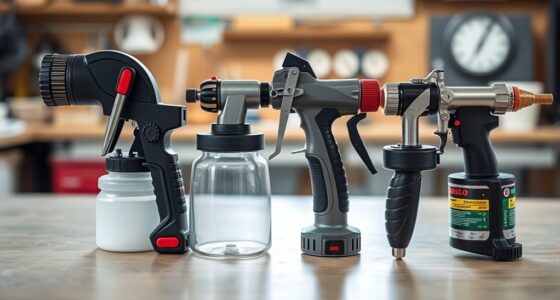
Preparing your workspace thoroughly is essential to achieve a professional sprayer finish and minimize cleanup. Clear the area of furniture and cover remaining surfaces with drop cloths to catch overspray. Protect floors with plastic sheeting and tape off trim and edges for clean lines. Ensure good ventilation to help paint dry faster and reduce fumes. Before you start, check your sprayer’s equipment and perform brush maintenance—clean brushes thoroughly if you plan to switch between methods. The choice of paint also impacts your setup; thicker paints may require thinning or special nozzle adjustments. Keep your workspace organized, with tools and supplies within reach. Proper preparation not only enhances the quality of your finish but also streamlines the entire painting process. Additionally, understanding AI security can help protect your digital project files from cyber threats during the process.
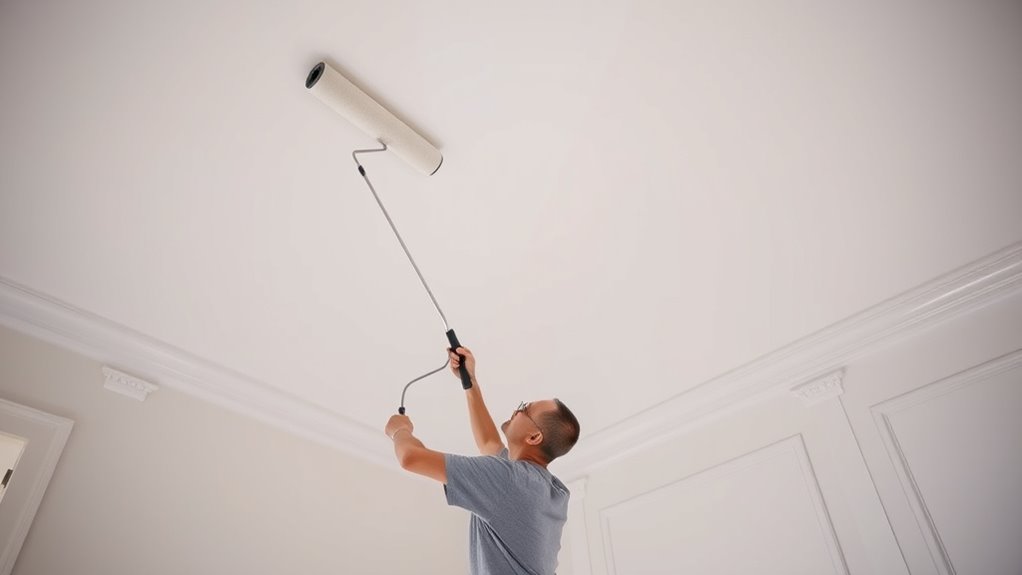
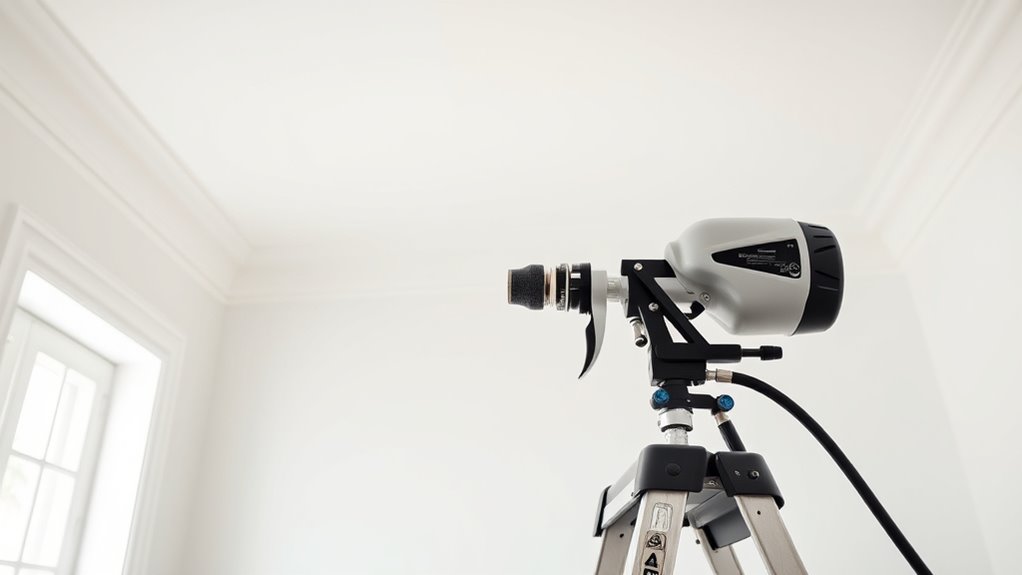
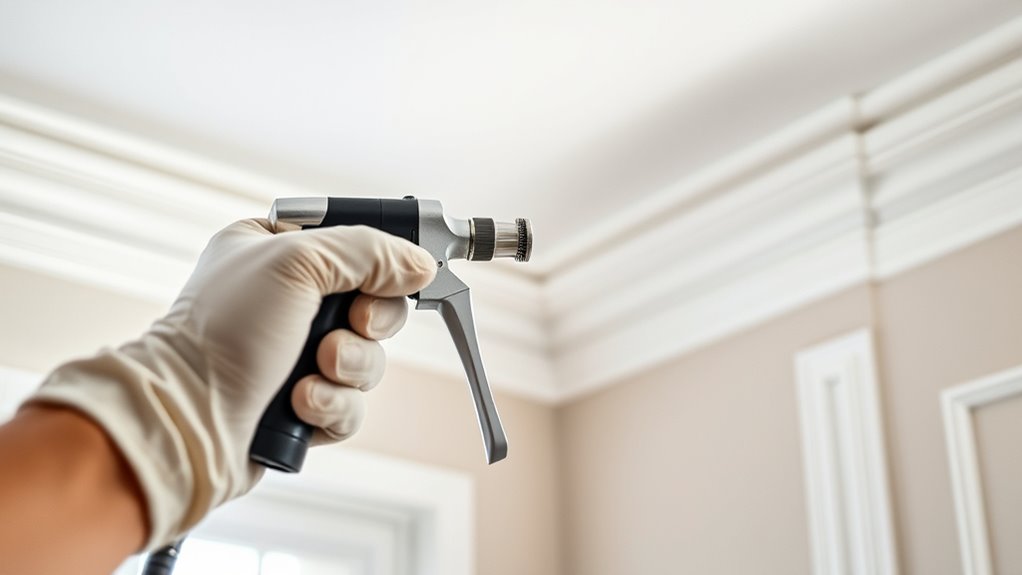
Starting With the Ceiling: Steps and Tips
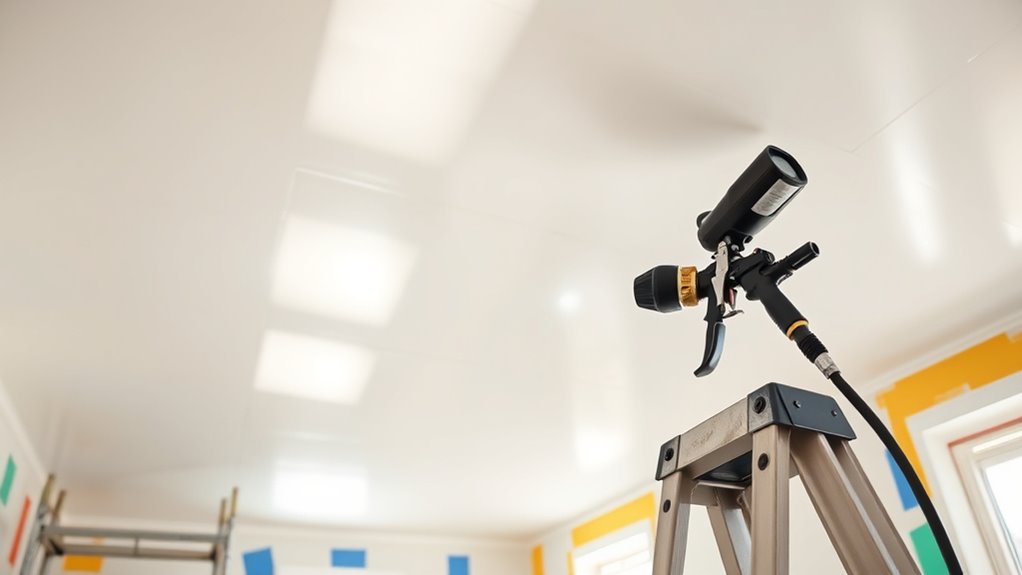
Starting with the ceiling sets the foundation for a smooth, clean paint job and prevents drips from damaging freshly painted walls. Begin by protecting surfaces below with drop cloths and ensuring proper ventilation. When working on ceiling texture, use even, sweeping motions to avoid uneven coverage. Adjust your sprayer for the appropriate paint sheen—matte, eggshell, or semi-gloss—to achieve the desired look. Keep a steady hand and maintain consistent distance from the ceiling to prevent runs. Work in sections, overlapping slightly to blend edges seamlessly. Use a ladder or scaffold for hard-to-reach areas, and always start in a corner to establish a clean line. Proper preparation and attention to texture and sheen will make certain of a professional finish. Additionally, understanding the distinctive features of farmhouse-inspired decor can help you choose the right paint and finishes to complement your overall design. Ensuring the correct paint consistency is essential for achieving an even spray and avoiding splatters or uneven coverage. Paying attention to proper technique, including the correct equipment setup, will also greatly enhance your results and efficiency during the painting process. Moreover, familiarizing yourself with sound healing science can inspire a calm and focused atmosphere to improve your painting experience.
Moving on to the Walls: Techniques for a Flawless Coat

Before you start spraying the walls, make sure the surface is clean and free of dust or debris. Use smooth, steady motions to apply the paint evenly, keeping a consistent distance from the wall. This approach guarantees a flawless, professional-looking finish with minimal streaks or missed spots. Additionally, proper surface preparation can prevent issues related to tuning valve stuck open, ensuring optimal paint adhesion and long-lasting results.
Proper Surface Preparation
To achieve a smooth, professional-looking finish when painting with a sprayer, you need to guarantee the walls are properly prepared. Start by cleaning surfaces thoroughly to remove dust and grease. Fill any holes or cracks, then sand for a smooth base. Protect adjacent areas with tape and drop cloths. Before painting, consider color matching to ensure your new coat blends seamlessly with existing colors. Allow ample time for paint drying between coats to prevent smudges or uneven texture. Visualize your workspace with:
- Dust-free, smooth surface ready for paint
- Properly masked edges and fixtures
- Consistent surface texture for even application
- Fully dried previous coats for ideal results
- Proper surface preparation minimizes imperfections, ensures even coverage, and helps your paint drying process go smoothly. Additionally, paying attention to paint application techniques can significantly improve your final outcome.
Optimal Painting Technique
Once your surfaces are properly prepared, focus on applying the paint evenly with the right technique. Use smooth, overlapping strokes to guarantee consistent color matching across walls. Maintain a steady speed and avoid pressing too hard on the sprayer to prevent uneven coverage. Keep the spray at a consistent distance from the surface, which helps with even paint drying and minimizes drips. If you’re blending different sections, slightly overlap edges to prevent noticeable lines. Proper technique reduces the need for multiple coats and ensures a flawless finish. Pay attention to how the paint appears as it dries; uneven layers will become more apparent during paint drying. Using the right equipment, such as a professional-grade sprayer, can significantly improve your results. Regularly checking and replacing filters filter maintenance helps prevent clogs and ensures consistent paint flow. With careful application, you’ll achieve a smooth, professional-looking coat that enhances your room’s overall appearance.
Even Coating Application
Achieving an even coating on your walls requires consistent movement and attention to detail. Start with proper primer application to guarantee a smooth base, then maintain steady, overlapping passes with your sprayer. Keep your distance uniform to avoid drips or uneven patches. As you work, picture:
- A smooth, glossy surface emerging under even layers of paint
- The sprayer gliding seamlessly across walls with controlled speed
- Paint drying uniformly without sags or streaks
- Carefully blending edges for a flawless finish
- Regularly inspecting and adjusting your equipment, such as bicycle tire inflators, ensures optimal performance and can help prevent mishaps during your painting process.
Finishing With the Trim: Achieving Sharp Details
Finishing with the trim requires careful attention to detail to create crisp, clean lines that enhance the overall look of your room. To achieve sharp details, use precise brush strokes along the trim edges, avoiding over-application. Employ smooth roller techniques on adjacent surfaces to prevent accidental splatters or overlaps. Using painter’s tape can help keep lines sharp while you work. When painting the trim, work steadily, maintaining a consistent brush stroke direction. Finish by gently feathering the edges for a seamless shift. Remember, patience is key. Here’s a quick guide to help you master the process:
| Step | Technique | Tips |
|---|---|---|
| 1 | Brush strokes | Use controlled, steady strokes |
| 2 | Tape application | Ensure clean edges before painting |
| 3 | Roller techniques | Use light, even pressure |
| 4 | Detail finishing | Feather edges for sharp lines |
| 5 | Inspection | Check for drips and touch up as needed |
Additionally, understanding paint application techniques can further improve the precision and quality of your trim finish.
Tips for Avoiding Drips and Overlaps During Each Stage

To prevent drips and overlaps, start by using drop cloths properly to protect floors and furniture. Keep your spray speed steady to avoid uneven coats, and save the edges for last to prevent over-application. Focusing on these steps helps you achieve a smooth, professional finish.
Use Drop Cloths Properly
Using drop cloths correctly is essential to keep your workspace clean and prevent accidental paint spills from ruining furniture or flooring. Proper surface protection minimizes cleanup and promotes drop cloths safety. To do this effectively:
- Cover large furniture pieces completely, tucking edges under or securing with painter’s tape.
- Spread drop cloths flat to avoid tripping hazards and ensure full surface coverage.
- Use multiple cloths for large areas, overlapping edges for added protection.
- Secure cloths with painter’s tape or weights to prevent slipping or shifting during spraying.
- Proper use of drop cloths can also help prevent contamination and maintain the quality of your painting project.
Maintain Consistent Spray Speed
Maintaining a consistent spray speed is essential for achieving a smooth, professional finish and preventing drips or uneven coverage. To do this, focus on your brush techniques for blending edges and controlling flow. Before spraying, ensure your paint is well mixed to avoid clogging and uneven application. Keep the sprayer at a steady distance from the surface—usually around 12 inches—and move at a uniform pace. Rushing can cause runs, while moving too slowly might lead to overlaps and excess paint. Practice on a scrap surface first to find your rhythm. Consistent movement and proper paint mixing help you maintain even coverage, reduce overspray, and produce a polished, professional look with minimal touch-ups.
Tackle Edges Last
Tackling edges last allows you to refine your work and prevent mistakes from affecting the entire surface. Focus on completing the main areas first, then switch to edge work with masking techniques that keep your lines sharp. When doing edges, use a steady hand and controlled spray to avoid drips and overlaps. Visualize your work with these images:
- Carefully taping along corners and trim
- Light, even passes along edges
- Using a smaller nozzle for detail work
- Checking for missed spots before removing masking
Final Touch-Ups and Cleanup After Spraying
Once you’ve finished spraying, it’s important to step back and assess your work for any imperfections or spots that need touch-ups. Use your brush or small roller to apply touch-up techniques where needed, blending edges smoothly. Proper cleanup procedures are essential to prevent paint buildup and ensure your tools remain in good condition for future projects. Next, follow proper cleanup procedures to ensure your sprayer and tools are ready for future projects. Here’s a quick guide:
| Step | Action | Tools Needed |
|---|---|---|
| Check for flaws | Identify spots needing touch-up | Light, magnifier |
| Touch up areas | Use brush for precision | Fine brushes, paint |
| Clean tools | Rinse sprayer and accessories | Water, cleaning solution |
| Dispose of waste | Properly discard leftover paint | Trash or recycling bin |
| Final wipe-down | Wipe surfaces for a clean finish | Cloths, mild cleaner |
These steps will help you achieve a flawless finish and keep your tools in good shape. Remember, taking the time for proper cleanup procedures ensures your equipment remains in optimal condition for your next project.
Frequently Asked Questions
Can I Paint Multiple Rooms With a Sprayer at Once?
You can paint multiple rooms with a sprayer, but it’s best to plan carefully. Use proper brush techniques for corners and edges, and maintain your sprayer regularly to prevent clogs. Cover furniture and floors, and work systematically to avoid messes. Cleaning and sprayer maintenance between rooms guarantees consistent results. This approach helps you efficiently cover multiple spaces without sacrificing quality or wasting paint.
What Type of Paint Is Best for Spraying Ceilings?
For spraying ceilings, choose a high-quality latex or acrylic paint, as they work best with spray guns. Remember to follow paint thinning tips—add a small amount of water or thinning agent for a smooth application. Also, maintain your spray gun properly by cleaning it thoroughly after use. This guarantees consistent spray patterns and prevents clogs, making your ceiling painting project smoother and more efficient.
How Do I Prevent Overspray on Adjacent Surfaces?
Ever wondered how to prevent overspray on adjacent surfaces? You can do this easily by using drop cloths to cover floors and furniture, and masking tape to protect trim and edges. Are you ready to keep your room neat? Just apply the drop cloths first, then carefully tape off areas you don’t want painted. This way, overspray stays where it should be, ensuring a professional finish.
Is It Necessary to Tape off Areas Before Spraying?
You should tape off areas before spraying to guarantee clean, sharp lines and protect surfaces. Proper surface preparation involves taping and covering furniture or fixtures to prevent overspray. Also, check paint compatibility to avoid issues like improper adhesion or color bleeding. Taking these steps makes your job easier, helps achieve a professional finish, and reduces the need for touch-ups afterward. Always prioritize taping for the best results.
How Long Should I Wait Between Coats When Using a Sprayer?
When using a sprayer, you should wait for the paint drying time between coats to guarantee a smooth, durable finish. Typically, this is around 2-4 hours, but always check the manufacturer’s recommendations. Good spray technique helps reduce the need for multiple coats, so apply thin, even layers. Rushing this step can lead to drips or uneven coverage, so patience is key for a professional-looking result.
Conclusion
Think of painting your room like building a sandcastle; you start from the top and work your way down to avoid disturbing your hard work. When you spray in the right order—ceiling first, then walls, and finally trim—you prevent drips and overlaps, making your project smoother. With patience and careful planning, you’ll end up with a finish that’s as polished as a seaside masterpiece, ready to impress everyone who steps inside.

A seasoned painter with over 15 years in the industry, Mike transitioned from hands-on painting projects to the digital world of paint sprayers. His extensive experience gives him a unique perspective on what users truly need when it comes to painting tools. As the Editor in Chief of Paint Sprayer Zone, Mike ensures that every piece of content not only provides value but also reflects the realities of painting — the challenges, the joys, and the intricate details.