
Blushing in finishes happens when moisture gets trapped beneath the surface, creating a cloudy or milky look that affects clarity and durability. It often occurs with water-based or oil-based finishes in humid or cold environments. To prevent it, you should control humidity and temperature, properly prepare surfaces, choose compatible products, and allow adequate drying time. Staying mindful of these factors helps achieve a smooth, clear finish—you’ll discover more tips if you keep exploring.
Key Takeaways
- Blushing is a cloudy or milky appearance caused by trapped moisture reacting with the finish during drying.
- It commonly occurs with oil-based or water-based finishes in humid or cold environments.
- Prevent blushing by controlling humidity, temperature, and ensuring proper surface preparation before applying finishes.
- Use compatible sealants and finishes, and avoid applying finishes in high humidity or rapid drying conditions.
- To fix blushing, allow the finish to fully dry, then lightly sand and reapply a thin, compatible coat.
What Is Blushing in Wood Finishes and Why Does It Happen?
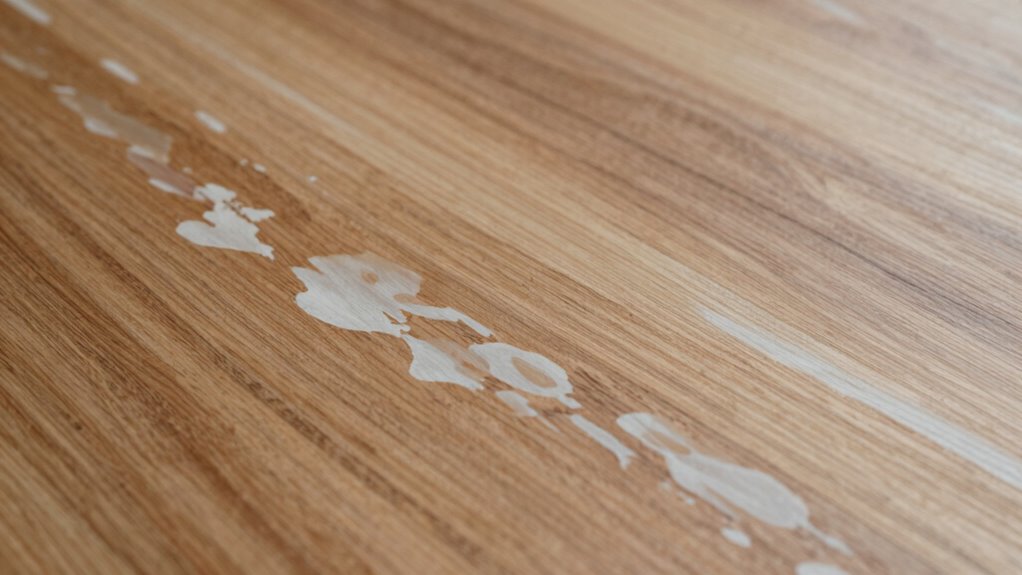
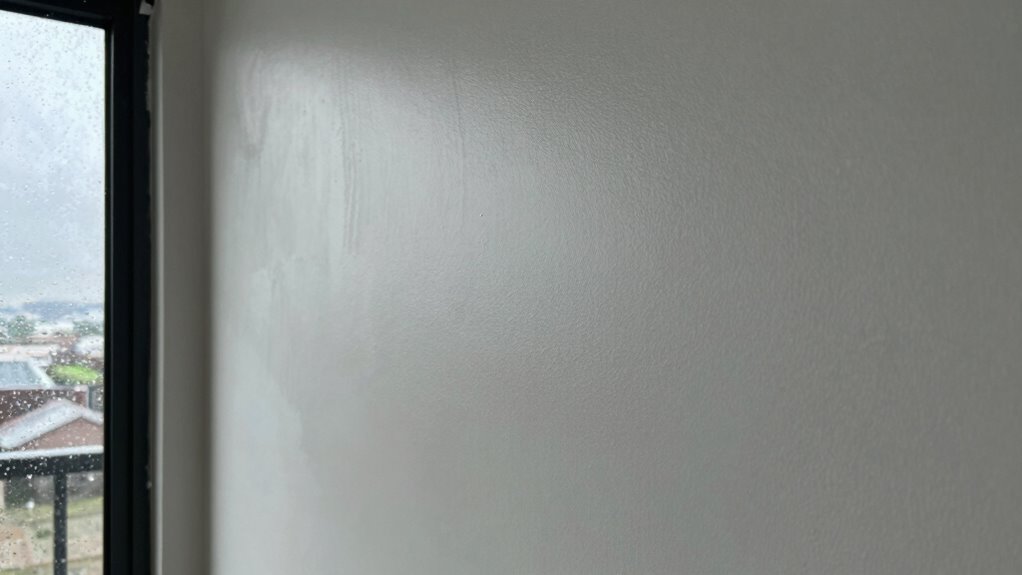
Blushing in wood finishes occurs when a cloudy or whitish film appears on the surface, often affecting the final look of your project. This phenomenon typically happens when moisture gets trapped beneath the finish, reacting with the wood grain and altering the finish sheen. When you apply a finish, especially one with a high gloss or matte sheen, the moisture can cause the finish to become cloudy or hazy as it dries. This is more likely with oil-based or water-based finishes if the environment is humid or if the application isn’t done carefully. Understanding how moisture interacts with the wood grain and the finish sheen helps you prevent blushing and achieve a smooth, clear surface. Additionally, being aware of free floating conditions can help you manage moisture levels and avoid trapped humidity during application. Proper environmental control during application can significantly reduce the risk of blushing and ensure a professional-looking finish. Being mindful of humidity levels and ensuring proper ventilation are key factors in preventing this issue. Monitoring ambient temperature can also help prevent rapid drying that contributes to blushing.
Which Finishes Are Most Likely to Blush: and How to Recognize Them

Certain finishes are more prone to blushing because of their chemical composition and drying process. Water-based finishes, especially those with high solids content, tend to be more susceptible. They can create a milky appearance that obscures the wood grain, making blushing easier to spot. High-gloss or full-gloss sheens are more likely to reveal blush spots because their reflective surface accentuates imperfections. Conversely, matte or satin finishes hide blushing better, but you should still look for cloudy or cloudy-looking patches in the finish. Recognizing blushing involves inspecting the finish closely for uneven, milky areas that disrupt the smooth appearance. Proper inspection techniques can help detect blushing during application or curing, allowing for timely adjustments. Being aware of finish characteristics can help you choose the right product and application method to minimize blushing risks. Additionally, understanding drying conditions and environmental factors can further reduce the likelihood of blushing during the finishing process. Proper application techniques and environmental controls can significantly lower the chances of blushing occurring.
Environmental Conditions That Cause Blushing During Application
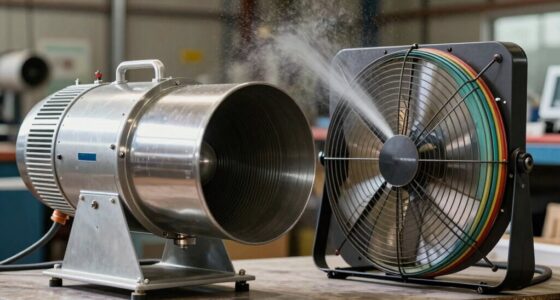
Environmental conditions during application play a crucial role in causing blushing, as factors like temperature, humidity, and airflow directly affect how finishes dry and cure. High environmental humidity slows evaporation, increasing the likelihood of moisture getting trapped in the finish, which leads to blushing. Similarly, low application temperatures can cause finishes to dry unevenly, creating an environment conducive to moisture condensation on the surface. When the air is too humid or the temperature is too cold, the finish’s solvents may not evaporate properly, resulting in a cloudy or blush appearance. Additionally, controlling application environment conditions is essential for achieving a high-quality finish. Properly managing environmental conditions such as humidity and temperature helps prevent moisture entrapment and ensures a more consistent curing process. It is also important to understand how finish formulation reacts under different environmental conditions to optimize application settings. For example, adjusting the drying time based on ambient conditions can significantly reduce the risk of blushing. To minimize this risk, aim for moderate environmental humidity levels and maintain a consistent, warm application temperature. Proper control of these conditions helps ensure a smooth, blemish-free finish.
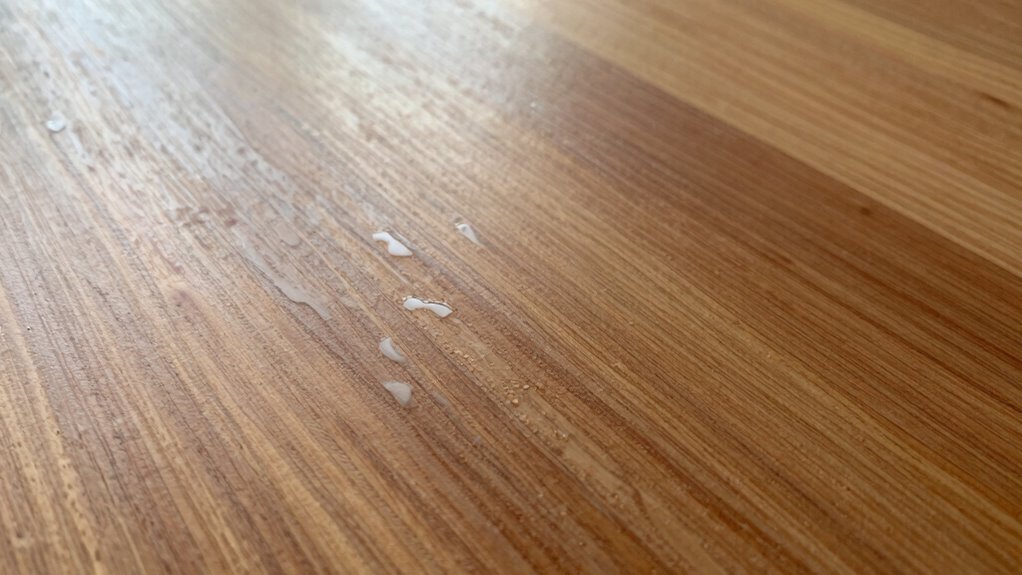
How Moisture Gets Trapped in Finishes: Causes Explained

Moisture can become trapped in your finish when humidity levels are high during application, preventing proper drying. If the environment isn’t well-ventilated or the finish isn’t given enough time to cure, moisture gets sealed in. Additionally, using incompatible sealants and finishes can create a barrier that traps moisture beneath the surface. Proper environmental conditions during finishing are essential to avoid this issue. Ensuring optimal application timing can significantly reduce the risk of blushing and improve the overall finish quality. In the context of Gold IRA Markets, maintaining optimal conditions ensures the integrity of your investments and prevents issues that could compromise their value. Understanding finishing techniques can also help in selecting the right products and application methods to minimize moisture entrapment. Recognizing the importance of moisture management in finishing helps prevent blushing and achieves a smooth, durable surface.
Humidity During Application
When you apply finishes in humid conditions, excess moisture in the air can become trapped beneath the surface. This trapped humidity can interfere with the woodgrain patterns, causing uneven appearances and blotching. As the finish dries, moisture gets sealed inside, leading to a hazy or cloudy look known as blushing. Humidity also affects finish durability, making it more prone to cracking or adhesion issues over time. To prevent this, you should work in environments with controlled humidity levels, ideally between 40-50%. Using dehumidifiers or air conditioning can help reduce moisture in the air during application. Proper surface prep and choosing the right type of finish also contribute to minimizing the risk of trapping moisture, ensuring your project remains smooth and long-lasting.
Improper Drying Conditions
Improper drying conditions can cause moisture to become trapped in your finish, leading to blushing, cloudiness, or adhesion problems. When the environment is too humid or too cold, moisture can’t evaporate evenly, trapping it in the wood grain and finish layers. This prevents the full color enhancement of your project and can leave a cloudy appearance. To avoid this, consider these tips:
- Keep the workspace well-ventilated and avoid high humidity
- Maintain consistent temperature levels during drying
- Allow adequate time for each coat to dry thoroughly
- Use a dehumidifier if needed to control moisture levels
- Understanding environmental factors can help you better control drying conditions and prevent moisture entrapment. Being aware of moisture management techniques is essential for achieving a flawless finish. Additionally, controlling humidity levels in your workspace can significantly reduce the likelihood of blushing. Proper ventilation practices help moisture escape more effectively, reducing the risk of trapped moisture within the finish and helping you achieve a smooth, vibrant wood grain with ideal color enhancement. Incorporating proper air circulation can further assist in even drying and prevent surface issues.
Sealant and Finish Compatibility
Sealant and finish compatibility play a crucial role in preventing moisture from becoming trapped in your project. If the sealant isn’t compatible with your finish, it can hinder proper finish adhesion, leading to gaps or bubbles that trap moisture. Always choose sealants formulated to work with your specific finish type, whether oil-based, water-based, or solvent-based. Incompatible sealants can also cause the finish to peel or crack, creating entry points for moisture. Ensuring compatibility helps the finish bond properly to the surface and sealant, reducing the risk of blushing caused by trapped moisture. Proper compatibility is key to a flawless, durable finish free of moisture issues. Additionally, understanding sealant and finish compatibility can help you select the right products for a long-lasting, moisture-resistant surface. Before applying, test a small area to confirm that the sealant and finish work well together, maintaining a strong, moisture-resistant barrier.
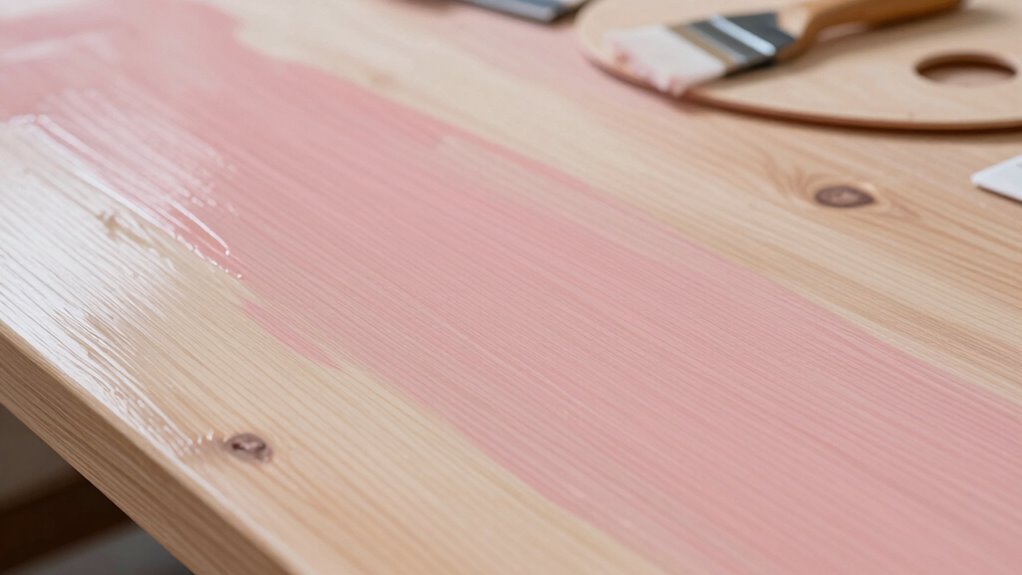
How to Prevent Blushing When Applying Different Types of Finishes
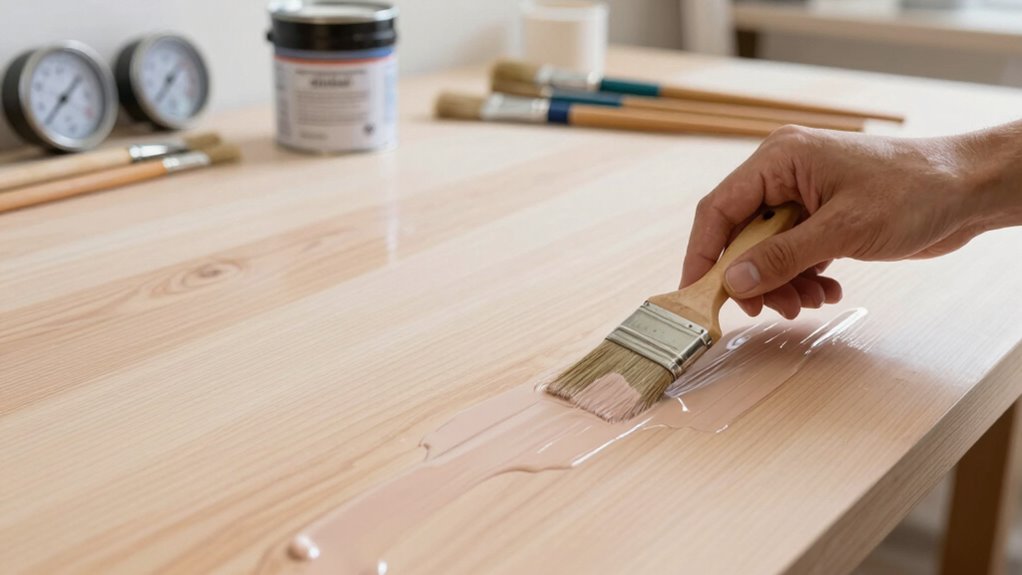
To prevent blushing, start by ensuring your surface is properly prepared—clean, smooth, and free of dust. Use consistent application techniques, such as maintaining even strokes and appropriate drying times. These steps help minimize trapped moisture and reduce the risk of finish blushing. Additionally, choosing the right paint sprayer, such as an airless paint sprayer, can provide a more controlled application, further preventing issues like blushing.
Proper Surface Preparation
Ensuring a clean, dry, and properly prepared surface is essential for preventing blushing in finishes. When your surface is free of dust, grease, and moisture, your finish will adhere better and develop a consistent grain pattern and color. Proper preparation helps avoid uneven absorption that causes blotches or cloudiness. Here are some tips:
- Sand thoroughly to smooth out rough spots and open the grain
- Remove dust with a tack cloth before applying the finish
- Guarantee the surface is completely dry to prevent moisture entrapment
- Repair any cracks or imperfections for an even base
Consistent Application Techniques
Applying finishes with consistent techniques helps prevent blushing by ensuring even coverage and proper adhesion. Focusing on application consistency means applying the finish at a steady speed and thickness, which promotes finish uniformity. Use smooth, overlapping strokes to avoid streaks and uneven spots. Maintain a consistent temperature and environmental conditions to prevent rapid drying that can cause blushing. When working with different types of finishes, adjust your technique accordingly—some may require thinner coats or longer drying times. Keep your tools clean and well-maintained to avoid contamination that could affect the finish’s appearance. By paying attention to application consistency, you reduce the risk of moisture entrapment and uneven curing, helping you achieve a smooth, blemish-free surface free of blush.
How to Fix and Remove Blushing Once It Occurs
When blushing occurs in a finish, quick action can prevent it from ruining the entire project. First, allow the finish to dry completely, then lightly sand the affected area with fine-grit paper. Carefully remove the blushed layer without damaging the underlying finish. Reapply a thin coat of the same finish, ensuring proper ventilation to avoid future blushing. To maintain color matching and finish durability, always clean your tools thoroughly before reapplication. Keep in mind, blending the new layer seamlessly is key to a professional look. Here are some tips to contemplate:
- Use a small brush for precision touch-ups
- Match the finish type and color carefully
- Avoid rushing the drying process
- Keep the environment consistent to prevent future blushing
Choosing the Right Finish to Minimize Blushing
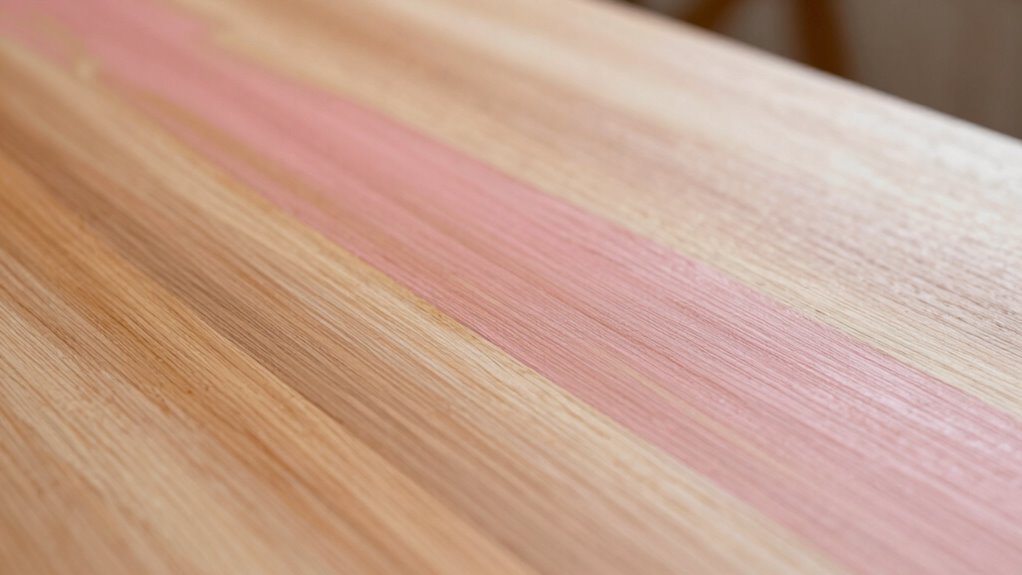
Choosing the right finish is essential for minimizing blushing and ensuring a smooth, durable coating. To do this, select finishes compatible with your wood grain and stain color. Transparent or oil-based finishes often enhance natural wood patterns without highlighting blush. Water-based finishes dry quickly and reduce moisture entrapment, lowering blush risk. Consider the wood’s porosity and grain when choosing a finish—smoother grains accept stain more evenly. Here’s a quick comparison:
| Finish Type | Best For |
|---|---|
| Oil-based | Enhancing wood grain, rich stain colors |
| Water-based | Fast drying, minimal blush |
| Shellac | Seals well, less prone to blush |
| Polyurethane | Durable, good for high-traffic areas |
Select wisely to minimize blush and achieve a flawless finish.
Tips for Keeping a Blush-Free Finish in Variable Conditions
Maintaining a blush-free finish becomes more challenging when environmental conditions fluctuate. Changes in humidity and temperature can affect how your stain interacts with the wood grain, impacting stain penetration and increasing the risk of blushing. To keep your finish smooth, consider these tips:
- Work in a consistent environment, ideally between 65-75°F and moderate humidity.
- Use a pre-conditioner or wood conditioner to even out stain penetration.
- Avoid applying stain during high humidity or when the air is damp.
- Follow the manufacturer’s instructions closely and work quickly to minimize moisture exposure.
Frequently Asked Questions
Can Blushing Occur With All Types of Wood Finishes?
Blushing can occur with many wood finishes, but not all. It depends on finish compatibility and the type of wood you’re working with. Oil-based finishes are more prone to blushing, especially on porous woods that reveal wood grain effects. To prevent it, choose the right finish for your project and make certain proper application conditions. Staying mindful of these factors helps you avoid blushing and achieve a smooth, beautiful finish.
Does the Type of Wood Affect the Likelihood of Blushing?
The type of wood does influence the likelihood of blushing, especially when your wood grain absorbs finish unevenly. Softer woods with open grain tend to allow more finish penetration, increasing moisture trapping and the chance of blushing. Conversely, tight-grain woods resist this, reducing the risk. You can minimize this by understanding how your wood’s grain affects finish penetration, ensuring a smoother, clearer surface without unwanted cloudiness.
How Long Does It Take for Blushing to Appear After Application?
Blushing can appear within hours to a few days after you apply the finish, depending on environmental factors and drying time. Warmer, more humid conditions slow down drying, making blushing more likely to show up later. To reduce this, guarantee proper ventilation and maintain stable temperature and humidity levels during and after application. Monitoring these factors helps you catch and prevent blushing early, keeping your finish looking smooth and flawless.
Are There Specific Brands Known for Being Prone to Blushing?
Some brands are more prone to blushing, like those with a reputation for inconsistent finish compatibility. Think of them as unpredictable weather—what works perfectly one day might cause trouble the next. Brands like Minwax and certain oil-based paints tend to be more susceptible. To avoid surprises, choose reputable brands with proven track records, and always test first to confirm your finish stays smooth and flawless without blushing.
What Safety Precautions Should I Take When Fixing Blushing?
When fixing blushing, always prioritize safety. Guarantee proper ventilation safety by working in a well-ventilated area to avoid inhaling fumes. Wear protective gear like gloves, goggles, and a mask to shield your skin, eyes, and lungs from harmful chemicals. Keep a fire extinguisher nearby in case of sparks or flames, and follow manufacturer instructions carefully. Taking these precautions helps prevent accidents and ensures a safer, more effective repair process.
Conclusion
Blushing can be frustrating, but with the right techniques and environmental awareness, you can prevent it and achieve a flawless finish. Don’t let fear of imperfections hold you back—proper preparation and patience make all the difference. Even if blushing occurs, quick fixes help restore your project’s look. Trust your skills, stay attentive to conditions, and enjoy the process of creating beautiful, professional-quality wood finishes that last.