To achieve a smooth, brush-free finish when spray painting trim and doors, start by thoroughly preparing your workspace and surface, ensuring it’s clean and sanded. Select the right spray equipment and paint designed for detailing. Keep your gun at a consistent distance, apply multiple light coats with overlapping strokes, and avoid overloading. Proper technique minimizes drips and sags, while finishing touches and correct maintenance help preserve a flawless look. Continue exploring these tips for professional results.
Key Takeaways
- Properly sand and prime trim and doors for smooth, adhesion-ready surfaces before spraying.
- Maintain consistent distance (6-12 inches) and steady speed for even spray application.
- Use light, multiple coats rather than heavy layers to prevent drips and achieve a flawless finish.
- Adjust spray gun settings for optimal pattern and flow, and practice on scrap before actual application.
- Finish with gentle feathering and minimal touch-up to ensure a seamless, brush-free appearance.
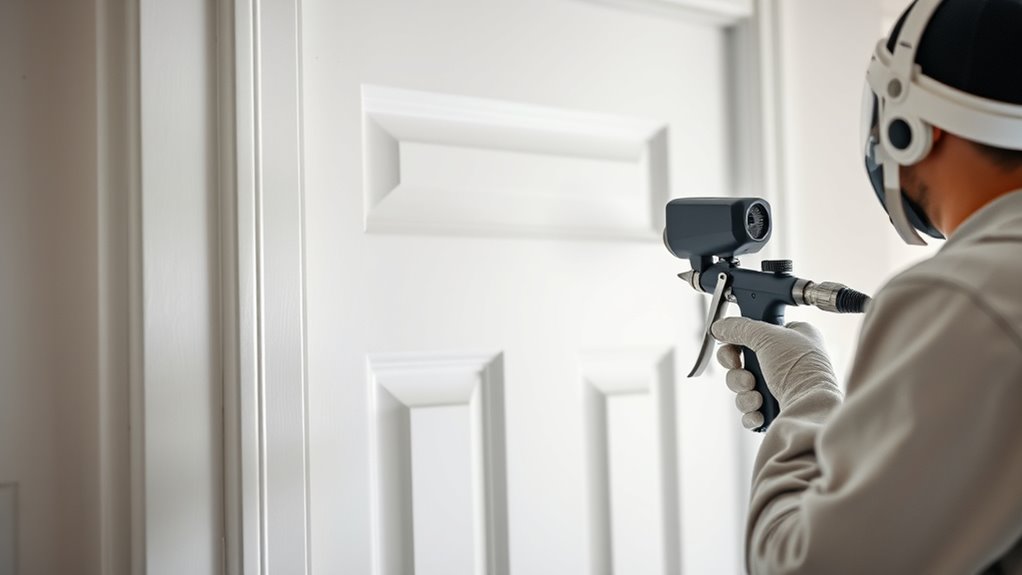
Preparing Your Workspace and Surface for Spray Painting
Before you start spray painting trim and doors, it’s vital to prepare your workspace and surface properly. Begin by cleaning the area thoroughly to remove dust, dirt, and grease. Surface sanding is essential; it smooths out imperfections and helps the paint adhere better. Use fine-grit sandpaper and gentle strokes to create a uniformly smooth surface. Protect yourself by wearing respiratory protection, such as a mask, to avoid inhaling paint fumes or dust particles during sanding and spraying. Clear the surrounding area of clutter, cover nearby furniture, and lay down drop cloths to catch overspray. Proper preparation minimizes surface imperfections and ensures a clean, professional finish. Additionally, considering color accuracy in your project can help achieve a more uniform and vibrant look. Taking these steps guarantees safer work conditions and better results for your spray painting project. Being aware of surface compatibility can further enhance the adhesion and durability of your paint. Also, understanding the horsepower of your equipment can help you select the right tools for efficient and effective application. Moreover, selecting the appropriate paint type based on the material of your surface ensures long-lasting results.
Choosing the Right Equipment and Paint for a Flawless Finish
Selecting the right equipment and paint is essential for achieving a smooth, professional finish on your trim and doors. Your spray gun choice impacts spray pattern, atomization, and finish quality, so pick one suited for detail work or larger surfaces. Ensure paint compatibility by checking that your chosen paint matches the spray gun’s specifications and manufacturer recommendations. Using incompatible paint can cause clogging or uneven coverage. Additionally, understanding paint formulation can help you select the most suitable product for your project. Considering surface preparation is also crucial to ensure proper adhesion and a flawless finish. Proper tuning of your spray equipment can further optimize your results, especially when working with high-performance paints or coatings. Incorporating mindfulness techniques during preparation and spraying can help you stay focused and attentive to detail, reducing errors and ensuring a high-quality finish.
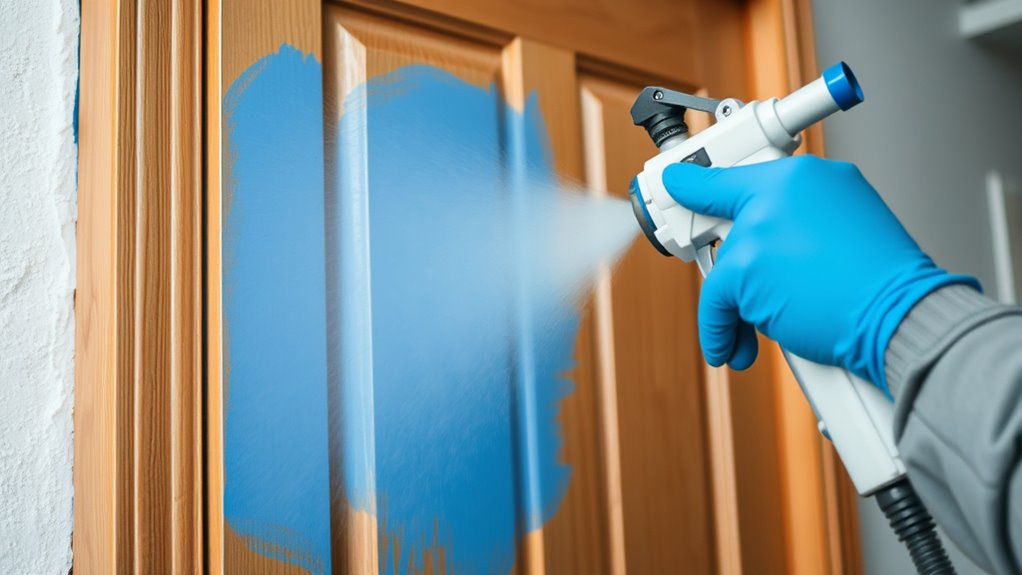
Techniques for Applying Spray Paint on Trim and Doors
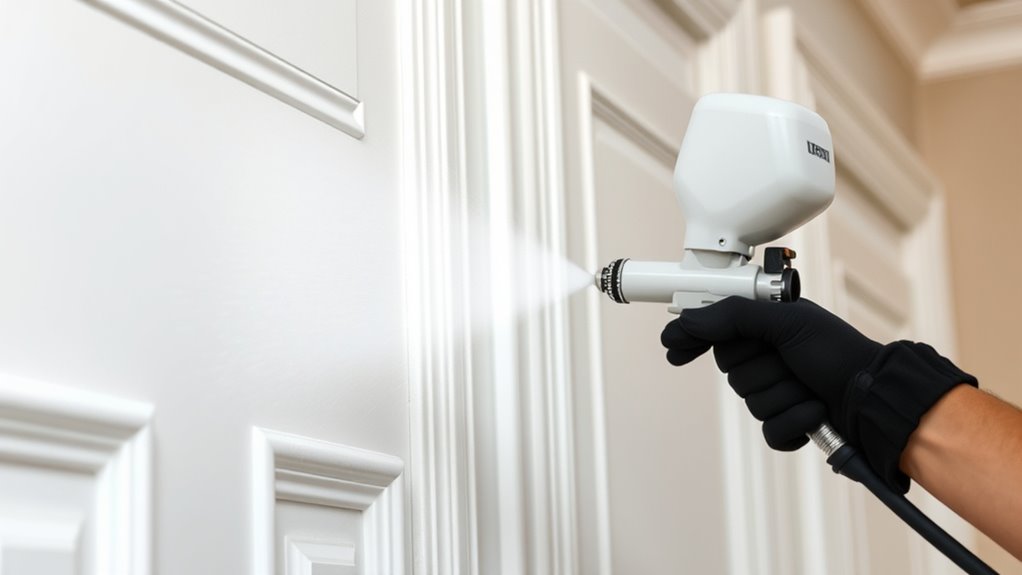
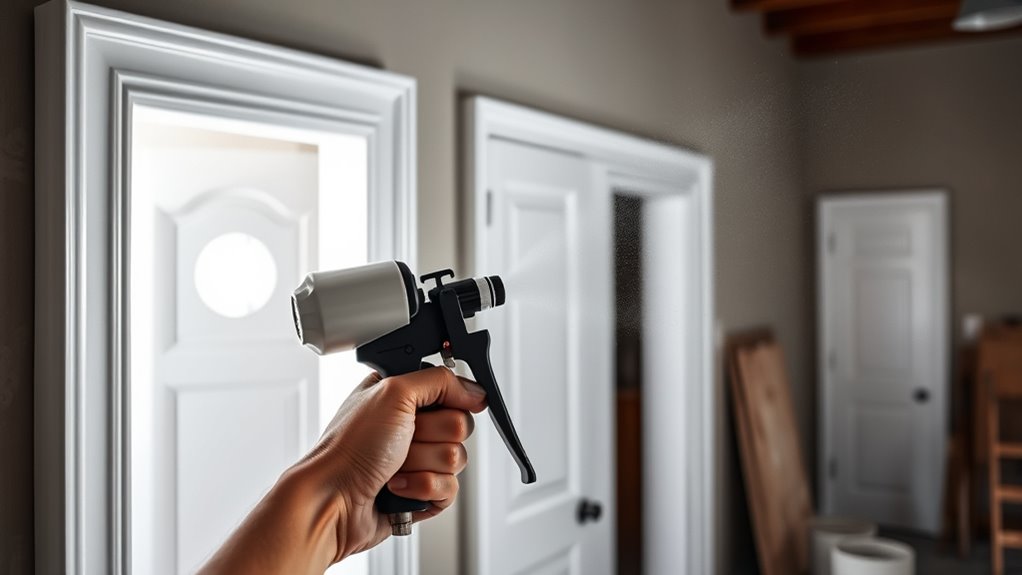
To achieve a smooth, professional finish when spraying trim and doors, you need to master proper application techniques. Start with spray gun calibration to ensure an even spray pattern and consistent paint flow. Before applying, use correct paint mixing techniques—thoroughly stir and strain the paint to prevent clogs and drips. Maintain a steady hand and keep the spray gun at a consistent distance, typically 6-12 inches from the surface. Use smooth, overlapping strokes, moving evenly across the trim or door to avoid runs and uneven coverage. Adjust your speed to prevent excessive buildup or thin spots. Practice on scrap material first to fine-tune your technique. Proper calibration and mixing are vital for achieving a flawless, brush-free finish with minimal touch-ups.
Tips for Achieving Even Coats and Avoiding Common Mistakes
Achieving even coats when spray painting trim and doors hinges on consistent technique and attention to detail. Start with proper primer selection to ensure adhesion and smooth coverage. Use a steady spray technique, maintaining a consistent distance and speed to prevent drips and uneven layers. Avoid overloading the spray gun, which can cause runs and sags. Practice on scrap material if needed. Check the table below for common mistakes and solutions:
| Mistake | Cause | Solution |
|---|---|---|
| Uneven coverage | Inconsistent spray technique | Maintain consistent distance and speed |
| Runs or drips | Over-application | Use light, even coats |
| Visible brush marks or spots | Poor primer or technique | Proper primer selection and smooth spray motion |
| Fading or uneven sheen | Insufficient coats | Apply multiple light coats |
Additionally, understanding the role of primer can greatly improve the final finish.
Finishing Touches and Maintenance for Long-Lasting Results

Once you’ve applied your spray paint with care, finishing touches and ongoing maintenance help guarantee your doors and trim stay looking fresh for years. Use proper brush techniques, like gentle feathering, to smooth out any uneven spots or drips. Choosing high-quality paint is essential; opt for durable, washable finishes designed for trim and doors to ensure longevity. Regular cleaning with a soft cloth removes dust and dirt that can dull the finish. Touch up small chips or scratches promptly with matching paint to prevent further damage. Avoid harsh chemicals that could damage the finish, and always follow the manufacturer’s recommendations for maintenance. Being aware of resources and tools available can also help you select the best products and techniques for your project. Additionally, understanding paint durability factors can extend the life of your finish. Proper preparation and application techniques are crucial for a smooth, professional-looking result. Employing an air purifier during and after painting can help improve indoor air quality and reduce lingering fumes, contributing to a healthier environment. Using proper ventilation during the painting process is also vital to disperse fumes and ensure a safer workspace. With careful attention and the right paint selection, your spray-painted surfaces will remain vibrant and protected for years to come.
Frequently Asked Questions
How Do I Prevent Paint Runs and Drips During Spray Painting?
To prevent paint runs and drips, you should focus on proper spray technique tips, like maintaining a consistent distance and steady motion. Regular paint nozzle maintenance is vital to guarantee even spray flow and avoid uneven application. Keep your hand steady, avoid overloading the sprayer, and apply thin coats. These steps help you achieve a smooth finish without drips, making your project look professional and flawless.
What Safety Precautions Should I Take When Spray Painting Indoors?
When spray painting indoors, you should prioritize ventilation safety by opening windows and using fans to circulate air. Always wear protective gear like a mask or respirator, goggles, and gloves to shield yourself from fumes and overspray. Keep the workspace well-ventilated and avoid inhaling harmful particles. These precautions help guarantee your safety while achieving a smooth, professional finish without health risks.
How Can I Remove Overspray From Surrounding Surfaces?
Imagine you’re tackling overspray, and it unexpectedly lands on nearby surfaces. You can easily clean it up by quickly removing drop cloths or masking tape before the paint dries completely. For stubborn spots, gently use a damp cloth or a mild solvent suitable for the surface. Acting swiftly prevents paint from setting, making cleanup easier and keeping your workspace neat without damaging surrounding areas.
What Are the Best Storage Practices for Leftover Spray Paint?
You should focus on proper paint storage to preserve leftovers effectively. Keep your leftover spray paint in a cool, dry place, and guarantee the lid is tightly sealed to prevent drying out or spoilage. Store cans upright to avoid leaks, and label them with the date of purchase. Good paint storage practices help maintain the quality of your spray paint, making leftover preservation easier and extending its shelf life for future projects.
How Do I Troubleshoot if My Spray Paint Doesn’t Adhere Properly?
If your spray paint isn’t sticking properly, you’ll want to verify for paint adhesion issues early. Start by inspecting the surface for dirt, grease, or loose particles—these can cause adhesion problems. Use proper surface preparation techniques like cleaning, sanding, and priming before painting. If issues persist, make sure you’re applying paint in thin, even coats and allowing adequate drying time. These steps help improve adhesion and deliver a smooth, professional finish.
Conclusion
Spray painting trim and doors can give your space a professional look, and with the right techniques, you’ll achieve a smooth, brush-free finish. Did you know that proper preparation and even coats can extend the lifespan of your paint by up to 30%? By following these tips, you’ll enjoy stunning results that last, all while saving time and effort. So gear up, stay patient, and transform your home with confidence!

Franz came aboard the Paint Sprayer Zone team with a background in both journalism and home renovation. His articulate writing style, combined with a passion for DIY projects, makes him an invaluable asset. Franz has a knack for breaking down technical jargon into easy-to-understand content, ensuring that even the most novice of readers can grasp the complexities of paint sprayers.