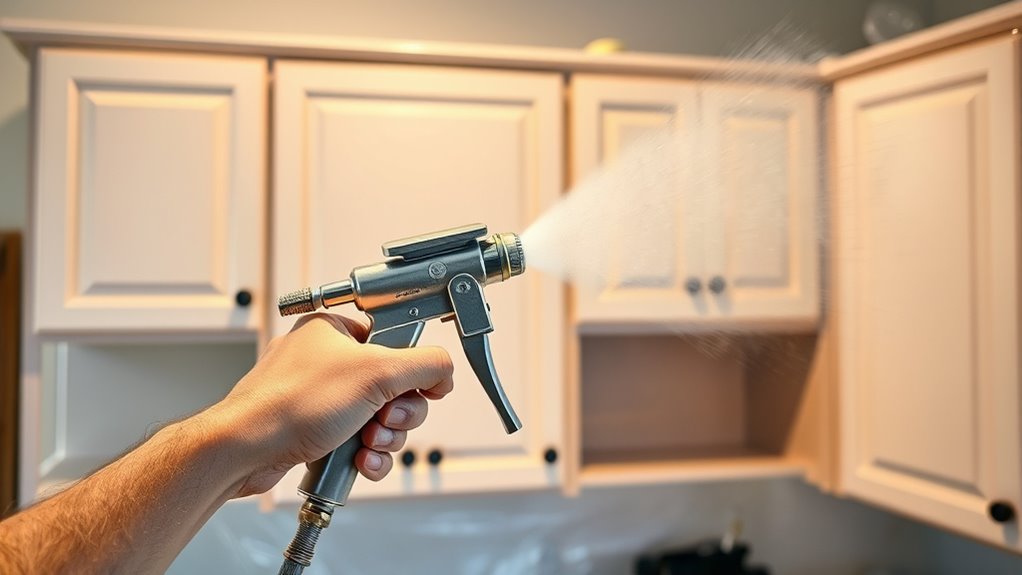
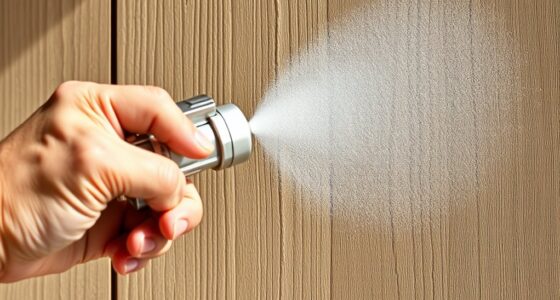
To refinish your kitchen cabinets with a paint sprayer, start by removing all hardware and cleaning the surfaces thoroughly. Lightly sand the cabinets to guarantee good paint adhesion, then apply a primer suitable for your material. Once dry, use your sprayer for smooth, even coats of paint, applying multiple thin layers and letting each dry completely. Carefully reassemble everything for a flawless finish, and if you keep going, you’ll discover how to achieve professional results effortlessly.
Key Takeaways
- Prepare cabinets by removing doors, hardware, cleaning, sanding, and priming for optimal paint adhesion.
- Mask surrounding areas thoroughly before applying primer with a paint sprayer for smooth coverage.
- Use even, long strokes with steady distance when spraying paint, applying multiple thin coats for durability.
- Allow each coat to dry completely before sanding lightly and applying subsequent layers.
- Reassemble cabinets, reinstall hardware, and inspect for a flawless, polished finish.

Are your kitchen cabinets looking worn or outdated? If so, refinishing them with a paint sprayer can be an excellent way to breathe new life into your space. Before diving in, take a moment to contemplate your cabinet hardware, as replacing or updating handles and knobs can dramatically change the overall look. Opting for modern, stylish hardware can complement your fresh paint job and tie the whole kitchen together. When choosing your paint color, think about how it will harmonize with your existing countertops, backsplash, and appliances. Light, neutral shades can make your space look larger and more airy, while bold or darker hues add drama and personality.
Once you’ve settled on your paint color choices, it’s time to prepare your cabinets for refinishing. Remove all cabinet doors and drawers, then take off the hardware. Thorough cleaning is essential—use a degreaser or a mixture of warm water and mild detergent to eliminate grease, dirt, and grime. Light sanding follows, which helps the new paint adhere better. You can use a fine-grit sandpaper or a sanding block, focusing on any rough or glossy areas. After sanding, wipe everything down with a damp cloth to remove dust and residue. Proper preparation ensures a smooth, durable finish and prevents peeling or chipping later on. Additionally, understanding contrast ratio can help you select the right lighting to showcase your newly refinished cabinets at their best.
Remove doors, drawers, and hardware; clean thoroughly; lightly sand to ensure a smooth, lasting finish.
Next, apply a primer suited for your cabinet material. Priming creates a uniform base, especially if you’re working with dark colors or stained wood. Using a paint sprayer makes this step efficient and results in an even coat, but be sure to mask off surrounding areas to prevent overspray. Once the primer dries, lightly sand again to smooth out any imperfections and clean off the dust. Now you’re ready for the paint. Fill your paint sprayer with your chosen paint, ideally a high-quality latex or enamel for durability. Use long, even strokes, maintaining a consistent distance from the surface to achieve a professional finish. Multiple thin coats work better than one thick coat, so allow each layer to dry before applying the next.
When your final coat is dry, reattach your cabinet doors and drawer fronts, then reinstall your hardware. Take the time to adjust hinges and knobs to ensure everything lines up perfectly. With your careful preparation and a little patience, your kitchen will have a fresh, updated look that’s both beautiful and long-lasting. Refinishing with a paint sprayer is a fast and effective way to transform your cabinets, giving your entire kitchen a new, inviting vibe.
Frequently Asked Questions
What Types of Paint Are Best for Cabinet Refinishing?
When choosing paint for cabinet refinishing, you want one that offers excellent paint durability and a finish sheen that matches your style. Latex or acrylic paints are popular because they provide a smooth finish and are easy to clean. For a more durable surface, consider oil-based paints, which resist chipping and moisture. Always pick a paint that suits your desired sheen—matte, satin, or semi-gloss—to achieve the perfect look and longevity.
How Long Does the Entire Refinishing Process Take?
Did you know that refinishing cabinets typically takes 3 to 7 days? You’ll spend time on cabinet preparation, which includes cleaning and sanding, followed by applying paint. The drying time between coats varies but usually ranges from 2 to 24 hours. Overall, the entire process depends on the number of coats and drying times, so plan for about a week to get professional results and guarantee the paint fully dries.
Can I Refinish Cabinets Without Removing Them From the Wall?
You can refinish wall-mounted cabinets without removing them, but it’s trickier. Use careful wall-mounted techniques, such as masking around the cabinets to protect walls and surfaces. While cabinet removal can make the process easier, it’s not always necessary. Just make certain you have sufficient access and protect surrounding areas. With patience and proper preparation, you can achieve a professional finish without the hassle of removing cabinets from the wall.
What Safety Precautions Should I Take When Using a Paint Sprayer?
When using a paint sprayer, you should prioritize safety by wearing protective gear like goggles, a mask, and gloves to shield yourself from fumes and overspray. Make certain proper ventilation by opening windows and using fans to disperse fumes quickly. Always read the paint and sprayer instructions carefully, and work in a well-ventilated area to reduce health risks. These precautions help keep you safe during your refinishing project.
How Do I Achieve a Smooth Finish With a Paint Sprayer?
To achieve a smooth finish with a paint sprayer, focus on your brush technique and spray pattern. Keep the spray consistent and maintain a steady distance from the surface. Use overlapping passes to avoid streaks and guarantee even coverage. Adjust your spray pattern to suit the surface, and avoid stopping mid-spray to prevent uneven areas. Practice on scrap material first to perfect your technique for the best results.
Conclusion
Now that you’ve transformed your cabinets, think of your kitchen as a blank canvas—a place where your creativity and effort shine through. Just like a fresh coat of paint breathes new life into wood, your dedication has renewed this space, turning it into a vibrant, welcoming heart of your home. With each brushstroke, you’ve painted not just cabinets, but a future filled with warmth and possibility. Your kitchen now stands as a symbol of your skill and care.
Franz came aboard the Paint Sprayer Zone team with a background in both journalism and home renovation. His articulate writing style, combined with a passion for DIY projects, makes him an invaluable asset. Franz has a knack for breaking down technical jargon into easy-to-understand content, ensuring that even the most novice of readers can grasp the complexities of paint sprayers.


