Spraying urethane clears on woodwork gives you a sleek, durable finish that highlights the wood’s natural beauty. To get the best results, work in a well-ventilated area, keep the spray nozzle about 6-12 inches from the surface, and move steadily to avoid drips. Safety is key—wear a respirator and gloves. Proper preparation and technique guarantee a smooth, professional look. If you want tips on perfect application, keep going for all the details.

Get business pricing on tools and workshop supplies
- Business-only prices and quantity discounts
- Tax-exempt purchasing
- Multiple users, one account, clear invoices
Key Takeaways
- Ensure proper ventilation and wear protective gear when spraying urethane clears on woodwork.
- Maintain the spray gun 6-12 inches from the surface and use steady, even strokes.
- Apply thin, multiple coats, allowing adequate drying time and lightly sanding between coats.
- Work in well-ventilated areas to prevent buildup of fumes and reduce fire hazards.
- Follow manufacturer instructions for preparation, application, and safe disposal of materials.

Spraying urethane clears on woodwork is an effective way to achieve a smooth, durable finish that enhances the natural beauty of the wood. While spraying is popular for its speed and even coverage, mastering brush techniques can also be be advantageous, especially for touch-ups or detailed areas. When using a brush, you want to apply the urethane with long, smooth strokes, maintaining a consistent pressure to avoid streaks or bubbles. Start with a dry brush, and work in the direction of the wood grain for the best results. Don’t oversaturate the brush; a light, even coating is key. During the spraying process, brush techniques come in handy for areas that are hard to reach or when you need to smooth out drips or uneven spots. With practice, you’ll develop a steady hand that ensures a professional-looking finish.
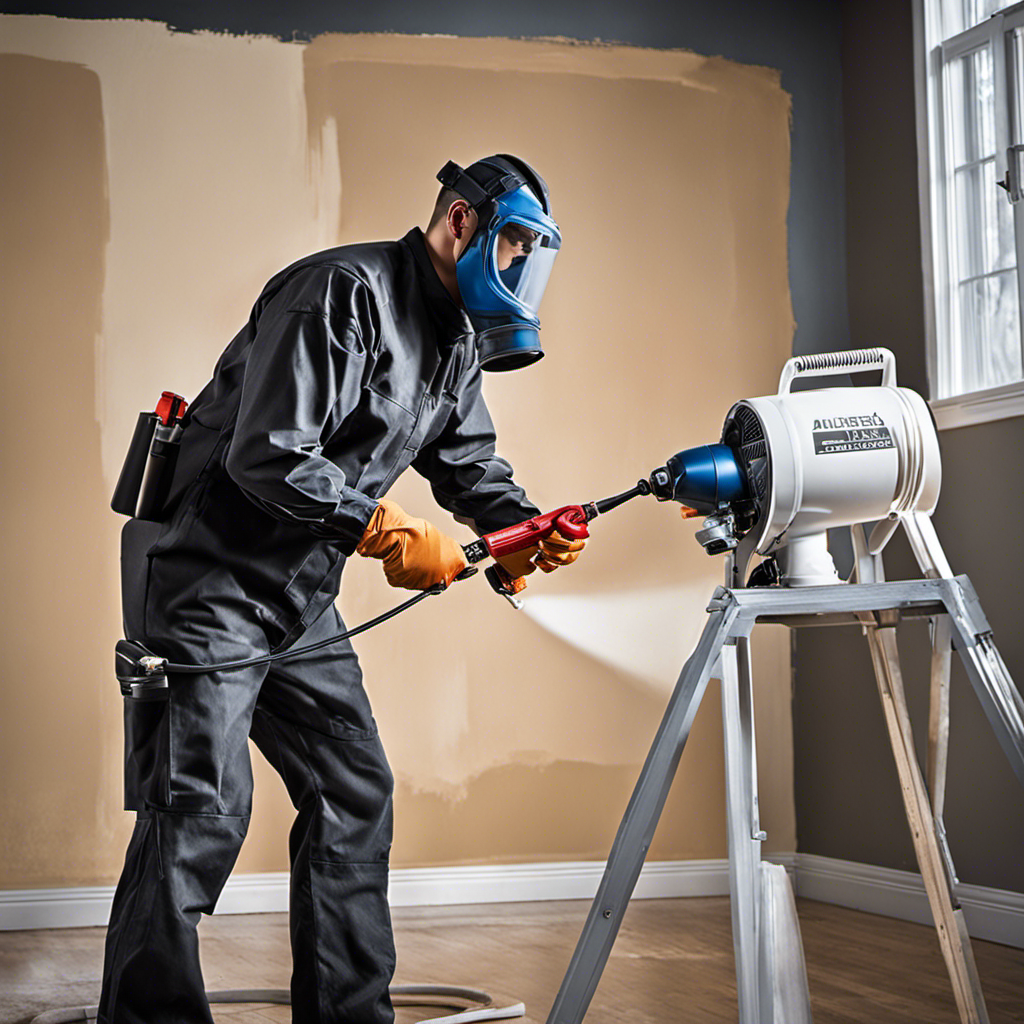
However, whether you’re spraying or brushing, safety precautions are essential. Urethane clears contain volatile organic compounds (VOCs) that can pose health risks if inhaled or if they come into contact with your skin. Always work in a well-ventilated area, ideally outdoors or in a space equipped with exhaust fans. Wear a proper respirator mask designed for chemical fumes, along with safety goggles and gloves, to protect your eyes and skin. Avoid open flames or sparks nearby, as fumes are highly flammable. Keep a fire extinguisher within reach, just in case. It’s also best to wear protective clothing to prevent any splashes from reaching your skin or clothes.
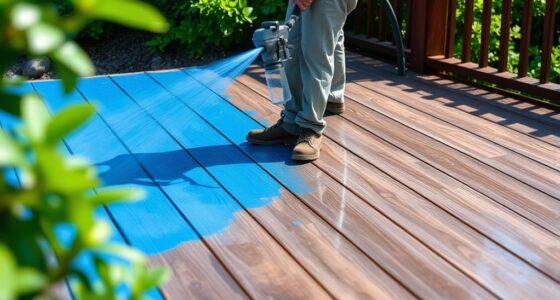
Before starting, read the manufacturer’s instructions carefully. Proper preparation includes sanding the wood to a smooth surface and removing dust with a tack cloth. When applying urethane, whether spraying or brushing, work in thin, even coats. For spraying, keep the nozzle at the recommended distance from the surface—usually about 6 to 12 inches—and move your hand steadily across the wood. After each coat, allow ample drying time as specified by the product instructions. Lightly sand between coats to ensure adhesion and a flawless finish. Always dispose of used brushes, rags, and any excess urethane safely, following local regulations to prevent fire hazards or environmental contamination.
As an affiliate, we earn on qualifying purchases.
Frequently Asked Questions
How Long Does It Take for Urethane Clears to Cure Completely?
Urethane clears typically take about 24 to 72 hours to dry, but full curing can take up to 2-3 weeks. Dry time depends on environmental factors like temperature, humidity, and airflow. To guarantee proper curing, keep the area well-ventilated and avoid heavy use of the woodwork during this period. Patience ensures the finish hardens properly and lasts longer, preventing damage or imperfections.
Can I Spray Urethane Clears Over Stained Wood?
Think of your stained wood as a blank canvas waiting for its final masterpiece. Yes, you can spray urethane clears over stained wood, but make certain the stain color is fully dry and cured first. Use proper application techniques, like light, even coats, to avoid drips and uneven finish. This layering protects your wood and enhances its beauty, giving you a smooth, professional-looking result that lasts.
What Safety Precautions Should I Take When Spraying Urethane?
When spraying urethane, you should wear protective gear like a mask, goggles, and gloves to shield yourself from fumes and overspray. Make certain good ventilation in your workspace by opening windows or using fans, which helps disperse harmful vapors. Always follow manufacturer instructions, work in a well-ventilated area, and avoid inhaling fumes. Taking these precautions minimizes health risks and guarantees a safer, more controlled spraying process.
How Many Coats of Urethane Clears Are Recommended?
Typically, you should apply 2 to 3 coats of urethane clears, depending on your desired finish and the urethane formulation. Proper application techniques, like maintaining consistent spray distance and avoiding over-application, guarantee a smooth, durable surface. Thinner coats tend to dry faster and reduce drips. Always follow manufacturer recommendations for your specific urethane formulation, and lightly sand between coats for the best adhesion and finish.
Is It Possible to Fix Runs or Drips After Spraying?
Yes, you can fix runs or drips after spraying urethane clears. For run correction and drip removal, wait until the finish is dry but still slightly tacky. Gently sand the affected area with fine-grit sandpaper, then carefully reapply the urethane over the corrected spot. Be patient and precise to blend the repair seamlessly, ensuring a smooth, professional-looking finish.
Conclusion
Now that you’ve learned how to spray urethane clears on woodwork, you’re well-equipped to achieve a smooth, professional finish. Just remember, patience and proper technique are key to avoiding mistakes. Don’t rush the process—it’s better to take your time and do it right than have to redo it later. With a steady hand and attention to detail, you’ll turn your project into a real showstopper, proving that practice makes perfect.
Halloween Picks
halloween
As an affiliate, we earn on qualifying purchases.