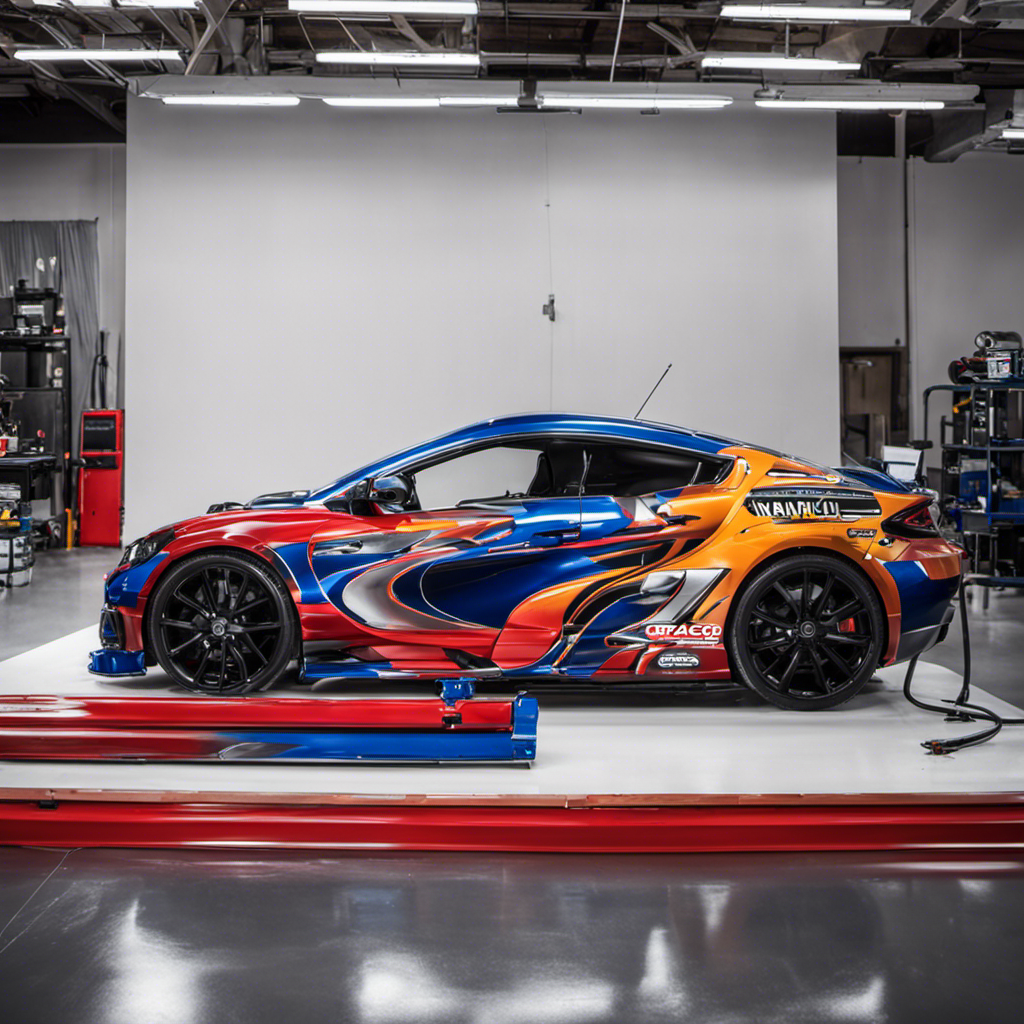
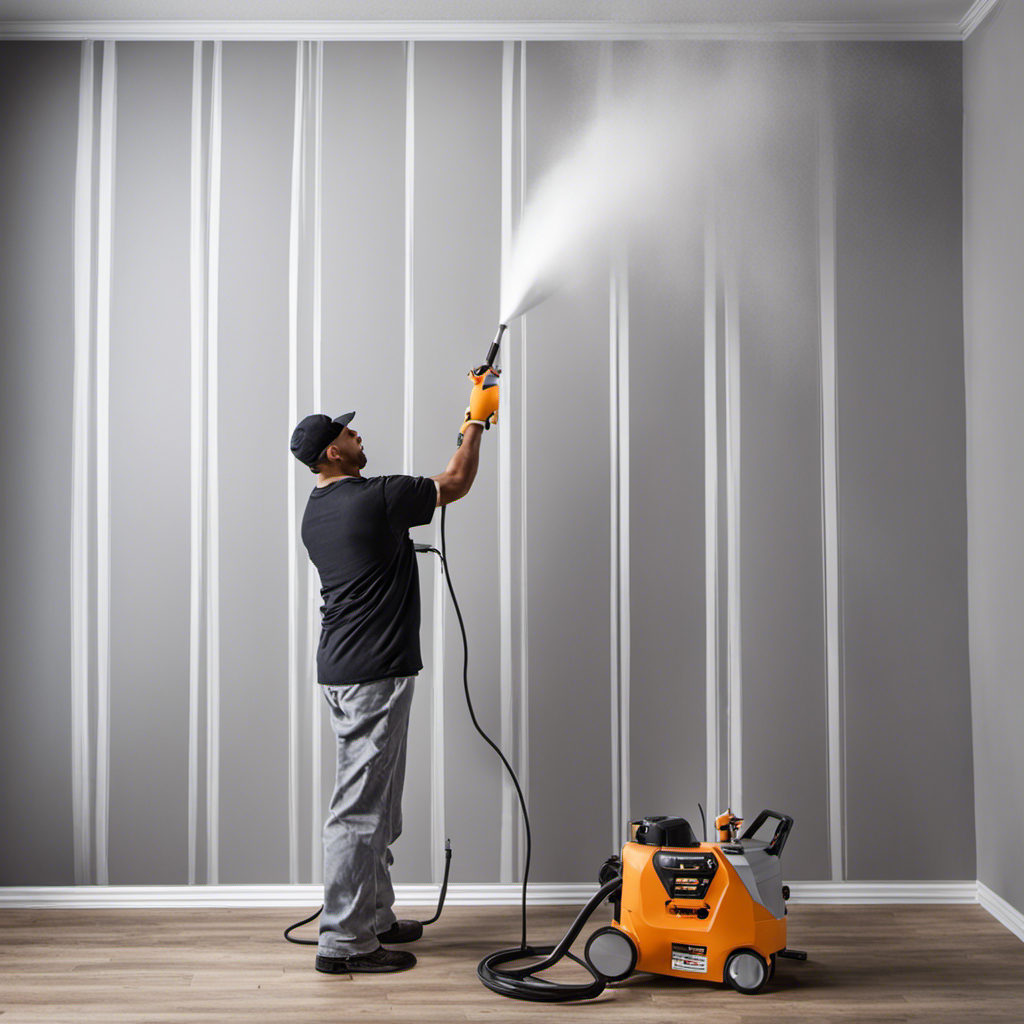
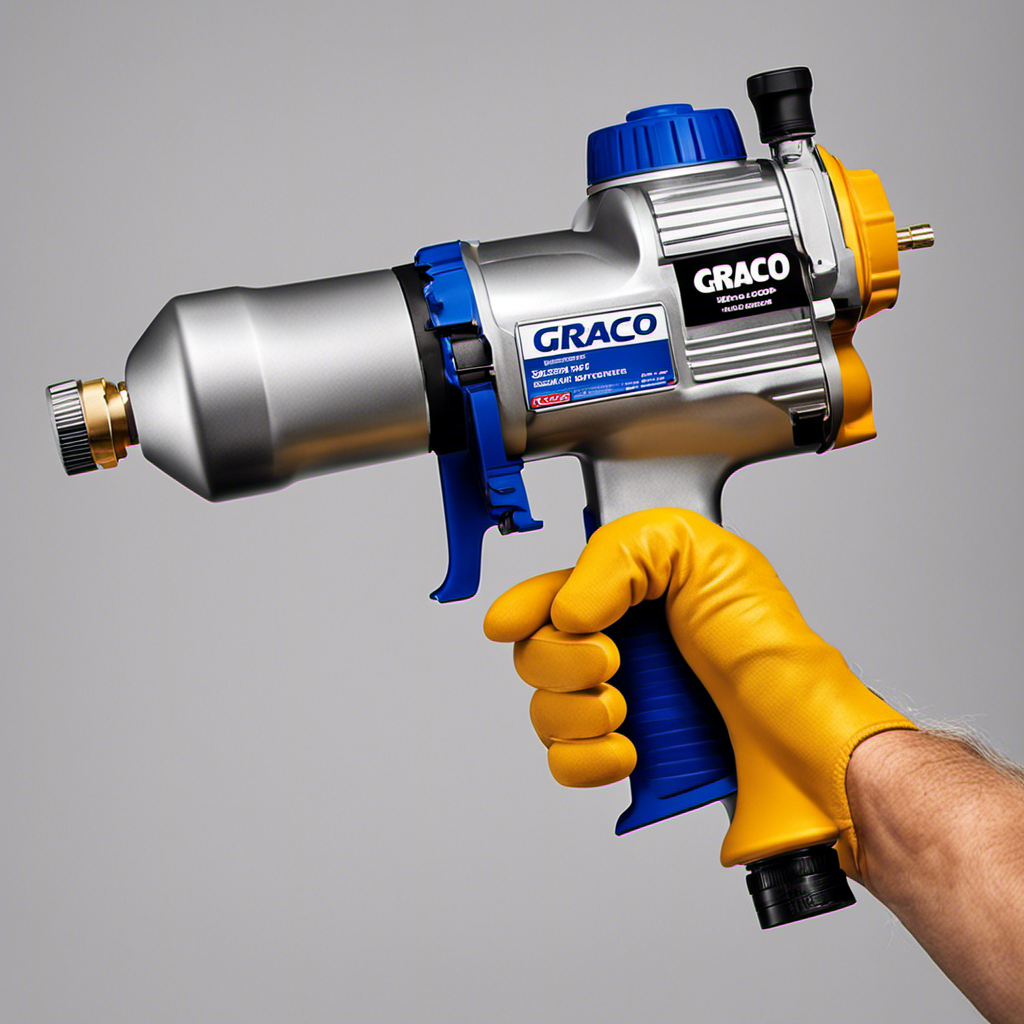
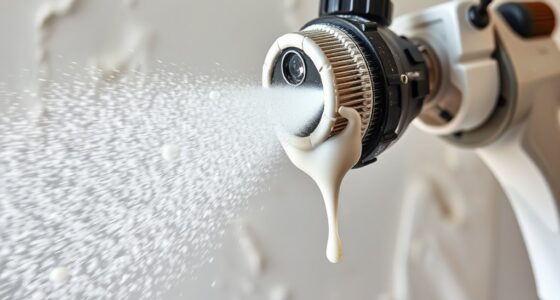
Trying to achieve a high-quality paint finish on your car? You’re in luck with the Graco Magnum X7 paint sprayer.
This step-by-step guide will show you how to use this powerful tool to transform your vehicle’s appearance.
With proper surface preparation techniques, the right materials, and a little patience, you can achieve a flawless finish.
Say goodbye to expensive trips to the auto body shop and hello to DIY success.
Get ready to take your car’s paint job to the next level with the Graco Magnum X7.
Key Takeaways
- Properly preparing the Graco Magnum X7 paint sprayer and following safety precautions is essential before starting the painting process.
- Thoroughly washing the car, choosing the right sandpaper, and removing rust and flaking paint are important surface preparation techniques.
- Applying a high-quality automotive primer, inspecting and repairing any dents or scratches, and using proper spraying techniques are crucial for a smooth primer application.
- Following manufacturer’s instructions for mixing and diluting paint, testing paint color before committing, and avoiding over-dilution are important steps when mixing and diluting paint.
Preparing the Graco Magnum X7 for Painting
Before painting, the user should ensure that the Graco Magnum X7 is properly maintained and cleaned.
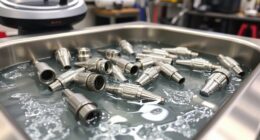
To start, the user should gather the necessary cleaning equipment, such as a cleaning solution, brushes, and a cloth. They should then follow the manufacturer’s instructions to disassemble the paint sprayer and clean each component thoroughly.
The user should pay special attention to the nozzle, as any clogs or debris can affect the spray pattern. Safety precautions should also be taken, such as wearing protective gloves and goggles to prevent any contact with cleaning chemicals.
Once the cleaning process is complete, the user can reassemble the Graco Magnum X7 and ensure that it is in proper working condition before beginning the painting process.
Proper Surface Preparation Techniques
Thoroughly washing the car to remove dirt, grease, or wax is an essential step in preparing the surface for painting. However, before starting the process, it is important to choose the right sandpaper for surface preparation.
For removing rust before painting, there are a few tips to follow. First, use a wire brush or sandpaper to remove loose rust and any flaking paint. Then, apply a rust converter to neutralize the rust and prevent further corrosion. After that, sand the area with fine-grit sandpaper to create a smooth surface. It is crucial to remove all traces of rust before proceeding with the painting process.
Applying the Automotive Primer
To apply the automotive primer, the DIY painter should clean the surface before evenly spraying a high-quality primer onto it. Choosing the right primer is crucial for a smooth finish. It is recommended to select a primer specifically designed for automotive use, as it will provide excellent adhesion and durability.
Before applying the primer, ensure that the surface is free from dirt, grease, and wax by thoroughly washing it. It is also important to inspect and repair any dents or scratches before priming.
When spraying the primer, hold the spray gun at a consistent distance from the surface and move it in smooth, overlapping strokes to achieve an even application. Allow the primer to dry properly before proceeding with the next steps of the painting process.
Following these tips will result in a professionally finished paint job.
Mixing and Diluting the Paint
The DIY painter mixes and dilutes the paint according to the manufacturer’s instructions for the best results. To ensure a successful paint job, here are some important tips to consider when choosing the right paint color and avoiding common mistakes when mixing paint:
-
Consider the lighting: Different lighting conditions can significantly affect the appearance of paint colors. It’s essential to evaluate how the color will look in natural light, artificial light, and different angles.
-
Test the color: Before committing to a particular paint color, it’s wise to test it on a small area or a sample board. This allows you to see how the color looks in your specific environment and how it complements other elements in the space.
-
Avoid over-diluting the paint: While it’s crucial to follow the manufacturer’s instructions for mixing and diluting the paint, it’s equally important not to over-dilute it. Diluting the paint excessively can result in poor coverage and a lack of durability.
Starting the Painting Process
After gathering the necessary materials and equipment, the DIY painter can begin the painting process. Before starting, it’s important to choose the right paint color and take safety precautions.
Ensuring a safe working environment is crucial, so the painter should wear protective clothing, gloves, goggles, and a mask to avoid inhaling fumes or getting paint on their skin. It’s also advisable to work in a well-ventilated area or use a respirator.
Additionally, the painter should cover surrounding surfaces and objects with drop cloths or plastic sheets to prevent any accidental paint splatters or spills. Following these safety measures will help create a secure and controlled painting environment.
Applying Multiple Coats and Drying Time
Applying two or more coats of paint ensures a smooth and even finish, allowing each coat to dry properly before applying the next. To achieve the best results, here are some tips for minimizing drying time and techniques for achieving a smooth finish:
- Use thin coats: Applying thin coats of paint allows for faster drying time and reduces the risk of drips or uneven application.
- Optimize drying conditions: Ensure proper ventilation and temperature control in the painting area to speed up drying time. Avoid painting in high humidity or extremely cold conditions.
- Use a drying accelerator: Adding a drying accelerator to the paint can help speed up the drying process, especially in colder environments.
Finishing Touches and Clear Coat Application
After applying multiple coats of paint and allowing sufficient drying time, it’s time to focus on the finishing touches and the application of a clear coat. These touch-up techniques are crucial in achieving a flawless and professional-looking finish. Touching up imperfections or mistakes is an essential step to ensure a seamless appearance. This can be done by using a fine brush or a paint pen to carefully fill in any missed areas or correct any blemishes.
The importance of a clear coat cannot be overstated. Not only does it provide an additional layer of protection for the paint, but it also enhances the shine and gloss of the finish. The clear coat acts as a shield, safeguarding the paint from UV rays, harsh weather conditions, and everyday wear and tear. It also helps to prevent fading, chipping, and peeling, ensuring the longevity of the paint job. By applying a clear coat, you can achieve a high-quality and durable finish that will leave your car looking stunning for years to come.
To illustrate the emotional response of achieving a flawless and professional-looking finish, here is a table showcasing the before and after transformation of a car’s appearance:
| Before | After |
|---|---|
| Dull | Glossy |
| Faded | Vibrant |
| Scratched | Smooth |
| Imperfections | Flawless |
This transformation evokes a sense of satisfaction and pride, knowing that all the hard work and attention to detail has resulted in a beautifully painted car.
Maintenance and Care for the Graco Magnum X7
To ensure optimal performance, it’s important to regularly clean and maintain the Graco Magnum X7 paint sprayer. Here are some cleaning instructions and troubleshooting tips to keep your sprayer in top condition:
-
Cleaning Instructions:
-
Start by disconnecting the sprayer from the power source and relieving pressure from the system.
-
Remove the spray tip and filter, and clean them with warm, soapy water.
-
Flush the entire system with clean water to remove any paint residue.
-
Use a soft brush to clean the pump and hose, making sure to remove any clogs or debris.
-
Dry all the components thoroughly before reassembling the sprayer.
-
Troubleshooting Common Issues:
-
If the sprayer doesn’t prime, check for clogged filters or a worn inlet valve.
-
Inspect the spray tip for blockages if the sprayer is not delivering an even spray pattern.
-
If there is excessive overspray, adjust the pressure setting or check for worn or damaged seals.
Frequently Asked Questions
What Are Some Common Mistakes to Avoid When Painting a Car With the Graco Magnum X7?
Common mistakes to avoid when painting a car with the Graco Magnum X7 include:
-
Not properly preparing the surface before painting, such as not removing old paint or adequately cleaning the car.
-
Another mistake is not following the paint manufacturer’s instructions for mixing and applying the paint, which can result in an uneven or patchy finish.
-
Additionally, not allowing sufficient drying time between coats and not using even and consistent strokes while painting can also lead to subpar results.
Can the Graco Magnum X7 Be Used for Other Painting Projects Besides Cars?
The Graco Magnum X7 is not limited to car painting; it can also be used for various home painting projects.
This versatile paint sprayer can effectively paint furniture, providing a professional finish.
With its adjustable pressure control and durable construction, the Graco Magnum X7 ensures even and consistent paint application.
Whether you’re refinishing a table or repainting cabinets, the Graco Magnum X7 is a reliable tool that delivers excellent results.
How Long Does It Typically Take for the Paint to Fully Cure on a Car?
On a car, the paint typically takes several days to fully cure. Factors affecting the curing time include temperature, humidity, and the type of paint used.
To speed up the process, ensure proper ventilation, as fresh air helps with curing. Avoid exposing the freshly painted car to extreme temperatures or moisture.
Additionally, using a high-quality automotive paint, following the manufacturer’s instructions, and allowing sufficient drying time between coats will contribute to a faster and more durable paint cure.
Is It Necessary to Wear a Respirator While Using the Graco Magnum X7 for Painting?
The importance of safety precautions cannot be overstated when using the Graco Magnum X7 for painting. One crucial safety measure is wearing a respirator.
A respirator provides several benefits, such as protecting the user from inhaling harmful fumes and particles released during the painting process. It ensures cleaner and safer air intake, reducing the risk of respiratory issues.
Wearing a respirator is essential to maintain the painter’s health and well-being while using the Graco Magnum X7.
Can the Graco Magnum X7 Be Used With Water-Based Paints?
Yes, the Graco Magnum X7 can be used with water-based paints.
It is important to note that water-based paints have different properties and requirements compared to oil-based paints.
When using the Graco Magnum X7 with water-based paints, it is essential to follow the paint manufacturer’s instructions for mixing and diluting the paint properly.
Additionally, it is recommended to clean the paint sprayer thoroughly after each use to prevent any residue or clogging.
Conclusion
In conclusion, painting a car with the Graco Magnum X7 paint sprayer requires careful preparation, precise application, and attention to detail. By following the step-by-step guide provided, car owners can achieve a professional-looking paint job with ease.
One interesting statistic to evoke emotion in the audience is that a well-executed paint job can increase the value of a car by up to 10%. So, by investing time and effort into properly painting their car using the Graco Magnum X7, car owners can potentially increase the resale value of their vehicle.
Remember to always prioritize safety, gather the necessary materials, and follow the instructions closely for the best results.
Drenched in creativity and armed with a fountain pen, Isolde weaves words as gracefully as a painter strokes their canvas. A writer for Paint Sprayer Zone, her passion for colors, textures, and spaces finds a harmonious blend with her profound knowledge of painting tools and techniques.
Having grown up in a family of artists, Isolde’s tryst with paints began early. While her relatives expressed themselves on canvas, Isolde found her medium in words. She dedicated herself to chronicling the world of painting, understanding the nuances of each tool, and the artistry behind every spritz of a paint sprayer.
