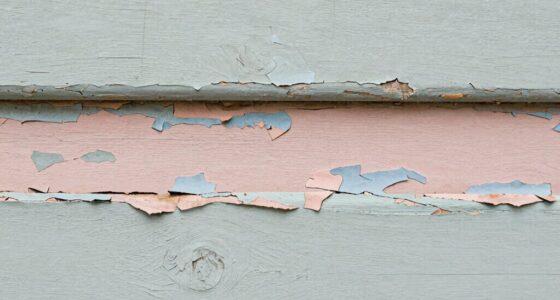

For effective paint prep with a random orbital sander, start with a coarse grit like 80 or 120 to remove old paint and smooth rough areas. Progress to medium grits such as 150 or 180 to refine the surface further, then finish with finer grits like 220 or 320 for a smooth, paint-ready finish. Proper grit progression prevents surface damage and guarantees professional results. Keep in mind the step-by-step sequence as you learn more tips for perfect prep.
Key Takeaways
- Start with coarse grits (80-120) to remove old paint and rough areas effectively.
- Gradually move to medium (150-180) and fine grits (220-320) for surface refinement.
- Maintain steady, overlapping motions and light pressure to prevent gouging and uneven sanding.
- Clean the surface thoroughly between grit changes to remove dust and debris.
- Follow a systematic grit progression to ensure a smooth, professional-ready surface for painting.
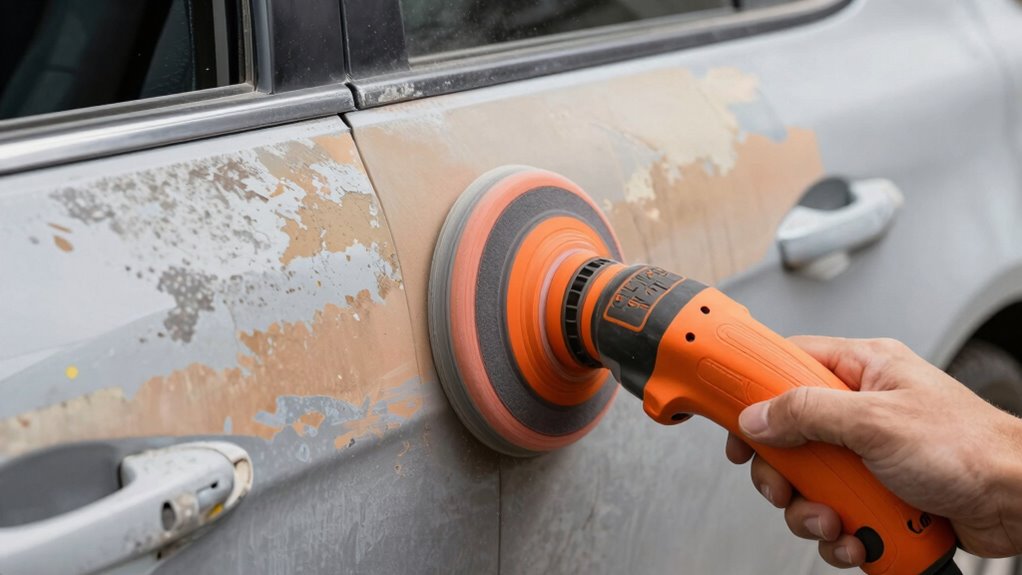
When preparing a surface for painting, using a random orbital sander can make the process faster and more effective. This tool helps you achieve a smooth, even surface by removing old paint, varnish, or rough patches efficiently. To get the best results, understanding abrasive types and sanding techniques is essential. Different abrasives are designed for specific tasks, so selecting the right grit and material ensures your project progresses smoothly without damaging the surface.
Abrasive types vary from aluminum oxide and silicon carbide to specialized materials like ceramic or diamond. Aluminum oxide is versatile and long-lasting, making it suitable for general sanding on wood, metal, and painted surfaces. Silicon carbide is sharper and more aggressive, ideal for sanding hard materials or finishing surfaces requiring finer detail. Choosing the correct abrasive type depends on the surface you’re working on and the level of material removal needed. Starting with coarser grits, like 80 or 120, allows you to remove old paint or smooth rough areas quickly. As you progress, switching to finer grits, such as 220 or 320, helps refine the surface for a flawless paint job.
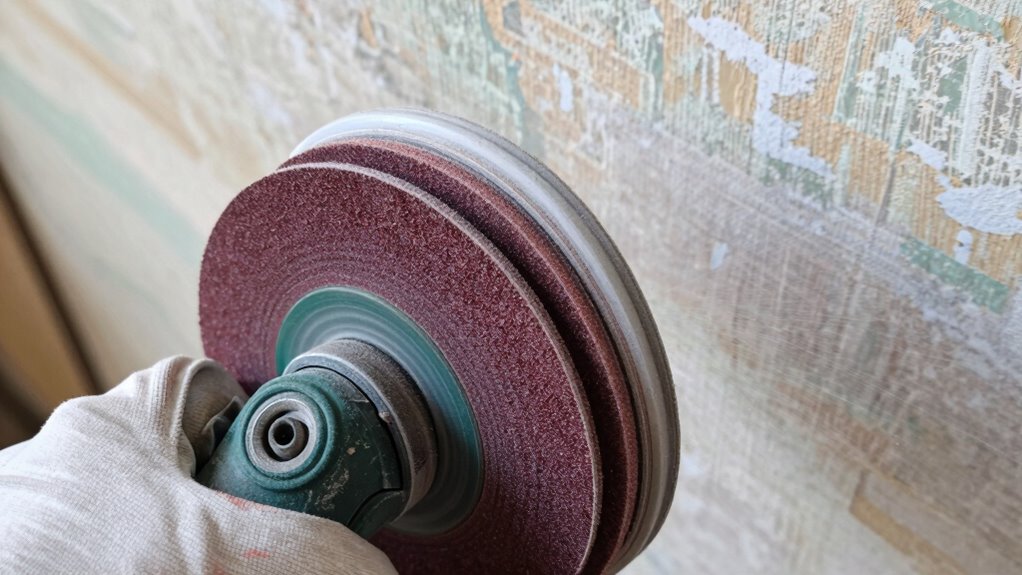
Sanding techniques play a crucial role in achieving a professional finish. Always keep the sander moving in overlapping circles or back-and-forth motions to avoid gouging or uneven spots. Light, consistent pressure prevents damaging the surface or wearing out the abrasive prematurely. When working on flat surfaces, maintain a steady pace and avoid staying in one spot too long, which can create dips or unevenness. For edges or detailed areas, use a smaller pad or a detail sander attachment to ensure thorough coverage without oversanding.
Another key tip is to follow a grit progression cheat sheet, starting with a coarser grit and gradually moving to finer abrasives. This systematic approach ensures you remove imperfections without creating new ones. Remember to always clean the surface between grit changes to eliminate dust and debris that could scratch the surface later. Proper sanding techniques combined with selecting appropriate abrasive types help you achieve a smooth, paint-ready surface, saving you time and effort while delivering a professional-looking finish.

SKIL 5” Random Orbital Sander with Cyclonic Dust Box & 3pc Sanding Sheet – SR211601, Multicolor
- Powerful Motor: 2.8 amp motor with 13,000 OPM
- Easy-to-Empty Dust Container: Cyclone force dust collection system
- Variable Speed Control: Adjusts power for different materials
As an affiliate, we earn on qualifying purchases.
As an affiliate, we earn on qualifying purchases.
Frequently Asked Questions
Can I Use Random Orbital Sanders on Delicate Surfaces?
Yes, you can use random orbital sanders on delicate surfaces if you employ delicate surface techniques. Use gentle sanding methods, like starting with a higher grit (around 320-400), and avoid applying too much pressure. This helps prevent damage or uneven finishes. Always test in a small area first, and keep the sander moving smoothly to minimize risk. With care, random orbital sanders can be safe for delicate surfaces.
What Safety Gear Should I Wear During Sanding?
Ever wondered how to stay safe while sanding? You should always wear protective eyewear to shield your eyes from dust and debris, and a respiratory mask to avoid inhaling harmful particles. These safety gears keep you protected from irritants and potential hazards. Don’t forget, safety first—are you prepared to gear up before starting your sanding project? Proper safety measures make all the difference in keeping you safe and healthy.
How Do I Choose the Right Grit for Specific Paint Jobs?
To choose the right grit for specific paint jobs, consider the abrasive types and grit size selection. For rough sanding, start with coarse grits like 60-80 to remove old paint or imperfections. For smoothing, switch to medium grits like 120-220. Finish with fine grits around 320-400 for a smooth surface. Always match the abrasive type and grit size to your project’s needs, ensuring ideal results and avoiding damage.
How Often Should I Replace or Clean the Sanding Pads?
Think of your sanding pad as a loyal brush that wears with each stroke. You should replace it when sanding pad lifespan nears its end, typically after 3-5 uses or if it’s torn or glazed. To keep it performing like new, regularly clean sanding pads to remove debris and dust. This maintenance extends their life, ensuring smooth, even sanding and saving you from premature replacements.
Can Random Orbital Sanding Remove Deep Scratches Effectively?
Yes, random orbital sanding can effectively remove deep scratches, improving paint adhesion. By using the right grit progression, you can smooth out scratches and prepare the surface for a flawless finish. Start with a coarser grit to target deep scratches, then gradually switch to finer grits for a smooth surface. This process guarantees better paint adhesion and a professional-looking result, making your prep work more efficient and effective.
Conclusion
Think of grit progression as your guiding star, leading your project safely through the night. Each step, like a new dawn, reveals a smoother surface ready for paint’s embrace. Trust the process, and let your sanding journey symbolize patience and precision. When you reach that perfect finish, you’ll know your effort has carved a path through roughness into brilliance—transforming the mundane into a masterpiece, one grit at a time.