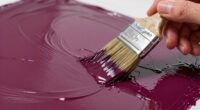
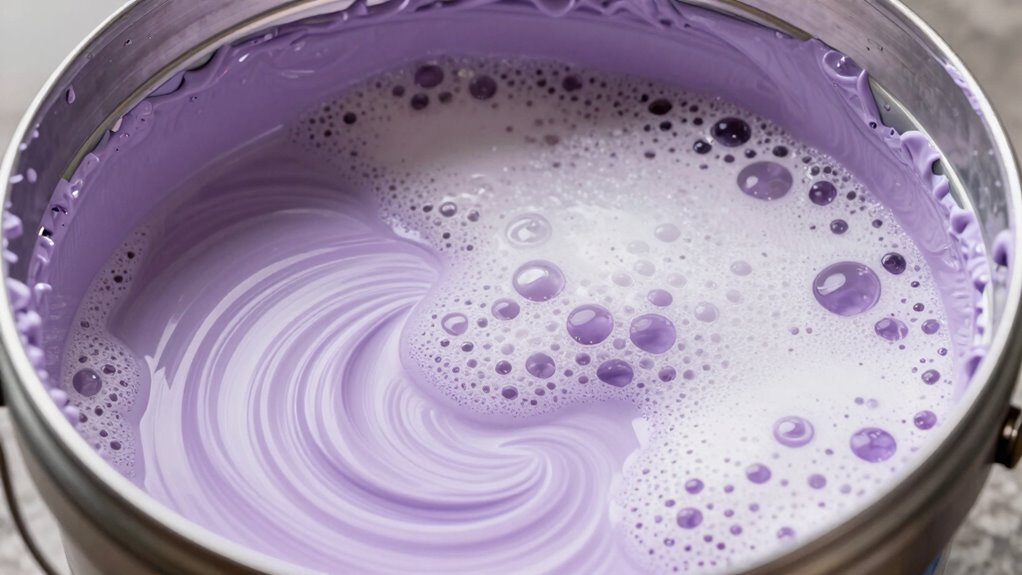
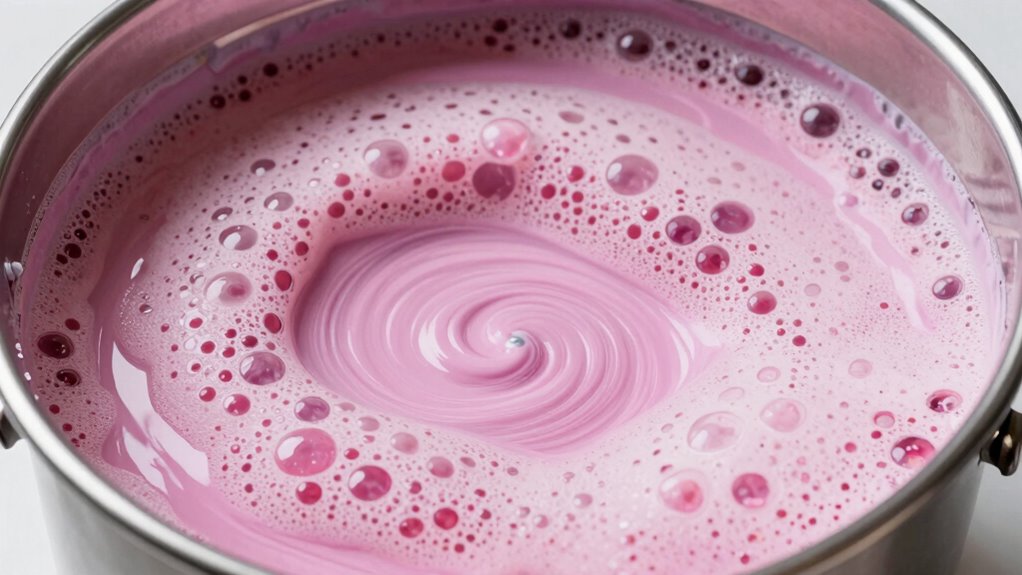
Mixing paint too quickly or vigorously traps air, leading to foam and persistent bubbles in the bucket. High-speed stirring causes turbulence that introduces larger bubbles, which don’t easily escape, resulting in foam build-up. To avoid this, use slow, steady movements and gentle stirring techniques. If you keep your pace low, you’ll minimize foam and achieve a smoother blend. Stay tuned to learn simple tips that help prevent and manage foam effectively.
Key Takeaways
- High mixing speeds trap more air, increasing foam formation in the paint bucket.
- Vigorous stirring creates turbulence that introduces persistent bubbles and foam.
- Slow, gentle mixing minimizes air entrapment and reduces foam buildup.
- Overmixing beyond proper blending heightens foam risk due to excessive agitation.
- Using appropriate containers and controlled speeds prevents foam caused by turbulent mixing.
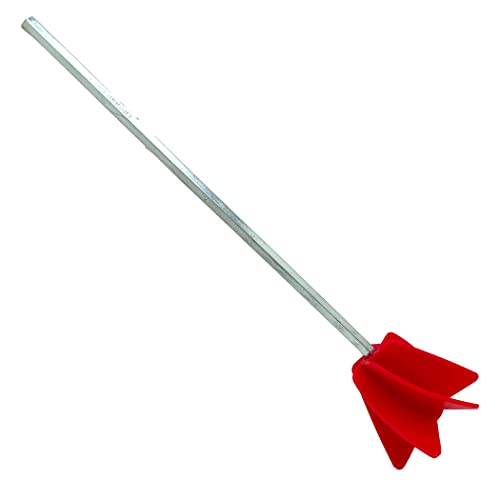
Edward Tools Paint Mixer Drill Attachment – Helix Mixer for 1 Gallon of Paint Epoxy, Resin, Silicone – Consistent Even Flow Stirrer Paddle – Works with all 3/8” and larger drills (1)
- Fast Mixing Design: Ensures faster, consistent mixing
- Universal Fit: Compatible with all 3/8” and larger drills
- Reusable and Easy to Clean: Durable metal and plastic surfaces for quick cleaning
As an affiliate, we earn on qualifying purchases.
As an affiliate, we earn on qualifying purchases.
Why Does Paint Foam When I Stir It?
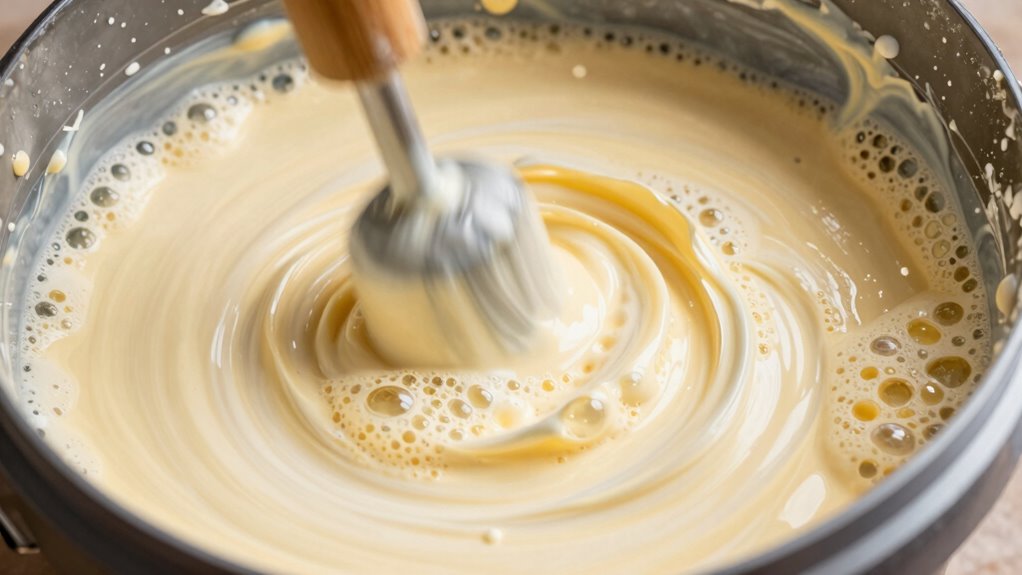
Have you ever noticed paint foaming up when you stir it, leaving you puzzled? This happens because certain paint additives can create foam when agitated. These additives are designed to improve application, but they can also trap air if stirred too vigorously. These additives are formulated to enhance paint properties but can also lead to foaming if mishandled. The foam forms because air bubbles get mixed into the paint, which may temporarily increase drying time by trapping moisture. Stirring too quickly or vigorously introduces more air into the mixture, leading to excessive foaming. Understanding this helps you avoid unnecessary workarounds, as gentle stirring minimizes foam formation. It’s also helpful to recognize foam-resistant paints, which are formulated to reduce or eliminate foaming during mixing. Keep in mind that some paints are formulated to resist foaming, but many still react to rapid mixing. Additionally, proper mixing techniques can help maintain paint quality and consistency. Using the correct mixing speed can prevent the formation of excess foam and ensure a smoother application process.
How Does Mixing Speed Affect Paint Foam Formation?
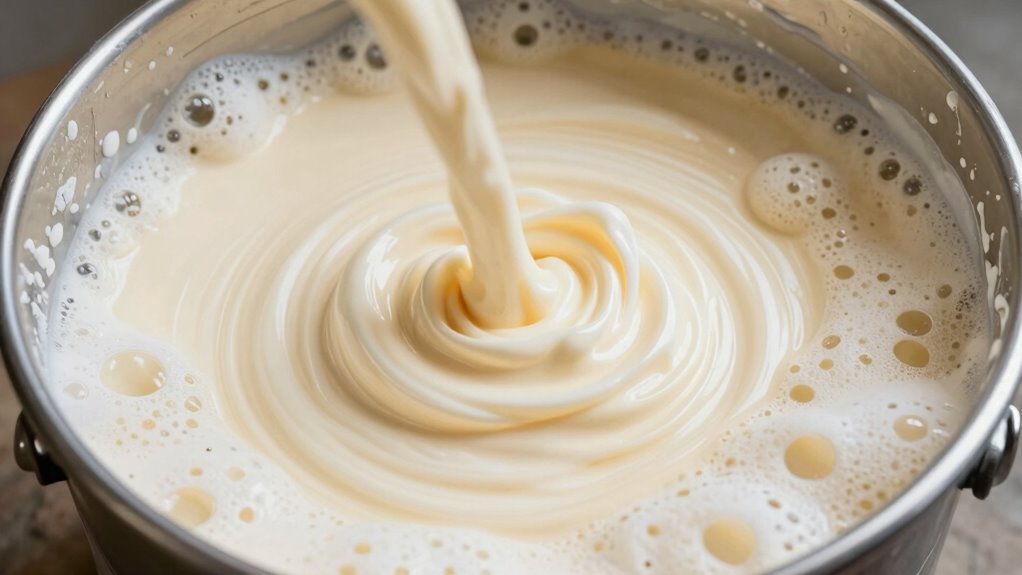
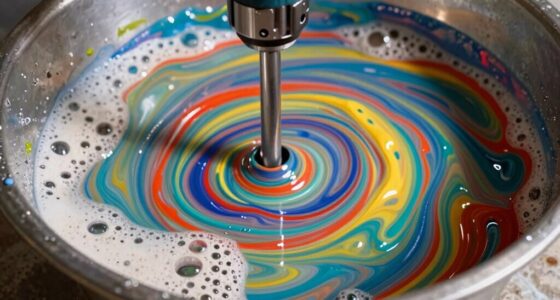
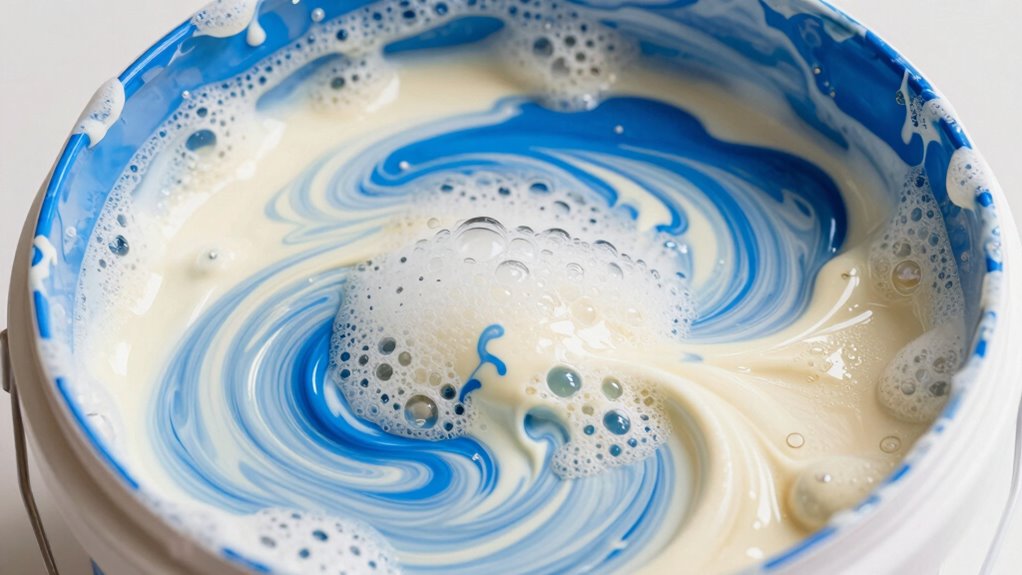
When you mix paint quickly, you introduce more air into the mixture, increasing foam formation. Faster speeds cause greater air entrainment, which leads to larger and more persistent bubbles. Understanding this relationship helps you control foam by adjusting your mixing pace effectively. Precision in mixing is essential for achieving a smooth, foam-free finish. Additionally, using the appropriate mixing technique can minimize air incorporation and improve the overall quality of your paint application. Being aware of air entrainment can help you make informed decisions about your mixing process to prevent excessive foam. Proper equipment maintenance also plays a role in reducing unwanted foam during mixing. Recognizing how mixing speed influences foam formation allows for better control over the final outcome.
Speed’s Impact on Air Entrainment
The speed at which you mix paint directly influences how much air gets entrapped in the mixture. Faster mixing increases air incorporation, leading to more foam. Higher speeds boost mixing efficiency, but they also risk introducing excess air, which can cause undesirable foaming. Conversely, slower speeds promote a more uniform, less foamy blend. To understand this better, consider the following:
| Mixing Speed | Air Incorporation | Effect on Foam |
|---|---|---|
| Low | Minimal | Less foam |
| Moderate | Controlled | Slight foam |
| High | Excessive | Significant foam |
| Very High | Over-entrainment | Over-foaming |
| Optimal | Balanced | Minimal foam |
Adjusting your mixing speed ensures ideal air entrainment, balancing mixing efficiency with foam control. Recognizing how air entrapment occurs can help you make better decisions about your mixing techniques. Since personality traits can influence how individuals perceive and manage such tasks, understanding personal tendencies can help optimize your mixing technique. Recognizing the importance of consistent mixing can also significantly impact the overall quality of the paint.
Foam Formation Mechanisms
Mixing speed directly influences how foam forms in paint by affecting the way air pockets are created and stabilized within the mixture. Faster speeds increase turbulence, trapping more air and disrupting paint chemical reactions that normally prevent excessive foam. Higher mixing speeds also lower paint viscosity temporarily, allowing air to become entrapped more easily. This creates larger, unstable foam bubbles that can persist if not properly managed. Conversely, slower speeds encourage a more uniform dispersion, reducing foam formation. Key mechanisms include:
- Turbulence-induced air entrapment
- Disruption of paint chemical reactions that control foam stability
- Changes in paint viscosity during mixing
- Formation of larger, less stable bubbles
- Proper mixing techniques help minimize foam and achieve a smoother finish.
- Maintaining optimal mixing speed is essential to prevent unnecessary foam development, especially for delicate paint formulations.
- Additionally, appropriate mixing duration can influence foam control by allowing the paint to settle and reducing excess air incorporation.
- Being mindful of mixing techniques can further help you manage foam levels effectively during the process.
- Using the right mixing equipment can also make a significant difference in controlling foam formation and ensuring a high-quality application.
Understanding these factors helps you control foam during mixing, ensuring a better finish.
Which Paint Types Are More Prone to Foaming During Mixing?
Certain types of paint are more prone to foaming during mixing due to their formulation. Latex paint, with its water-based composition, often traps air bubbles when stirred vigorously, leading to foam. Oil-based paint, on the other hand, contains solvents that can also cause foam formation if mixed too quickly. The key is to understand which paints are sensitive to agitation and handle them gently.
| Paint Type | Prone to Foaming | Handling Tip |
|---|---|---|
| Latex Paint | Yes | Mix slowly and steadily |
| Oil-Based Paint | Yes | Use low-speed mixing |
| Acrylic Paint | Moderate | Mix with care, avoid high speed |
| Enamel Paint | Moderate | Gentle stirring required |
| Chalk Paint | Less | Less likely to foam |
How Can I Tell If I’m Mixing My Paint Too Fast or Too Slow?
You’ll notice signs like excessive air bubbles or uneven texture if you’re mixing too fast or too slow. Finding the right speed helps prevent foaming and guarantees a smooth blend. Paying attention to these cues can improve your mixing technique and overall paint quality.
Recognizing Mixing Signs
If you’re mixing your paint too fast, you might notice it becoming foamy or splattering more than usual, indicating you’re aerating the mixture excessively. To gauge your mixing speed, watch for these signs:
- Uneven paint consistency – if the paint feels lumpy or streaky, you’re probably mixing too slowly or unevenly.
- Excessive foaming – persistent foam suggests you’re aerating the paint too quickly.
- Container size mismatch – using a small container for large quantities makes it harder to mix at a proper speed, causing inconsistency.
- Splattering or spilling – fast mixing often leads to splatters, especially with larger containers.
- Proper mixing techniques—following recommended mixing speeds can help prevent foaming and ensure a smooth finish.
- Understanding paint properties—being aware of paint viscosity can help you adjust your mixing speed accordingly to avoid issues like foaming.
Pay attention to these signs to ensure you’re mixing at the right speed, maintaining proper paint consistency without foaming or splattering.
Optimal Mixing Speed
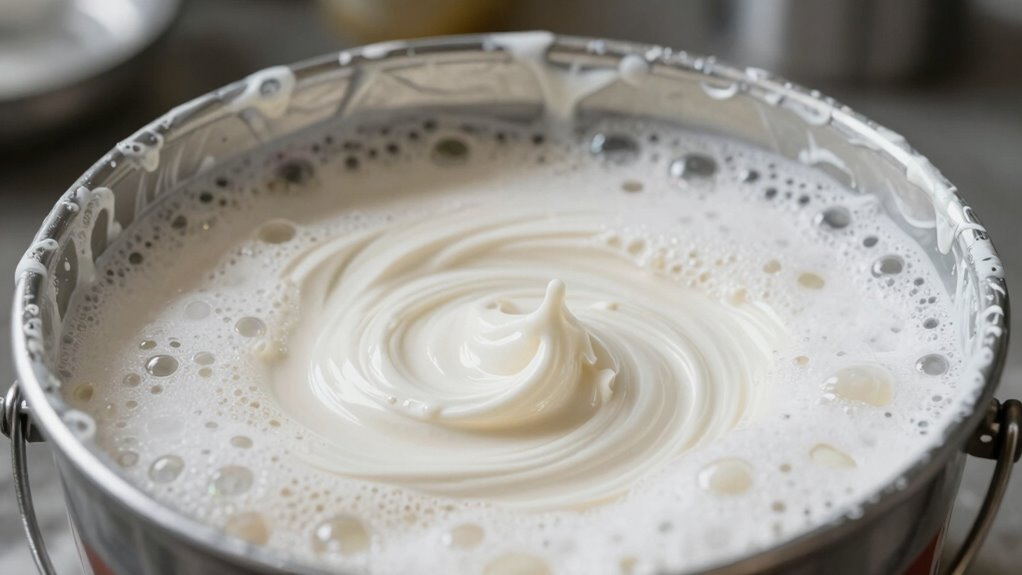
Finding the right mixing speed is essential to achieve a smooth, consistent paint. If you’re mixing too fast, you might create excess air that leads to foaming or uneven texture. Conversely, mixing too slow can result in poor blending, leaving streaks or inconsistent paint. Pay attention to your brush techniques; gentle, steady movements help maintain proper paint consistency without incorporating unnecessary air. When you’re mixing at an ideal speed, the paint should smoothly combine without splattering or forming bubbles. Feel the resistance in your brush—if it feels too stiff or too loose, adjust your speed accordingly. Additionally, understanding the air incorporation process helps you control foaming by adjusting your mixing technique accordingly. Being aware of paint viscosity can also guide you to better mixing speeds, ensuring you avoid both under- and over-mixing. Consistently monitoring your actions ensures you don’t overmix or undermix, leading to a flawless finish and avoiding issues like foaming or separation.
What Are Easy Ways to Prevent Paint Foam While Mixing?
To prevent paint foam while mixing, start by using slow, gentle strokes instead of vigorous agitation. This minimizes air incorporation and keeps foam formation low. Also, pay attention to your brush techniques: use smooth, consistent motions to avoid splashing or creating bubbles. Proper storage tips matter too—keep paint covered tightly to prevent air from entering, which can cause foaming. Additionally, avoid over-mixing, as excessive agitation introduces unnecessary air. In the end, consider mixing at moderate speeds, not too fast, to prevent foam buildup. By combining gentle brush techniques with correct storage tips and mindful mixing, you’ll reduce foam and ensure a smoother, more professional finish. These simple steps make your painting process easier and more efficient.
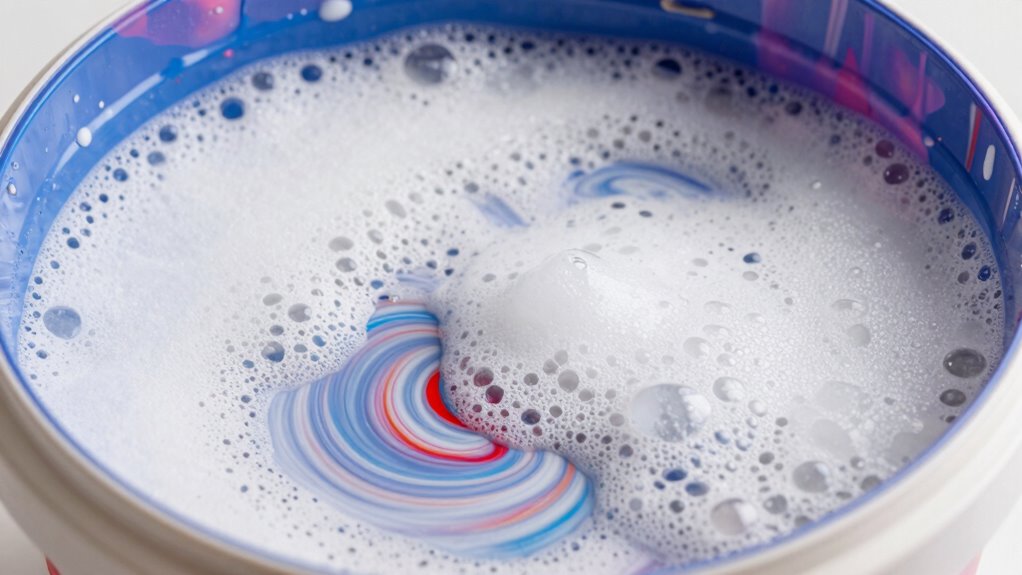
How Do I Fix Foam or Bubbles Already in My Paint Bucket?

If you notice foam or bubbles in your paint bucket, start by removing the surface bubbles with a brush or stirring stick. Then, use gentle, proper mixing techniques to prevent more foam from forming. Finally, let the paint sit for a few minutes to allow any remaining bubbles to settle before you begin painting again.
Remove Surface Bubbles
Have surface bubbles or foam already formed in your paint bucket? You can reduce them effectively by addressing surface tension and encouraging bubble collapse. Here’s how:
- Gently tap the side of the bucket to encourage bubbles to rise and burst on their own.
- Use a flat tool or paddle to lightly skim the surface, breaking up foam without creating more agitation.
- Allow the paint to sit undisturbed for a few minutes, letting surface tension cause bubbles to collapse naturally.
- If needed, gently stir the paint slowly to release trapped air, avoiding rapid mixing that reintroduces foam.
Use Proper Mixing Techniques
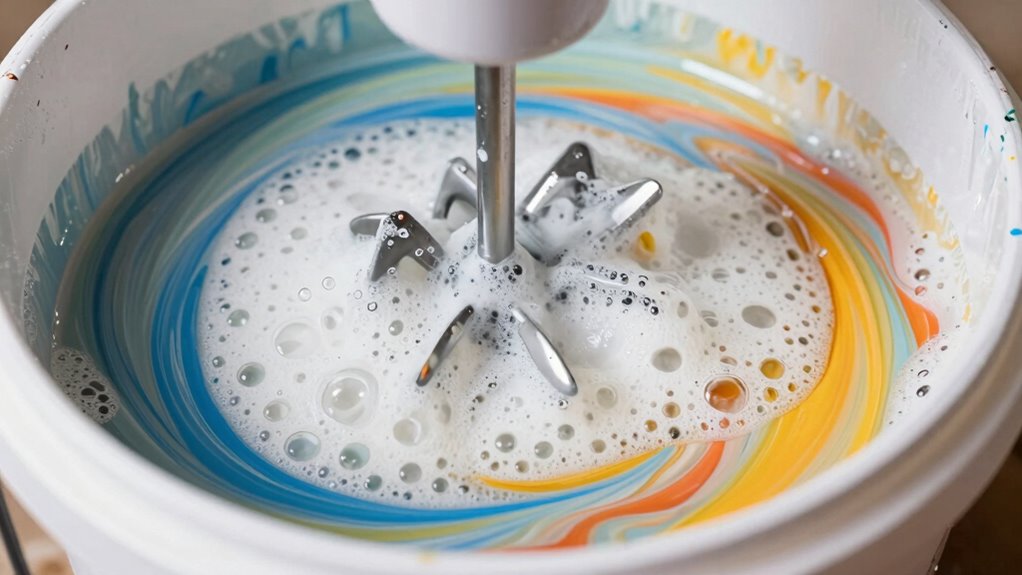
When bubbles or foam are already in your paint, using proper mixing techniques can help reduce or eliminate them effectively. Start by checking the paint consistency; if it’s too thick, thin it slightly with the recommended solvent to promote smoother mixing. Use gentle, steady stirring tools—preferably a paddle or a low-speed drill attachment—to avoid introducing more air. Stir slowly and evenly, working from the bottom up to incorporate air out of the mixture. Avoid vigorous agitation, which can create additional foam. As you mix, periodically pause to let bubbles rise and pop. This careful approach minimizes foam buildup, ensuring your paint reaches the right consistency for application without excess bubbles.
Allow Paint to Set
Allowing your paint to set can help reduce foam and bubbles that are already present. When the paint begins to dry, trapped air escapes, minimizing surface imperfections. To improve your results:
- Let the paint sit undisturbed for 10-15 minutes to allow foam to dissipate naturally.
- Avoid stirring or agitating the paint during this time to prevent reintroducing bubbles.
- Use proper surface preparation techniques before painting to reduce the chances of foam formation.
- Once the paint has settled, gently skim off any surface bubbles with a brush or roller before applying.
Patience during the drying process helps guarantee a smooth finish, reducing the appearance of foam and bubbles after painting.
What Signs Indicate That Your Paint Is Foaming Excessively?

Noticing excessive foaming in your paint can be confusing, but certain signs can help you identify the problem early. One key indicator is a persistent, bubbly surface that doesn’t settle down after mixing or stirring. You might also notice that the paint’s consistency feels unusually thick or frothy, which can affect how smoothly it applies. If you see these signs, it’s likely the foam is caused by improper mixing speed or incompatible paint additives. Excessive foaming can lead to longer drying times, as trapped air delays the paint’s ability to cure properly. Pay attention to how the paint behaves during preparation—if it’s overly bubbly or takes longer than usual to dry, you might be dealing with over-foaming.
Common Mistakes That Cause Excessive Paint Foaming (and How to Avoid Them)
One common mistake that leads to excessive paint foaming is mixing the paint too vigorously or at too high a speed. This creates air bubble formation, disrupting the paint’s consistency and increasing foaming. To avoid this, watch out for these mistakes:
- Using a high-speed drill or mixer, which agitates air into the paint.
- Stirring too quickly, causing air to become trapped and form bubbles.
- Overmixing beyond the point of proper blending, affecting paint consistency.
- Repeatedly opening and closing the container, introducing air that promotes foaming.
Tips for Safe and Effective Paint Stirring Techniques

To stir paint safely and effectively, it’s important to use the right techniques that prevent excess foaming and guarantee a smooth, consistent mixture. Start by gently mixing the paint with a slow, steady motion, avoiding vigorous stirring that introduces air. Incorporate paint additives carefully, as they can alter the mixing process and drying times. Use a paddle or stir stick designed for paint to ensure even distribution without splashing or creating bubbles. If the paint begins to foam, pause and let it settle before continuing. Proper stirring not only reduces foam but also helps maintain ideal drying times, preventing issues like uneven curing. Keep the lid on when not stirring to avoid unnecessary air incorporation and ensure safety.
When Should You Seek Professional Help for Persistent Foam Problems
Persistent foam in your paint can indicate underlying issues that simple stirring can’t resolve, making it necessary to seek professional advice. If foam persists despite adjusting mixing techniques, consider the following:
- When foam continues after adding paint additives designed to reduce air entrapment.
- If you’ve used improper container selection that traps air or promotes foam formation.
- When foam causes uneven application or affects the paint’s finish.
- If the foam appears to be caused by contaminated or old paint, which needs expert assessment.
Professionals can recommend suitable paint additives or advise on proper container choices to prevent future foaming. Don’t ignore persistent foam, as it might signal deeper problems requiring specialized solutions.
Frequently Asked Questions
Can Using a Drill Mixer Increase Paint Foaming?
Yes, using a drill mixer can increase foam formation if you mix too quickly or vigorously. A powerful drill mixer agitates the paint rapidly, trapping air and creating foam. To avoid this, mix at a slow or moderate speed, allowing the paint to blend smoothly without incorporating excess air. This helps prevent foam formation and guarantees a better, more even application of your paint.
Does Temperature Influence Foam Formation During Mixing?
Imagine you’re mixing paint on a hot day, and suddenly, the foam formation increases considerably. Higher temperatures cause the paint’s chemical properties to change, intensifying foam formation during mixing. Temperature effects play a vital role; warm conditions lead to more vigorous bubbling, while cooler temps reduce foam. To prevent excessive foaming, keep your paint at a moderate temperature, ideally around room temperature, ensuring smoother mixing and better application.
Are There Specific Additives to Reduce Paint Foaming?
Yes, you can use a paint additive specifically designed as a foam reducer to minimize foaming. These foam reducers work by controlling the surface tension of the paint, preventing excessive bubbles during mixing. When selecting a product, look for a dedicated foam reducer or anti-foam additive, and follow the manufacturer’s instructions for proper application. This approach helps guarantee a smoother, bubble-free paint that’s easier to apply and results in a better finish.
How Long Should I Stir Paint to Avoid Excessive Foam?
You should stir the paint for about 2-3 minutes to avoid excessive foam. Keep the mixing duration short enough to prevent air incorporation, which leads to foam. Use slow, steady movements for foam prevention, and avoid vigorous or prolonged stirring. If you notice foam forming, stop mixing immediately and let it settle before applying. Proper timing and gentle mixing help guarantee a smooth, foam-free paint for your project.
Is It Safe to Reuse Foam-Filled Paint for Future Projects?
You shouldn’t reuse foam-filled paint because it’s like playing paint roulette—you risk contamination and uneven color! Recycled paint can harbor bacteria, mold, or dried chunks, making it a recipe for disaster on your walls. Paint recycling might seem tempting, but contamination risks outweigh the savings. For a flawless finish, always start fresh; your project deserves the best, not a gamble with questionable reused paint.
Conclusion
Think of your paint as a delicate dance partner, responding best when you move with gentle grace. If you rush or stir too vigorously, you risk upsetting the balance, causing unnecessary foam. By understanding your paint’s rhythm and respecting its needs, you’ll keep the dance smooth and flawless. With patience and care, you’ll master the art of perfect mixing—turning a messy foam into a harmonious masterpiece.