
To use a paint sprayer as a beginner, start by selecting the right sprayer for your project, considering size and spray pattern. Prepare your workspace by covering surfaces and gathering protective gear. Mix and thin the paint as needed, then follow the manufacturer’s instructions for setup and safety. Practice on scrap material to master your technique before applying on the actual surface. Keep the sprayer-moving steadily for a smooth finish—stay tuned to discover more tips for professional results.
Key Takeaways
- Read and follow the manufacturer’s instructions for assembly, safety, and operation of the sprayer.
- Prepare the workspace by covering surfaces, removing obstacles, and wearing protective gear.
- Select the right paint and thin it according to instructions for smooth spraying and to prevent clogging.
- Test the sprayer on a scrap surface to adjust distance, pressure, and technique for even coverage.
- Keep a steady hand, overlapping strokes, and maintain consistent speed for a professional finish.
Selecting the Right Paint Sprayer for Your Project
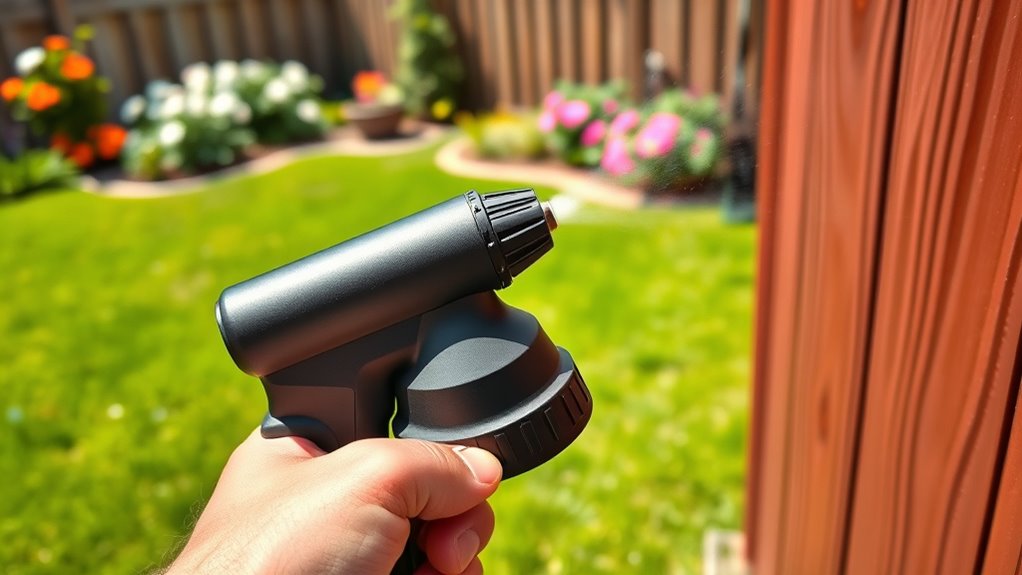
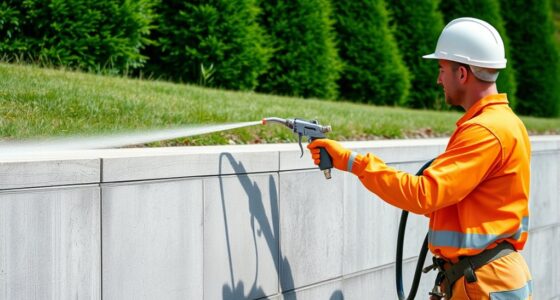
Choosing the right paint sprayer depends on your project’s size and type. To make an informed decision, start with a brush comparison to understand how different sprayers deliver paint. Consider the spray pattern; a wider pattern covers large surfaces quickly, ideal for walls and fences, while a narrower pattern offers more control for detailed work. If you’re tackling big projects, a high-volume, low-pressure (HVLP) sprayer provides smooth, even coverage with less overspray. For smaller or intricate tasks, a handheld or detail sprayer might be better. Think about the finish you want—some sprayers produce a fine mist, others a more substantial coat. Matching your project needs with the right sprayer guarantees efficient, professional results. Additionally, understanding color accuracy and how it affects your project’s outcome can help you select a sprayer that delivers consistent, true-to-color finishes. Knowing about resources and tools can also assist in choosing the most suitable equipment for your needs. For example, researching different types of sprayers can help you identify which model fits your specific requirements. Moreover, considering the performance tuning options available for certain sprayers can optimize their operation for different materials. Being aware of user reviews and ratings can further guide your decision by highlighting real-world performance insights.
Preparing Your Workspace and Materials
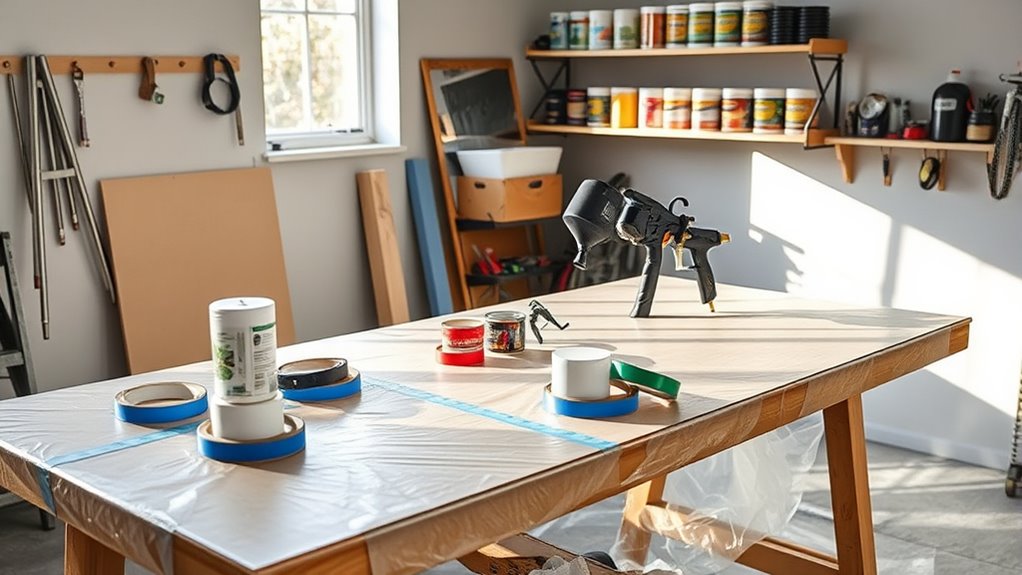
Before you start spraying, clear your workspace of any clutter and move furniture out of the way. Gather all necessary supplies, like paint, masks, and drop cloths, so everything is within reach. Make sure to protect surrounding surfaces with coverings to prevent overspray and keep your area clean. Additionally, considering essential oils for respiratory health can help improve air quality and reduce fumes during your project. Recognizing grocery savings strategies can also help you manage your project budget effectively by purchasing supplies in bulk or during sales. Incorporating space and organization tips such as creating designated zones can further streamline your workflow and ensure safety during the painting process. Monitoring expiration of spray paint can help ensure your materials work effectively and avoid waste. Being aware of vacuum cleaner performance metrics can also assist in maintaining your equipment so it functions properly throughout your project.
Clear Your Area
Clear your workspace thoroughly to guarantee a safe and efficient painting process. Remove any clutter, furniture, or obstacles that could interfere with your spraying. Cover nearby surfaces with drop cloths to protect them from overspray. If you’re storing paint, ensure cans are sealed tightly and placed out of the way. This prevents accidental spills and keeps your area organized. Gather your supplies beforehand, including the paint sprayer, masking tape, and protective gear. When selecting brushes for touch-ups or detail work, choose those suited for your specific paint type. Clearing the area minimizes accidents, keeps your workspace tidy, and allows you to focus on your project without distraction or delay. Proper preparation makes the entire painting process smoother and safer.
Gather Essential Supplies
With your workspace cleared and protected, it’s time to gather all the supplies you’ll need for your project. First, select your paint color carefully, considering the surface and desired finish. Next, gather your paint sprayer, along with its necessary accessories. Make sure to have the appropriate nozzles for spray pattern adjustment to achieve even coverage. Additionally, prepare protective gear like masks and goggles to stay safe. You’ll also need painter’s tape and drop cloths for any areas you want to keep paint-free. Finally, gather cleaning supplies for quick cleanup after finishing. Remember, organizing these supplies beforehand ensures a smooth process and helps you stay focused on your work without interruptions. Proper preparation keeps your project efficient and results professional. Additionally, inspecting your equipment for any potential issues before starting can prevent common failures during use, such as equipment breakdowns or inconsistent spray patterns. Conducting a brief equipment inspection can help identify worn or damaged parts that may affect your project’s outcome.
Protect Surroundings
To protect your surroundings effectively, start by covering nearby floors, furniture, and fixtures with drop cloths or plastic sheeting. This helps maintain environmental safety by preventing paint splatters from settling on unintended surfaces. Securing the area reduces cleanup time and minimizes waste. Additionally, consider sealing vents or opening windows to improve ventilation and reduce airborne particles. Using plastic sheathing over windows and vents also contributes to noise reduction, keeping the workspace quieter for you and neighbors. Clear the area of any unnecessary items to prevent accidents or damage. Properly safeguarding your environment ensures a safer, cleaner workspace, making the painting process smoother and more efficient. Taking these steps demonstrates responsibility while maintaining a professional finish. Awareness of wicking materials for planters can also inspire environmentally conscious choices when setting up your workspace. Incorporating eco-friendly sustainable materials into your preparations can further reduce environmental impact and promote green practices during your project. Considering the use of electric tools, such as electric sprayers, can also improve efficiency and reduce emissions during your painting tasks. Using proper storage for leftover paints and materials can prevent spills and environmental contamination.
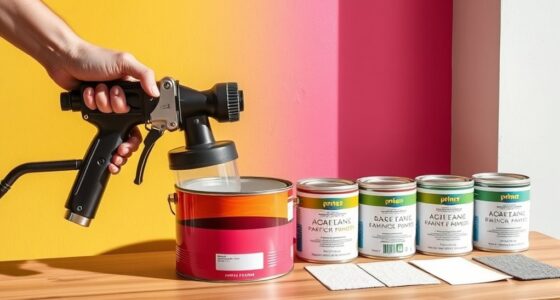
Choosing the Appropriate Paint and Thinning if Necessary

Are you choosing the right paint for your sprayer? Picking the correct paint type is essential for a smooth finish and efficient spraying. Check the paint’s thinning requirements—some paints need to be diluted to flow properly. Here are key tips:
- Use latex or oil-based paints suitable for sprayers
- Avoid thick paints that can clog the nozzle
- Follow manufacturer instructions for thinning if necessary
- Test the consistency with a runny, pourable texture
- Ensure your paint is compatible with your sprayer to prevent damage paint compatibility
- Be aware of technological influences on paint formulations to ensure optimal results technology impact
Adjusting your paint’s viscosity ensures even spraying and prevents clogging or splattering. Always read the label for paint types compatible with your sprayer. Properly thinned paint not only improves application but also reduces waste and cleanup time.
Setting Up Your Paint Sprayer Safely and Correctly
Before you start, gather all the necessary equipment and protective gear. Make sure your workspace is prepared and protected from overspray. Always follow the manufacturer’s instructions to set up your paint sprayer safely and correctly. Additionally, familiarize yourself with adjusting pressure to ensure optimal spray quality and control during operation. Properly setting the spray pattern helps achieve an even coat and minimizes waste. Regular maintenance, such as cleaning filters and nozzles, also contributes to consistent performance and optimal results. Remember that using the correct oil for airless sprayers can significantly improve your equipment’s longevity and performance. Understanding proper cleaning techniques can extend the lifespan of your equipment and maintain its efficiency.
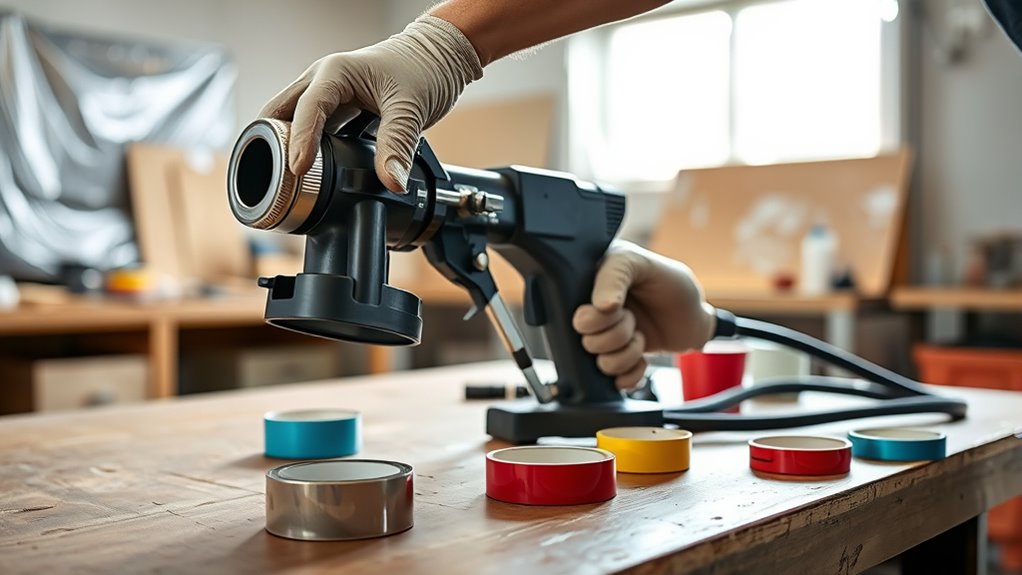
Gather Necessary Equipment
Gathering all the necessary equipment before you start guarantees a smooth painting process and reduces the risk of accidents. Ensure you have everything needed for safe and effective use. This includes your paint sprayer, protective gear, cleaning supplies, and extra nozzles. To make the most of your project, also consider your brush techniques and paint color selection, which will influence your workflow.
Remember to gather:
- Protective gear (mask, goggles, gloves)
- Paint and appropriate additives
- Spare parts and nozzles
- Drop cloths and masking tape
Having everything ready helps you focus on your technique and achieve an even, professional finish. Proper preparation minimizes interruptions and ensures you can work efficiently from start to finish.
Prepare and Protect Area
Have you prepared your workspace properly? Before you start, guarantee the area is well-ventilated and free of debris. Surface preparation is key—clean, sand, and repair any imperfections on the surface to achieve a smooth finish. Protect surrounding areas by covering furniture, floors, and nearby objects with drop cloths or plastic sheeting. Safety precautions are essential; wear protective gear like goggles, masks, and gloves to shield yourself from paint fumes and overspray. Remove or cover electrical outlets and switches to prevent accidents. Clear the area of pets and children to avoid exposure. Taking these steps not only ensures your safety but also helps you achieve a professional-looking paint job with fewer setbacks. Proper setup makes the entire process smoother and more efficient.
Follow Manufacturer Instructions
To set up your paint sprayer safely and correctly, always start by thoroughly reading the manufacturer’s instructions. These guidelines provide essential safety precautions and proper setup steps to prevent accidents or damage. Follow the manufacturer guidelines closely to ensure your sprayer operates efficiently.
Pay attention to:
- Recommended pressure settings
- Proper cleaning and maintenance procedures
- Correct assembly and disassembly steps
- Safety precautions specific to your model
Adhering to these instructions minimizes risks, such as leaks or spray malfunctions, and prolongs your equipment’s lifespan. ignoring manufacturer guidelines can lead to safety hazards or subpar results. Always prioritize following the manufacturer’s instructions for a safe, effective painting experience.
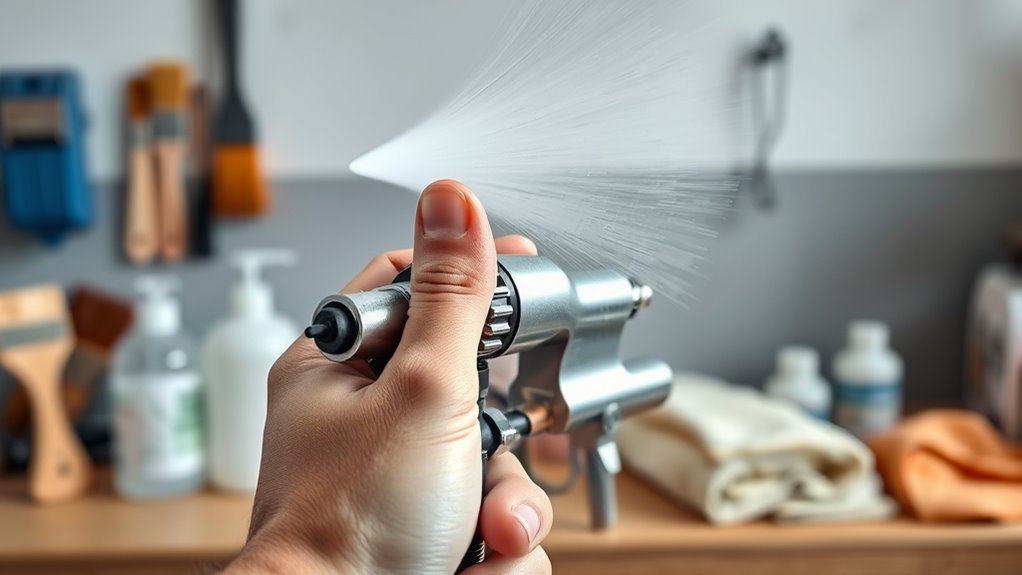
Practicing Techniques on a Test Surface
Practicing techniques on a test surface allows you to familiarize yourself with the spray pattern and control before working on your actual project. This step helps you adjust your distance, speed, and spray angle to achieve even coverage. Focus on maintaining a consistent paint consistency; too thick or thin paint can cause uneven results. Use a scrap board or cardboard and spray in smooth, steady strokes. Pay attention to the spray pattern to ensure it’s even and uniform. Practice overlapping slightly with each pass to avoid streaks. Here’s a quick guide:
| Technique | What to Focus On | Tips |
|---|---|---|
| Spray pattern | Consistency and shape | Keep the nozzle steady |
| Paint consistency | Thickness for even coverage | Thin if necessary, avoid clumps |
| Stroke control | Speed and overlap | Maintain steady hand |
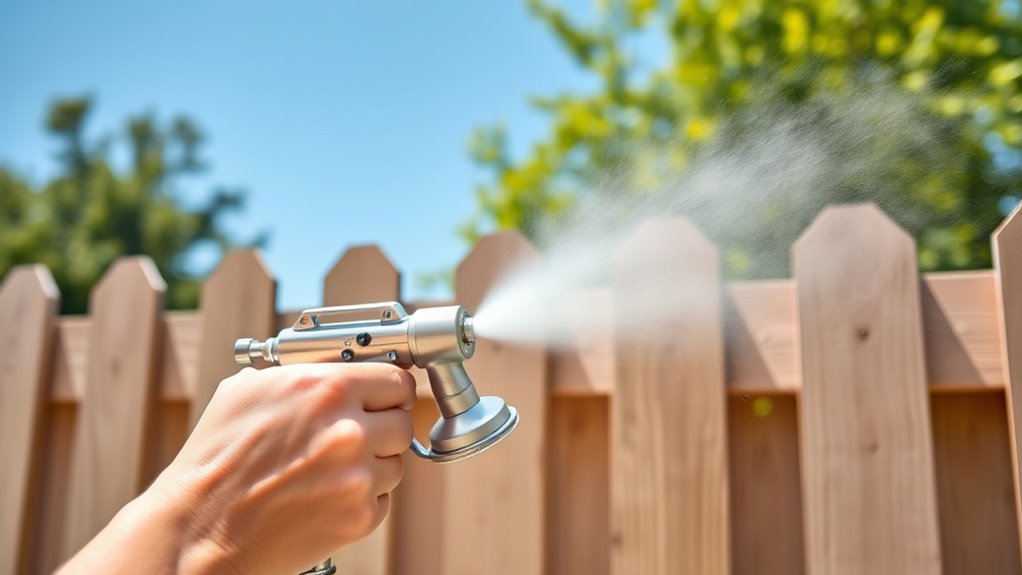
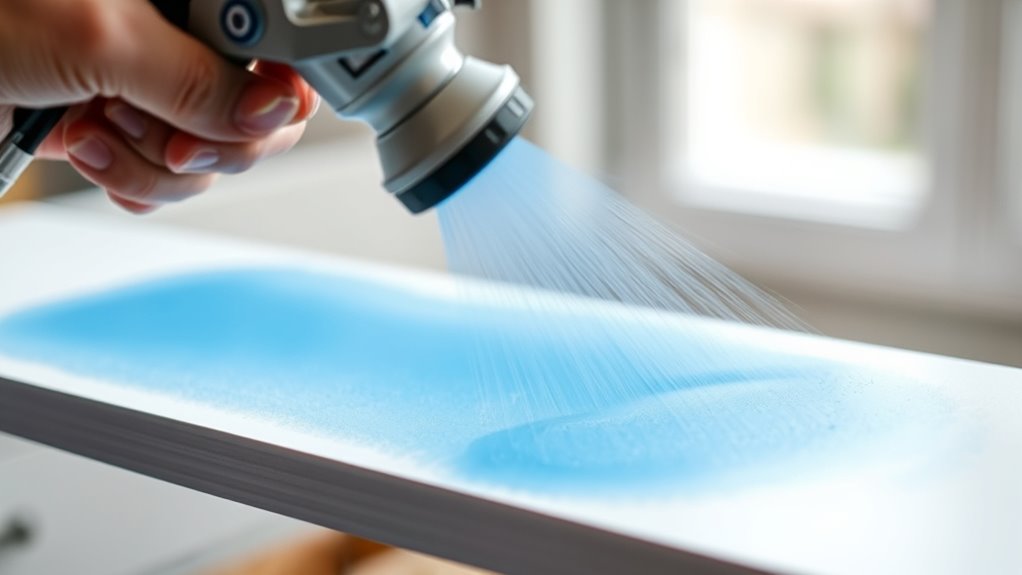
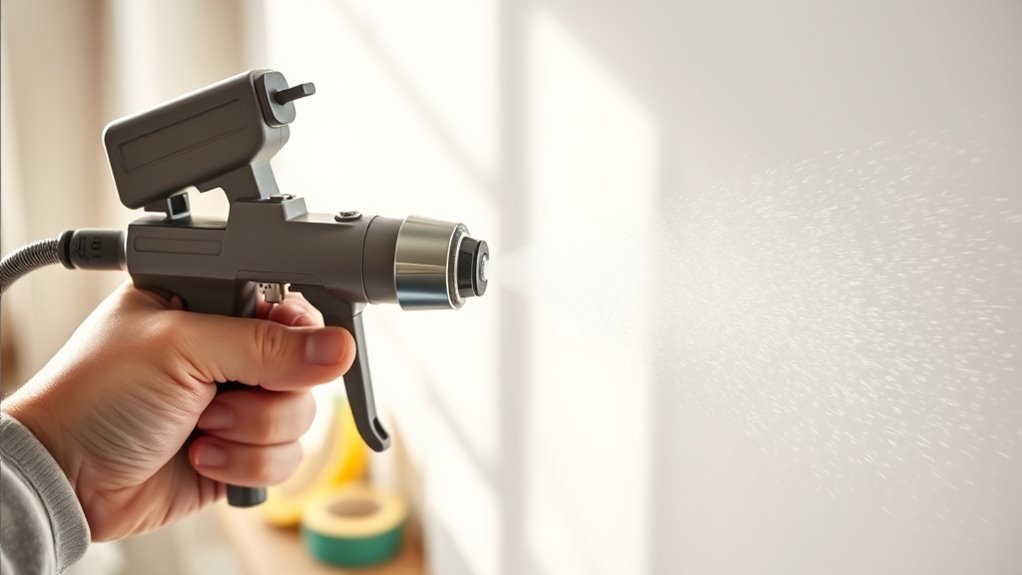
Applying Paint With the Sprayer for a Smooth Finish

Achieving a smooth finish with your paint sprayer requires careful technique and attention to detail. To do this, maintain consistent paint consistency by stirring the paint regularly and diluting it if needed. Keep your spray gun at a steady distance from the surface, typically 12-18 inches, moving evenly across the area. Use smooth, overlapping strokes to avoid streaks or uneven coverage. Focus on proper brush techniques to touch up edges or corners if necessary, but rely primarily on the sprayer for large areas. Remember these key points:
- Maintain a steady hand and consistent speed
- Keep the spray distance uniform
- Regularly check paint flow and consistency
- Use overlapping passes for even coverage
This approach ensures a professional-looking, smooth finish.
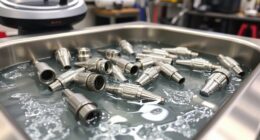
Cleaning and Maintaining Your Paint Sprayer
After finishing your painting project, cleaning your paint sprayer promptly is essential to keep it functioning properly and extend its lifespan. Start by disassembling the nozzle and inspecting it for clogs or paint buildup. Regular nozzle maintenance ensures consistent spray patterns and prevents uneven coverage. Next, flush the system with the appropriate cleaning solution, following manufacturer instructions. This step helps remove residual paint and prevents clogs that could affect paint sprayer calibration. Be sure to clean all filters and replace worn parts as needed. Proper maintenance also involves lubricating moving parts if recommended. Taking these steps ensures your sprayer remains in top condition, delivers excellent results, and lasts longer. Regular cleaning and nozzle maintenance are key to hassle-free operation.
Tips for Achieving Professional Results and Avoiding Common Mistakes
To get professional results with your paint sprayer, focus on proper technique and preparation. Achieving even coverage requires steady hand movements, consistent speed, and maintaining the right distance from the surface. Be mindful of common spraying mistakes like applying too much paint at once or stopping mid-spray, which can cause drips or uneven patches. To avoid these issues, keep these tips in mind:
- Maintain a uniform distance from the surface
- Keep your spray pattern consistent
- Use smooth, overlapping strokes
- Practice on scrap before your project
Frequently Asked Questions
How Do I Troubleshoot Uneven Paint Coverage With My Sprayer?
To troubleshoot uneven paint coverage, start by checking for sprayer clogging, which can cause inconsistent spray and uneven coats. Clean your sprayer thoroughly, ensuring no paint buildup blocks the nozzle. Adjust your spray pattern and pressure to achieve a uniform application. Test on a scrap surface, and maintain a steady hand and consistent distance from the surface. These steps help prevent clogging and smooth out uneven spray, delivering better results.
Can I Use a Paint Sprayer for Staining or Sealing Projects?
Yes, you can use a paint sprayer for staining or sealing projects. Just adjust your sprayer’s settings and follow proper staining techniques and sealing methods for a smooth, even finish. Make sure to choose the right stain or sealer for your surface, and practice on a small area first. This approach guarantees you achieve professional-looking results without drips or uneven coverage.
How Long Does It Take for Paint to Dry After Spraying?
The drying time for paint after spraying depends on the type of paint you use, but typically, it takes about 1 to 4 hours for it to be touch dry. Keep in mind that full paint curing can take up to 21 days, depending on conditions like humidity and temperature. To guarantee the best results, avoid heavy use or washing the surface until the paint is completely cured.
What Safety Gear Should I Wear When Operating a Paint Sprayer?
Imagine stepping into a painter’s armor, ready to conquer your project. You should wear protective clothing to shield your skin from splatters and respiratory protection to prevent inhaling fumes. Safety gear acts like a shield, ensuring you stay safe while you transform your space. Always don gloves, goggles, and a mask or respirator before starting. This way, you protect yourself and paint confidently, knowing you’re covered.
Are There Specific Paint Brands Best Suited for Sprayers?
You should look for paint brands that offer compatibility with your sprayer, ensuring smooth application and minimal clogging. Many brands provide sprayer-specific formulations designed for ideal flow and adhesion, so check the label for compatibility notes. Using recommended paint brands helps prevent damage and guarantees a professional finish. Always follow the manufacturer’s guidelines for best results, and consider testing a small area first to confirm compatibility.
Conclusion
With patience and attention to detail, you’ll find that mastering your paint sprayer becomes a rewarding journey. Embrace each project as an opportunity to refine your technique, and remember that even the most skilled artists began with small, deliberate strokes. By caring for your tools and trusting your growing expertise, you’ll create beautifully smooth finishes that subtly elevate any space. Ultimately, your dedication transforms simple painting into a true expression of craftsmanship.

Franz came aboard the Paint Sprayer Zone team with a background in both journalism and home renovation. His articulate writing style, combined with a passion for DIY projects, makes him an invaluable asset. Franz has a knack for breaking down technical jargon into easy-to-understand content, ensuring that even the most novice of readers can grasp the complexities of paint sprayers.