
To clean your paint sprayer after use, start by preparing your workspace and gathering supplies like gloves, brushes, and solvents. Empty and rinse the paint reservoir thoroughly. Then, flush the pump and hoses with the appropriate solvent or water to clear out any residual paint. Disassemble the spray gun and nozzle, cleaning each part carefully with solvent and a brush. Finally, perform a final rinse and check for clogs or residue; mastering these steps helps keep your sprayer in top shape.
Key Takeaways
- Empty residual paint from the reservoir and rinse with warm water or appropriate solvent.
- Disassemble the spray gun and nozzle, then clean all parts with compatible solvent.
- Flush hoses and pump with solvent or water to remove leftover paint and debris.
- Use brushes or needles to clear blockages and ensure unobstructed spray patterns.
- Thoroughly dry and store equipment in a clean, dry place to prevent future clogs.
Prepare Your Workspace and Gather Supplies
Before you start cleaning your paint sprayer, it is essential to prepare your workspace and gather all the necessary supplies. Begin by setting up your work surface in a well-ventilated area, preferably protected with drop cloths or newspapers to catch drips. Make sure your workspace is organized, with tools and cleaning materials within easy reach. Next, prepare your safety equipment, including gloves, goggles, and a mask, to protect against paint fumes and splashes. Having everything ready beforehand prevents interruptions during cleaning and guarantees safety. Double-check that you have brushes, cleaning solvents, rags, and a container for rinsing. Proper work surface setup and safety equipment preparation create an efficient, safe environment, making the cleaning process smoother and more effective. Additionally, understanding the popular juice brands can help you choose the most appropriate cleaning method for your equipment. To maintain your sprayer’s performance, it’s also helpful to know about industrial juice manufacturing process and how thorough cleaning can prevent clogging or damage. Moreover, being aware of appliance maintenance plans can ensure your cleaning tools stay in optimal condition and extend their lifespan.
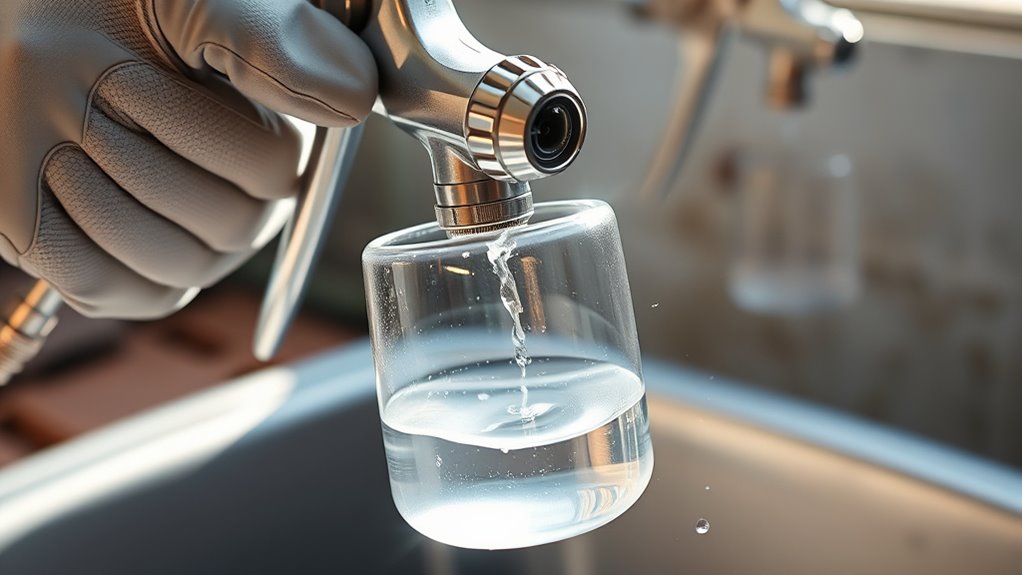
Empty and Rinse the Paint Reservoir

To effectively clean your paint sprayer, start by emptying the paint reservoir completely. Remove any remaining residual paint, making certain no clumps are left behind. Once emptied, carefully rinse the paint reservoir with warm water or the appropriate cleaning solution, depending on the type of paint used. Swirl the liquid inside to loosen any stubborn paint residues and debris. Use a brush or cloth to wipe down the interior if needed, making sure to reach all corners. This step helps prevent buildup and prepares the reservoir for a thorough cleaning later. Be sure to drain all the rinse water completely before moving on. Properly emptying and rinsing the paint reservoir is essential to avoid clogs and guarantee your sprayer stays in top condition. Recognizing the importance of preventing clogs can save you time and maintenance effort in the long run. Additionally, understanding local laws about disposal can help you dispose of leftover paint and cleaning solutions responsibly, avoiding environmental harm. For optimal results, consider using a bike generator to power cleaning tools or lights during the process.
Flush the Pump and Hoses
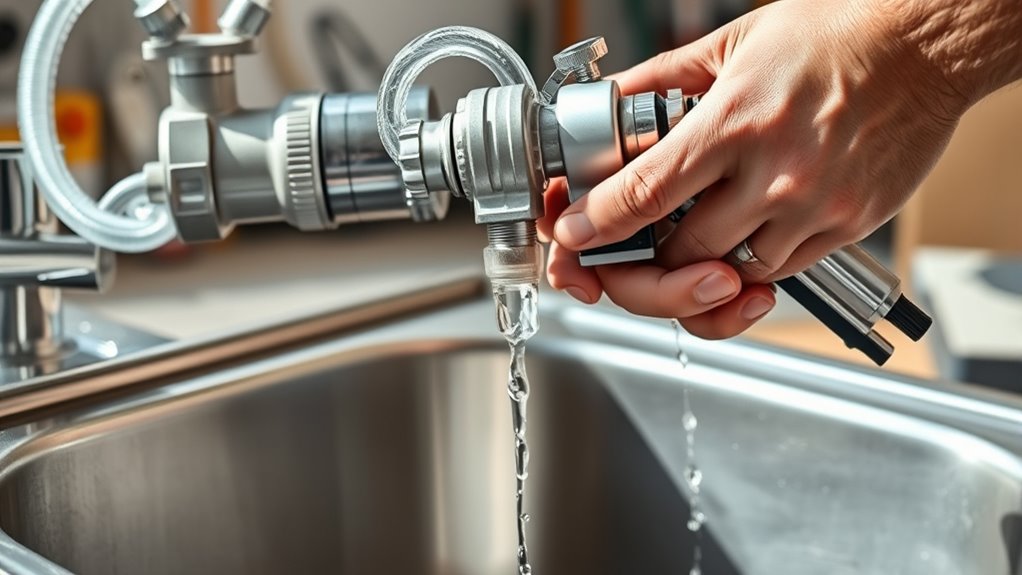
To guarantee your sprayer is thoroughly cleaned, you need to flush the pump and hoses to clear out any residual paint. Use the appropriate solvent based on the type of paint you’ve used to effectively remove leftover material. This step helps prevent clogs and keeps your equipment in top shape for future projects. Ensuring proper cleaning can also extend the lifespan of your sprayer by maintaining its performance and durability. Regular maintenance, including flushing after each use, is essential to avoid clogged nozzles and ensure consistent spray quality. Incorporating best cleaning practices can further enhance your equipment’s longevity and efficiency. Additionally, always follow the manufacturer’s maintenance guidelines to ensure safe and effective cleaning procedures. For optimal results, consider using specialized cleaning tools designed for paint sprayers to reach all internal components thoroughly.
Clear Residual Paint
Start by flushing out any remaining paint from the pump and hoses to prevent clogs and guarantee a thorough clean. Residual paint can harden and cause issues during future use, so it’s crucial to remove it completely. Use your cleaning techniques to run water or the appropriate solvent through the system, ensuring all traces of paint are cleared. Pay close attention to tight bends and fittings where residual paint can hide. Keep the pump and hoses moving to push out stubborn spots. Once the water runs clear and no more paint appears, you can be confident that the residual paint has been effectively cleared. Properly flushing the system prevents buildup and makes the next painting session much smoother. Regular maintenance and proper cleaning techniques are essential for optimal paint flow and equipment longevity, helping to maintain consistent spray quality over time. Additionally, understanding automation in business can help streamline your cleaning process with modern tools and protocols. Incorporating professional mechanic shop techniques for fuel injection cleaning can also provide insights into specialized cleaning methods for complex equipment.
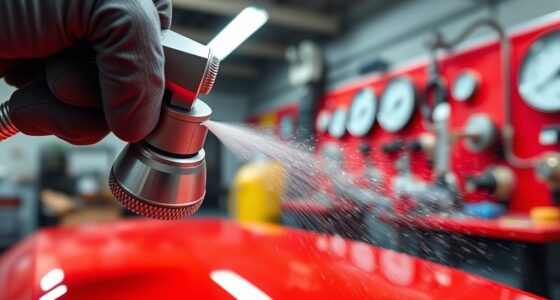
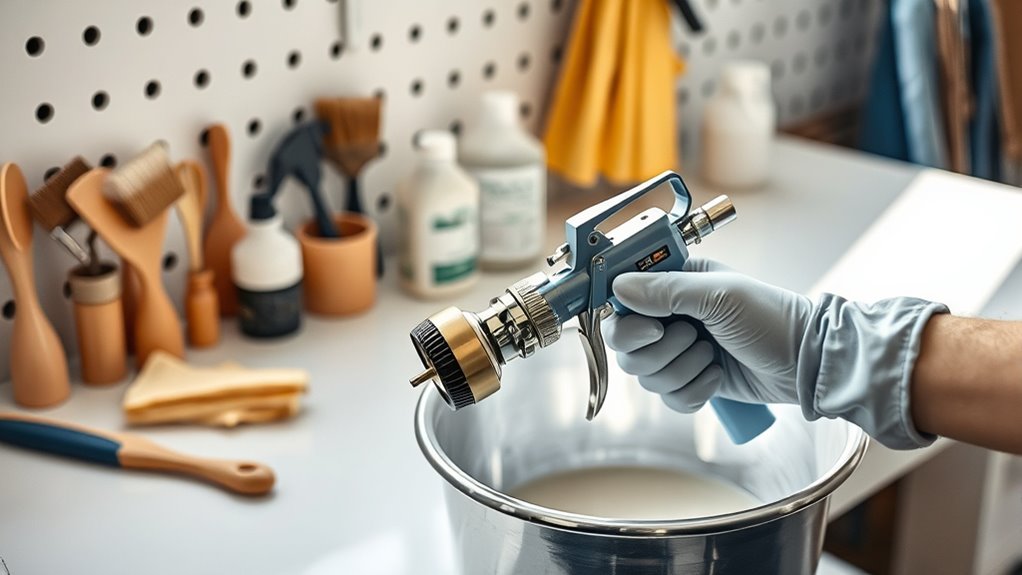
Use Appropriate Solvent
After flushing out residual paint with water, it’s time to use an appropriate solvent to thoroughly clean the pump and hoses. Select a paint remover compatible with your sprayer and the type of paint you used. Check the manufacturer’s guidelines for solvent compatibility to avoid damage. Pour the solvent into the paint container or directly into the pump and hoses, then run the sprayer briefly to circulate it through the system. This process dissolves any remaining paint and prevents clogs. Be sure to wear gloves and work in a well-ventilated area. Additionally, incorporating remote hackathons can be a great way for teams to collaborate on developing or testing new cleaning techniques virtually. Understanding paint chemistry can help you select the most effective solvent for your specific project. Using the right cleaning techniques ensures a thorough clean and prolongs the lifespan of your equipment.
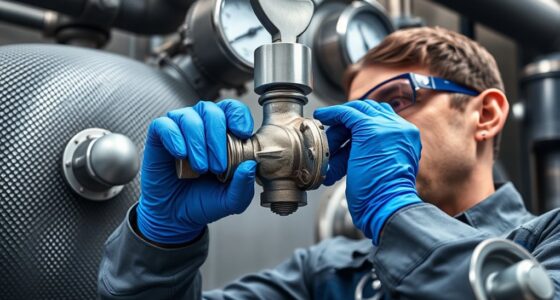
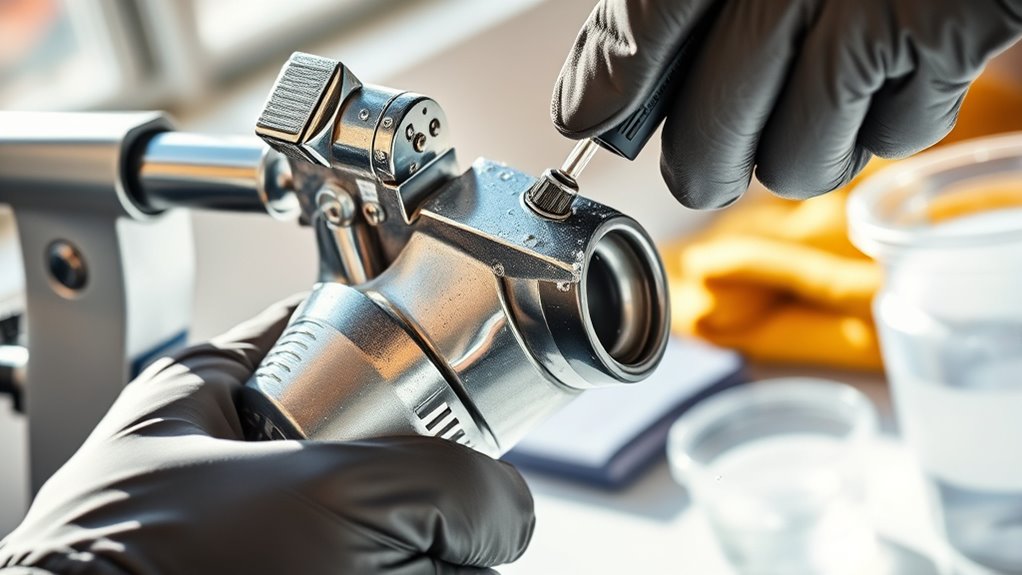
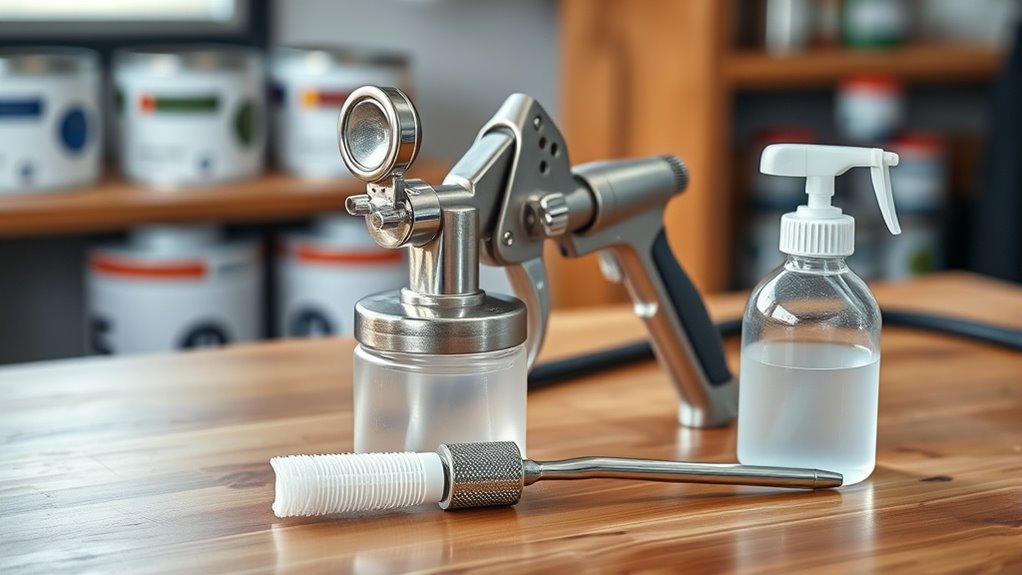
Clean the Spray Gun and Nozzle
Start by disassembling the spray components to access the nozzle and other parts. Rinse everything thoroughly with solvent to remove paint residue. Be sure to clean the nozzle carefully to prevent clogs and guarantee smooth operation. Additionally, inspecting the nozzle connection for wear or damage can help maintain optimal spray performance. Regular maintenance, including cleaning the spray gun parts, can extend the lifespan of your equipment and ensure consistent results. Remember to check the filters and hoses regularly for debris or damage to keep the sprayer functioning properly. Incorporating advanced cleaning techniques can further improve the effectiveness of your maintenance routine.
Disassemble Spray Components
Disassembling the spray components is a crucial step in thoroughly cleaning your paint sprayer. Start by carefully disassembling components like the spray gun and nozzle, making sure to keep track of all parts. As you disassemble, inspect seals for damage or wear, replacing them if necessary to prevent leaks during future use. Removing the nozzle and other removable parts allows you to access hard-to-reach areas that can trap paint residue. Take your time to handle each piece gently, avoiding damage. Proper disassembly ensures that you can clean every part thoroughly, preventing clogs and buildup. Once disassembled, you’ll be ready to move on to cleaning each component effectively, ensuring your sprayer remains in top condition for the next project.
Rinse With Solvent
Once you’ve disassembled the spray components, it’s time to rinse them with solvent to remove leftover paint and residue. Use a suitable paint solvent for your paint type, guaranteeing thorough cleaning of the spray gun and nozzle. Submerge or spray the solvent through the parts to loosen dried paint. For a more effective clean, also soak your cleaning brushes in solvent, then scrub any stubborn spots.
| Item | Purpose |
|---|---|
| Paint solvent | Dissolves dried paint and residue |
| Cleaning brushes | Scrubs remaining paint from components |
Be sure to handle the solvent in a well-ventilated area and wear gloves. Proper rinsing prevents clogs and ensures your sprayer stays in top condition.
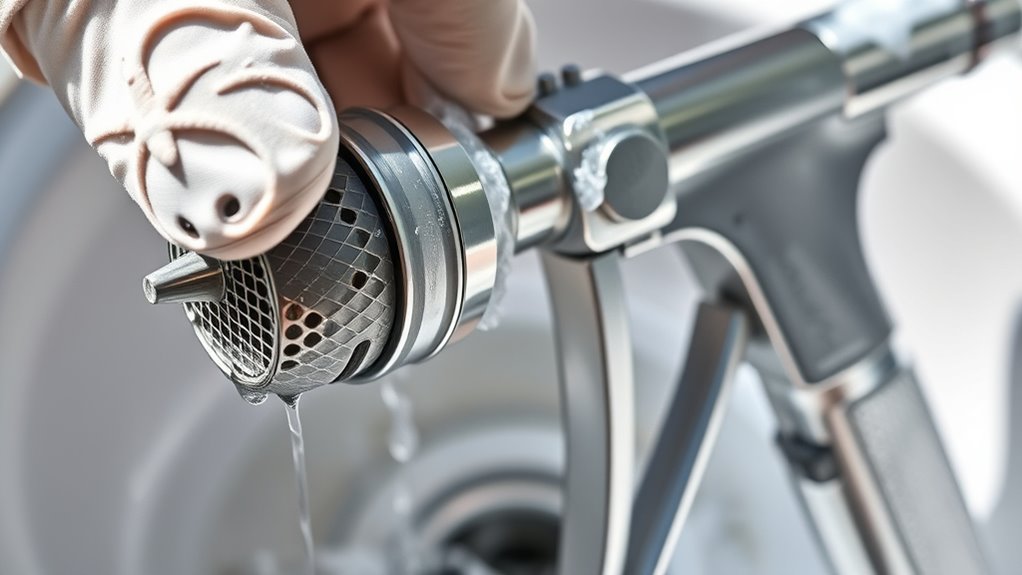
Clean Nozzle Thoroughly
To make certain your paint sprayer functions smoothly, it’s essential to clean the nozzle thoroughly. A clogged nozzle can cause uneven spray patterns and nozzle clogging, impacting your finish.
Here are the steps to ensure a thorough clean:
- Remove the nozzle and soak it in solvent to loosen any dried paint.
- Use a small brush or needle to clear out any debris or blockages.
- Rinse the nozzle with water or solvent, checking that the spray pattern is even and unobstructed.
Perform a Final Rinse and Check for Residue
Have you finished rinsing the paint sprayer’s internal components? Now, it’s time for a final inspection to ensure thorough residue removal. Carefully examine all parts, including the nozzle, fluid passages, and filters, for any remaining paint or debris. Run clean water through the system and look for any signs of leftover residue. If you spot any stubborn spots, scrub gently or repeat the rinse process. Confirm that no paint or clogs remain, as residues can affect future performance. This final rinse helps prevent blockages and keeps your sprayer in top shape. Once you’re satisfied that all residue has been removed, your sprayer is ready for storage or next use. A meticulous final check guarantees a clean, well-maintained tool.
Store Your Paint Sprayer Properly
Proper storage is essential to keep your paint sprayer in good condition and ready for future projects. Using the right storage techniques guarantees your equipment stays functional and prolongs its lifespan. To do this effectively, consider these steps:
- Clean thoroughly before storing to prevent paint residue from hardening.
- Drain all fluids to prevent corrosion and clogs.
- Store in a dry, cool place away from direct sunlight, ensuring it’s upright or on a stable surface.
Good equipment maintenance during storage helps avoid damage and keeps your sprayer ready when you need it. Proper storage techniques also prevent rust and deterioration, making your next project smoother and more efficient. Remember, consistent care extends your equipment’s life and saves you money in the long run.
Frequently Asked Questions
How Often Should I Clean My Paint Sprayer?
You should clean your paint sprayer after every use to guarantee peak performance and prevent clogs. Regular cleaning is crucial for proper equipment maintenance and keeps paint from drying inside the system. If you’re storing your sprayer for a while, cleaning it thoroughly first helps protect your investment. Frequent cleaning also ensures smooth operation, extending the life of your equipment and maintaining quality in your paint storage and projects.
Can I Use Water to Clean Oil-Based Paint Sprayers?
Did you know that improper cleaning can clog your sprayer, causing up to 30% of performance issues? For oil-based paint sprayers, water isn’t effective for cleanup. Instead, you need solvent alternatives like mineral spirits or paint thinner. Using water-based cleanup on oil paints won’t work and could damage your equipment. Always follow manufacturer guidelines and use the right solvents to guarantee your sprayer stays in top shape.
What Safety Precautions Should I Take During Cleaning?
When cleaning your paint sprayer, you should always wear protective gear like gloves and goggles to prevent skin and eye contact with chemicals. Guarantee proper ventilation in your workspace to avoid inhaling fumes, especially when using solvents. Keep the area well-ventilated, and follow safety instructions on cleaning products. Taking these precautions protects you from potential hazards and makes the cleaning process safer and more effective.
How Do I Prevent Clogging in the Nozzle?
Think of your nozzle like a delicate straw—you want it clear and smooth. To prevent clogging, practice regular nozzle maintenance and keep up with cleaning frequency, especially after each use. Always flush the nozzle with the appropriate solvent or water, depending on your paint type. This prevents paint buildup, ensuring consistent spray flow and avoiding blockages. Staying proactive with maintenance saves you time and hassle during your next project.
Is It Necessary to Lubricate Parts After Cleaning?
Lubrication maintenance is essential after cleaning your paint sprayer to keep its parts functioning smoothly. You should apply a light coat of lubricant to moving parts to prevent rust and wear. This step helps avoid part replacement considerations down the line. Neglecting lubrication can lead to sticking or damage, so make it a regular part of your cleaning routine to extend your sprayer’s lifespan and guarantee ideal performance.
Conclusion
Now you’re all set to keep your paint sprayer in top shape. Just remember, neglecting cleaning could turn your trusty tool into a rusted relic faster than you can say “oops.” Regular maintenance not only prolongs its life but also guarantees a flawless finish every time. So, take a few minutes to clean it thoroughly—your future projects will thank you, and your sprayer will perform like it’s brand new for years to come!

Franz came aboard the Paint Sprayer Zone team with a background in both journalism and home renovation. His articulate writing style, combined with a passion for DIY projects, makes him an invaluable asset. Franz has a knack for breaking down technical jargon into easy-to-understand content, ensuring that even the most novice of readers can grasp the complexities of paint sprayers.