I have the ideal method for regulating the pressure on your airless paint sprayer. In this article, I will walk you through each step of the process, making sure you have all the necessary information to complete the task correctly.
We’ll start by understanding the pressure control knob and identifying the ideal pressure range. Then, I’ll walk you through the simple steps to adjust the pressure on your sprayer, along with some expert tips for fine-tuning the settings.
Plus, I’ll cover troubleshooting common pressure issues.
Let’s dive in and master the art of pressure control!
Key Takeaways
- The pressure control knob regulates the pressure applied to the paint during spraying.
- Different paint materials may require different pressure settings.
- Finding the ideal pressure range is crucial for a successful paint job.
- Experimentation is necessary to find the sweet spot where the paint sprays evenly.
Understanding the Pressure Control Knob
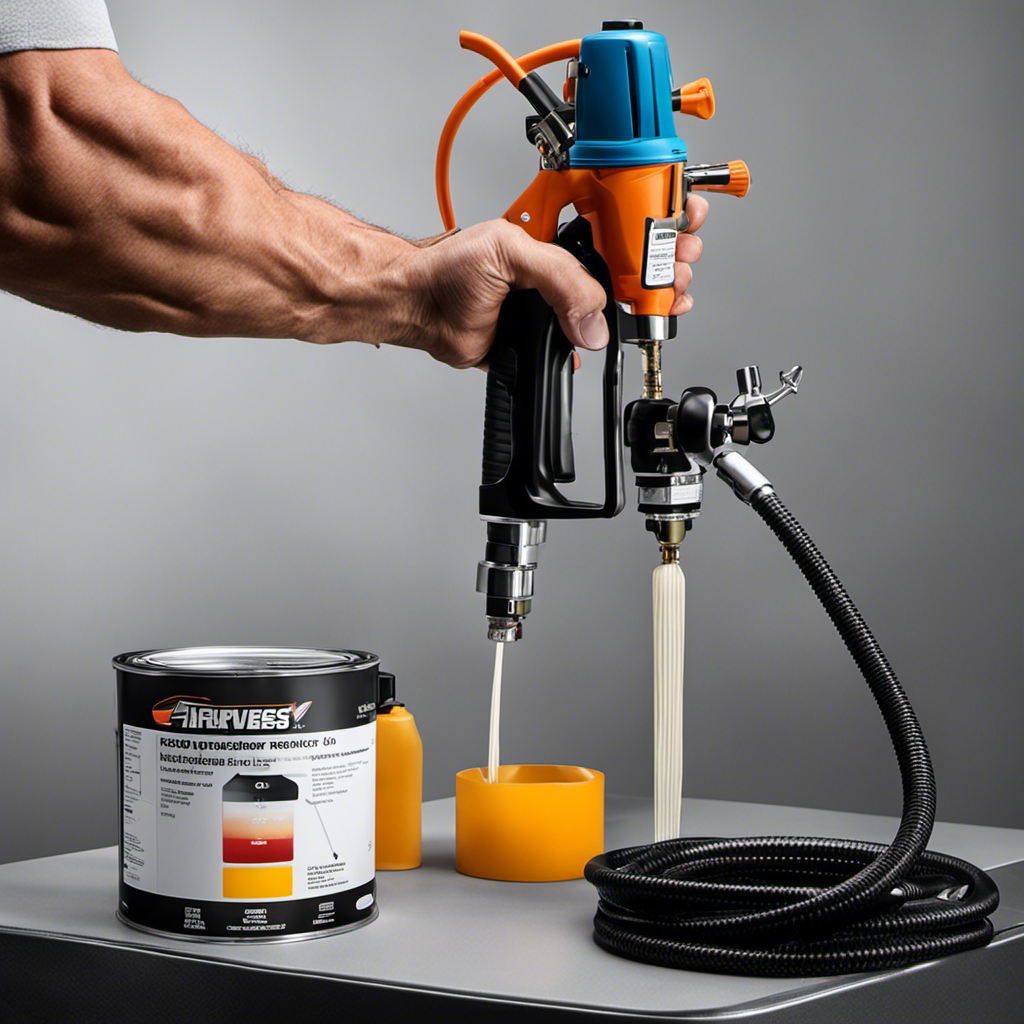
To adjust the pressure on your airless paint sprayer, you’ll need to understand how the pressure control knob works. This knob allows you to regulate the amount of pressure that is applied to the paint as it is being sprayed.
To determine the pressure, you can use a pressure gauge, which will give you an accurate reading. It is important to note that different paint materials may require different pressure settings, so it is crucial to consult the manufacturer’s guidelines.
Common pressure control problems include insufficient pressure, resulting in poor coverage, or excessive pressure, leading to paint splatters. By understanding how the pressure control knob works and using the appropriate pressure gauge, you can ensure that your airless paint sprayer operates at the optimal pressure for a flawless finish.
Now, let’s move on to identifying the ideal pressure range for your specific paint job.
Identifying the Ideal Pressure Range
Make sure you find the ideal range of pressure for your airless paint sprayer. It is crucial to understand the signs of excessive pressure and the importance of maintaining consistent pressure throughout your painting project.
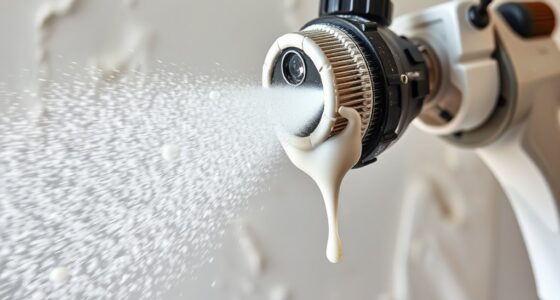
When the pressure is too high, you may notice an uneven spray pattern, paint overspray, or even paint bouncing back off the surface. On the other hand, if the pressure is too low, the paint may not atomize properly, resulting in a poor finish.
It is essential to experiment and find the sweet spot where the paint sprays evenly and smoothly. Adjusting the pressure on an airless paint sprayer can be done by following a few simple steps, ensuring you achieve the best results for your painting needs.
Steps to Adjust Pressure on an Airless Paint Sprayer
When adjusting the pressure on an airless paint sprayer, you’ll want to start by identifying the ideal pressure range. This range can vary depending on factors such as the type of paint being used and the surface you are painting.
Here are three key steps to follow when adjusting the pressure on your airless sprayer:
-
Begin by setting the pressure at the lower end of the recommended range. This allows for more control and prevents overspray.
-
Test the spray pattern and adjust the pressure accordingly. If the pattern is uneven or there is excessive overspray, increase the pressure slightly.
-
Continuously monitor the pressure while painting. If you notice any issues, such as clogging or inconsistent coverage, make adjustments as needed.
By following these steps, you can ensure that your airless sprayer is properly adjusted for the best results.
Now, let’s move on to some tips for fine-tuning pressure settings without compromising the quality of your paint job.
Tips for Fine-tuning Pressure Settings
If you want to achieve optimal results, keep in mind these helpful tips for fine-tuning pressure settings on your sprayer.
Optimizing paint flow and achieving smooth finishes require precise control over the pressure applied by your airless paint sprayer.
Firstly, ensure that your paint is properly mixed and strained to prevent clogs.
Next, start with a low pressure setting and gradually increase it until you achieve the desired spray pattern and coverage.
Monitor the flow and adjust the pressure accordingly if you experience any inconsistencies.
Remember to test the spray on a scrap surface before starting your project to ensure the settings are correct.
By following these tips, you can achieve professional-grade results with your airless paint sprayer.
Now, let’s move on to troubleshooting pressure issues on an airless paint sprayer.
Troubleshooting Pressure Issues on an Airless Paint Sprayer
One common issue with an airless paint sprayer is a weak spray pattern, which may indicate a clogged nozzle. To troubleshoot pressure problems, here are three techniques to try:
-
Check the nozzle: Remove the nozzle and inspect it for any clogs or debris. Clean it thoroughly using a nozzle cleaning tool or a small wire brush. This will ensure a clear and consistent spray pattern.
-
Adjust the pressure settings: Verify that the pressure setting on your airless paint sprayer is appropriate for the material and surface you are working with. Increase or decrease the pressure as needed to achieve the desired spray pattern.
-
Check the filters: Airless paint sprayers have filters to prevent debris from entering the system. Make sure the filters are clean and free from any blockages. Cleaning or replacing the filters regularly will help maintain proper pressure and prevent clogs.
Frequently Asked Questions
What Are the Common Mistakes to Avoid When Adjusting Pressure on an Airless Paint Sprayer?
Common mistakes to avoid when adjusting pressure on an airless paint sprayer include not checking the manufacturer’s instructions, failing to properly clean and maintain the equipment, and not using the best techniques for achieving the desired paint finish.
Can I Use the Same Pressure Setting for Different Types of Paint?
Using the same pressure setting for different types of paint is not recommended. Each type of paint has its own pressure requirements. If you’re experiencing pressure issues, troubleshoot by checking for clogs or adjusting the pressure control knob.
How Often Should I Check and Adjust the Pressure on My Airless Paint Sprayer?
I check and adjust the pressure on my airless paint sprayer regularly to troubleshoot any issues. It’s important to maintain proper pressure for optimal paint application and prevent any problems.
Is It Possible to Adjust Pressure While the Sprayer Is in Use?
Yes, it is possible to adjust the pressure on an airless paint sprayer while it is in use. However, it is important to be cautious as adjusting the pressure mid-spray can have an impact on the quality of the paint finish.
What Are the Safety Precautions to Take When Adjusting the Pressure on an Airless Paint Sprayer?
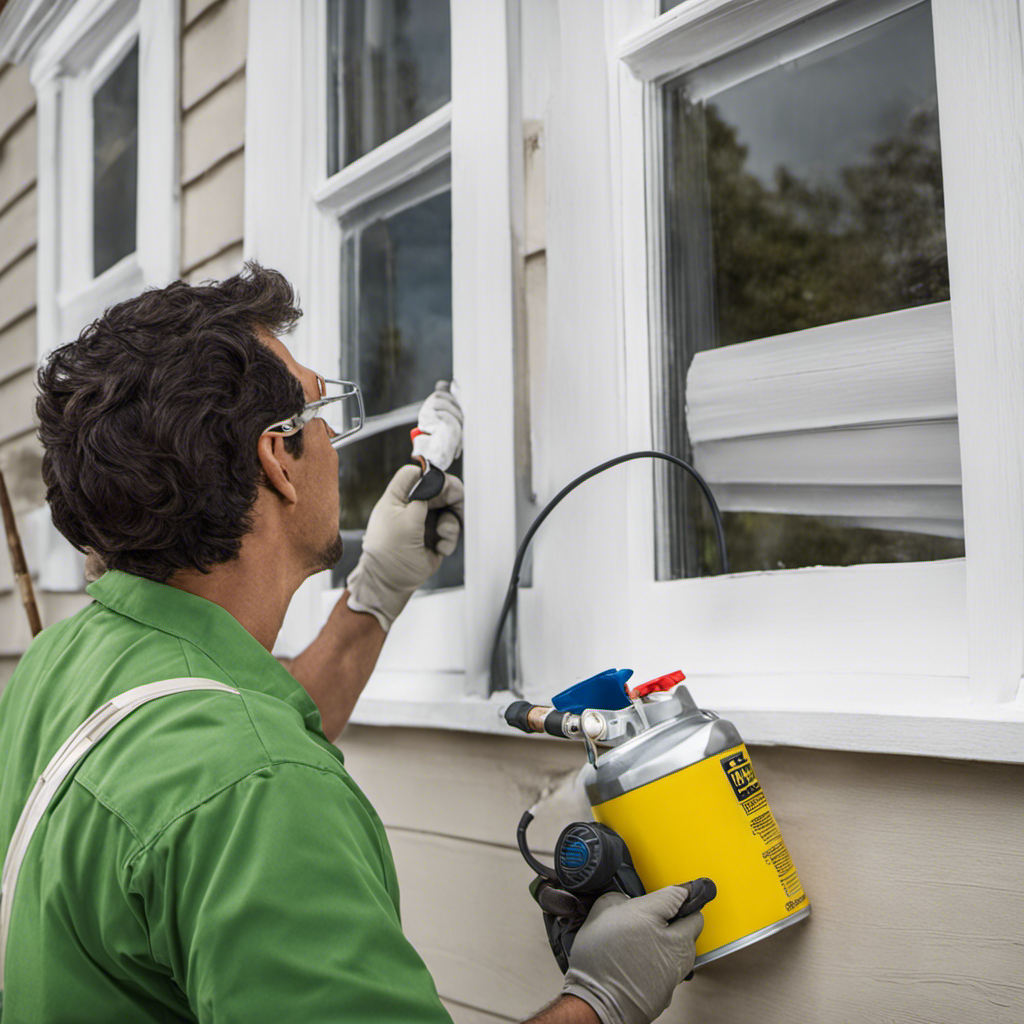
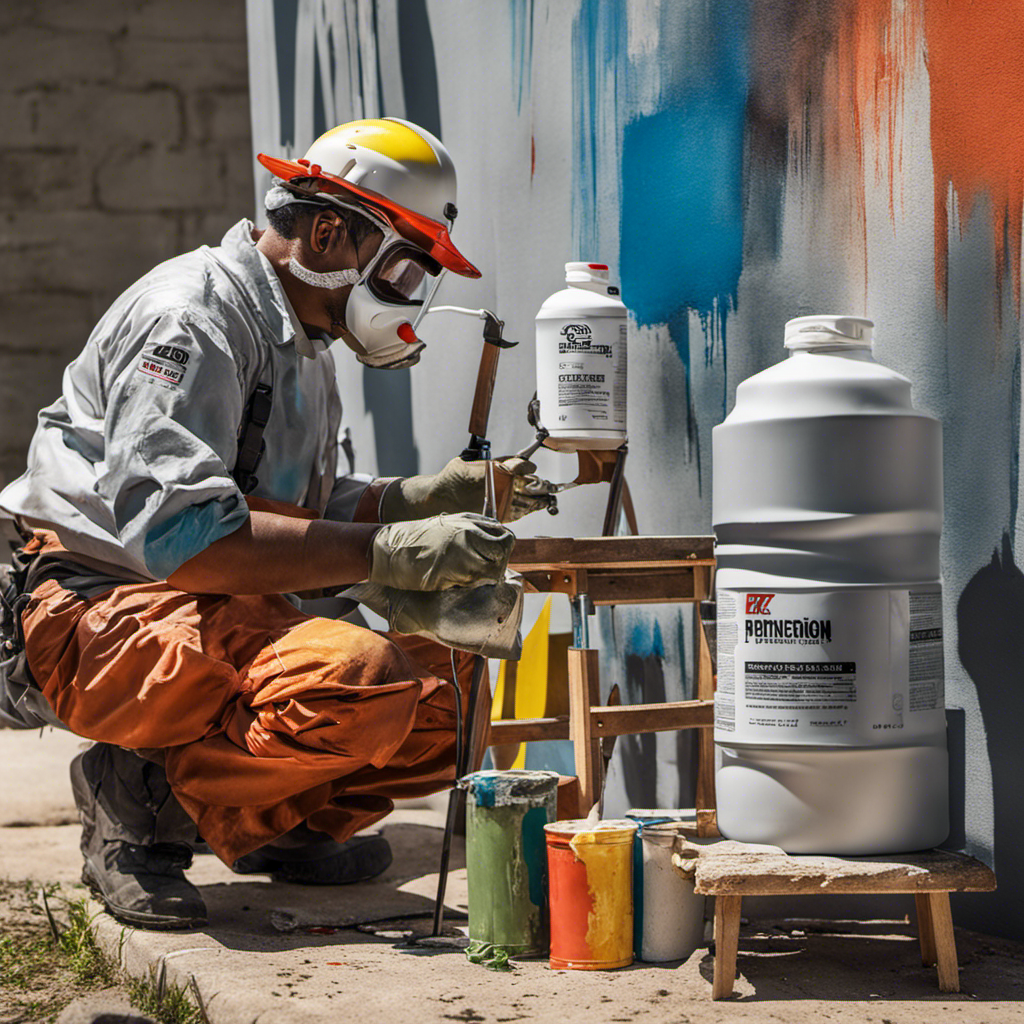
When adjusting the pressure on an airless paint sprayer, it is crucial to prioritize safety. Make sure to wear proper safety equipment and take necessary precautions to avoid any accidents or injuries.
Conclusion
As I wrap up this guide on adjusting the pressure on an airless paint sprayer, I can’t help but be reminded of the power of control.
Just like the pressure knob allows us to fine-tune the spray, life too presents us with opportunities to adjust and find our ideal range.
It’s through understanding, identifying, and taking the necessary steps that we can achieve the perfect balance.
So, remember, whether it’s painting or life, don’t be afraid to make those adjustments and find your own sweet spot.
Drenched in creativity and armed with a fountain pen, Isolde weaves words as gracefully as a painter strokes their canvas. A writer for Paint Sprayer Zone, her passion for colors, textures, and spaces finds a harmonious blend with her profound knowledge of painting tools and techniques.
Having grown up in a family of artists, Isolde’s tryst with paints began early. While her relatives expressed themselves on canvas, Isolde found her medium in words. She dedicated herself to chronicling the world of painting, understanding the nuances of each tool, and the artistry behind every spritz of a paint sprayer.
