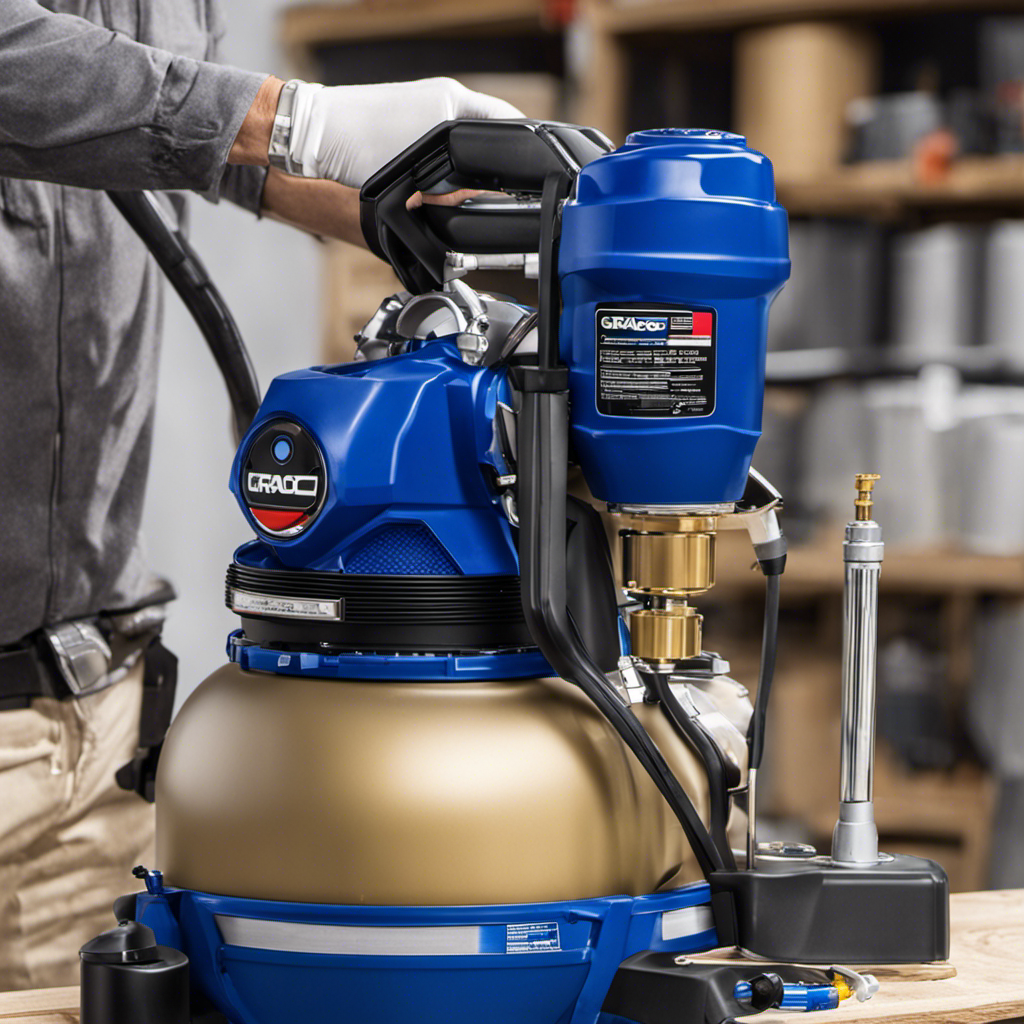
When it comes to unleashing creativity and transforming spaces, the top choice for creatives is the Graco Airless Paint Sprayer. This versatile tool effortlessly coats walls, furniture, and other surfaces with paint, ensuring accurate and efficient application.
But before the masterpieces can be created, one must first master the setup and cleaning process. In this article, we will guide you through the steps, from unboxing to maintenance, ensuring that your Graco Airless Paint Sprayer remains a faithful companion for all your painting endeavors.
Key Takeaways
- Thoroughly clean and rinse the sprayer with water
- Remove any clogs or blockages in the hose and gun
- Prepare the paint for application
- Clean and maintain the sprayer regularly

17pcs Multi-Purpose Spray Gun Cleaning Kit,Nylon Brushes Paint Gun Cleaning Kit Mini Brushes & Needles for Clean Airbrush Nozzles Spray Guns Tattoo Equipment (17)
- Complete Cleaning Kit: Includes 17 multi-purpose tools
- Universal Compatibility: Works with all spray gun types
- Effective Residue Removal: Cleans residuals and sludge easily
As an affiliate, we earn on qualifying purchases.
As an affiliate, we earn on qualifying purchases.
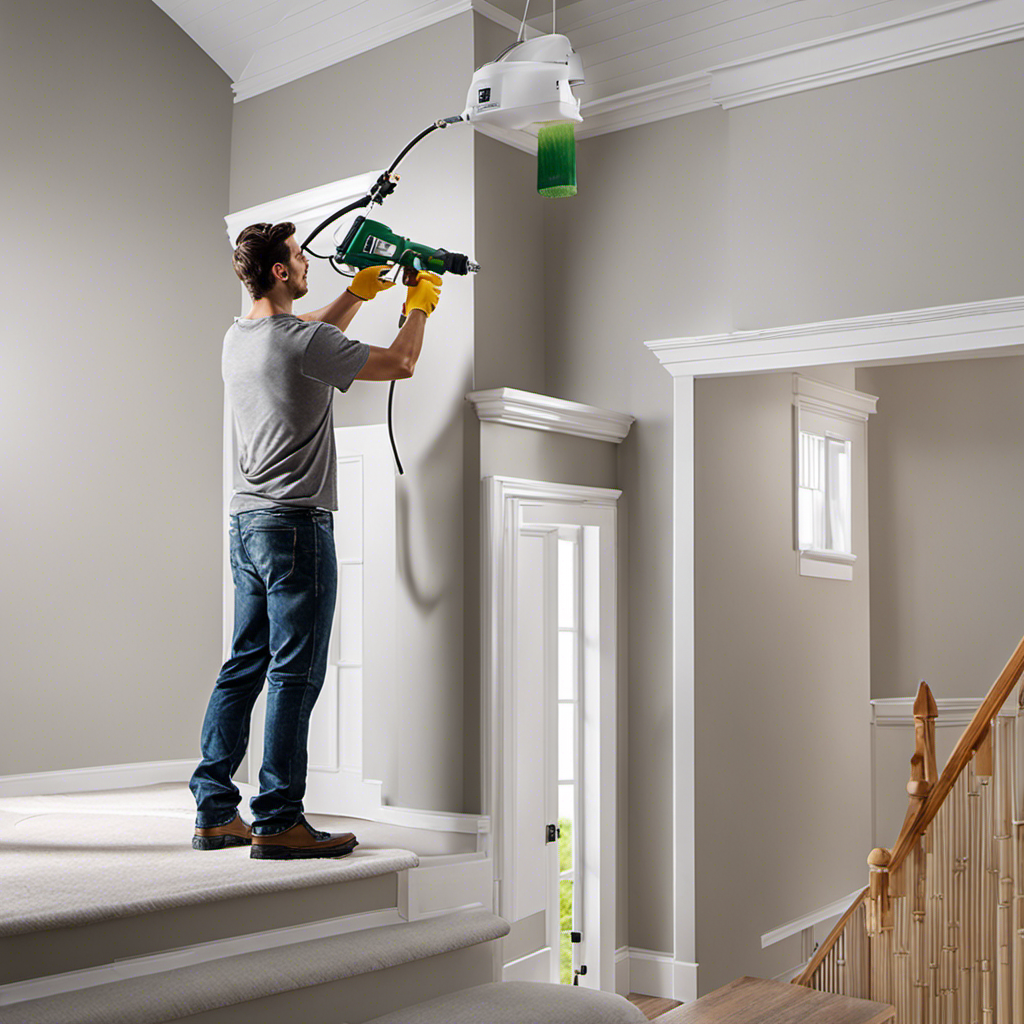
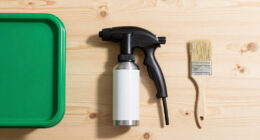
Unboxing and Initial Setup
The user attaches the hose securely to the sprayer and connects the spray gun tightly to the other end of the hose during the unboxing and initial setup of the Graco airless paint sprayer.
To ensure a smooth setup process, it is important to follow some unboxing tips and be aware of common setup issues.
First, check for any damage to the sprayer or its components during transit. Inspect the hose and gun for any defects or leaks.
Troubleshoot any leaks or loose connections by tightening them securely or replacing damaged parts.
Additionally, make sure to read the user manual and familiarize yourself with the setup process. If you encounter any difficulties, consult the troubleshooting guide provided by Graco.
Following these tips and troubleshooting common setup issues will help you get your Graco airless paint sprayer up and running smoothly.
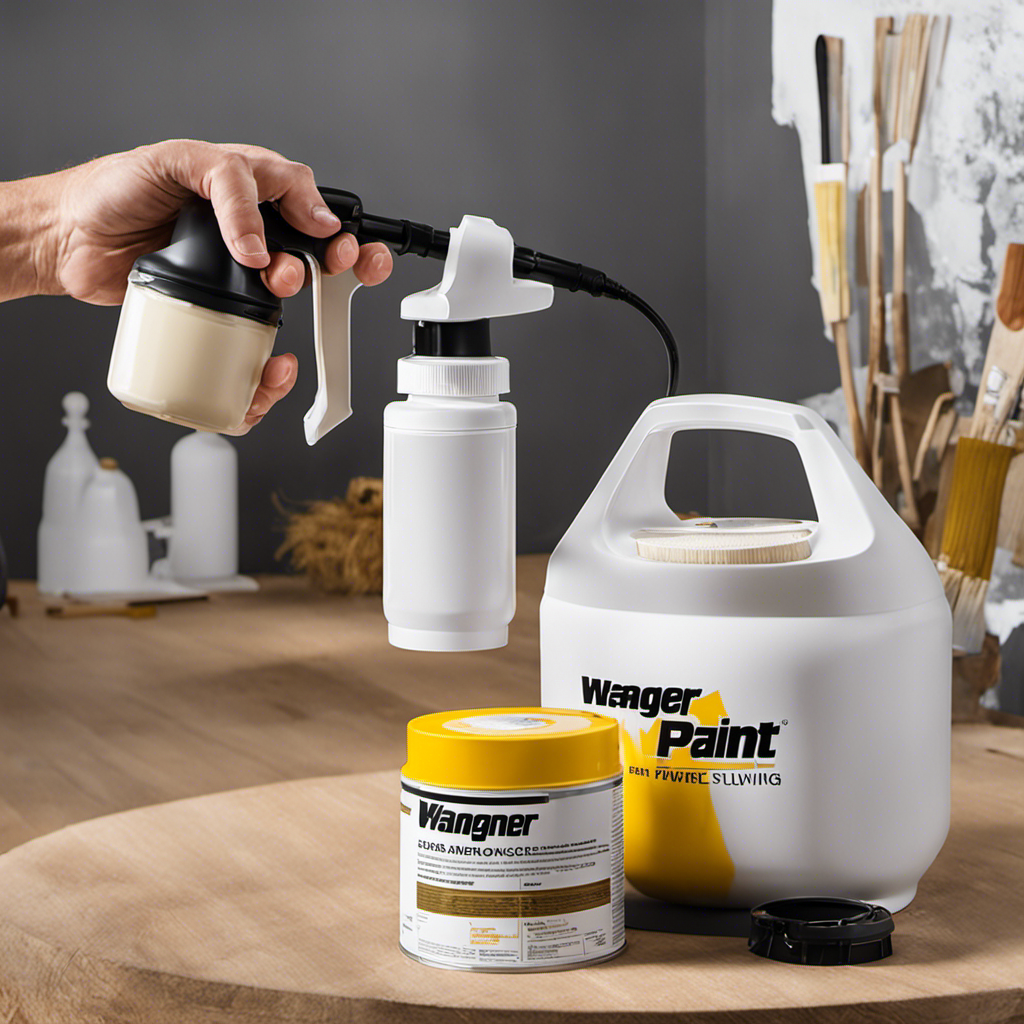
Preparing the Paint
To prepare the paint for application, one should choose the appropriate type of paint for the job and follow the manufacturer’s instructions for thinning or mixing it. Here are the steps to prepare the paint properly:
-
Choosing the right paint type:
-
Consider the type of surface and whether water-based or oil-based paint is needed.
-
Take into account the desired finish and durability.
-
Mixing paint properly:
-
Read and follow the manufacturer’s instructions for the specific paint product.
-
Use the recommended thinning agents or additives, if necessary.
-
Stir the paint thoroughly to ensure an even consistency.
Testing and Painting
After connecting the sprayer to a power source and turning it on, the user should check if it runs smoothly. This can be done by observing the sprayer’s operation and listening for any unusual sounds.
If there are no issues, the user can proceed to perform a trigger test by spraying water onto a test surface. During this test, the user should adjust the pressure settings to ensure optimal performance.
If there are any paint drips or uneven coverage, the user can troubleshoot the issue by adjusting the pressure settings or checking for clogs in the nozzle or hose.
It is important to address these issues before starting the actual painting process to achieve a smooth and professional finish.
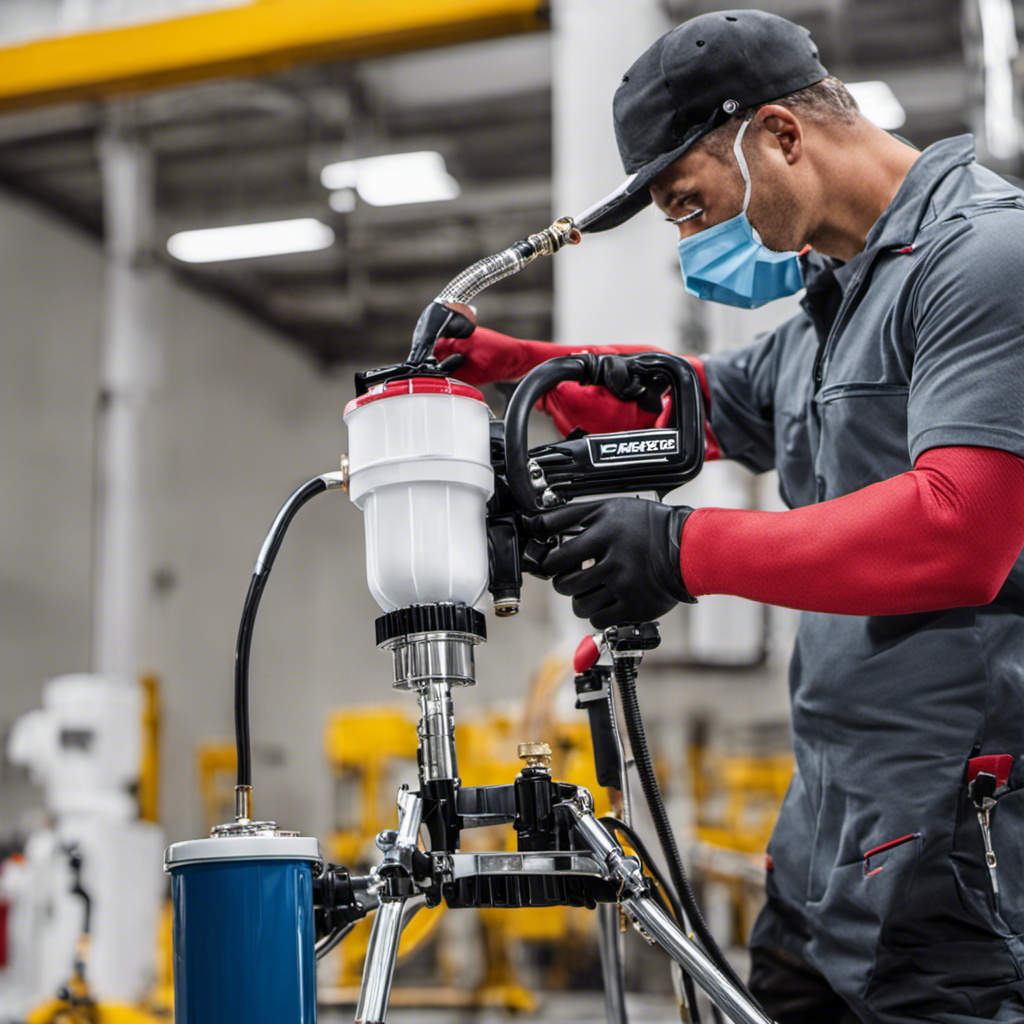
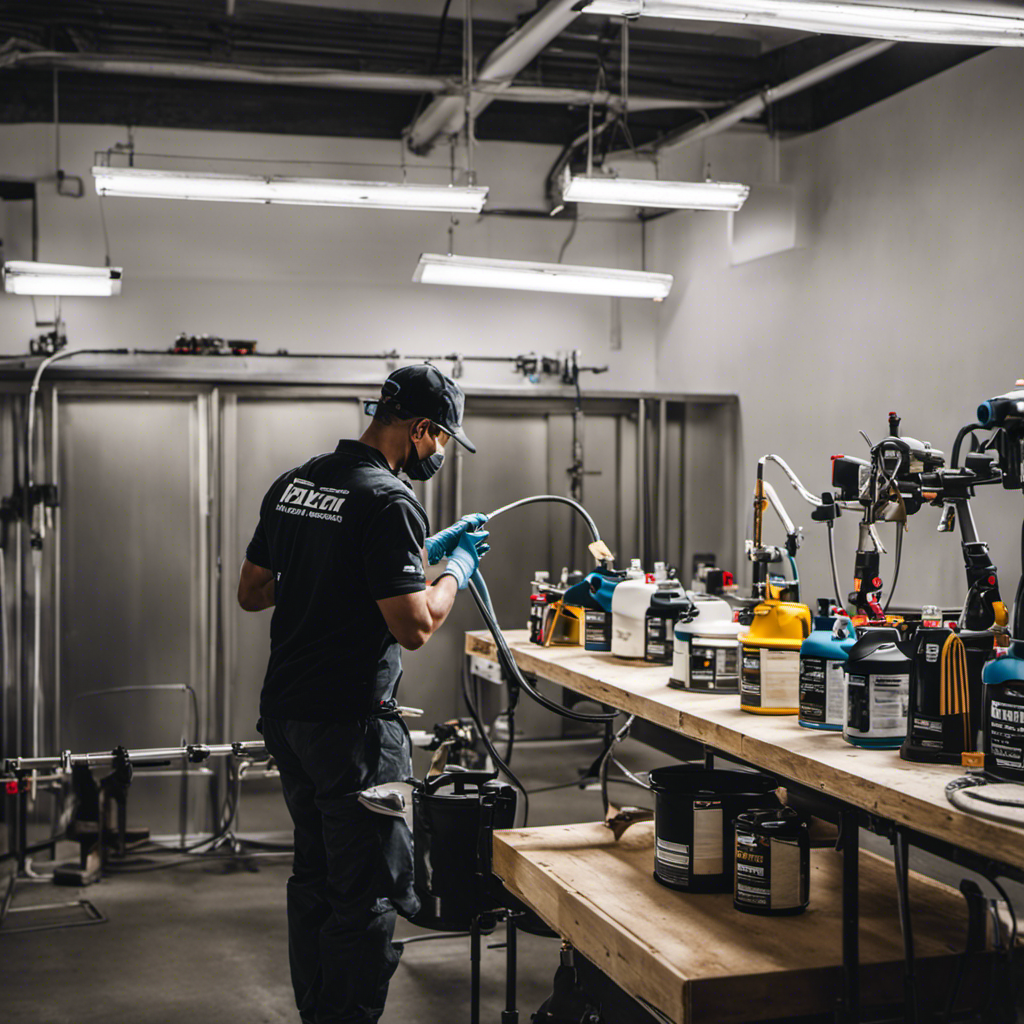
Cleaning and Maintenance
When cleaning and maintaining the sprayer, it is important to flush out the paint container with water or solvent recommended by the manufacturer. This helps remove any remaining paint and prevent clogs or blockages.
Here are some cleaning techniques and troubleshooting tips for common issues:
-
Flushing Out the Paint Container:
-
Fill a bucket with recommended water or solvent.
-
Place the intake tube in the bucket and turn on the sprayer.
-
Run the sprayer until the liquid coming out is clear.
-
Repeat with clean water or solvent for thorough cleaning.
-
Cleaning the Hose and Gun:
-
Use a cleaning solution designed for airless paint sprayers.
-
Detach the hose and submerge it in the solution.
-
Scrub away any stubborn paint particles with a soft brush.
-
Disassemble the gun and soak the parts in the solution.
These cleaning techniques and troubleshooting tips will ensure the proper functioning and longevity of your sprayer.
Removing Clogs or Blockages
The user can disconnect the gun from the hose and remove the nozzle to check for any dried paint or debris that may be causing clogs or blockages. To prevent clogs, it is important to regularly clean and maintain the airless paint sprayer. Here are some troubleshooting tips for removing clogs or blockages:
| Troubleshooting Tips | |
|---|---|
| 1. Check for dried paint or debris in the nozzle and clean it using a brush or small tool. | |
| 2. Inspect the hose for kinks or twists and straighten it if necessary. | |
| 3. Run a cleaning solution through the hose and gun if the blockage persists. | |
| 4. If the issue persists, disassemble the gun and hose completely and soak them in a cleaning solution overnight. |
Disassembling and Storing
To properly store the disassembled parts of the airless paint sprayer, coil the hose neatly and secure it with a zip tie or Velcro strap. Here are some disassembling techniques and storage solutions to ensure the sprayer’s longevity:
-
Disassembling Techniques:
-
Remove the nozzle and guard from the spray gun.
-
Collapse the spray gun handle by pressing the release button.
-
Disconnect the gun from the hose and remove the nozzle.
-
Check for dried paint or debris and clean with a brush or small tool.
-
Inspect the hose for kinks or twists and straighten it.
-
Run a cleaning solution through the hose and gun if the blockage persists.
-
Storage Solutions:
-
Neatly coil the hose and secure it with a zip tie or Velcro strap.
-
Store the disassembled parts in a clean and dry place.
-
Protect the spray gun and nozzle from dust or damage by placing them in a case or bag.
-
Keep the storage area well-ventilated to prevent moisture buildup.
Frequently Asked Questions
How Long Does It Typically Take for the Paint to Dry After Using a Graco Airless Paint Sprayer?
The paint drying time after using a Graco airless paint sprayer can vary depending on several factors, such as the type of paint used, humidity levels, and temperature. Generally, water-based paints will dry faster than oil-based paints.
It is recommended to allow the paint to dry for at least 24 hours before applying a second coat or handling the painted surface. Following best practices, such as ensuring proper ventilation and maintaining consistent paint thickness, can help expedite the drying process.
Can the Graco Airless Paint Sprayer Be Used for Both Indoor and Outdoor Painting Projects?
Yes, the Graco Airless Paint Sprayer can be used for both indoor and outdoor painting projects. Its versatile design and adjustable pressure settings make it suitable for a wide range of surfaces and applications.
Whether you’re painting walls, ceilings, fences, or exterior surfaces, this sprayer provides efficient and even coverage. Just ensure you choose the right type of paint for your project and follow the proper setup and cleaning procedures to maintain its performance.
Is It Necessary to Wear a Respirator Mask When Using the Graco Airless Paint Sprayer?
Wearing a respirator mask when using a Graco airless paint sprayer is highly recommended due to potential health risks. The fine particles and fumes produced during the painting process can be harmful if inhaled.
A respirator mask provides protection by filtering out these particles and ensuring clean air intake. It is essential to prioritize safety and take necessary precautions to safeguard respiratory health while operating the paint sprayer.
How Often Should the Filters in the Graco Airless Paint Sprayer Be Replaced?
The filters in the Graco Airless Paint Sprayer should be replaced regularly to ensure optimal performance. The frequency of filter replacement depends on the usage and the type of paint being sprayed.
It is recommended to inspect and clean the filters after each use and replace them as needed. Regular maintenance and filter replacement are essential for preventing clogs and maintaining the sprayer’s efficiency.
Proper filter maintenance is one of the key tips for prolonging the lifespan of the Graco Airless Paint Sprayer.
Can the Graco Airless Paint Sprayer Be Used With Textured or Uneven Surfaces?
The Graco Airless Paint Sprayer is a versatile tool that can be used on a variety of surfaces, including textured or uneven surfaces. Its powerful spray allows for even coverage and smooth application, regardless of the surface’s texture.
With the proper technique and adjustment of pressure settings, the sprayer can effectively coat textured surfaces without any issues. Whether you’re working on a smooth wall or a textured ceiling, the Graco Airless Paint Sprayer is up to the task.
Conclusion
In conclusion, while setting up and cleaning a Graco Airless Paint Sprayer may seem like a tedious task, it is essential for its proper functioning and longevity. By following the step-by-step guide, users can ensure a smooth painting experience and achieve professional results.
It is ironic how a seemingly simple tool requires thorough maintenance, but it is worth it in the end. So, embrace the cleaning process, and your Graco Airless Paint Sprayer will continue to be your trusty painting companion for years to come.

Drenched in creativity and armed with a fountain pen, Isolde weaves words as gracefully as a painter strokes their canvas. A writer for Paint Sprayer Zone, her passion for colors, textures, and spaces finds a harmonious blend with her profound knowledge of painting tools and techniques.
Having grown up in a family of artists, Isolde’s tryst with paints began early. While her relatives expressed themselves on canvas, Isolde found her medium in words. She dedicated herself to chronicling the world of painting, understanding the nuances of each tool, and the artistry behind every spritz of a paint sprayer.