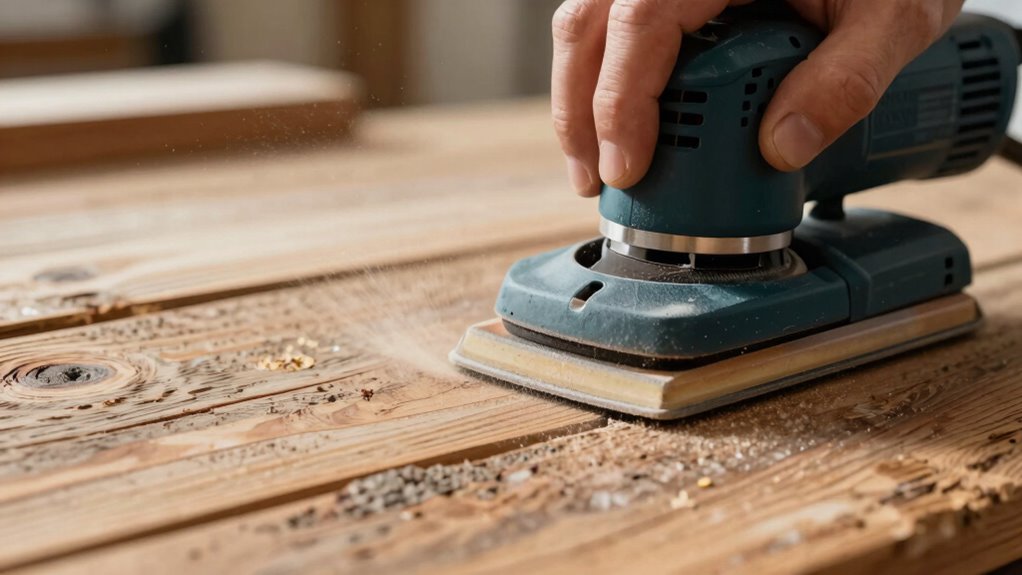

To fix a rough finish without stripping, start with a medium grit sandpaper (120) to smooth out bumps and uneven areas. Use light pressure and sand with the grain to avoid removing too much material. Progress to a finer grit (220+) for a polished look. Keep the surface dust-free and check your progress regularly. If you keep working carefully, you can achieve a smooth finish—more tips on ensuring success are ahead.
Key Takeaways
- Start with medium grit (120) to smooth rough patches without removing too much material.
- Progress to fine grit (220+) for a polished, even finish.
- Use light pressure and sand with the grain to prevent gouging the surface.
- Focus on targeted areas rather than excessive sanding to preserve the existing finish.
- Regularly check progress and avoid over-sanding to maintain surface integrity.
Why Is My Finish Rough, and Should I Fix It Now?
A rough finish on your woodwork can be frustrating, especially if you’re aiming for a smooth, professional look. Usually, this occurs because surface preparation wasn’t thorough enough or improper finishing techniques were used. When the surface isn’t properly prepared, uneven textures and bumps become evident after applying stain or varnish. Fixing this now prevents further issues like peeling or cracking later on. It’s crucial to assess whether the roughness is due to surface imperfections or application errors. Addressing the problem early ensures you achieve a sleek, polished finish. Proper surface preparation, including cleaning, sanding, and priming, is essential before applying any finish. Taking the time to correct rough patches now saves you from more extensive work down the line. Additionally, understanding the importance of surface preparation can help you avoid these issues in future projects. Incorporating professional services that specialize in finishing techniques can further enhance the quality of your work and ensure a durable, smooth surface. Recognizing the correct sanding levels suitable for your project can make a significant difference in achieving the desired outcome.
Which Sanding Grits Are Best for Smoothing a Rough Finish?
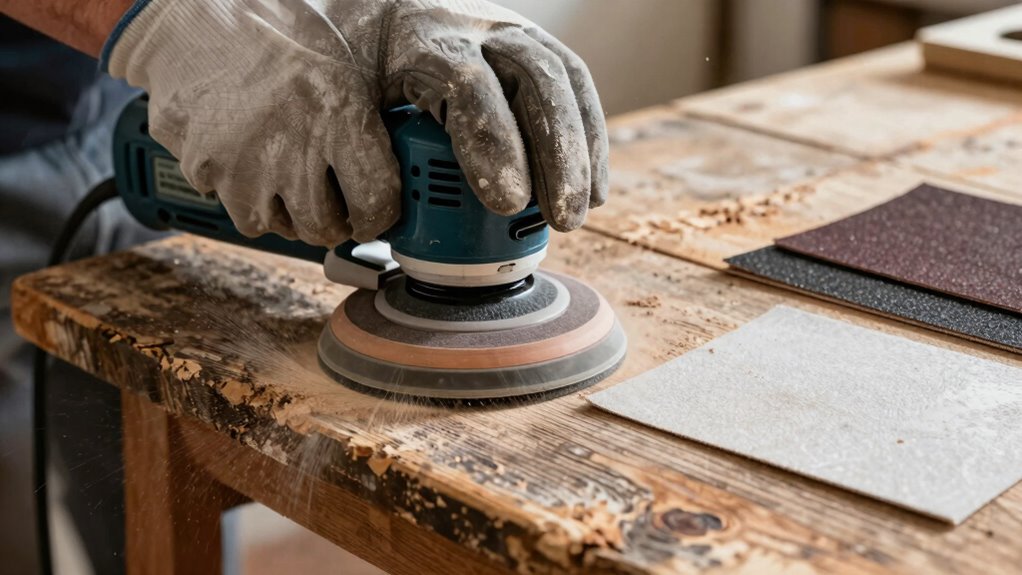
Choosing the right sanding grits is key to effectively smoothing out a rough finish. Your sanding techniques depend heavily on grit selection, which determines how aggressively you remove material. Start with a coarse grit, like 60 or 80, to tackle rough patches and level the surface. Switch to a medium grit, such as 120, to refine the surface and eliminate scratches from the coarse grit. Finish with a fine grit, like 220 or higher, to smooth the surface for a polished look. Using the correct grit progression guarantees you don’t strip too much material or create new scratches. Proper sanding grit progression ensures the best balance between material removal and surface finish. Additionally, understanding abrasive material types can help you choose the most effective sandpaper for your specific project. For best results, always follow the recommended sanding sequence to achieve a smooth, professional finish without damaging the material.
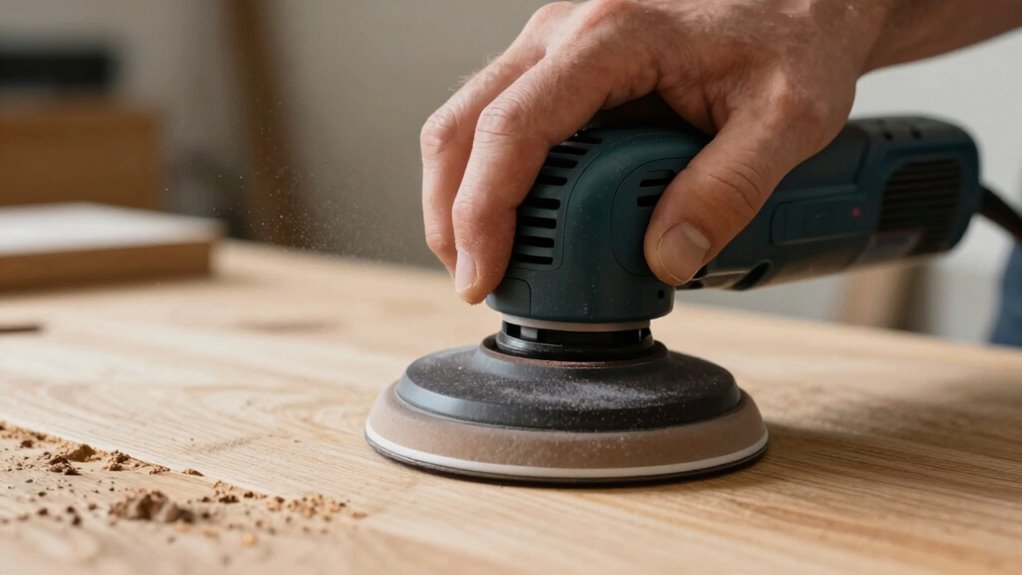
How to Sand Without Stripping the Surface: A Step-by-Step Guide
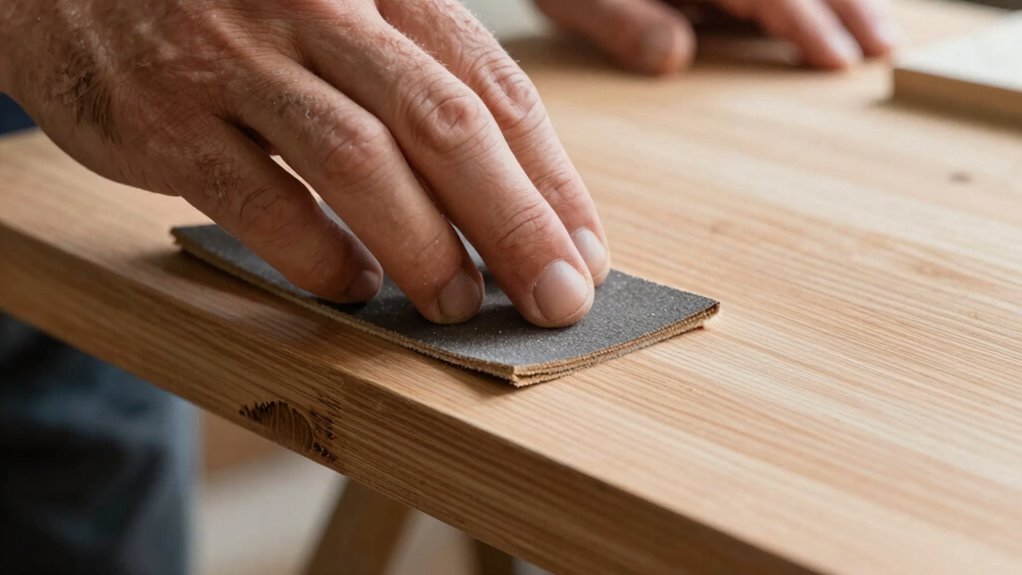
To avoid stripping the surface while sanding, you need to work carefully and follow a systematic approach. Start by using light pressure and a moderate grit to prevent removing too much material. When edge sanding, use a smaller, detail-oriented sander to reach tight corners without damaging the edge. Keep dust control in mind by using a vacuum attachment or a damp cloth nearby to catch dust as you work. Regularly check your progress to ensure you’re not over-sanding. Focus on maintaining even pressure across the surface and avoid staying in one spot too long. This careful technique helps preserve the integrity of the original surface while smoothing it. Understanding pool surface materials can help you select the appropriate sanding method to prevent damage, especially since different materials may require specific surface finishing techniques to avoid stripping. Being aware of surface durability can also guide you in choosing the right sanding approach that preserves the surface’s longevity. Additionally, applying appropriate abrasives based on the surface type can further minimize the risk of stripping or damage. Recognizing the importance of proper technique ensures you achieve a smooth finish without compromising the surface quality.
Expert Tips to Achieve a Smooth, Professional Finish
Achieving a smooth, professional finish requires attention to detail and proper technique. Prioritize sanding safety by wearing a dust mask and goggles to protect your eyes and lungs from debris. Use the right finishing techniques, starting with a medium grit to level the surface, then progressing to finer grits for a polished look. Always sand with the grain to prevent scratches and ensure an even surface. Keep your sanding tools clean and replace worn-out pads or paper to maintain efficiency. Light, consistent pressure helps avoid gouges or uneven patches. Remember, patience is key—rushing can ruin your work. Incorporating proper sanding levels is essential for a flawless finish that looks professional and lasts longer. Additionally, understanding sanding techniques can significantly improve your results and prevent mistakes. Proper sanding techniques are essential for a flawless finish that looks professional and lasts longer. Following these expert tips will help you achieve a smooth, durable, and professional-looking finish on your project.
Troubleshooting Sanding Problems and When to Strip
Have you ever encountered a finish that just won’t smooth out despite multiple sanding attempts? If so, it’s time to troubleshoot your sanding tools and paint removal process. Sometimes, stubborn finishes are caused by old paint or coatings that require more aggressive techniques or even stripping. When sanding doesn’t improve the surface, it’s a sign you may need to strip the area entirely before reapplying new paint. Using the right sandpaper grit and proper techniques can prevent issues like uneven texture or gouges. Additionally, understanding surface preparation can help you recognize when certain surfaces might need more specialized treatment. Proper surface prep is key to achieving a smooth finish and avoiding rework. However, if you notice persistent roughness or deep stains, stripping the surface might be your best option. Knowing when to switch from sanding to stripping ensures you don’t waste time and end up with a rough finish that won’t improve, especially when old coatings are involved that resist standard sanding efforts. Sometimes, selecting the appropriate sanding levels can make all the difference in achieving a professional look without unnecessary damage. Incorporating connected equipment and modern tools can also enhance your sanding process by providing more consistent results.
Frequently Asked Questions
Can I Fix a Rough Finish on Painted Surfaces Without Repainting?
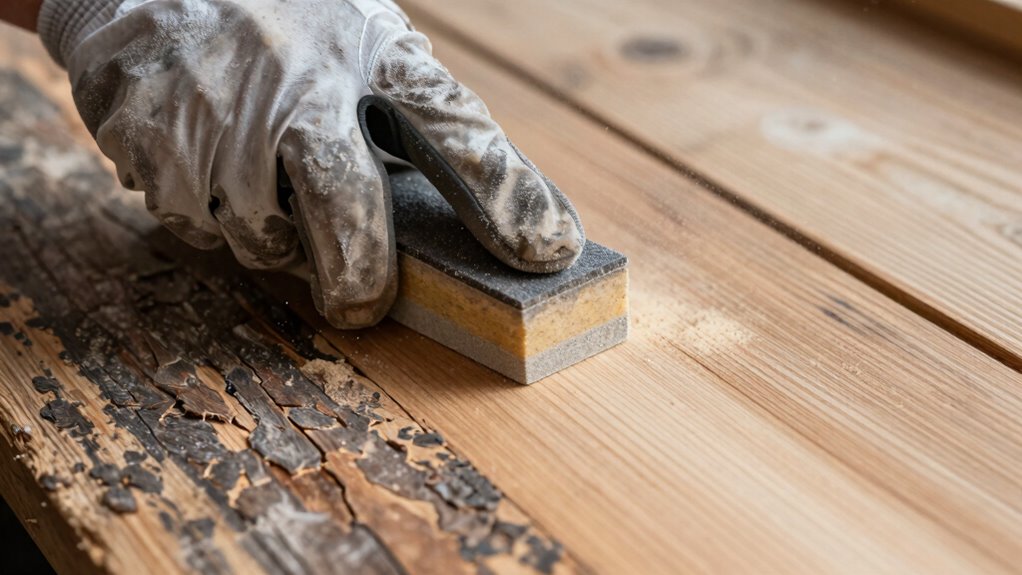
Yes, you can fix a rough finish without repainting by using proper sanding techniques. Start with a fine-grit sandpaper to gently smooth the surface, removing imperfections and creating a better surface for refinishing. Make certain of thorough surface preparation by cleaning off dust after sanding. This method helps improve the finish’s appearance without stripping or repainting, saving you time and effort while achieving a smoother, more polished look.
What Tools Are Best for Sanding in Tight or Intricate Areas?
You should use detailed hand-held tools like small sanding sponges, craft knives with sanding pads, or precision detail sanders for tight or intricate areas. These tools give you control and can reach tricky spots easily. Choose those with fine grit for smooth results. Always work gently to avoid damaging surrounding surfaces, and guarantee you wear a dust mask for safety. These tools make detailed sanding practical and effective.
How Do I Prevent Swirl Marks During Sanding?
Did you know that improper sanding can cause swirl marks on up to 30% of surfaces? To prevent this, use the right sanding techniques—start with a finer grit and always sand with the grain. Keep the surface well-prepared and clean, and don’t press too hard. These steps help you achieve a smooth finish and avoid those frustrating swirl marks, ensuring your project looks professional and polished.
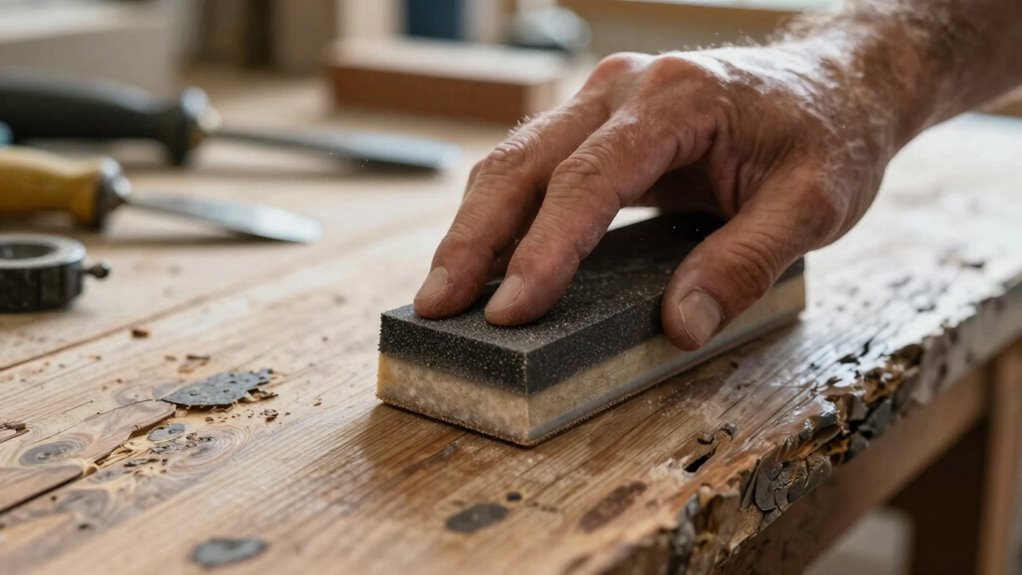
Is It Necessary to Use a Sanding Block or Sponge?
You should definitely use a sanding block or sponge sanding to achieve a smooth finish. A sanding block provides even pressure, preventing gouges, while a sponge sanding conforms to surfaces, reaching tricky spots. Both tools help you control the sanding process, reduce the risk of swirl marks, and guarantee a consistent, professional-looking result. Skipping these tools can lead to uneven surfaces and a rough finish that’s harder to fix later.
How Long Should I Wait Before Applying a New Finish After Sanding?
You should wait at least 24 hours after sanding before applying a new finish, giving the surface ample drying time. Proper sanding preparation guarantees the surface is clean and dust-free, which helps the finish adhere better. Rushing this step can cause issues like peeling or uneven coverage. If conditions are humid or the finish is thick, consider extending the drying time to ensure the surface is fully dry and ready for a smooth, durable finish.
Conclusion
Think of sanding as polishing a gemstone—you need the right tools and patience to reveal its true shine. By understanding sanding levels and techniques, you’ll transform a rough, uneven finish into a smooth, professional-looking surface. Don’t rush the process; even small improvements make a big difference. With these tips, you’ll tackle imperfections confidently, turning your project from rough to refined—like polishing a diamond until it gleams.