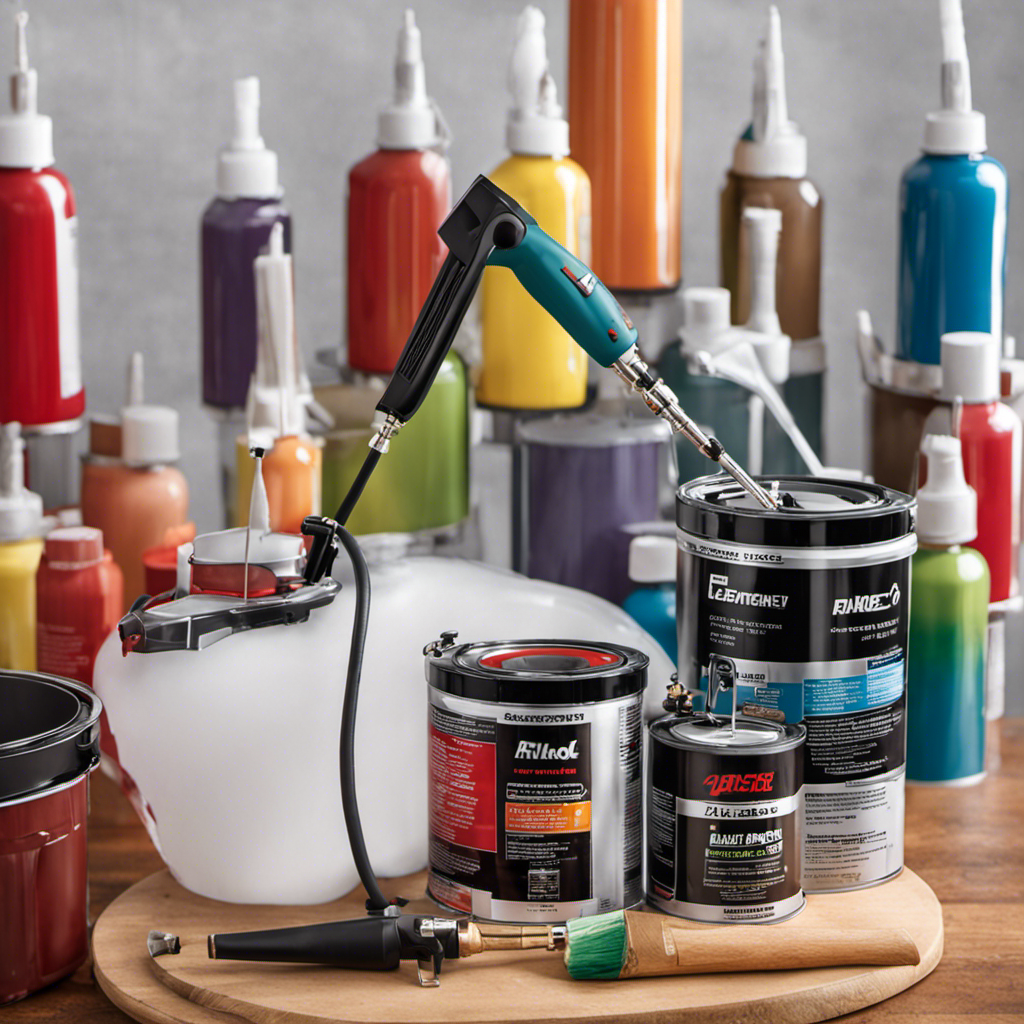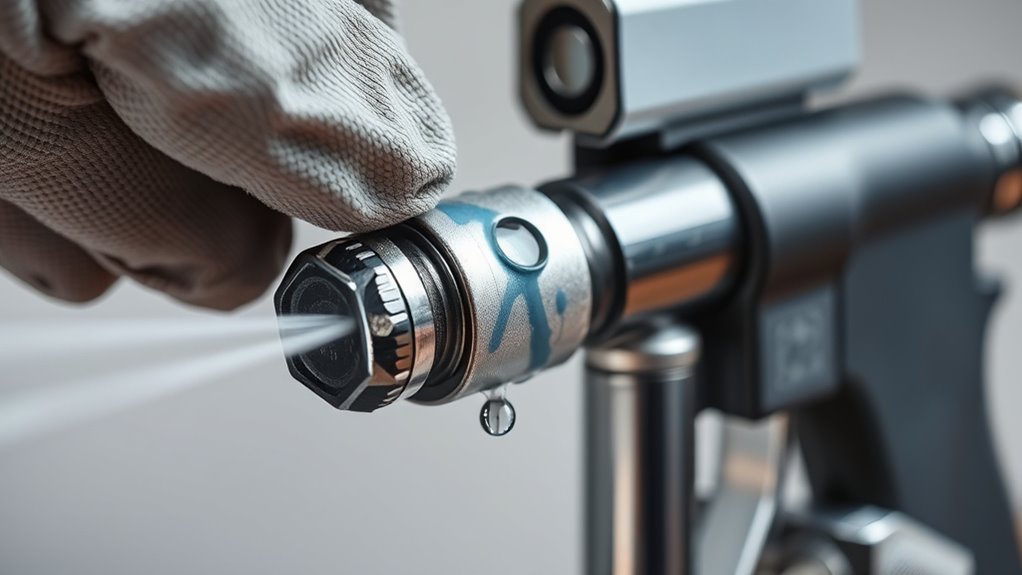
If paint leaks from your sprayer’s gun or hose, start by inspecting all fittings and connections for looseness or damage. Tighten fittings carefully without over-tightening, and replace any cracked or worn gaskets or seals. Clean filters and nozzles thoroughly to prevent clogs, and check pressure settings to make sure they’re appropriate. Monitoring these areas can stop leaks quickly; keep an eye out for more tips to troubleshoot and prevent future issues effectively.
Key Takeaways
- Turn off the sprayer and disconnect it to prevent further leaks and ensure safety.
- Inspect hoses, fittings, and the spray gun for cracks, loose connections, or damaged gaskets.
- Tighten fittings carefully, and replace worn or cracked gaskets or seals immediately.
- Clean clogged nozzles and passages to maintain proper paint flow and prevent pressure buildup.
- Adjust pressure settings according to the manufacturer’s recommendations to reduce stress on seals.
Paint sprayer leaks can quickly turn a simple project into a messy ordeal, wasting paint and causing frustration. When you notice paint leaking from the gun or hose, it’s a clear sign that something’s not right. These leaks often stem from paint flow issues or equipment maintenance problems that need immediate attention. Ignoring them can lead to uneven coverage, wasted material, and even damage to your sprayer. The good news is that with a few quick checks and adjustments, you can get your sprayer back in working order.
Paint sprayer leaks signal maintenance issues that, if ignored, cause mess and damage—quick checks can fix the problem.
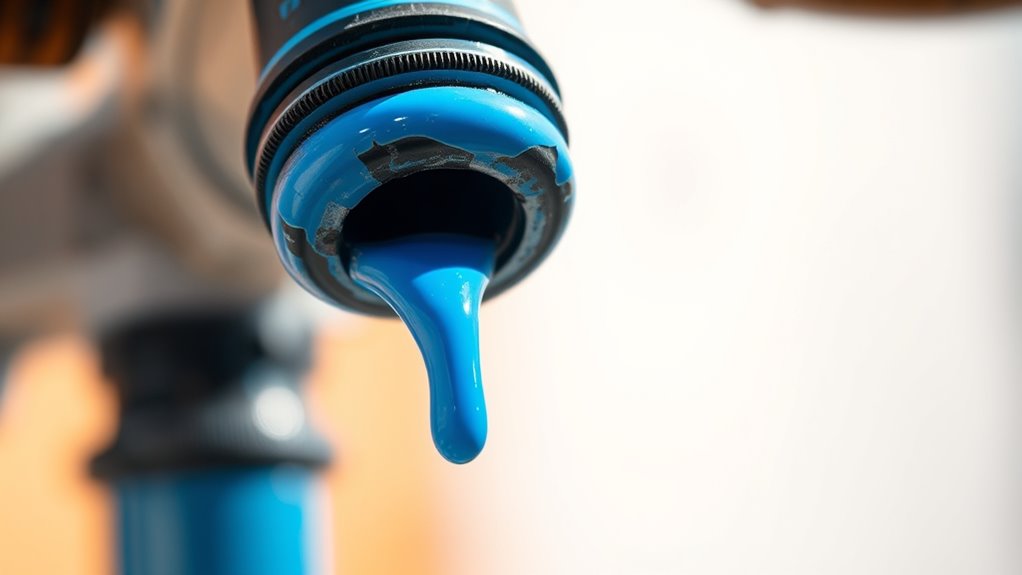
First, examine the entire setup for obvious signs of wear or damage. Look at the hose connections, spray gun fittings, and any seals or gaskets. Loose fittings are a common culprit for leaks, so tighten them carefully but not excessively, as over-tightening can damage threads or seals. If you find any cracked or worn gaskets, replace them promptly. Regular equipment maintenance is essential here—clean all parts thoroughly after each use to prevent paint buildup that could compromise the seals and cause leaks. Using the right cleaning solutions for your sprayer type is vital for maintaining peak equipment performance.
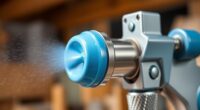
Next, consider the paint flow. If the flow is inconsistent or sluggish, it might be due to clogged filters or obstructed passages. Regularly inspect and clean the filters to guarantee unobstructed paint flow. A clogged nozzle or filter can cause pressure buildup, leading to leaks or spurts of paint from unintended areas. When cleaning, use appropriate tools and avoid forcing debris through, as that can damage delicate parts. Maintaining steady paint flow not only prevents leaks but also improves spray quality, giving you a smooth, even finish. Additionally, integrating AI-powered sound design techniques can assist in identifying unusual noises or pressure drops that might indicate underlying issues with your equipment.
Adjustments to your sprayer’s pressure settings can also help manage leaks. Too high a pressure can cause paint to escape through seals or joints, especially if they’re worn. Lowering the pressure slightly can reduce stress on the equipment and minimize leaks. Be sure to consult your sprayer’s manual for recommended pressure ranges and calibration procedures. If leaks persist despite these adjustments, it’s worth inspecting the entire system for signs of corrosion or internal damage that might require professional repair or replacement of parts.
Ultimately, preventing paint leaks involves proactive equipment maintenance and attentiveness to paint flow issues. Regularly inspecting connections, replacing worn parts, cleaning filters, and adjusting pressure settings can save you time, money, and frustration. When you stay on top of these tasks, you ensure your sprayer operates smoothly, delivering a consistent, professional finish every time. Remember, a well-maintained sprayer isn’t just less prone to leaks—it also performs better, making your painting projects more efficient and enjoyable.
Frequently Asked Questions
Can I Repair a Leaking Paint Sprayer Myself?
You can often manage DIY repairs if your paint sprayer is leaking, especially if it’s a small issue like a loose fitting or clogged nozzle. Start by inspecting parts and tightening connections. However, for more complex problems or persistent leaks, it’s best to seek professional servicing. Attempting extensive repairs yourself might cause further damage, so knowing when to call in experts guarantees your sprayer stays in top condition and functions safely.
How Often Should I Maintain My Paint Sprayer to Prevent Leaks?
Imagine your paint sprayer as a finely tuned instrument needing regular care. You should follow a consistent maintenance schedule, ideally after every project or weekly if used frequently, to keep leaks at bay. Incorporate leak prevention tips like cleaning seals and inspecting hoses. Regular maintenance not only prevents leaks but extends your sprayer’s lifespan, ensuring smooth operation and perfect finishes every time.
Are There Specific Safety Precautions When Fixing Leaks?
When fixing leaks, safety is vital. Always wear protective gear like gloves and goggles to prevent paint contact. Make sure your paint sprayer is unplugged to maintain electrical safety and avoid shocks. Work in a well-ventilated area, and follow manufacturer instructions carefully. Taking these precautions helps protect you from potential hazards and ensures a safer, more effective repair process.
What Types of Paint Are Compatible With My Sprayer?
When considering paint compatibility, you need to check your sprayer’s specifications to guarantee it handles the type of paint you want to use. Different paints require specific sprayer settings for ideal results, such as viscosity adjustments and pressure levels. Always read the manufacturer’s guidelines to match your paint type with your sprayer, ensuring smooth application and avoiding clogs or leaks. Proper compatibility and settings lead to a flawless finish.
How Do I Identify the Source of a Leak in My Sprayer?
To identify the leak source in your sprayer, start with a thorough sprayer inspection. Check connections, hoses, and the gun for visible cracks or loose fittings. Use leak detection methods like spraying water on suspected areas or applying soapy water to spot bubbles. Carefully observe where paint or air escapes, pinpointing exactly where the leak originates, so you can repair or replace the faulty parts efficiently.
Conclusion
Remember, a leaking paint sprayer is like a stubborn leak in a dam—you don’t want it to flood your project. By inspecting seals, tightening fittings, and replacing worn parts, you can keep your sprayer flowing smoothly. Treat leaks promptly, and you’ll prevent bigger headaches down the line. With a little attention, your sprayer will work like a well-oiled machine, turning your painting job into a breeze rather than a flood.

Franz came aboard the Paint Sprayer Zone team with a background in both journalism and home renovation. His articulate writing style, combined with a passion for DIY projects, makes him an invaluable asset. Franz has a knack for breaking down technical jargon into easy-to-understand content, ensuring that even the most novice of readers can grasp the complexities of paint sprayers.