To prevent rounded edges with a detail sander, work slowly and carefully on corners, applying light, even pressure. Use medium grit to shape the edges, then finish with fine grit for smoothness. Maintain control by following the natural lines of your trim and avoid pressing too hard. Choosing the right sander, like an oscillating or corner sander, helps achieve sharp, precise edges. Keep practicing these techniques, and you’ll master clean, professional-looking trim.
Key Takeaways
- Use slow, deliberate strokes with a detail sander to maintain sharp edges.
- Start with medium grit and finish with fine grit to refine and smooth edges.
- Apply light, even pressure to prevent material removal beyond the desired edge.
- Focus on corners and bevels individually to avoid rounding and maintain shape.
- Choose a precise, oscillating or corner sander for better control over edges.
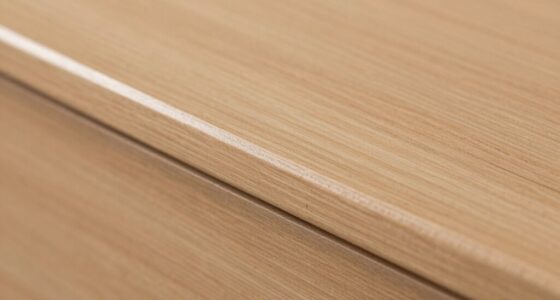
If you’re looking to achieve a smooth, professional finish on your woodworking projects, detailing with a sander is indispensable. When working with trim, proper edge finishing is essential to guarantee your pieces look polished and refined. Using a detail sander helps you reach those tight corners and intricate edges that larger tools might miss. It also allows you to shape the edges precisely, preventing rounded or uneven corners that can detract from your project’s overall appearance. In addition, a well-executed edge finishing process with a detail sander sets the stage for flawless paint preparation, ensuring your final coat adheres smoothly and lasts longer.
Achieve polished, professional trim finishes with a detail sander for precise, smooth edges and flawless paint prep.
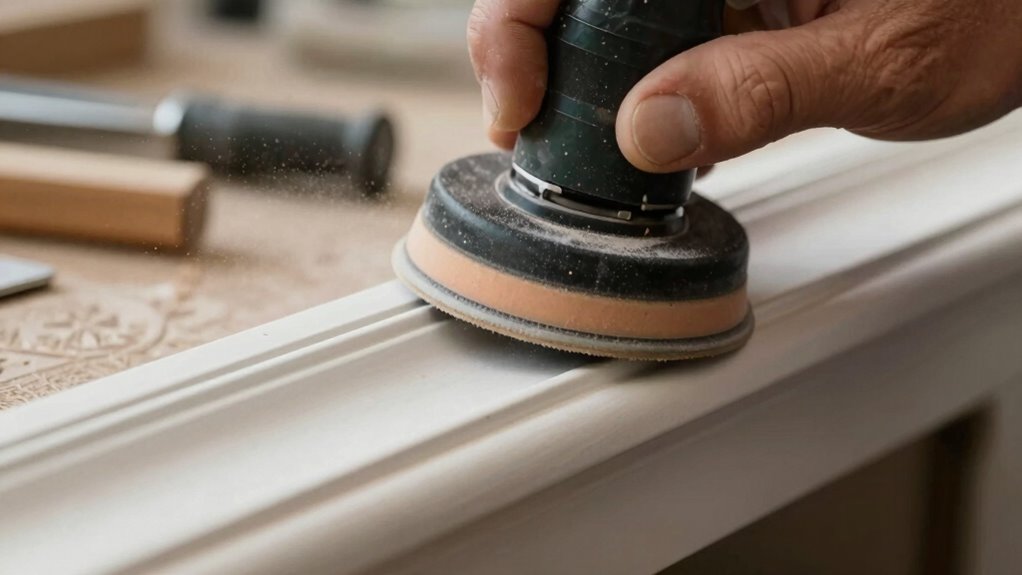
One key to preventing those unwanted rounded edges is to be deliberate with your sanding technique. Instead of rushing over the edges, focus on slowly and carefully refining each corner and bevel. Light, even pressure prevents removing too much material and keeps the edges crisp. Using the right grit is equally important; start with a medium grit to shape the edge and remove any roughness, then switch to a finer grit for smoothing. This step-by-step approach helps you maintain sharp, clean lines that enhance the overall look of your trim.
Choosing the right detail sander also makes a difference. Oscillating or corner sanders are popular options because they offer control and precision around tight spaces. When prepping for paint, you want the surface to be as smooth as possible, free of splinters or rough patches. Sanding the edges with care ensures that paint will settle evenly, preventing drips or uneven coverage caused by irregular surfaces. This attention to detail in edge finishing means fewer touch-ups later on, saving you time and frustration.
Remember, thorough paint preparation begins with proper sanding. When edges are well-finished, the paint bonds better and creates a uniform appearance. If you neglect edge finishing, you risk uneven paint lines or peeling over time. Use your detail sander to carefully smooth out every corner and edge before applying primer or paint. This small but indispensable step enhances the durability of your finish and gives your trim a professional, high-quality look.
Ultimately, mastering edge finishing with a detail sander improves both the aesthetic and longevity of your woodworking projects. It’s a simple step that makes a big difference, ensuring your trim looks sharp and professional while providing a solid foundation for paint. Take your time with each edge, select the right tools and grits, and don’t rush the process. Your finished project will reflect the care and precision you put into every detail. Proper edge finishing techniques ensure a lasting, high-quality result.
Frequently Asked Questions
Can a Detail Sander Be Used on All Types of Trim?
A detail sander can be used on most types of trim, but you should choose the right sanding techniques to prevent damaging delicate surfaces. Always inspect your tool and perform proper tool maintenance to ensure smooth operation. Use light, controlled movements and minimal pressure to prevent rounding edges. For intricate or fragile trim, consider hand sanding or finer grit to maintain the trim’s original shape and detail.
What Safety Precautions Should I Take When Using a Detail Sander?
When using a detail sander, you should always wear proper safety gear like goggles and a dust mask to protect your eyes and lungs. Make sure to use dust protection equipment, such as a vacuum attachment or dust bag, to keep your workspace clean and safe. Keep your hands away from the moving parts, and work in a well-ventilated area to prevent inhaling dust. Always follow the manufacturer’s safety instructions.
How Do I Choose the Right Grit for Trimming Projects?
Ironically, choosing the right grit for trimming projects feels like rocket science, but it’s simpler than you think. For precise sanding techniques, start with a medium grit (around 120) for smoothing surfaces, then switch to a finer grit (220-320) to prevent rounded edges. Always match your grit selection to your project’s detail level, and remember, patience with grit changes guarantees a flawless finish without unnecessary scratches.
Is There a Way to Fix Rounded Edges After Sanding?
Yes, you can fix rounded edges with edge repair and proper sanding techniques. Start by gently sanding the affected area with a fine grit to smooth out the rounded edge. Use a sanding block or detail sander for better control, ensuring you follow the original edge’s contour. Carefully blend the repaired area into the surrounding trim, then finish with a finer grit to achieve a crisp, clean edge.
How Long Does It Typically Take to Sand Trim Smoothly?
It usually takes about 15 to 30 minutes to sand trim smoothly, depending on the condition and type of wood. Use proper sanding techniques, starting with coarse grit and gradually moving to finer grits for finish smoothing. Keep your sander consistent and apply even pressure to avoid gouges. Patience is key—taking your time guarantees a professional-looking, smooth finish that enhances your trim’s appearance and durability.
Conclusion
By choosing the right detail sander and applying gentle, consistent pressure, you can transform rough edges into smooth, polished accents. Picture your trim gleaming softly in the light, every curve perfectly defined without that unwanted rounded look. With patience and care, you’ll craft a finish so flawless it’s almost like the wood itself is smiling back at you. Keep your tools steady, and your trim will stand out with crisp, clean edges that truly impress.