Yes, you can use a paint sprayer for stain or wood sealer if you choose the right type and prepare the product properly. Airless sprayers work well for thicker products like sealers, while HVLP sprayers are better for detailed or thinner stains. Make sure to thin your stain or sealer according to manufacturer instructions and test your sprayer first. Keep your technique steady for a smooth finish—if you keep going, you’ll discover how to get professional results.
Key Takeaways
- Paint sprayers can be used for stains and sealers if the product’s viscosity is compatible and properly thinned if needed.
- Airless sprayers are suitable for thicker stains and sealers, providing fast, even coverage on large surfaces.
- HVLP sprayers offer fine finishes ideal for detailed staining or sealing work.
- Proper preparation, thinning, and equipment adjustments are essential for achieving a professional finish.
- Always check manufacturer recommendations to ensure compatibility and safety when spraying stains or sealers.
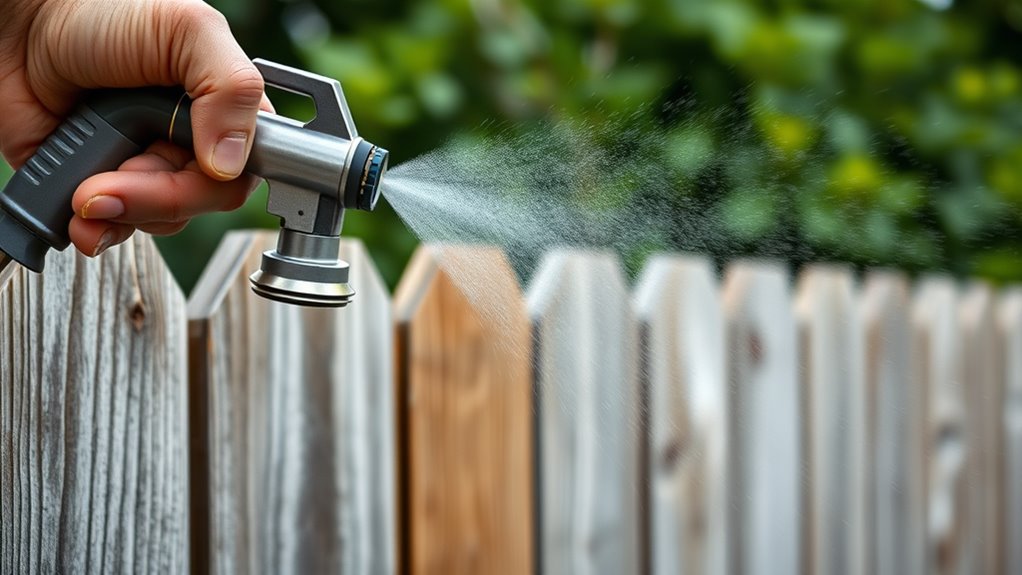
Types of Paint Sprayers Suitable for Stains and Sealers
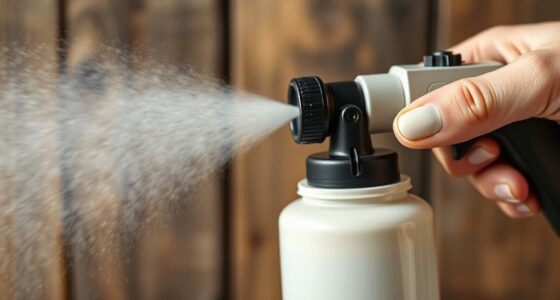
When choosing a paint sprayer for stains or wood sealers, it’s important to contemplate the different types available and how they perform on these products. Airless systems are a popular choice because they deliver high pressure, allowing you to cover large surfaces quickly and evenly. They’re ideal for thicker stains and sealers, providing smooth, consistent results. Many airless sprayers feature brushless motors, which offer increased efficiency, durability, and less maintenance. Brushless motors also provide quieter operation and better control, making them suitable for longer projects. While HVLP sprayers are another option, airless systems with brushless motors tend to handle thick stains and sealers more effectively, ensuring you get a professional finish with less effort. Additionally, high-quality components in advanced sprayers improve performance and lifespan, making them a worthwhile investment. Understanding the different types of sprayers, such as airless systems, can help you select the best tool for your specific staining or sealing project. Moreover, selecting the right sprayer pressure is crucial for achieving optimal results with various wood products. For example, some Kia Tuning modifications require precise application techniques, similar to selecting the right sprayer pressure for staining.
Preparing Your Stain or Sealer for Spraying
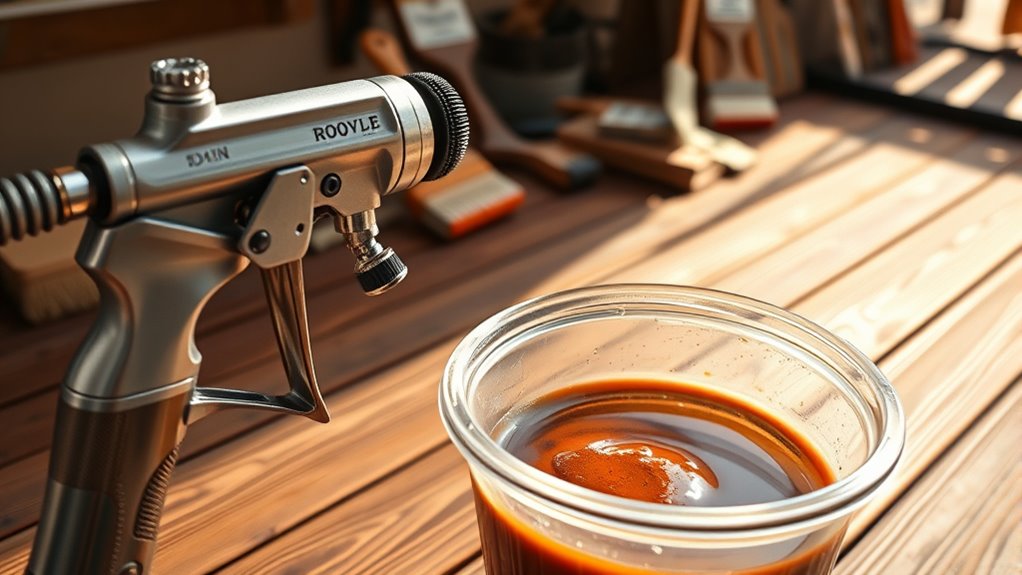
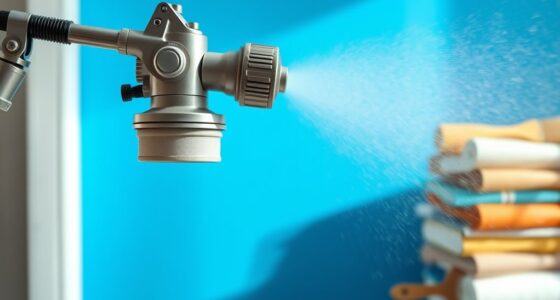
Before you start spraying, it’s important to prepare your stain or sealer properly to guarantee a smooth application and a professional finish. Begin by mixing the product thoroughly using gentle brush techniques to ensure even consistency. Strain the stain or sealer to remove any lumps or debris that could clog your sprayer. Check the manufacturer’s instructions for recommended thinning ratios, as some products require dilution for spraying. Proper preparation also involves understanding drying times; ensure the stain or sealer is at the right viscosity and allowed to dry sufficiently between coats if needed. This helps prevent issues like runs or uneven coverage. Additionally, using the right pressure settings on your sprayer can greatly improve the application quality. Taking these steps ensures your spray job looks clean and professional, saving time and effort in the long run. Incorporating AI-driven quality control tools can further optimize your spraying process by detecting inconsistencies in real-time. Proper tuning techniques can also help in adjusting your equipment for optimal performance and finish quality. Being aware of the proper viscosity of your stain or sealer also contributes significantly to achieving an even coat.
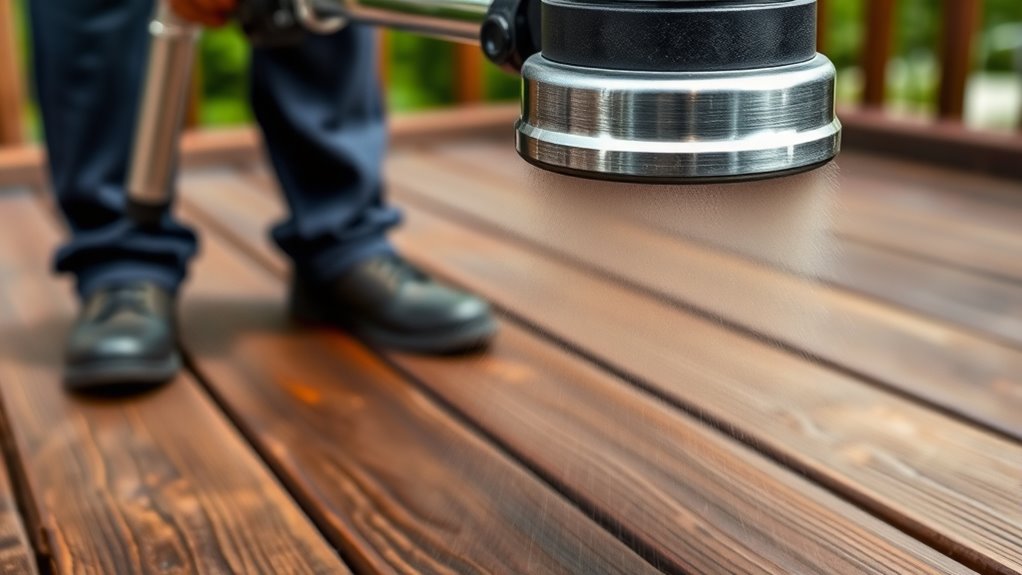
Techniques for Applying Stains and Sealers With a Sprayer
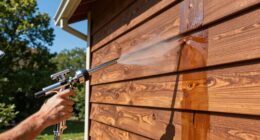
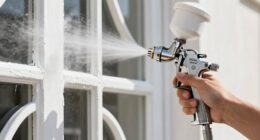
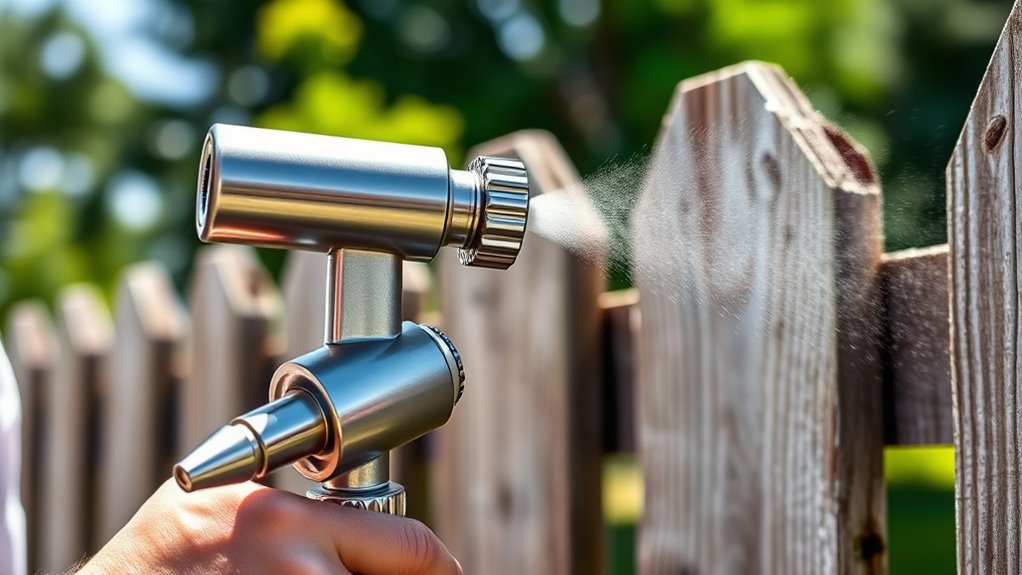
To achieve a smooth and even application of stains or sealers with a sprayer, employing correct techniques throughout the process is essential. Maintain consistent distance from the surface, typically 10-12 inches, and use smooth, overlapping strokes. Keep your sprayer well-maintained to prevent uneven spray patterns. Incorporate proper brush techniques for touch-ups or edges, blending seamlessly with sprayed areas. Regularly clean and inspect your sprayer to guarantee peak performance. Additionally, adjust the spray pattern and pressure for different surfaces. Here are some tips to improve your technique:
- Practice on scrap wood before starting
- Maintain a steady hand and consistent speed
- Use overlapping passes for even coverage
- Regularly clean sprayer parts to prevent clogs
- Combine spray work with precise brush techniques when needed
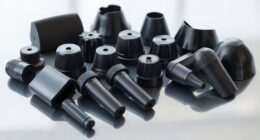
- Proper maintenance of your sprayer ensures consistent performance and prevents issues like clogging or uneven application. Properly selecting the right tip size can also significantly influence your results and efficiency.
Troubleshooting Common Issues When Using a Sprayer for Wood Finishes
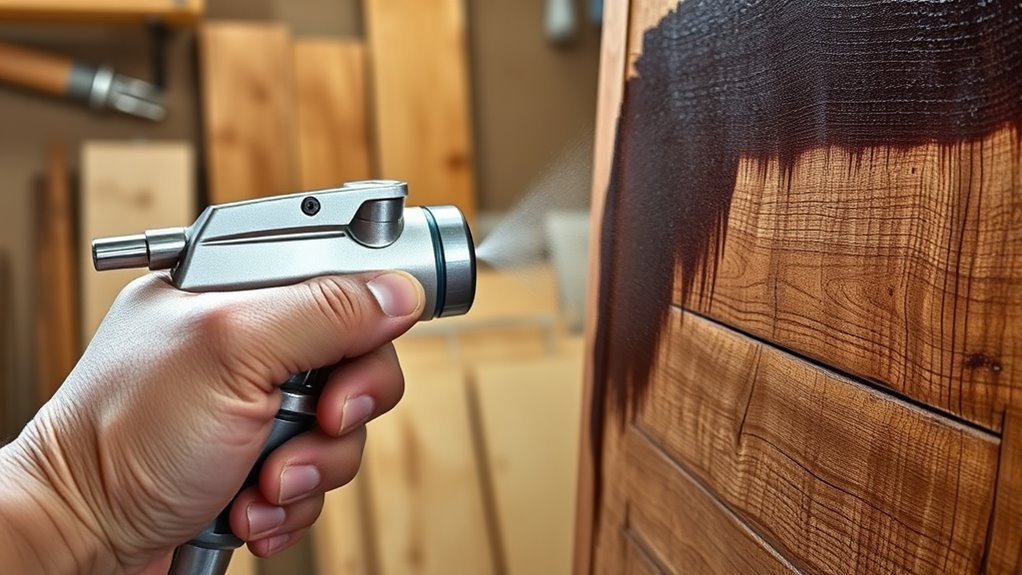
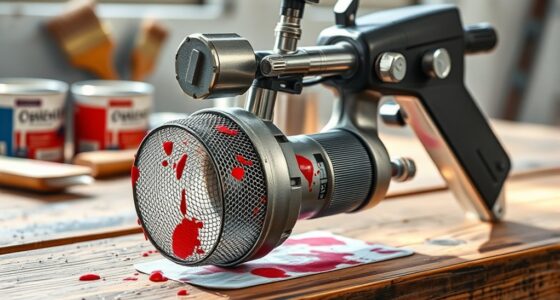
Even experienced users encounter common issues when spraying wood finishes, but understanding the causes can help you troubleshoot effectively. One frequent problem is uneven application or drips, often caused by poor solvent compatibility or inconsistent flow. Make sure your finish matches the sprayer’s recommended solvent type to prevent clogging or thinning issues. Regular sprayer maintenance is essential; clean the nozzle and filters thoroughly after each use to avoid buildup that causes sputtering or uneven spray patterns. If your finish appears grainy or rough, it might be too thick or incompatible with the sprayer’s settings. Adjust your thinning process and double-check solvent compatibility before starting. Additionally, ensuring proper air pressure can greatly influence spray quality and help achieve a smooth finish. Proper contingency plans are also crucial to address unexpected equipment issues or finish inconsistencies promptly, ensuring a professional result. Being aware of finish compatibility and how different finishes interact with your equipment can prevent many common problems. Implementing proper spraying techniques can also enhance the overall application and final appearance. For optimal results, consider the properties of wood and how they may affect the finish absorption and adhesion. Addressing these issues early ensures smoother application and a more professional finish.
Tips for Achieving a Professional Finish With a Spray System

Achieving a professional finish with a spray system requires attention to technique and preparation. To get the best results, focus on consistent application and proper sprayer maintenance. Use smooth, overlapping brush techniques to fine-tune details or correct imperfections. Keep your sprayer clean to prevent clogs and uneven spraying. Adjust your pressure and spray pattern for even coverage, and practice on scrap material first. Here are some tips to help you succeed:
Achieve a flawless finish with consistent technique, proper maintenance, and careful adjustments.
- Maintain a consistent distance from the surface
- Keep the spray pattern uniform and overlapping
- Regularly clean and inspect your sprayer
- Use proper brush techniques for touch-ups
- Test your settings before starting
- Incorporate proper preparation techniques such as sanding and priming for optimal results
Understanding local business hours can help you plan your work schedule effectively, ensuring you can find time for spraying projects when the conditions are ideal. Proper tool calibration is essential for achieving a smooth, professional finish every time. Additionally, ensuring your HVAC system is functioning efficiently can help maintain a comfortable environment during your project. Follow these steps, and you’ll achieve a smooth, professional finish every time.
Frequently Asked Questions
Can I Use Oil-Based Stain With an Electric Spray Gun?
You can use oil-based stains with a spray gun, but you need to verify spray gun compatibility first. Oil-based stains can clog some spray tips, so make certain your gun is designed to handle thicker materials. Thin the stain if necessary, and test on a scrap piece. Using the right spray gun and preparing the stain properly ensures smooth application and avoids damage to your equipment.
How Do I Clean a Paint Sprayer After Staining?
To clean your paint sprayer after staining, start by disassembling the nozzle and other removable parts. Rinse them with the appropriate cleaning solution—usually mineral spirits for oil-based stains. Use cleaning techniques like flushing the system with the solvent, then running water for water-based stains. Consistent sprayer maintenance, including thorough cleaning after each use, prevents clogs and guarantees smooth operation next time.
Is It Safe to Spray Stain Indoors?
Sometimes, unexpected coincidences remind you to prioritize safety. Spraying stain indoors might seem convenient, but without proper indoor ventilation, you risk exposing yourself to harmful fumes. Always guarantee good airflow and wear respiratory safety gear. While it’s possible to spray stain indoors, it’s safer to do so in a well-ventilated area or outdoors to protect your health. Your lungs will thank you for choosing safety first.
What Mask or Protective Gear Should I Wear?
When spraying stain or sealer, you should wear a respirator recommended for fumes and particles, like a NIOSH-approved mask, to protect your lungs. Follow protective clothing guidelines by donning long sleeves, gloves, and eye protection to prevent skin and eye contact. Confirm proper ventilation and avoid inhaling fumes. Always read the product label for specific safety instructions and gear recommendations to keep yourself safe during the project.
How Long Does Stain or Sealer Take to Dry After Spraying?
After spraying stain or sealer, you’ll want to take into account the drying time, which typically ranges from 1 to 24 hours depending on humidity and temperature. Keep in mind, the curing process takes longer, often up to a week, before the finish fully hardens and resists wear. To guarantee the best results, avoid heavy use or moisture exposure during the initial drying period, and follow the manufacturer’s instructions for the most effective curing.
Conclusion
Using a paint sprayer for stain or wood sealer can save you time and deliver a smooth finish. Don’t let concerns about overspray or complexity hold you back—practice and proper technique make all the difference. With patience and the right setup, you’ll achieve professional results that enhance your wood projects. Embrace the process, and you’ll enjoy beautifully finished wood surfaces without the hassle of traditional brushes or rollers.

A seasoned painter with over 15 years in the industry, Mike transitioned from hands-on painting projects to the digital world of paint sprayers. His extensive experience gives him a unique perspective on what users truly need when it comes to painting tools. As the Editor in Chief of Paint Sprayer Zone, Mike ensures that every piece of content not only provides value but also reflects the realities of painting — the challenges, the joys, and the intricate details.