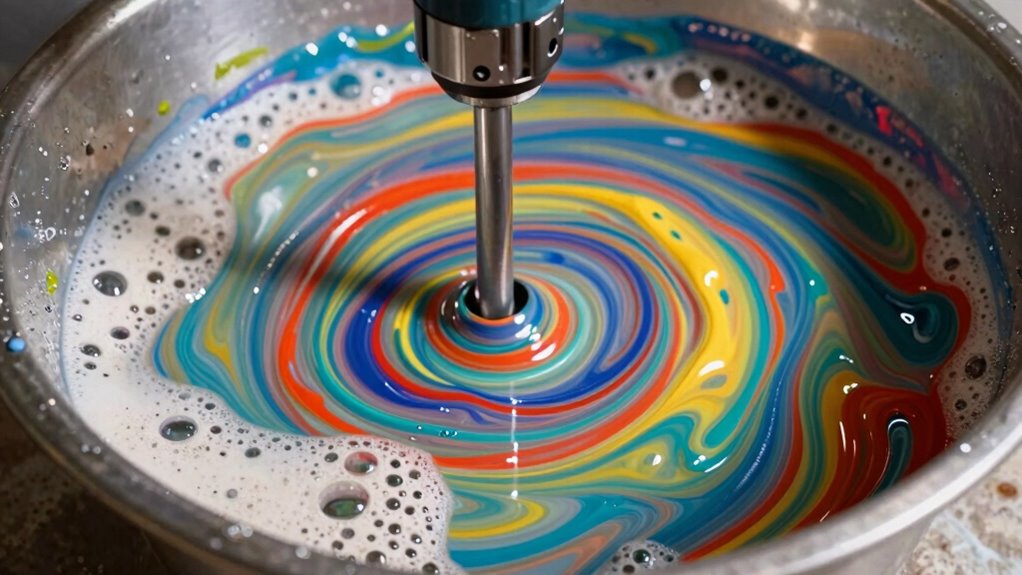

When mixing paint, using a high drill speed can whip in bubbles that ruin your finish. Rapid spinning introduces excess air, creating foam and uneven color distribution. Bubbles can pop during drying, leading to surface imperfections and longer drying times. To avoid this, start mixing at a low speed and gradually increase if needed. Maintaining proper technique is key; keep reading to discover how to perfect your paint mixing process and achieve flawless results.
Key Takeaways
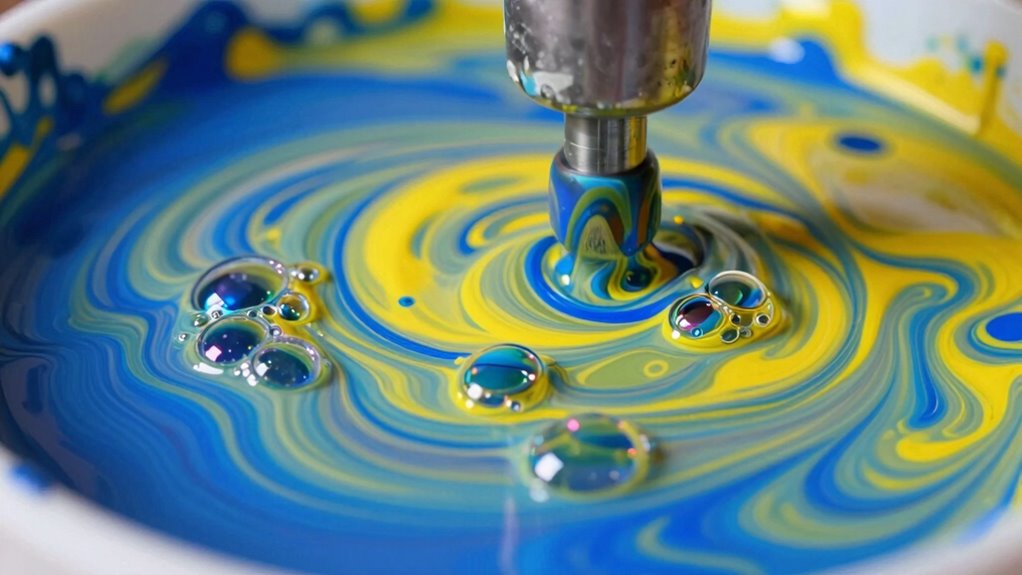
- Using high drill speeds quickly incorporates air, forming bubbles in the paint.
- Rapid mixing at high speeds causes foam, trapping moisture and drying slowly.
- Excessive drill speed increases splattering and foam, compromising finish quality.
- High speeds disrupt even pigment distribution, leading to color inconsistencies.
- Proper mixing involves starting slow and gradually increasing speed to avoid bubble formation.
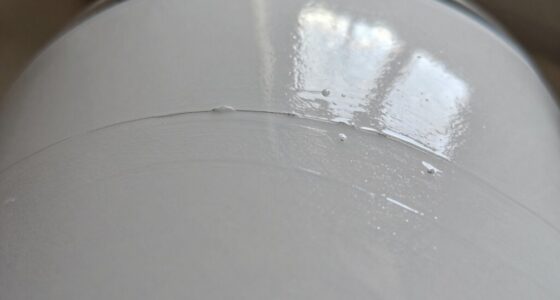
Mixing paint might seem straightforward, but small mistakes can lead to uneven color, poor coverage, or a finish that doesn’t last. One common error that often trips up DIY enthusiasts is rushing the process or using improper drill speed when stirring paint. If you use a high drill speed, you might whip air into the mixture, creating bubbles that disrupt color consistency and compromise the final look. These bubbles can pop during drying, leaving behind tiny imperfections that mar the smoothness of your finish. To avoid this, you should start with a slow, gentle mixing speed to blend the paint thoroughly without introducing excess air. Once the paint begins to combine and loosen, you can increase the speed slightly, but never to the point where it causes splattering or foam. Achieving the right balance helps guarantee uniform color and prevents inconsistencies that might require a redo. Proper mixing technique is crucial for achieving optimal results. Beyond the risk of bubbles, improper mixing speeds also influence drying time. Paint that’s mixed too aggressively or with air incorporated into the mixture tends to have uneven drying patterns. Bubbles or foam can trap solvents or moisture, leading to extended drying times or uneven curing. This not only delays your project but can also cause the paint to peel or crack later on. To make certain the drying time is predictable, you want a smooth, well-mixed paint that’s free of foam and bubbles. Using the correct drill speed minimizes the chance of trapping air, promoting a consistent drying process and a durable finish. Another aspect to take into account is how mixing speed affects color consistency. When you whip air into the paint, it can cause subtle shifts in hue or sheen, especially if the paint contains different pigments or additives. This inconsistency becomes noticeable once the paint dries and can be frustrating, especially if you’re trying to match a specific color or achieve a uniform look across multiple walls or surfaces. Slow, steady mixing helps ensure all components blend evenly, giving you predictable and consistent results from the first coat to the last.
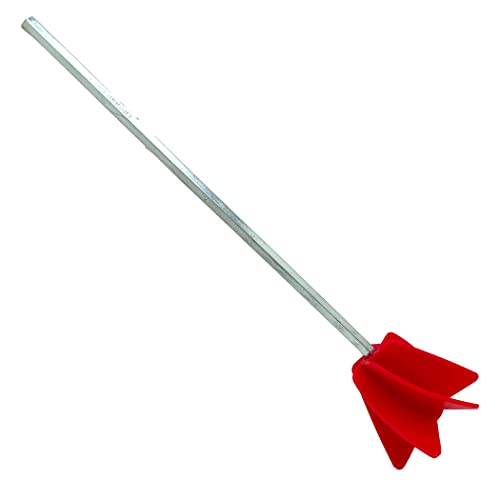
Edward Tools Paint Mixer Drill Attachment – Helix Mixer for 1 Gallon of Paint Epoxy, Resin, Silicone – Consistent Even Flow Stirrer Paddle – Works with all 3/8” and larger drills (1)
- Fast Mixing Design: Ensures faster, consistent mixing
- Universal Fit: Compatible with all 3/8” and larger drills
- Reusable and Easy to Clean: Durable metal and plastic surfaces for quick cleaning
As an affiliate, we earn on qualifying purchases.
As an affiliate, we earn on qualifying purchases.
Frequently Asked Questions
Can Using a Higher Drill Speed Improve Paint Consistency?
Using a higher drill speed can improve paint consistency if you’re careful, but it also risks introducing bubbles. You should start with a moderate speed and gradually increase until the paint is well-mixed without bubbles. The key is finding the right drill speed that guarantees thorough mixing while maintaining a smooth, bubble-free finish. Always monitor the process to avoid over-agitating the paint, which can harm your results.
What Types of Paint Are Most Prone to Bubble Formation?
Ever feel like your paint is fighting back? Oil-based and latex paints are most prone to bubble formation, especially when mixed too quickly or vigorously. These paint types trap air more easily, turning smooth surfaces into bubbly nightmares. To avoid this, mix gently and at a slower speed. Recognizing which paint is more bubble-prone helps you prevent headaches and achieve flawless finishes every time.
How Does the Thickness of Paint Affect Bubble Creation?
Thicker paint with high viscosity increases the risk of bubble creation because it traps more air during mixing. When you work with viscous paint, you often entrap air, leading to bubbles forming on the surface. To prevent this, you should mix slowly and avoid rapid stirring, which causes more air entrapment. Thinner paints, with lower viscosity, tend to produce fewer bubbles, resulting in a smoother finish.
Are There Specific Drill Attachments Recommended for Mixing Paint?
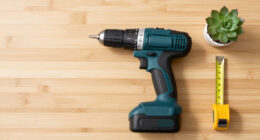
You should choose mixing attachments designed for paint, like a flat paddle or a whisk, to guarantee thorough blending. For better mixing techniques, opt for attachments that match your paint’s consistency—stir paddles for thicker paints and wire whisks for lighter mixtures. These attachment options help prevent bubbles and ensure a smooth, uniform finish. Always select the right tool to achieve the best results efficiently and avoid unnecessary mess.
How Long Should I Mix Paint to Avoid Bubbles?
You should mix paint for about 2-3 minutes to prevent bubbles, using gentle, consistent mixing techniques. Keep the drill speed low to avoid whipping in air, which can disturb the paint color and create bubbles. Regularly pause to check for bubbles and stir gently if needed. Proper mixing guarantees smooth application and even color, so don’t rush—patience helps you achieve the best finish without unwanted bubbles.
Conclusion
To avoid painting pitfalls, remember that your drill speed is the key to a smooth, bubble-free finish. Like a skilled chef adjusting the heat, you need to find the right setting to blend your paint perfectly. Too fast, and you’ll whip up a storm of bubbles; too slow, and you risk uneven mixing. Mastering this balance guarantees your project turns out flawless, leaving your walls as sleek as a mirror and free of those pesky bubbles.