
To trust your adhesion tests, follow proper procedures for both crosshatch and tape methods. Verify surfaces are thoroughly cleaned and prepared, use calibrated tools, and apply consistent pressure and timing. Create uniform cuts and choose the right tape, peeling at the correct angle for accurate results. Address any failures by troubleshooting contamination or technique errors. Mastering these steps will improve test reliability and help you achieve trustworthy, repeatable adhesion assessments long-term.
Key Takeaways
- Follow standardized procedures for surface preparation, ensuring thorough cleaning and contamination removal before testing.
- Use calibrated, sharp tools for consistent crosshatch cuts and apply uniform pressure when applying tape.
- Peel tape at a steady 180-degree angle to accurately assess adhesion performance.
- Regularly calibrate testing equipment and maintain consistent techniques to ensure repeatable, reliable results.
- Interpret failure modes carefully, differentiating between cohesive and adhesive failures to diagnose adhesion issues accurately.

CGOLDENWALL Cross Hatch Adhesion Tester Cross-Cut Tester Kit Multi-Blade Cutter spacing: 1 +0.01mm, 2+0.01mm, 3+0.01mm
Multi-blade cutter spacing: 1 +0.01mm, 2+0.01mm,3+0.01mm
As an affiliate, we earn on qualifying purchases.
As an affiliate, we earn on qualifying purchases.
Why Proper Adhesion Testing Prevents Failures
Have you ever wondered why adhesion failures happen unexpectedly? It all comes down to understanding adhesion science and how it influences your coating formulations. Proper adhesion testing helps identify potential issues before application, ensuring your coatings bond effectively. When you neglect these tests, you risk using incompatible materials or flawed formulations that can lead to peeling or delamination. By conducting thorough adhesion tests, you gain insights into the strength and durability of your coatings, allowing you to adjust formulations accordingly. Color accuracy is also an important factor that can be affected by improper adhesion, leading to inconsistent visual results. This proactive approach prevents costly failures, reduces rework, and extends the lifespan of your coatings. Additionally, innovative European cloud servers can host advanced testing data securely, enhancing your quality control processes. Remember, investing time in proper adhesion testing isn’t just a precaution — it’s a crucial step for reliable, long-lasting adhesion results. Incorporating advanced testing methods can further improve your confidence in the adhesion performance of your coatings.

CGOLDENWALL Cross Hatch Adhesion Tester Cross-Cut Tester Kit Multi-blades with 1mm/2mm/3mm Blades Cutter Spacing: 1 +0.01mm, 2+0.01mm, 3+0.01mm with Plastic Packing Box
Multi-blade cutter spacing: 1 +0.01mm, 2+0.01mm, 3+0.01mm
As an affiliate, we earn on qualifying purchases.
As an affiliate, we earn on qualifying purchases.
Prepare Surfaces and Samples for Accurate Adhesion Tests

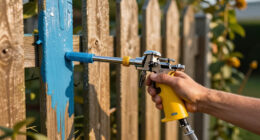
To guarantee accurate adhesion test results, you must carefully prepare both the surfaces and samples beforehand. Proper surface preparation involves cleaning the substrate thoroughly to remove dust, grease, or contaminants that could affect adhesion. Use appropriate solvents or cleaning agents based on the material. Sample conditioning is equally important; ensure your samples are at the correct temperature and humidity levels, as environmental factors can influence adhesion properties. Allow samples to stabilize in a controlled environment before testing. Consistent surface preparation and sample conditioning eliminate variables that could skew results, ensuring your tests accurately reflect the true adhesion strength. Additionally, understanding free floating conditions can help in designing tests that better simulate real-world applications. Taking these steps helps you achieve reliable, repeatable measurements and makes certain your adhesion assessments are trustworthy.

Cross Hatch Testing Tape for use with Adhesion Testing via ASTM D3359 (Includes Certificate of Conformance); 1" Wide by 90 Yards Long
Intended to replace now discontinued Permacel P99
As an affiliate, we earn on qualifying purchases.
As an affiliate, we earn on qualifying purchases.
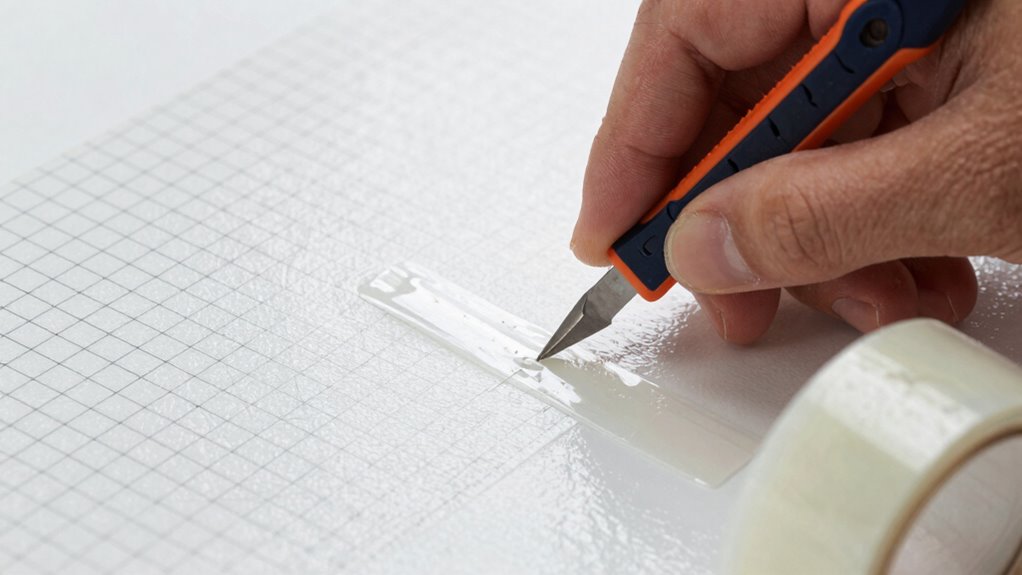
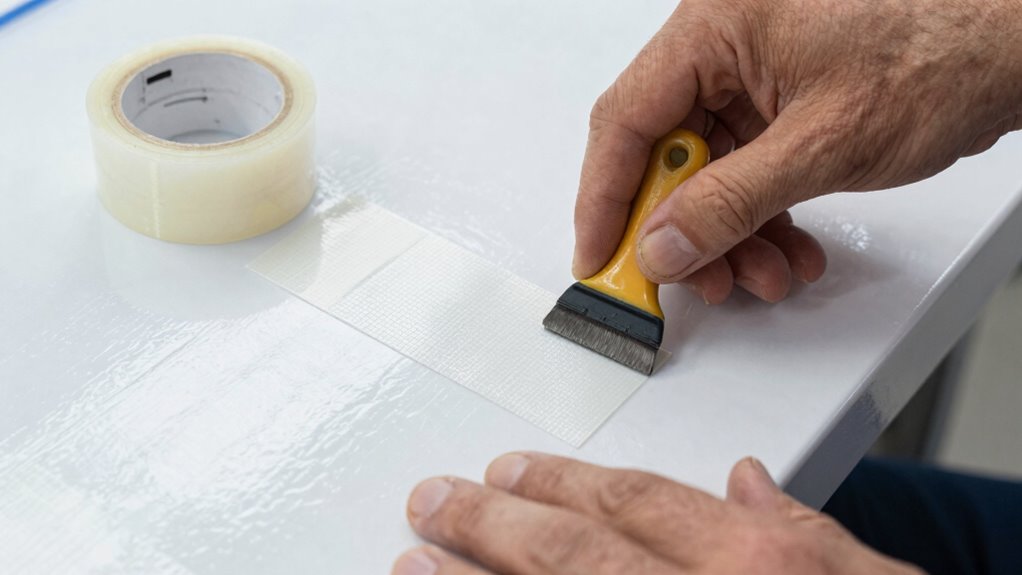
Perform the Crosshatch Test Correctly
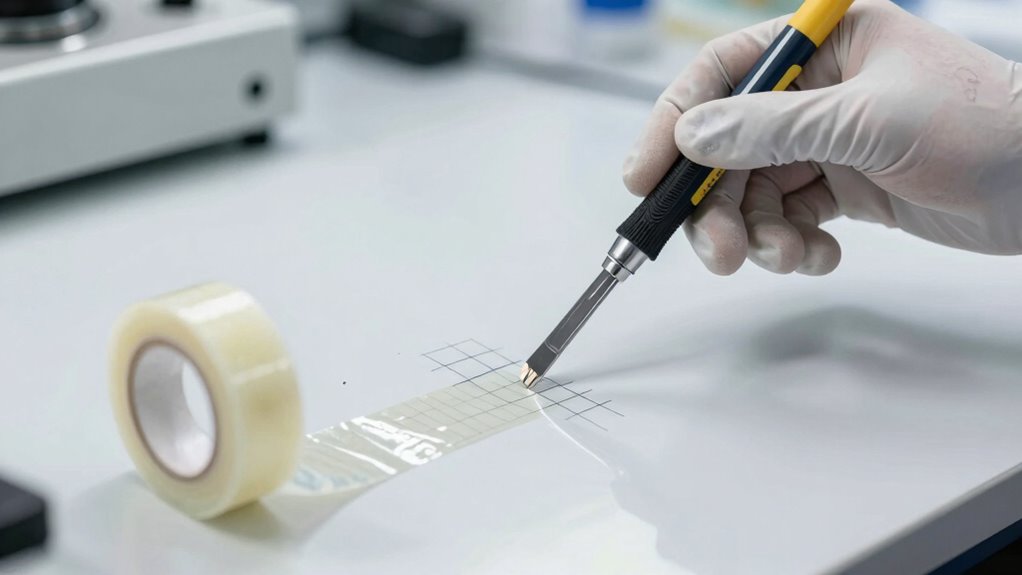
Performing the crosshatch test correctly is essential for accurately evaluating adhesion strength. First, verify your adhesion testing equipment is in good condition, with sharp blades and a properly calibrated cutter. Before starting, set up a controlled testing environment to avoid temperature and humidity fluctuations that could affect results. Use a clean, sharp tool to make uniform, evenly spaced cuts in a crisscross pattern, applying consistent pressure. Avoid tearing or uneven lines, as these can skew your data. After scoring, gently brush away any debris to prevent interference with adhesion assessment. Proper technique ensures your results reflect the true adhesion level of the coating, providing reliable data for quality control. Precision in this process is key to trustworthy testing outcomes, and understanding test accuracy factors can help improve your results over time. Ensuring proper technique is followed consistently minimizes errors and enhances the reliability of your adhesion tests. Incorporating calibration checks regularly can further improve the consistency and accuracy of your testing process. Additionally, maintaining a clean testing surface is crucial to avoid contamination that could compromise results. Regularly inspecting your tools also helps identify wear that could affect cut quality, ensuring consistent performance.
CGOLDENWALL Cross Hatch Adhesion Tester Cross-Cut Tester Kit Multi-blades with 1mm/2mm/3mm Blades Cutter Spacing: 1 +0.01mm, 2+0.01mm, 3+0.01mm with Plastic Packing Box
Multi-blade cutter spacing: 1 +0.01mm, 2+0.01mm, 3+0.01mm
As an affiliate, we earn on qualifying purchases.
As an affiliate, we earn on qualifying purchases.
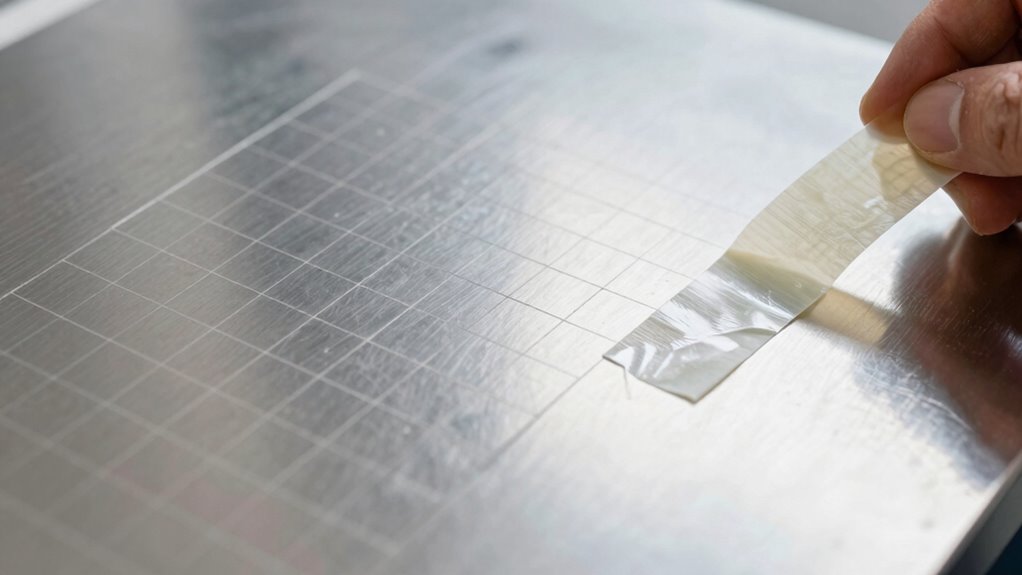
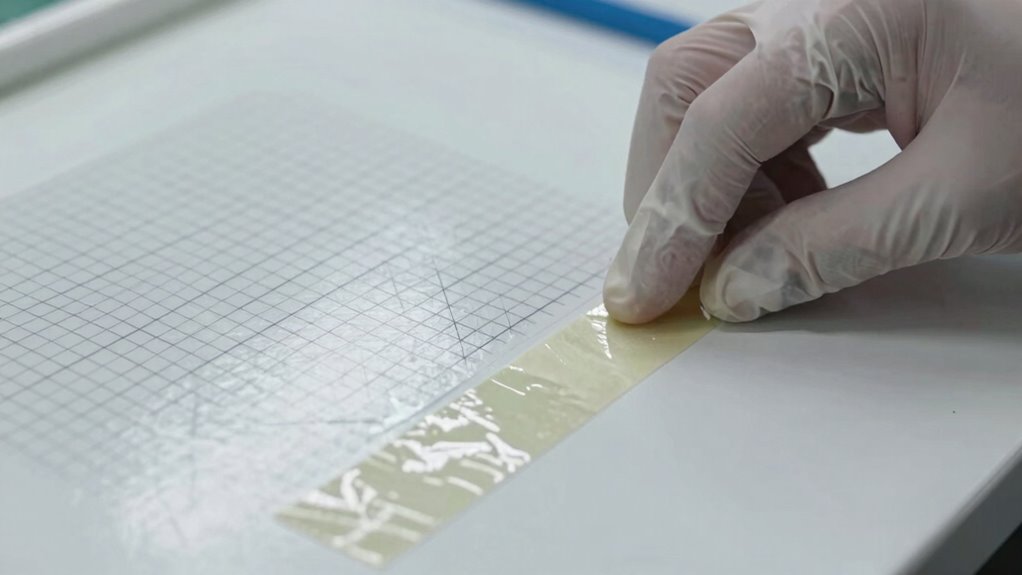
Conduct the Tape Test for Reliable Adhesion Results
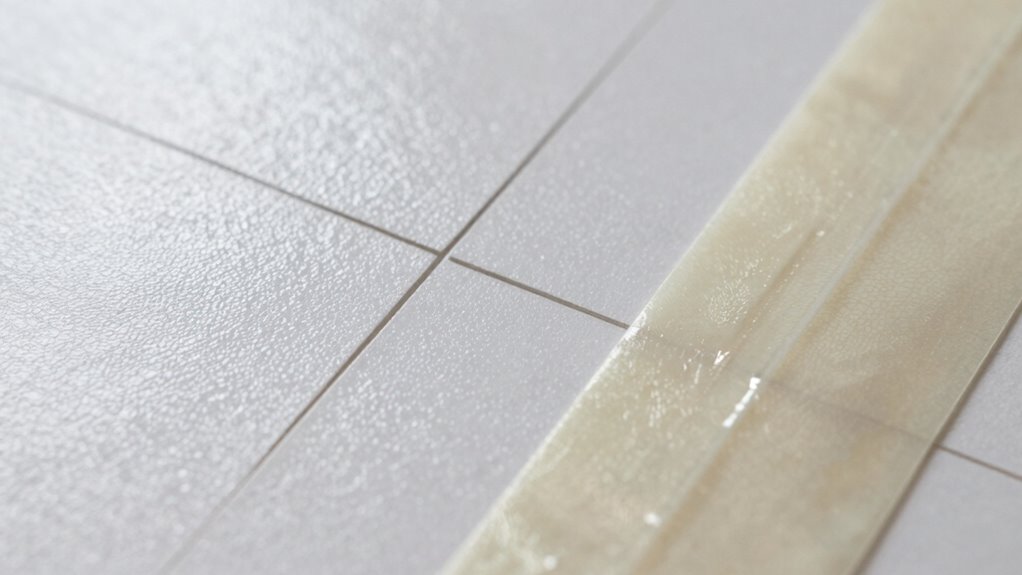
Conducting the tape test correctly is essential for obtaining accurate adhesion results. To guarantee reliable adhesion measurement, follow established testing standards precisely. Begin by selecting the right tape—usually a standard pressure-sensitive adhesive tape specified by testing protocols. Apply the tape firmly onto the coated surface, ensuring good contact across the entire area. Use a consistent pressure and smooth out any air bubbles. After a few seconds, peel the tape back at a 180-degree angle quickly and steadily. Observe the amount of coating that lifts off, if any. Adhering to testing standards guarantees consistency and comparability of results. Proper technique minimizes errors and ensures your adhesion assessment accurately reflects the coating’s performance. A standardized testing method is key to trustworthy, repeatable adhesion measurements. It’s also important to consider affiliate disclosure when sharing test results or recommending products related to adhesion testing. Incorporating proper testing procedures and understanding test standard guidelines further enhances the reliability of your results and helps maintain industry standards. Additionally, using consistent application techniques can improve the overall accuracy of your adhesion evaluations.
Interpret Adhesion Test Results and Troubleshoot Common Issues
When reviewing your adhesion test results, it’s important to interpret them correctly to identify potential issues. You’ll need to recognize common failures, such as peeling or incomplete adhesion, and understand what they indicate. Troubleshooting errors in testing procedures can help make sure accurate results and improve overall adhesion performance. Additionally, understanding the testing methods used can provide insight into the reliability of the results and guide necessary adjustments. To ensure consistency, it’s also helpful to familiarize yourself with standard testing protocols that are widely accepted in the industry. Being aware of test standard compliance can further ensure that your testing procedures meet industry expectations and yield trustworthy data. Incorporating quality control measures can also help detect inconsistencies early and uphold testing integrity. Regular calibration of testing equipment is essential for maintaining measurement accuracy and ensuring reliable results.
Interpreting Test Results Accurately
Interpreting adhesion test results accurately is essential for evaluating the quality of your coating or bond. Understanding adhesion science helps you distinguish between acceptable and problematic adhesion levels. Follow testing standards carefully to ensure consistent and reliable results. Look for clear signs, such as cohesive or adhesive failures, which indicate different issues. A clean, uniform failure typically aligns with proper adhesion, while peeling or delamination suggests underlying problems. Remember, deviations from standards may lead to misinterpretations, so always compare your results against established benchmarks. Accurate interpretation allows you to identify whether the failure stems from surface preparation, material incompatibility, or application issues. Being aware of common plant health issues can also help you troubleshoot environmental factors that may affect adhesion tests in outdoor applications. Additionally, understanding adhesion science principles enhances your ability to troubleshoot and optimize testing procedures. This insight helps you make informed decisions, improve processes, and guarantee your coatings perform reliably over time. Proper testing procedures are crucial for obtaining trustworthy results and minimizing errors.
Common Adhesion Failures
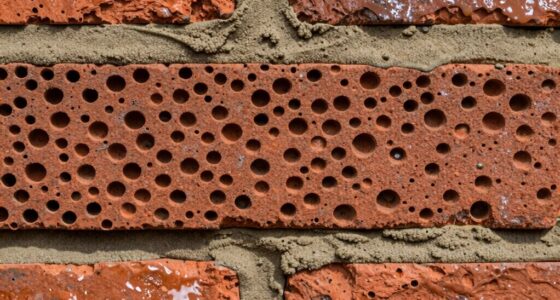
Understanding common adhesion failures is key to diagnosing issues revealed by test results. One major cause is surface contamination, such as grease, dirt, or oils, which prevent proper bonding. When contamination exists, the adhesive struggles to grip the substrate, leading to adhesion failure during testing. Proper surface cleaning techniques are essential to remove contaminants and ensure a secure bond. Another issue is uneven or incomplete surface preparation, which creates weak spots. Additionally, moisture or residual residues can compromise adhesion, causing failures that appear as peeling or flaking. Recognizing these signs helps you identify whether surface contamination or improper surface prep is the root cause. By thoroughly cleaning and preparing surfaces before testing, you improve adhesion and reduce the chances of failure. Proper surface cleaning techniques are essential to ensure optimal adhesion. Troubleshooting these common issues ensures your adhesion tests give accurate, reliable results.
Troubleshooting Testing Errors
Accurately diagnosing adhesion test results requires careful analysis of the test patterns and conditions. If you observe adhesion failure where the coating peels or splits, check whether the test was properly calibrated; improper calibration can lead to false failures or passes. Ensure the test area was prepared correctly, with clean, dry surfaces, and that the cut lines were consistent. Sometimes, test errors stem from insufficient pressure during tape application or uneven crosshatch cuts, which can compromise results. If you encounter inconsistent results, revisit your calibration procedures and verify the operator’s technique. Remember, calibration ensures your testing device produces reliable, repeatable results. Troubleshooting these issues helps you identify whether failures are genuine or caused by testing errors, ensuring accurate adhesion assessments.
Ensure Consistency in Your Adhesion Testing Process
To make certain of consistent results in your adhesion testing, it’s *essential* to follow a standardized process every time. Focus on proper surface preparation, ensuring the substrate is clean, dry, and free of contaminants. Consistent surface conditions directly impact testing consistency, leading to reliable results. Develop a clear protocol for applying tests, including the same pressure, angle, and duration. Use a detailed checklist to track each step, reducing variability. Here’s a sample process:
| Step | Action |
|---|---|
| 1 | Clean surface thoroughly |
| 2 | Allow surface to dry |
| 3 | Apply coating uniformly |
| 4 | Conduct test with consistent force |
| 5 | Record results precisely |
Adhering to this process minimizes errors and maintains testing consistency.
Frequently Asked Questions
What Are the Limitations of Crosshatch and Tape Adhesion Tests?
You should know that crosshatch and tape adhesion tests have limitations affecting test accuracy and material compatibility. They might not work well on uneven or rough surfaces, leading to inaccurate results. Additionally, these tests may not suit all materials, especially those sensitive to tape or scratches. You need to take these factors into account to ensure reliable adhesion assessments, recognizing that these methods aren’t foolproof in every situation.
How Often Should Adhesion Tests Be Performed During Coating Application?
You should perform adhesion tests at regular testing intervals throughout the coating application process, typically after each coat or at specified milestones. The application frequency depends on project requirements, coating type, and environmental conditions. Regular testing guarantees consistent adhesion quality and helps identify issues early. For critical projects, consider more frequent testing intervals to maintain quality control, especially when applying multiple coats or working under challenging conditions.
Can Environmental Conditions Affect Adhesion Test Results?
Environmental factors are like unpredictable weather that can cloud your test results. They can affect adhesion test reliability by introducing variables such as humidity, temperature, or moisture, which might weaken or strengthen the bond temporarily. You need consistent conditions to get accurate, trustworthy results. Always consider environmental influences before testing, and perform tests under controlled conditions to guarantee your adhesion assessments reflect the true performance of your coating.
What Equipment Is Recommended for Precise Adhesion Testing?
You should use high-quality testing equipment designed for precise adhesion measurements, such as a calibrated pull-off or crosshatch tester. Make certain your equipment undergoes regular calibration procedures to maintain accuracy. Proper calibration helps you get consistent, reliable results, especially when testing under varying environmental conditions. Invest in durable, certified tools and follow manufacturer guidelines to ensure your adhesion tests are precise, dependable, and compliant with industry standards.
How Do I Select the Appropriate Test Method for Different Materials?
Choosing the right test method is like finding the perfect key for a lock; it depends on material compatibility and the specific properties you need to evaluate. You should consider the type of substrate, coating, or adhesive involved, then match it to a test standard that aligns with your project goals. This guarantees accurate results and reliable performance, guiding you to select methods that truly fit your material’s unique characteristics.
Conclusion
Think of adhesion testing as tending a delicate garden; each step is crucial to guarantee your plants flourish. When you prepare your surfaces, perform the tests correctly, and interpret results carefully, you’re nurturing a resilient foundation. Skipping or rushing these steps is like neglecting your garden—leading to failure. Trust in the process, follow the guidelines, and watch your projects thrive like a well-tended garden, strong and lasting, built on the roots of reliable adhesion.