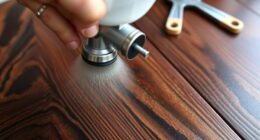
If you come across a blockage in your airless paint sprayer, it can be compared to dealing with a clogged artery that hinders the paint flow. However, there’s no need to worry, as this article will lead you through the process of unclogging and properly maintaining your sprayer.
With specialized solutions, warm water or cleaning solvent, wire brushes or needles, and proper maintenance techniques, you’ll be able to keep your sprayer running smoothly and efficiently.
Don’t let clogs slow you down, take charge and keep your sprayer in top shape.
Key Takeaways
- Clean the nozzle with a specialized solution or needle to unclog the sprayer for airless paint.
- Rinse the nozzle with warm water or use a cleaning solvent.
- Regularly inspect and clean the sprayer to prevent clogging and ensure optimal performance.
- Seek professional help if troubleshooting fails to resolve complex issues and restore sprayer functionality.
Understanding the Importance of Unclogging Your Airless Paint Sprayer
Regularly cleaning and unclogging an airless paint sprayer is crucial to maintaining its optimal performance and preventing clogs that can disrupt the painting process. The importance of regular maintenance for airless paint sprayers cannot be overstated. Without proper cleaning and unclogging, the sprayer can experience various issues such as reduced paint flow, uneven spray patterns, and blockages in the nozzle.
Common causes of clogs in airless paint sprayers include dried paint residue, impurities in the paint, and inadequate filtration. By regularly inspecting and cleaning the sprayer, users can prevent these issues and ensure that the sprayer operates efficiently. It is recommended to use high-quality paint, follow manufacturer guidelines, and install a filter at the inlet to catch debris.
Additionally, flushing the sprayer with clean water after each use and disassembling removable parts for thorough cleaning are essential maintenance practices.
Cleaning the Nozzle: Specialized Solutions and Needles
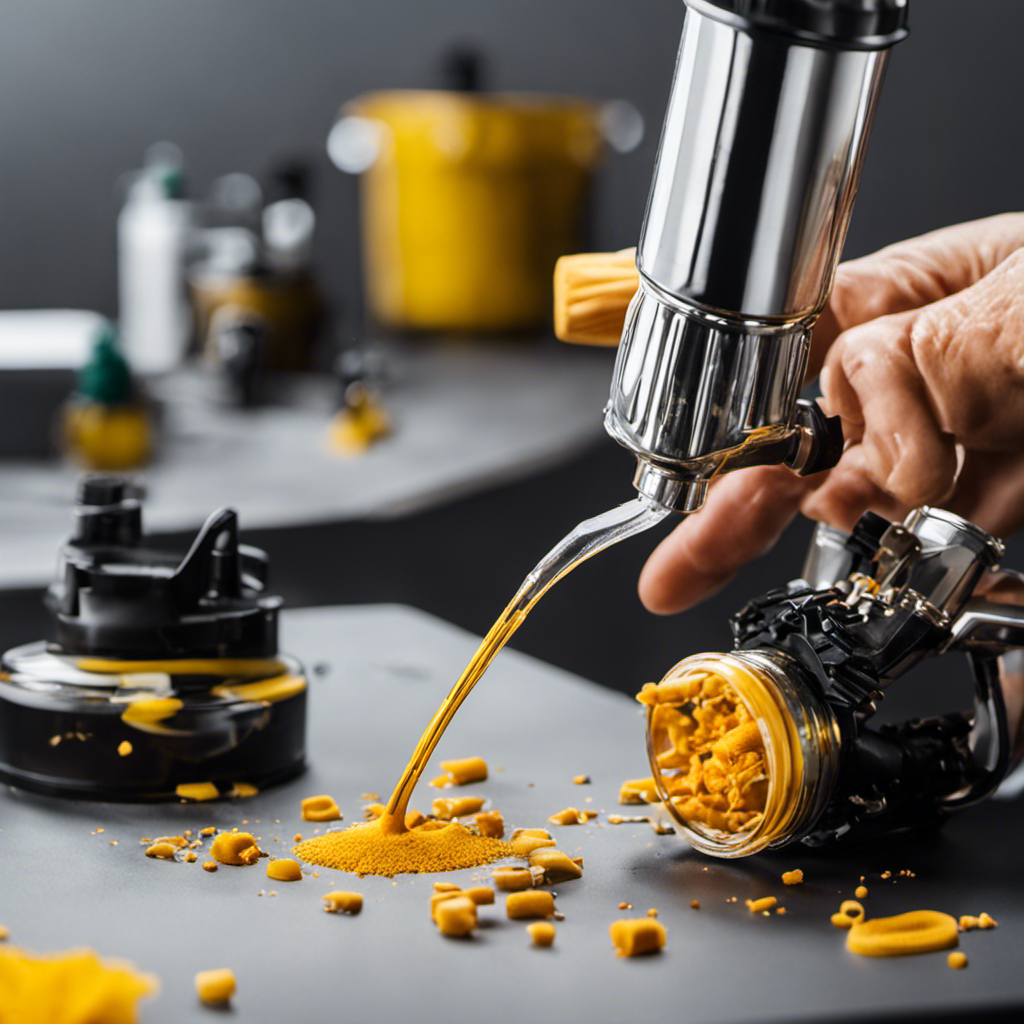
To effectively clean the nozzle, the user can utilize specialized solutions or needles, ensuring any clogs are removed and the sprayer can function optimally. Cleaning techniques for airless paint sprayers involve using the right cleaning solution and tools.
Here are three important steps to clean the nozzle thoroughly:
-
Rinse with warm water or cleaning solvent: After disconnecting the sprayer, rinse the nozzle with warm water or a suitable cleaning solvent to remove any residual paint or debris.
-
Use a wire brush or needle to dislodge blockages: Gently insert a wire brush or needle into the nozzle to dislodge any stubborn clogs or blockages that may be affecting the sprayer’s performance.
-
Remove paint residue: Thoroughly clean the nozzle, ensuring all paint residue is removed. This step is crucial to prevent future clogs and maintain the sprayer’s functionality.
Rinsing the Nozzle With Warm Water or Cleaning Solvent
After disconnecting the sprayer, the user can rinse the nozzle with warm water or a cleaning solvent to remove any residual paint or debris. Using cleaning solvents for nozzle maintenance can be an effective way to dissolve stubborn paint buildup or residue. These solvents are specifically designed to break down paint particles, making it easier to clean the nozzle. Warm water, on the other hand, provides several benefits for rinsing the nozzle. Firstly, warm water can help to soften and loosen any dried paint, making it easier to remove. Secondly, warm water can help to dissolve water-based paints, ensuring a more thorough cleaning. Lastly, warm water can help to prevent the nozzle from freezing in cold temperatures, which can lead to clogging. Incorporating warm water or a cleaning solvent into your nozzle maintenance routine can help to keep your sprayer functioning at its best.
| Benefits of Warm Water for Rinsing the Nozzle | Benefits of Using Cleaning Solvents for Nozzle Maintenance |
|---|---|
| Softens and loosens dried paint | Dissolves stubborn paint buildup or residue |
| Dissolves water-based paints | Breaks down paint particles for easier cleaning |
| Prevents nozzle freezing in cold temperatures | Helps to keep sprayer functioning at its best |
Dislodging Blockages With Wire Brushes or Needles
Using a wire brush or needle, the user can gently dislodge blockages in the nozzle to ensure optimal performance of the sprayer. Cleaning techniques for stubborn paint clogs and the importance of regular sprayer maintenance cannot be overstated.
When paint clogs the nozzle, it can lead to uneven spraying, reduced coverage, and ultimately, a frustrating painting experience. To prevent and resolve this issue, here are three key steps to dislodge blockages effectively:
-
Carefully insert a wire brush or needle into the nozzle to loosen and remove any stubborn paint clogs.
-
Thoroughly rinse the nozzle with warm water or use a cleaning solvent to dissolve any remaining paint residue.
-
Inspect the nozzle to ensure all blockages have been removed, wiping away any excess paint residue.
Thoroughly Removing Paint Residue From the Nozzle
The user can ensure optimal performance of the sprayer by thoroughly removing any paint residue from the nozzle. This is essential for preventing clogs and maintaining the functionality of the sprayer.
To remove stubborn paint residue, the user can follow these tips:
-
Use a specialized cleaning solution or solvent: These solutions are designed to break down and dissolve paint, making it easier to remove from the nozzle.
-
Scrub the nozzle with a wire brush or needle: Gently scrubbing the nozzle with a wire brush or needle can dislodge any remaining paint residue.
-
Rinse with warm water: After scrubbing, rinsing the nozzle with warm water can help flush out any loosened paint particles.
-
Wipe off any remaining residue: Using a clean rag or paper towel, wipe off any paint residue that may still be present on the nozzle.
Gathering Supplies and Disconnecting the Sprayer
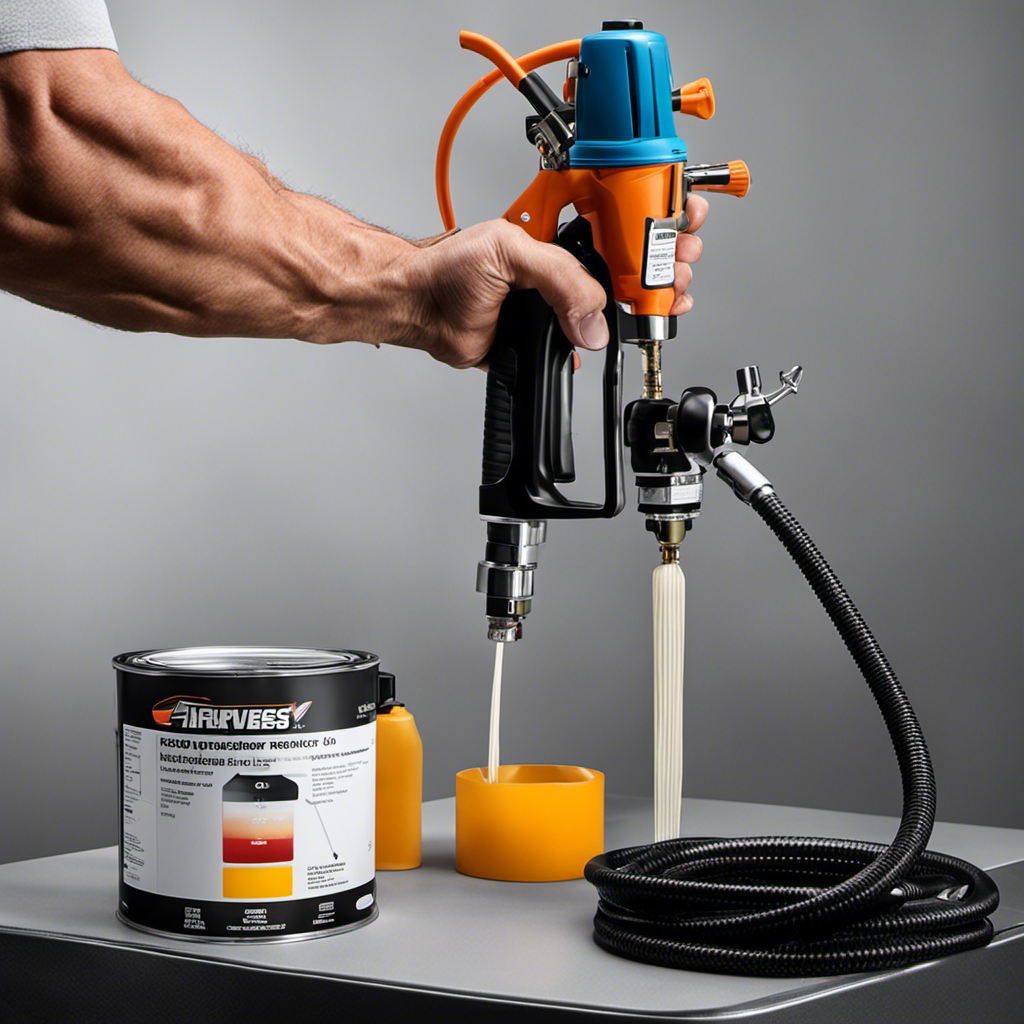
To gather the necessary supplies and disconnect the sprayer, the user should use a wrench or pliers to disconnect it from the paint hose.
Once the sprayer is disconnected, the user should prepare a bucket or container to catch any excess paint and have a clean rag or paper towels to wipe off paint residue.
It is important to properly dispose of any paint residue to avoid environmental contamination. Users can consider using alternative cleaning solutions, such as eco-friendly paint removers, to minimize the impact on the environment.
Additionally, leftover paint should be disposed of according to local regulations.
Using Wrenches or Pliers to Disconnect the Sprayer
A user can disconnect the sprayer by gripping the handle firmly with a wrench or pliers.
However, there are alternative methods available to disconnect the sprayer as well.
One tip for preventing clogs in the sprayer is to regularly inspect and clean the nozzle. This can be done by using a specialized solution or needle to unclog the sprayer for airless paint.
Another tip is to install a filter at the inlet of the sprayer to catch debris or particles before they enter the system.
Additionally, it is important to use high-quality paint and follow the manufacturers’ guidelines for proper mixing, straining, and compatibility with the sprayer.
Preparing a Bucket or Container for Excess Paint
Preparing a bucket or container to catch any excess paint is an essential step in disconnecting the sprayer. This helps prevent paint buildup and ensures a clean and organized work area.
Here are three alternative cleaning methods to consider:
-
Use a specialized cleaning solution: Some sprayers come with a recommended cleaning solution that effectively breaks down paint residue. Simply pour the solution into the bucket and place it under the sprayer to catch any excess paint.
-
Use warm soapy water: Fill the bucket with warm water and add a few drops of dish soap. This gentle solution can help remove paint residue without damaging the sprayer.
-
Use a paint strainer: If you have a paint strainer, place it over the bucket before disconnecting the sprayer. The strainer will catch any paint particles, preventing them from entering the bucket and clogging the drain.
Remember to dispose of the excess paint properly after disconnecting the sprayer.
Wiping off Paint Residue With Clean Rags or Paper Towels
Using clean rags or paper towels, the user can easily wipe off any paint residue from the sprayer. This step is crucial in maintaining the sprayer’s performance and preventing clogs. When cleaning the sprayer, it is important to use wiping techniques that effectively remove the paint residue without damaging the equipment. There are alternative cleaning methods available, such as using specialized cleaning solutions or solvents, but wiping off the paint residue with clean rags or paper towels is a simple and effective option. By incorporating a 3 column and 5 row table, the audience can gain a deeper understanding of the different wiping techniques and alternative cleaning methods that can be used for sprayer maintenance.
| Wiping Techniques | Alternative Cleaning Methods |
|---|---|
| Use clean rags | Specialized cleaning solution |
| Use paper towels | Solvents |
| Apply gentle pressure | |
| Wipe in a circular motion | |
| Ensure thorough cleaning |
Safely Disconnecting the Sprayer From Power Source
To safely disconnect the sprayer from the power source, the user should follow these step-by-step instructions:
-
Twist the nozzle counterclockwise: Start by twisting the nozzle counterclockwise to loosen it from the sprayer. This will allow for easy removal.
-
Use pliers or a wrench: Once the nozzle is loosened, use pliers or a wrench to disconnect the sprayer from the paint hose. This will provide a secure grip and prevent any accidental disconnection.
-
Disconnect from the power source: Before proceeding with any disconnection, always remember to unplug the sprayer from the power source. This will eliminate any risk of electric shock or injury.
Following these steps will ensure a safe and efficient disconnection process for your airless paint sprayer.
Twist and Remove the Nozzle to Access Interior Parts
When twisting and removing the nozzle, it allows the user to access the interior parts of the sprayer. This step is crucial for proper maintenance and troubleshooting techniques.
By accessing the interior parts, users can clean and unclog the sprayer effectively. To remove the nozzle, simply twist it counterclockwise until it comes off.
Once the nozzle is removed, users can employ various nozzle cleaning solutions and unclogging techniques to ensure optimal performance. It is important to remove any paint residue thoroughly to prevent future clogs.
Additionally, by accessing the interior parts, users can also prepare the sprayer for paint removal or perform other necessary maintenance tasks.
If troubleshooting techniques fail, it is advisable to seek professional help to diagnose and resolve complex issues.
Proper Maintenance and Prevention Techniques
In order to keep your airless paint sprayer running smoothly and prevent clogging, it is important to follow proper maintenance and prevention techniques. By implementing these measures, you can ensure optimal performance and extend the lifespan of your sprayer.
Here are some preventive measures to consider:
-
Use high-quality paint that is compatible with your sprayer. Follow the manufacturer’s guidelines for proper mixing and straining to remove any lumps or debris that could potentially clog the system.
-
Install a filter at the inlet of the sprayer to catch any debris or particles before they enter the system. This will help prevent clogs and maintain the efficiency of your sprayer.
-
After each use, flush out the sprayer with clean water to remove any leftover paint particles. Additionally, disassemble the nozzle, filter, and other removable parts to clean them thoroughly and ensure there is no residue that could cause clogging.
Inspecting and Cleaning the Sprayer Regularly
Regularly inspecting and cleaning the sprayer ensures optimal performance and prevents clogging. It is crucial to keep airless paint sprayers well-maintained to avoid common problems with sprayer functionality. Here are some key issues and their solutions:
| Problem | Solution |
|---|---|
| Clogged nozzle | Clean with specialized solution or needle, rinse with warm water or cleaning solvent, use wire brush or needle to dislodge blockages, remove paint residue |
| Disconnecting the sprayer | Use wrench or pliers, prepare bucket or container to catch excess paint, have clean rag or paper towels, disconnect from power source, twist nozzle counterclockwise to remove |
| Proper maintenance and prevention | Regularly inspect and clean sprayer, use high-quality paint, install filter at inlet, flush with clean water after each use, disassemble removable parts |
| Troubleshooting and seeking help | Clean nozzle, ensure proper mixing and straining, consult user manual, clean sprayer thoroughly, check and replace filters, inspect spray tip, verify paint compatibility |
Troubleshooting and Seeking Professional Help for Complex Issues
If users are unable to resolve complex issues with their airless paint sprayer, they should consider seeking professional help to diagnose and restore functionality. When it comes to troubleshooting and diagnosing complex issues with an airless paint sprayer, it is important to follow a systematic approach.
Here are three steps to help users diagnose these complex issues:
-
Start by checking if the nozzle is clogged and clean it with a specialized cleaning solution or a needle. Sometimes, a simple cleaning can solve the problem.
-
Ensure that the paint being used is properly mixed and strained to remove any lumps or debris. Using high-quality paint and following the manufacturer’s guidelines is crucial.
-
Inspect the sprayer thoroughly, removing any clogs or debris. Check the filters and replace them if necessary. Also, inspect the spray tip and verify that it is not damaged or worn out.
If after following these steps the sprayer still isn’t functioning properly, it is time to seek professional help. They have the expertise to diagnose and resolve complex issues, ensuring the sprayer is restored to optimal functionality.
Frequently Asked Questions
How Can I Determine if My Paint Sprayer Nozzle Is Clogged?
To determine if a paint sprayer nozzle is clogged, there are a few troubleshooting steps to follow.
First, check for any irregular spray patterns or reduced paint flow. If the sprayer is not functioning properly, it could indicate a clogged nozzle.
Another way to determine nozzle blockage is by inspecting the nozzle for any visible paint buildup or debris. If these signs are present, it is likely that the nozzle is clogged and needs to be cleaned or unclogged.
Is It Necessary to Use a Specialized Cleaning Solution to Unclog the Nozzle, or Can I Use a Homemade Solution?
Using a homemade solution to unclog a paint sprayer nozzle can be a viable option, but there are pros and cons to consider.
While a specialized cleaning solution is designed specifically for this purpose, a homemade solution may not be as effective in removing stubborn clogs.
Additionally, certain solvents used in homemade solutions may not be compatible with the sprayer’s materials, potentially causing damage.
It is important to carefully research and follow manufacturer guidelines when deciding on the best cleaning solution for your paint sprayer nozzle.
Can I Use Any Type of Solvent to Rinse the Nozzle, or Are There Specific Cleaning Solvents Recommended?
When discussing cleaning solvents for rinsing the nozzle of an airless paint sprayer, it is important to consider the specific cleaning solvents recommended by the manufacturer.
While some individuals may opt to use homemade solutions, it is advisable to use cleaning solvents that are specifically designed for this purpose.
These specialized solvents are formulated to effectively dissolve paint residue and unclog the nozzle without causing damage to the sprayer.
Using the recommended cleaning solvents will help ensure proper maintenance and prevent potential issues with the sprayer.
How Frequently Should I Clean and Maintain My Airless Paint Sprayer to Ensure Optimal Performance?
Regular maintenance is crucial to ensure optimal performance of an airless paint sprayer. It’s important to clean and maintain the sprayer regularly to prevent clogs and keep the nozzle functioning properly.
By following manufacturer guidelines and using high-quality paint, users can minimize the risk of clogs in the sprayer nozzle. Additionally, installing a filter at the inlet can catch debris before it enters the system.
Regularly flushing out the sprayer after each use and inspecting for wear and tear will help maintain its functionality.
What Are Some Signs That Indicate I Should Seek Professional Help for Unclogging My Airless Paint Sprayer?
Some signs that indicate professional help may be needed to unclog an airless paint sprayer nozzle include consistent clogging despite cleaning efforts, reduced spray pattern or uneven coverage, and excessive paint buildup or splattering.
While homemade cleaning solutions can sometimes be effective, specialized cleaning solutions are often recommended for stubborn clogs. Seeking professional help is advisable if the sprayer still isn’t functioning properly after reassembling it or if the clogs persist despite thorough cleaning and maintenance.
Conclusion
In conclusion, properly maintaining and unclogging your airless paint sprayer is essential for achieving flawless results in your painting projects.
Just like tending to a delicate garden, regularly inspecting and cleaning your sprayer will ensure optimal performance and prevent any clogs from hindering your progress.
Think of your sprayer as a musical instrument that requires tuning and care to produce beautiful melodies.
By following the tips and techniques outlined in this article, you’ll be able to keep your sprayer in top shape and enjoy seamless painting experiences.
Remember, a little maintenance goes a long way!
Drenched in creativity and armed with a fountain pen, Isolde weaves words as gracefully as a painter strokes their canvas. A writer for Paint Sprayer Zone, her passion for colors, textures, and spaces finds a harmonious blend with her profound knowledge of painting tools and techniques.
Having grown up in a family of artists, Isolde’s tryst with paints began early. While her relatives expressed themselves on canvas, Isolde found her medium in words. She dedicated herself to chronicling the world of painting, understanding the nuances of each tool, and the artistry behind every spritz of a paint sprayer.
