
Mastering the use of an airless paint sprayer for painting walls can significantly increase efficiency and create professional-looking results. Research has demonstrated that utilizing an airless sprayer can result in finishes being completed up to 10 times faster compared to using a brush and roller.
This article will provide a comprehensive guide on how to prepare the surface, choose the right paint, set up and test the sprayer, and achieve flawless painting techniques.
With these tips, anyone can become a wall painting expert with an airless sprayer.
Key Takeaways
- Properly preparing the surface is crucial for a successful wall painting with an airless sprayer. This includes cleaning the wall, filling cracks or holes, applying a primer, and choosing the right paint.
- Setting up and testing the airless sprayer is important to ensure its proper functioning. This involves assembling the sprayer, priming it, addressing any setup issues, and testing it before starting the painting process.
- Mastering proper painting techniques is essential for achieving a smooth and even finish. This includes holding the sprayer perpendicular to the wall, using whole arm movements, maintaining a steady speed, and adjusting pressure settings if needed.
- Managing overspray and drips is necessary to prevent paint from spreading to unwanted areas. This can be done by preparing the painting area, using the nozzle adjustment feature, and maintaining a consistent distance from the wall surface.

TICONN Anti-Fog Safety Glasses for Men and Women, ANSI Z87.1 Scratch Proof Eye Goggles with Adjustable Arms and UV Protection (Clear, 1PK)
- Durable and Lightweight Material: Made with impact-resistant polycarbonate
- ANSI Z87.1 Certified: Meets safety standards for impact resistance
- Wraparound Panoramic Coverage: Provides full eye protection
As an affiliate, we earn on qualifying purchases.
Preparing the Surface and Choosing Paint and Equipment
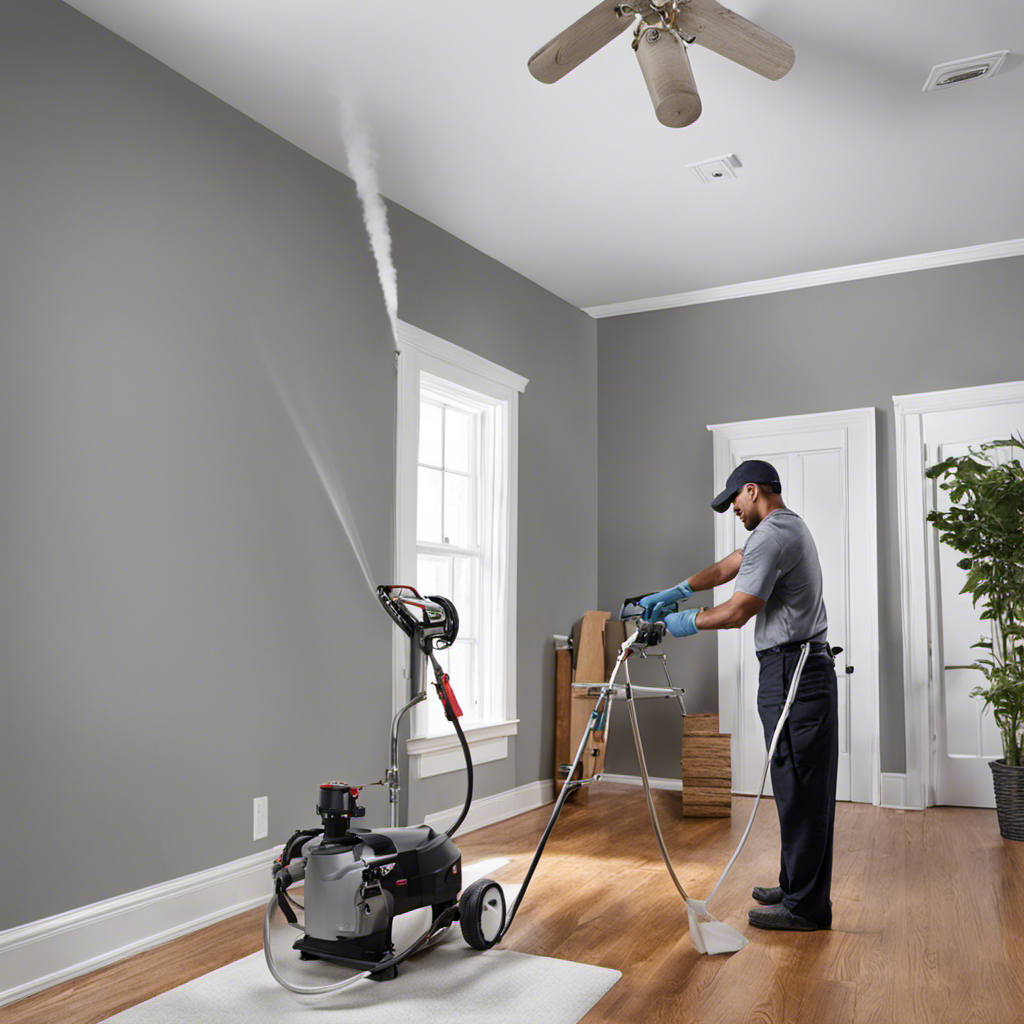
The painter cleans the wall thoroughly using a mild detergent and water solution to remove dirt, dust, or grease. After ensuring the surface is clean, they fill any cracks or holes and sand the wall for a smooth finish.
Applying a primer with a roller or brush is the next step, following the manufacturer’s instructions.
When it comes to selecting the paint, the painter considers different colors to achieve the desired aesthetic. They also take into account the right paint finish for the final look and durability.
Cleaning the Wall Thoroughly
To ensure a clean surface, the user should thoroughly wash the wall with a mild detergent and water solution, removing any dirt, dust, or grease. This step is essential for achieving a smooth and flawless paint finish.
For tough stains on walls, it is advisable to use a stain-specific cleaner or a mixture of baking soda and water to target and remove the stains. It is important to follow the instructions provided by the cleaner manufacturer and test it on a small, inconspicuous area of the wall before applying it to the entire surface.
Additionally, to prevent paint drips and splatters, it is recommended to use a high-quality paintbrush or roller and apply the paint in even strokes, using steady and consistent pressure. Covering nearby furniture and surfaces with drop cloths or plastic sheets can also help minimize the risk of accidental splatters.
Filling Cracks and Holes
After thoroughly cleaning the wall, the user should fill any cracks or holes with a suitable filler and sand the surface to create a smooth base for painting.
Repairing cracks and holes is essential to ensure a flawless finish. The user should carefully apply the filler, making sure to completely fill the damaged areas. Once the filler has dried, sanding the surface is necessary to create a smooth and even surface for painting.
Using sandpaper or a sanding block, gently sand the filled areas until they are flush with the surrounding wall. This step helps to blend the repaired areas seamlessly with the rest of the wall.
After completing these steps, the wall is now ready for the next stage of the painting process.
Applying Primer
Before starting the painting process, it is important for the user to apply a primer to the wall, following the manufacturer’s instructions. Applying primer serves several purposes such as enhancing paint adhesion, sealing porous surfaces, and providing a uniform base for the paint.
There are different types of primer available, including oil-based, water-based, and shellac-based, each with its own specific uses and benefits.
When applying primer, it is essential to avoid common mistakes such as using an insufficient amount of primer, not allowing sufficient drying time, or failing to properly clean and prepare the surface beforehand.
Selecting the Right Paint
The user should carefully consider the compatibility of the paint with the surface and the airless sprayer before making a selection.
When choosing paint colors for their project, it is important to take into account the desired aesthetic and the overall theme or mood they want to achieve.
Different paint finishes, such as flat, eggshell, satin, or semi-gloss, can also affect the final look and durability of the painted surface.
Flat finishes are ideal for hiding imperfections, while glossy finishes offer a more durable and easily cleanable surface.
Eggshell and satin finishes provide a balance between durability and a smooth, low-sheen appearance.
Setting Up the Airless Sprayer
To properly set up the airless sprayer, the user should carefully assemble the equipment according to the manufacturer’s instructions and ensure all connections are secure. This will help avoid common mistakes and ensure a smooth painting process.
Here are some tips and tricks for beginners to set up the airless sprayer correctly:
- Take the time to read and understand the manufacturer’s instructions before assembling the sprayer.
- Double-check that all connections are tight and secure to prevent any leaks or malfunctions during painting.
- Prime the sprayer with water before starting to remove any air bubbles and ensure proper functionality.
Priming the Sprayer
After assembling the equipment, the user should ensure that the sprayer is primed with water to remove any air bubbles and ensure proper functionality. Priming the sprayer is an essential step in preparing for wall painting with an airless sprayer.
By filling the sprayer with water and running it for a few minutes, any air bubbles can be eliminated, preventing potential issues during the painting process. Troubleshooting sprayer issues is crucial during setup, including addressing leaks or clogs.
Additionally, choosing a suitable filler is important for achieving a smooth surface before painting. By filling cracks or holes with an appropriate filler and sanding the wall, the user can create the ideal foundation for a flawless paint job.
Troubleshooting Setup Issues
After priming the sprayer, it’s important to address any setup issues that may arise before starting the painting process. Troubleshooting leaks and addressing clogs are common problems that can occur with airless sprayers. Here are some steps to help you troubleshoot and resolve these issues:
- Check all connections: Ensure that all connections are secure and tight to prevent leaks from occurring.
- Inspect the hose and fittings: Look for any visible cracks or damage that may be causing leaks and replace any faulty components.
- Clean the nozzle: Clogs in the nozzle can cause uneven spray or splattering. Remove the nozzle and clean it thoroughly using a brush or solvent.
- Clear the filters: Filters can become clogged with paint debris, leading to poor spray performance. Remove and clean the filters regularly to maintain optimal function.
Testing the Sprayer
The user should assemble the sprayer according to the manufacturer’s instructions and ensure all connections are secure when testing the equipment. After setup, it is essential to test the sprayer to ensure it is working correctly before starting the painting process. This not only helps identify any potential issues but also ensures a smooth and efficient painting experience. To assist in troubleshooting and maintenance, the following table provides a concise overview of common sprayer issues and their possible solutions:
| Issue | Possible Solution |
|---|---|
| Leaking sprayer | Check for loose or damaged connections and tighten or replace as necessary. |
| Clogged nozzle | Remove the nozzle and clean it thoroughly to remove any clogs. |
| Uneven or streaky paint | Adjust the sprayer’s pressure settings to achieve a consistent spray pattern. |
| Dripping or splattering paint | Check the nozzle for clogs and clean if necessary. |
| Inconsistent spray pattern | Inspect the sprayer for worn or damaged parts and replace as needed. |
Holding the Sprayer Correctly
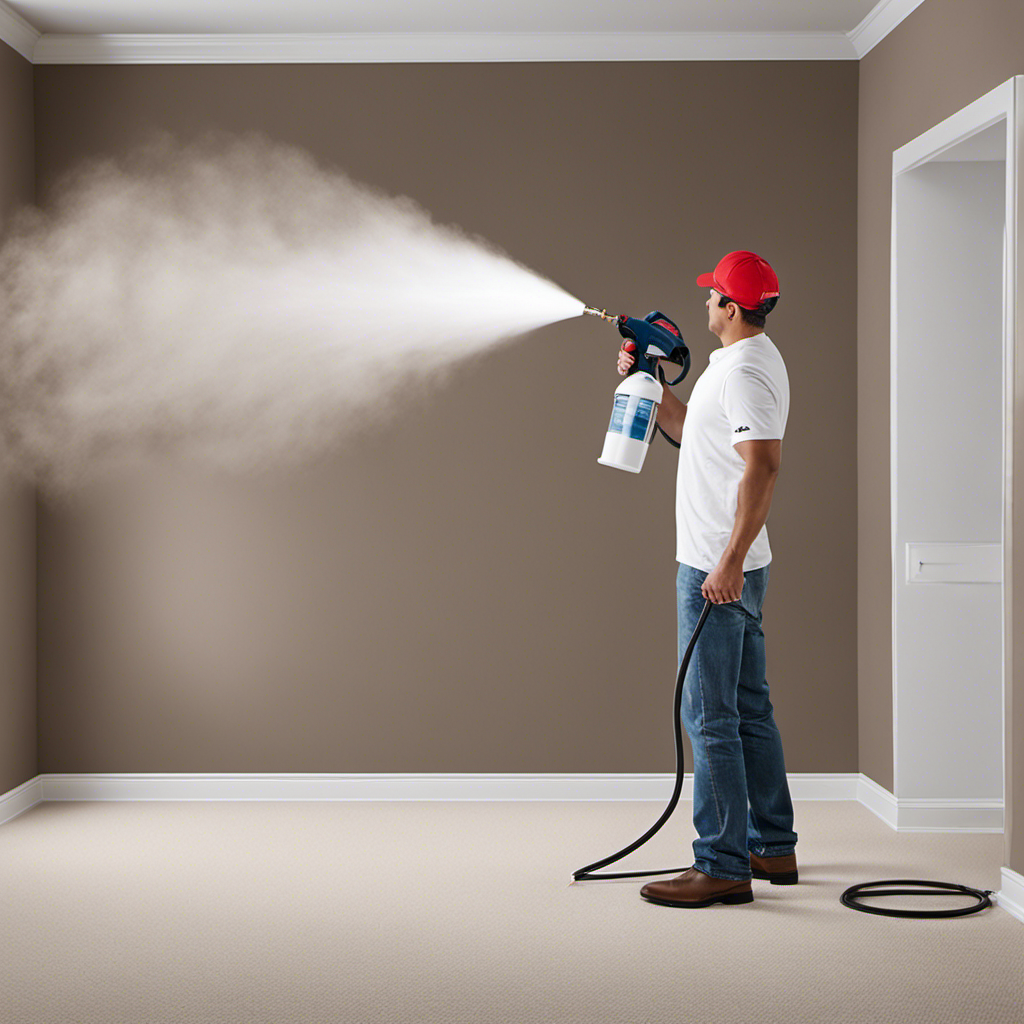
To achieve an even and consistent spray pattern, the user should hold the sprayer perpendicular to the surface and maintain a steady distance of about 12 inches. This ensures that the paint is applied evenly and prevents any streaks or uneven coverage.
In addition to the proper grip and spray distance, it is important to move the whole arm, not just the wrist, to create smooth, overlapping passes. This technique helps to avoid any drips or uneven application.
Maintaining a steady, consistent speed is also crucial in achieving a professional-looking finish.
Using Proper Painting Techniques
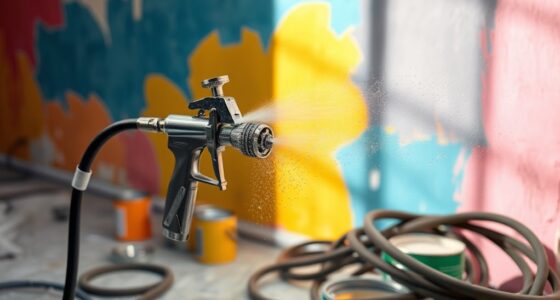
Using smooth, overlapping passes and maintaining a steady speed, the user can achieve an even and professional-looking paint job on their walls. These proper painting techniques not only improve efficiency but also ensure a professional finish.
By moving the whole arm and not just the wrist, the user can create smooth, consistent strokes that cover the surface evenly. Maintaining a steady speed helps prevent drips or uneven application of paint. Additionally, adjusting the sprayer’s pressure settings and checking the nozzle for clogs can help address any issues with paint consistency.
Overlapping each pass by 50% ensures that no spots are missed. By following these techniques, the user can achieve a high-quality, professional result while painting their walls.
Adjusting Sprayer Pressure Settings
Adjusting the pressure settings on the sprayer ensures a consistent and smooth application of paint. By understanding how to properly adjust the sprayer’s pressure, painters can achieve optimal results on different surfaces and troubleshoot any issues with paint streaks.
Here are some key points to consider:
-
Adjusting sprayer pressure for different surfaces: Different surfaces require different pressure settings for the paint to adhere properly. By adjusting the pressure according to the surface being painted, such as walls, ceilings, or furniture, painters can achieve an even coat without streaks or drips.
-
Troubleshooting paint streaks: If paint streaks occur during the application process, adjusting the sprayer’s pressure settings can help alleviate the issue. Lowering the pressure can reduce the likelihood of streaks, while increasing the pressure can help if the paint is not adhering properly.
Checking for Nozzle Clogs
Inspecting the nozzle for clogs is essential to ensure a smooth and uninterrupted paint flow. To prevent nozzle clogs during wall painting, there are a few techniques that can be used.
First, it is important to strain the paint before pouring it into the sprayer to remove any impurities that could cause clogs. Additionally, regularly cleaning the sprayer and the nozzle with water or solvent can help prevent buildup and blockages.
If a clog does occur, there are techniques for unclogging a paint sprayer nozzle. One method is to remove the nozzle and soak it in a cleaning solution to dissolve any dried paint. Another technique is to use a small brush or toothpick to carefully remove any clogs from the nozzle.
Managing Overspray and Drips
To manage overspray and drips, the painter can cover nearby furniture and objects with drop cloths or plastic sheets. This will prevent paint splatter and avoid paint runs, ensuring a clean and professional finish.
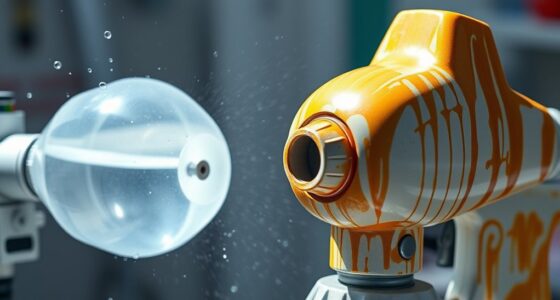
Additionally, using the nozzle adjustment feature on the sprayer allows the painter to change the width and shape of the spray pattern, further reducing the risk of overspray.
Holding the sprayer nozzle at a consistent distance from the wall surface also helps control the spray and minimize drips.
Cleaning and Maintaining the Sprayer
After mastering the techniques of managing overspray and drips, it is important to focus on cleaning and maintaining the sprayer. Regular maintenance is crucial to ensure the longevity and optimal performance of the equipment.
Cleaning the sprayer thoroughly after each use is essential. Flushing out any leftover paint or debris with clean water or solvent helps to prevent clogs and issues with the spray pattern.
Paying close attention to the nozzle and filters is also important. Removing any obstructions or buildup from these areas ensures the sprayer continues to produce a consistent spray pattern.
Additionally, it can be challenging to clean hard-to-reach areas of the sprayer. One tip is to use a small brush or toothbrush to scrub these areas.
Regular maintenance and cleaning will help keep the sprayer in good condition and ready for future use.
Frequently Asked Questions
How Long Does It Take for the Primer to Dry Before Applying Paint?
The drying time for the primer before applying paint can vary depending on factors such as temperature and humidity. It is generally recommended to wait at least 24 hours for the primer to dry completely. This allows for proper adhesion of the paint and ensures a smooth, long-lasting finish.
It’s important to follow the manufacturer’s instructions for drying times and to use proper applying techniques to achieve the best results.
Can I Use the Same Airless Sprayer for Different Types of Paint?
Yes, the same airless sprayer can be used for different types of paint. However, it is important to choose the right paint type that is compatible with the airless sprayer.
Different paints have different viscosities, so it is essential to select a paint that can be sprayed effectively through the sprayer.
Additionally, proper maintenance of the airless sprayer is necessary to ensure optimal performance. Regularly cleaning the sprayer and inspecting for any worn or damaged parts will help maintain its functionality.
What Safety Precautions Should I Take When Using an Airless Sprayer?
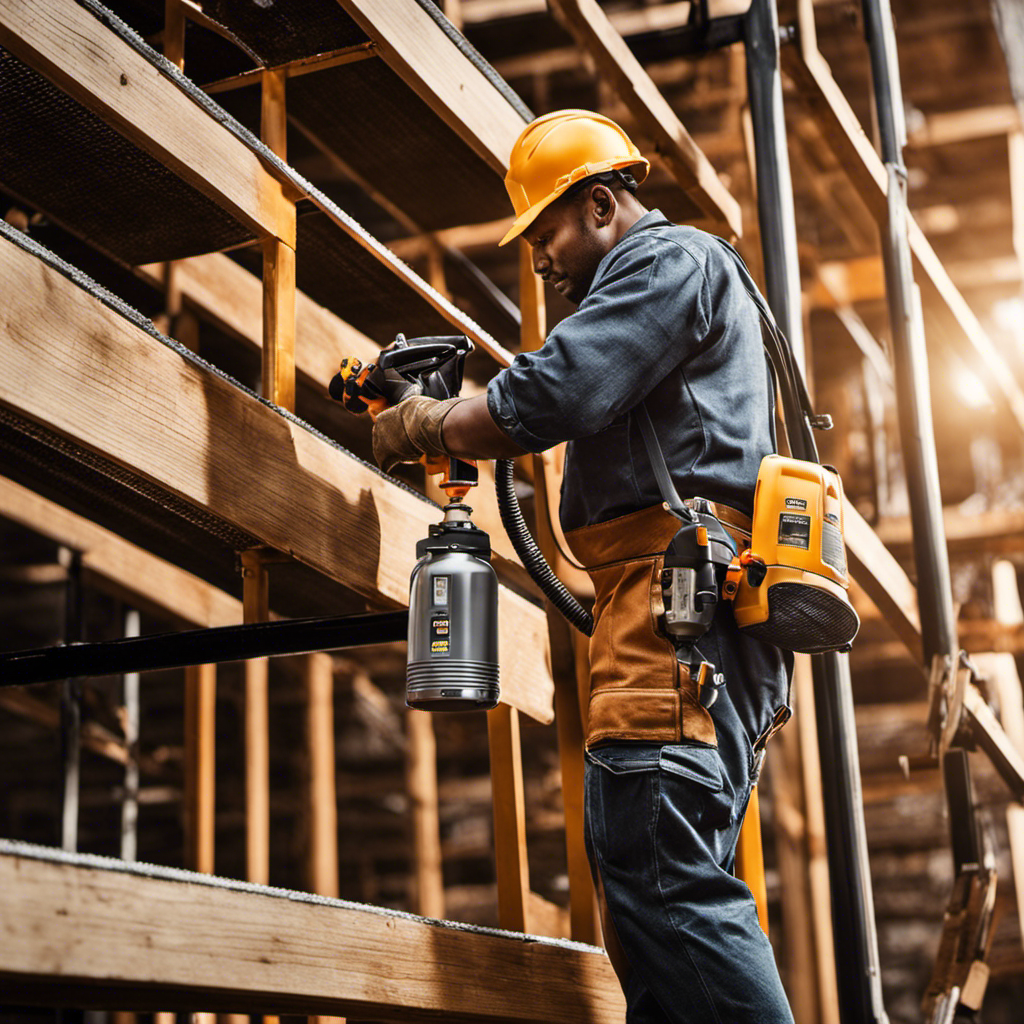
When using an airless sprayer, it’s important to take proper safety precautions. Always wear appropriate safety gear, such as goggles, gloves, and a respirator, to protect yourself from paint fumes and potential overspray.
Additionally, ensure that you are working in a well-ventilated area to minimize exposure to fumes. These safety measures will help protect your health and ensure a safe painting experience.
Is It Necessary to Sand the Wall Before Applying Primer?
Sanding the wall before applying primer is necessary for achieving a smooth surface. It helps to remove any imperfections, such as bumps or uneven areas, allowing the primer to adhere properly. Sanding also promotes better paint adhesion, ensuring a long-lasting and professional finish.
Using primer before painting offers several benefits. It improves paint coverage, enhances color accuracy, and increases durability. Primer creates a stable base for the paint, seals the surface, and helps to prevent stains and peeling.
How Often Should I Clean the Sprayer’s Filters?
Cleaning the sprayer’s filters is an essential part of its maintenance. To ensure optimal performance, the filters should be cleaned regularly. The cleaning frequency will depend on factors such as the type of paint used and the frequency of use. However, as a general guideline, it is recommended to clean the sprayer’s filters after every use or at least once a week.
Regularly inspecting and cleaning the filters will help prevent clogs and maintain the spray pattern.
Conclusion
In conclusion, mastering wall painting with an airless sprayer is like conducting a symphony. Just as a skilled conductor brings together different instruments to create a harmonious melody, a painter must prepare the surface, choose the right paint, and set up the sprayer with precision.
Like a painter’s brush, the sprayer must be held with finesse and the right technique to achieve flawless results. Managing overspray and maintaining the sprayer’s cleanliness are akin to maintaining a well-tuned instrument.
With practice and attention to detail, anyone can master the art of wall painting with an airless sprayer and create a masterpiece in their home.