
To spray tight corners without leaving ridges, use a small, angled brush to carefully edge the corners first, then apply your spray with a steady hand and consistent distance. Keep the spray nozzle at about 6-12 inches from the surface and use smooth, overlapping passes. Practicing on scrap areas helps perfect your technique. For even better results, you’ll find that combining precise edging with careful spraying creates a flawless finish—if you want to learn more, keep going.
Key Takeaways
- Use a small, narrow spray tip (0.013”) for precise application in tight corners.
- Maintain a consistent spray angle (45–90°) and steady motion to prevent ridges.
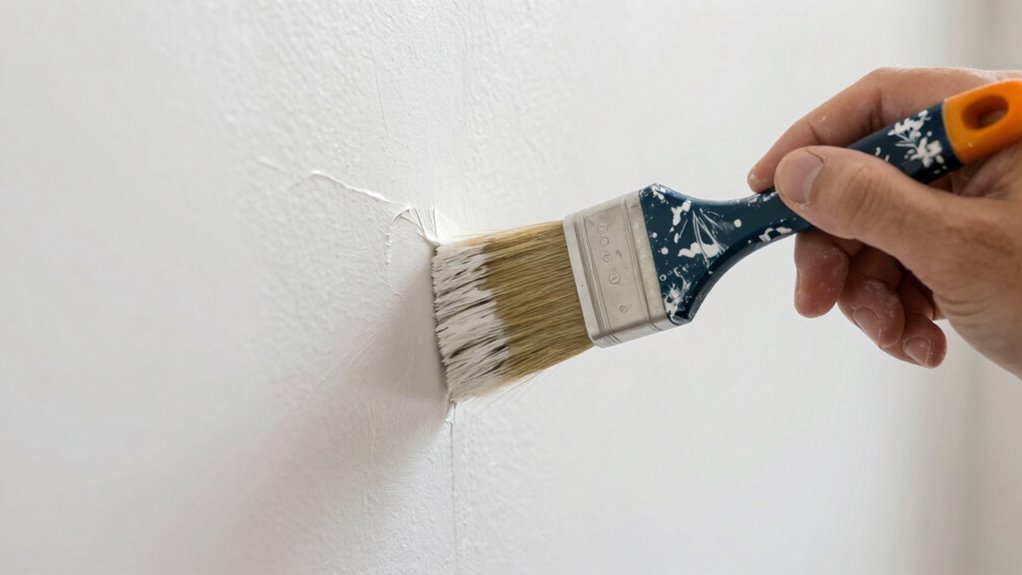
- Combine edging with a brush first, then carefully spray into corners for clean lines.
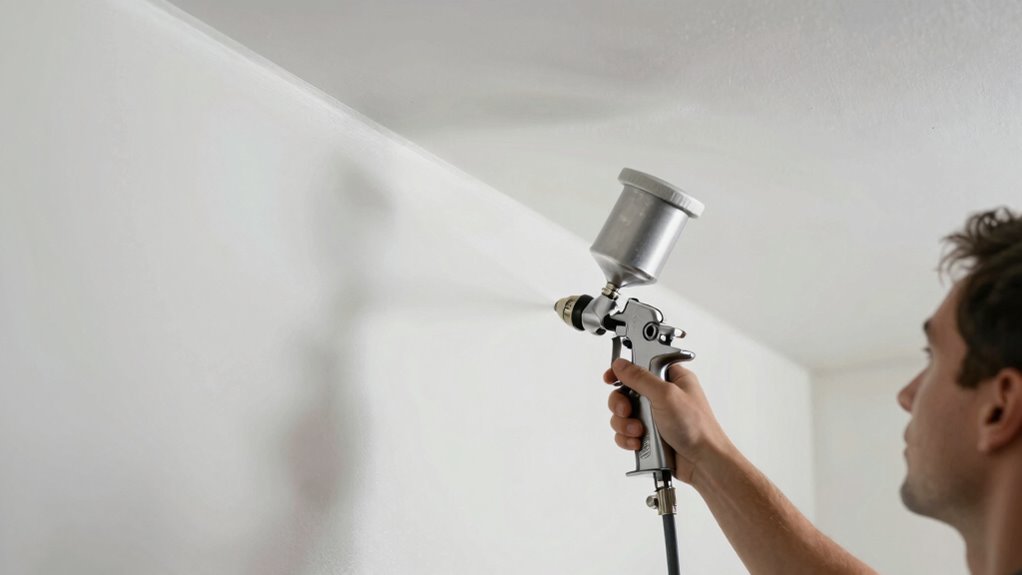
- Keep a steady hand and proper distance (6–12 inches) while spraying to ensure even coverage.
- Feather edges with a brush or light roller to smooth out any potential ridges after spraying.
Why Painting Tight Corners Without Ridges Is Challenging

Painting tight corners without creating ridges is challenging because the limited space makes it difficult to apply even coats of paint smoothly. Your brush techniques need to be precise; using a small, angled brush helps you navigate these tight spots and control paint flow. Roller methods are less effective in corners, but you can adapt by using a mini roller or foam roller with a corner guard to reach into narrow areas. The key is to work slowly and steadily, ensuring you don’t overload your brush or roller, which can cause drips and ridges. Proper technique minimizes uneven buildup and ensures a smooth, professional finish. Additionally, understanding paint application techniques can significantly improve your results. Mastering these methods allows you to tackle corners confidently, avoiding the common pitfalls associated with tight space painting, especially when incorporating smart home automation tools like timers or controlled lighting to improve visibility during detailed work.
Using techniques for even coverage can further help in achieving a seamless finish in hard-to-reach areas.
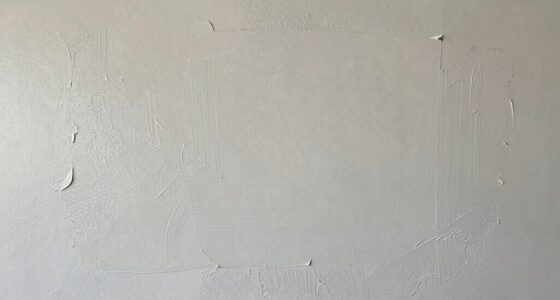
Essential Tools and Prep Steps for Perfect Corner Painting
Achieving a flawless corner finish starts with selecting the right tools and preparing your space properly. Start by choosing high-quality brushes with angled bristles to help you master precise brush techniques, especially in tight spots. Before painting, focus on paint mixing—stir thoroughly to ensure consistent color and smooth texture, which reduces streaks and ridges. Protect surrounding areas with painter’s tape and drop cloths to keep your workspace clean. Proper surface prep is essential: clean the walls, repair any imperfections, and sand rough spots for better adhesion. Using the correct brush techniques, like feathering and light strokes, helps create an even coat without buildup. Additionally, understanding auditory processing can improve your ability to focus on detailed tasks like painting. Developing good attention skills can further enhance your precision and patience during detailed work. Being mindful of visual perception can also aid in achieving a more uniform and professional-looking result. To improve your overall painting accuracy, practicing sensory awareness can help you become more attuned to the nuances of your work. Incorporating mindfulness techniques during your painting process can also reduce errors caused by distraction. With the right tools and preparation, you set a solid foundation for a smooth, professional-looking corner finish.
How to Choose the Best Spray Technique for Corners
To get the best results when spraying corners, you need to choose the right spray tip and master your spray angles. Picking the correct tip guarantees even coverage in tight spaces, while proper angles help you reach all the nooks and crannies. Focus on these points to improve your corner spraying technique effectively. Additionally, understanding air-based cooking fundamentals can help you control spray pressure and improve precision in difficult areas. Mastering spray equipment settings and techniques also plays a crucial role in achieving smooth, professional finishes in corners. Incorporating proper ventilation practices can further enhance safety and spray quality during detailed work. Being aware of sauna ventilation systems can also inform better spray technique practices in enclosed or specialized spaces.
Selecting the Right Spray Tip
Choosing the right spray tip is essential for achieving clean, precise corners without overspray or missed spots. The correct tip size and pattern ensure smooth coverage and control. Consider the surface area and paint viscosity when selecting your tip. For tight corners, a narrow spray tip offers better precision, while a wider tip covers larger areas efficiently. Proper paint mixing and brush techniques can complement your spray tip, reducing drips and uneven spots. To visualize, think of the following:
| Tip Size | Spray Pattern | Ideal Use |
|---|---|---|
| 0.013″ | Narrow | Fine detail, tight corners |
| 0.015″ | Medium | General purpose, corners |
| 0.017″ | Wide | Large surfaces, edges |
| 0.019″ | Very wide | Broad coverage, edges |
| 0.021″ | Extra wide | Large flat surfaces |
Choosing wisely guarantees your finish is smooth and professional. Additionally, understanding paint viscosity can help you select the most effective spray tip for your project. Being aware of paint consistency can further improve your spraying results by ensuring optimal flow and adhesion.
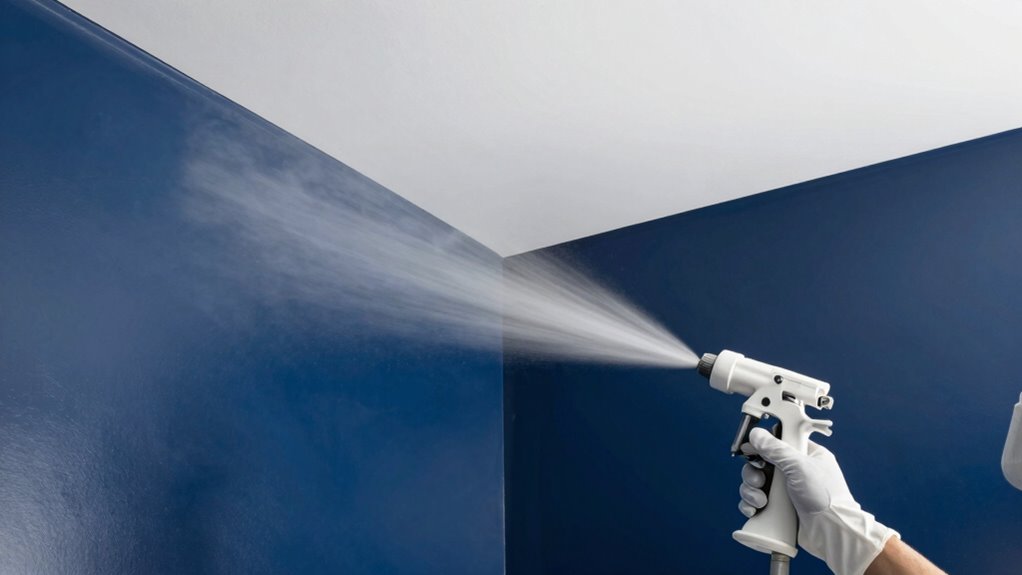
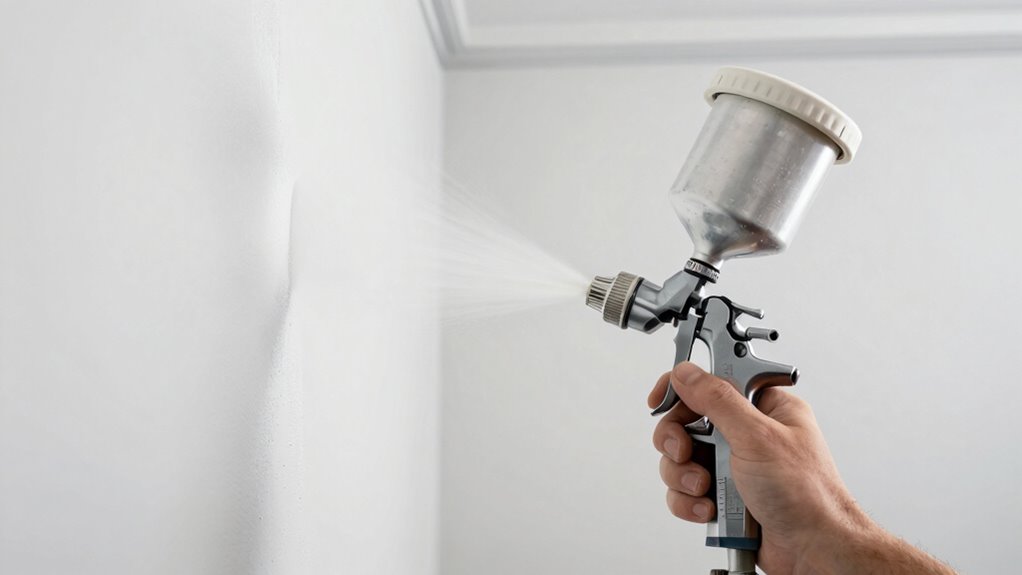
Proper Spray Angle Techniques
When working on corners, selecting the right spray angle is crucial for precise application and clean lines. To achieve this, your spray technique should mimic brush techniques or roller methods. Hold the sprayer at a consistent angle—usually between 45 and 90 degrees—to ensure even coverage and prevent drips. For tight corners, angle the spray slightly away from the edge, allowing the paint to flow smoothly into the corner without overspray. Adjust your distance based on the spray tip and paint viscosity. Practice controlling your motion, maintaining steady speed for uniform coverage. By mastering proper spray angles, you can avoid paint ridges and achieve professional-looking results, just like with careful brush or roller techniques. Consistent spray motion is essential for a flawless finish. Additionally, proper technique helps in minimizing paint wastage and ensuring a clean edge along the corners. Utilizing the appropriate filtering methods can further protect your equipment and enhance your spraying accuracy, especially when working in tight spaces where precision is key.
Using Painter’s Tape and Edge Guides for Clean Edges
Achieving sharp, clean edges when spraying into tight corners can be challenging, but using painter’s tape and edge guides makes the process much easier. Apply tape carefully along the boundary, pressing down firmly to prevent overspray. Use edge guides to align your spray pattern precisely, reducing the need for touch-ups. To ensure seamless color matching, practice your brush techniques on scrap areas before spraying. This preparation helps control the flow and avoid drips near taped edges. Here’s a visual to help you picture the setup:
| Surface to Protect | Tape Placement | Spray Direction | Final Touches |
|---|---|---|---|
| Adjacent wall | Along edge | Short, controlled sprays | Remove tape carefully |
| Trim or molding | Covering edges | Steady hand | Use brush for touch-up |
| Window frames | Seal tightly | Consistent distance | Clean excess paint |
| Floor or baseboards | Masked off | Slow, even motion | Check for gaps |
Additionally, understanding paint adhesion techniques can enhance your results when working near taped areas.
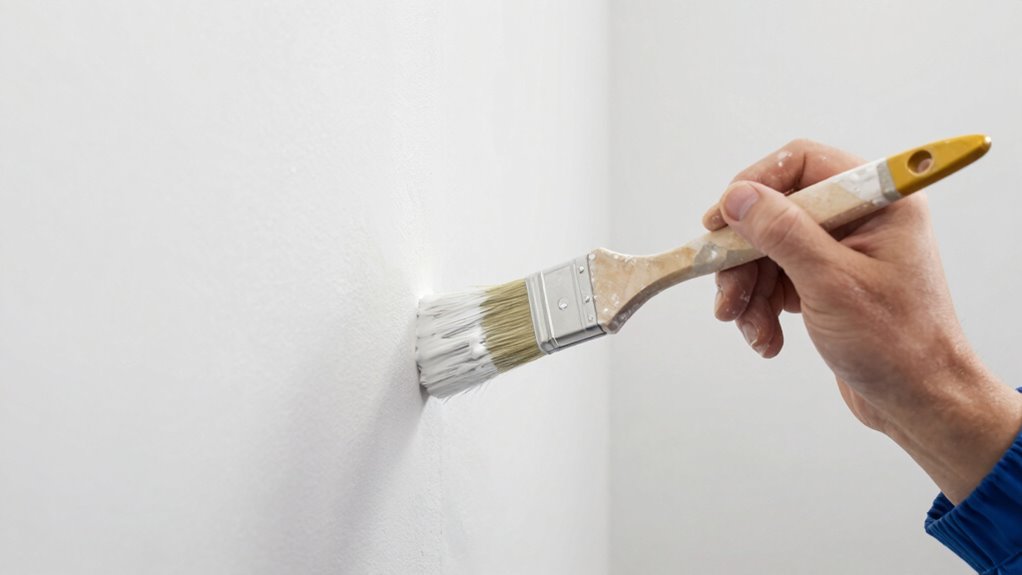
How to Apply Spray in Corners for a Smooth Finish
To apply spray in corners smoothly, you need to approach with a controlled technique that minimizes overspray and drips. Use brush techniques to carefully edge the corners first, ensuring a clean, precise line before spraying. This initial edging helps prevent excess paint buildup and creates a smoother finish. When using roller methods, keep the roller at a slight angle and work slowly into the corners, blending the sprayed area seamlessly. Maintain consistent distance from the surface and use light, even passes to avoid drips. Combining careful brushing in tight spots with controlled spray application ensures you achieve a professional-looking, smooth finish in corners. Practice steady hand movements and pay attention to overlap to prevent uneven textures or ridges. Additionally, understanding the filtration system of your spray equipment can improve paint flow and reduce airborne overspray, leading to a more uniform application. Proper technique can significantly enhance the quality of your painting results, and being aware of how air quality impacts spray performance can help you make adjustments for optimal results.
Common Mistakes to Avoid When Painting Corners
One common mistake is rushing through the corner areas without preparing them properly, which often leads to uneven coverage and visible lines. When you skip proper prep, brush strokes can become noticeable, and roller marks may form, ruining the smooth look you want. Avoid overloading your brush or roller, as excess paint can cause drips and uneven textures. Don’t move too quickly—pausing briefly ensures even application and reduces streaks. Be cautious of applying too much paint at once, which can cause drips and make brush strokes more apparent. Instead, use steady, controlled strokes and maintain a wet edge to blend paint seamlessly. Taking your time and focusing on technique helps prevent common mistakes like brush marks or roller marks that compromise a professional finish. Additionally, understanding the importance of proper surface preparation can significantly improve your corner painting results.
Fixing Ridges and Touch-Ups for Flawless Edges

Ridges and uneven edges can easily mar the clean look of your paint job, but fixing them is straightforward with the right approach. To smooth out ridges, use brush techniques like feathering and light strokes along the affected edge, blending the new paint seamlessly with the surrounding area. For larger imperfections, roller methods can help; lightly go over the ridge with a roller, applying gentle pressure to even out the surface. If you notice a ridge after the paint has dried, carefully sand it down with fine-grit sandpaper, then touch up the area with a small brush, blending the edges. Patience and precise brush or roller work are key to achieving flawless edges and a professional finish.
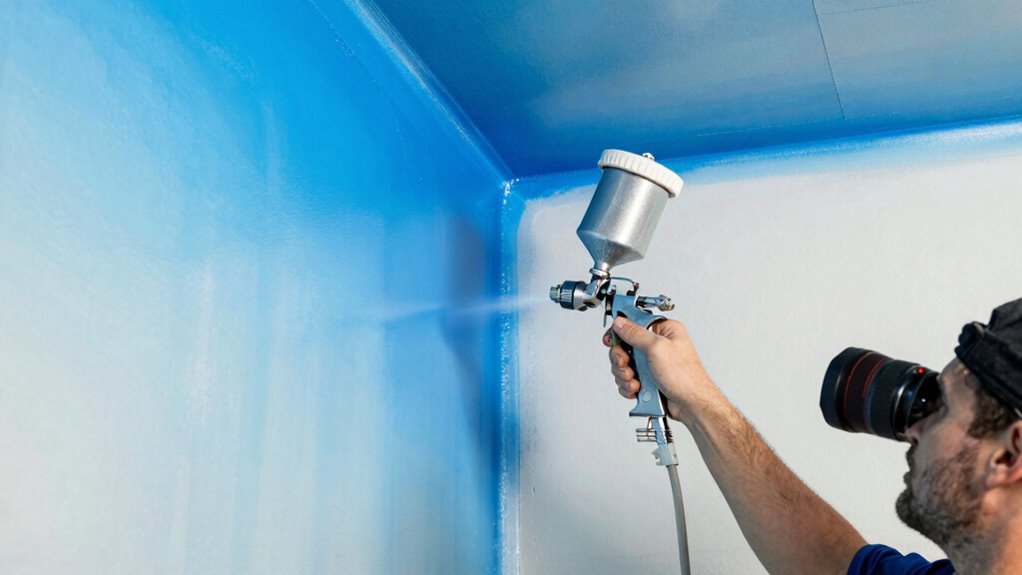
Tips for Maintaining Consistent Spray Pressure and Distance

Maintaining consistent spray pressure and distance is essential for achieving smooth, even coverage when using a spray gun. To do this, keep your hand steady and use your brush techniques to steady your movements. Hold the spray gun at a uniform distance from the surface—typically 6 to 12 inches—depending on the paint and equipment. Consistent pressure guarantees a fine, even spray, preventing drips and uneven textures. Practice your technique on scrap material to get a feel for the right distance and pressure. Remember, paint takes time to dry, so avoid overloading the surface with excess paint. Steady motion and controlled pressure help you achieve professional results and make touch-ups or corrections easier once the paint begins drying.
Final Tips for Achieving Professional-Looking Tight Corners

Achieving professional-looking tight corners requires careful attention and precise technique. Start by using the right brush techniques—apply steady, controlled strokes to avoid overloading the brush, which can cause drips or uneven lines. Keep a consistent angle to ensure smooth, clean edges. When it comes to color matching, take the time to blend the new paint with the existing wall color, especially if you’re touching up or repainting sections. Use a small, high-quality brush for detailed work in corners, and gently feather the edges to prevent harsh lines. patience is key—allow each coat to dry thoroughly before adding another. With these tips, your corners will look sharp, professional, and seamlessly integrated with the rest of your paint job.
Frequently Asked Questions
Can Different Spray Guns Produce Different Results in Corner Painting?
Different spray gun types and nozzle sizes definitely produce varied results in corner painting. You’ll find that HVLP, airless, or LVLP guns each have unique spray patterns, influencing how well you can reach tight corners. Smaller nozzle sizes give you more control and finer detail, while larger ones cover larger areas faster. Choosing the right spray gun type and nozzle size helps you achieve a smooth, even finish without paint ridges.
How Do Environmental Conditions Affect Spray Application in Corners?
Environmental conditions like humidity impact your spray application in corners by affecting how paint settles and dries, potentially causing runs or uneven coverage. High humidity can slow drying, while low humidity speeds it up. Temperature considerations matter too; if it’s too hot, paint may dry too quickly, leading to spray issues. To get a smooth finish, control humidity levels and spray in moderate temperatures, ensuring proper adhesion and a professional look.
Is It Necessary to Sand Between Spray Coats on Corners?
Think of sanding between coats like a sculptor refining their masterpiece. You don’t always need to sand on corners, but it’s wise for sanding preparation and finish smoothing, especially if drips or imperfections appear. Lightly sanding helps guarantee a seamless look and better paint adhesion. If your first coat is smooth and even, you can often skip sanding, but always inspect closely before applying the next layer.
What Are the Best Cleaning Methods for Spray Equipment After Corner Work?
To clean your spray equipment after corner work, start by thoroughly cleaning brushes and other tools used. Run a cleaning solvent through the spray gun to remove residual paint, and use brushes or rags for detailed cleaning of nozzles and filters. Regular equipment maintenance prevents clogs and guarantees smooth operation. Always rinse thoroughly and store your tools properly to keep them in top condition for future projects.
How Do I Troubleshoot Uneven Paint Distribution in Tight Corners?
To troubleshoot uneven paint distribution in tight corners, focus on your paint roller techniques and masking tape tips. Use a high-quality angled brush for precision in corners, ensuring even pressure and smooth strokes. Apply masking tape carefully to create clean edges, preventing paint bleeding. Check your roller for uniform coverage and avoid overloading it. Adjust your technique by working slowly and consistently, which helps achieve even paint distribution without ridges or gaps.
Conclusion
Think of painting tight corners like sculpting a perfect jewel—patience and the right tools make all the difference. With each careful spray and touch-up, you’re shaping a masterpiece free of ridges. Keep your pressure steady and your technique steady, and soon your corners will shine with professional clarity. Remember, every smooth finish is a small victory in your creative journey—so stay steady, and let your craftsmanship sparkle like a finely cut gem.