
To spray paint outdoors without overspray, mask all nearby surfaces firmly with painter’s tape and protective paper to prevent leaks. Keep your spray gun about 6 to 12 inches from the surface, using steady, overlapping strokes for even coverage. Adjust your spray pattern and pressure to control paint dispersion, and avoid windy conditions that can carry overspray onto unintended areas. With proper technique and environmental awareness, you’ll achieve a clean finish—learn more to perfect your outdoor spraying skills.
Key Takeaways
- Mask all surrounding areas thoroughly with painter’s tape and masking paper to prevent overspray from reaching unwanted surfaces.
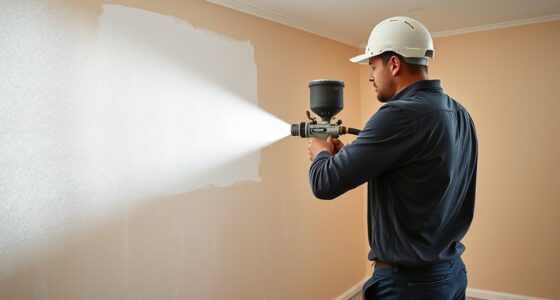
- Keep the spray gun 6 to 12 inches from the surface, using steady, overlapping strokes for even coverage and reduced overspray.
- Adjust spray pattern and pressure to narrow settings, focusing paint delivery and minimizing dispersion.
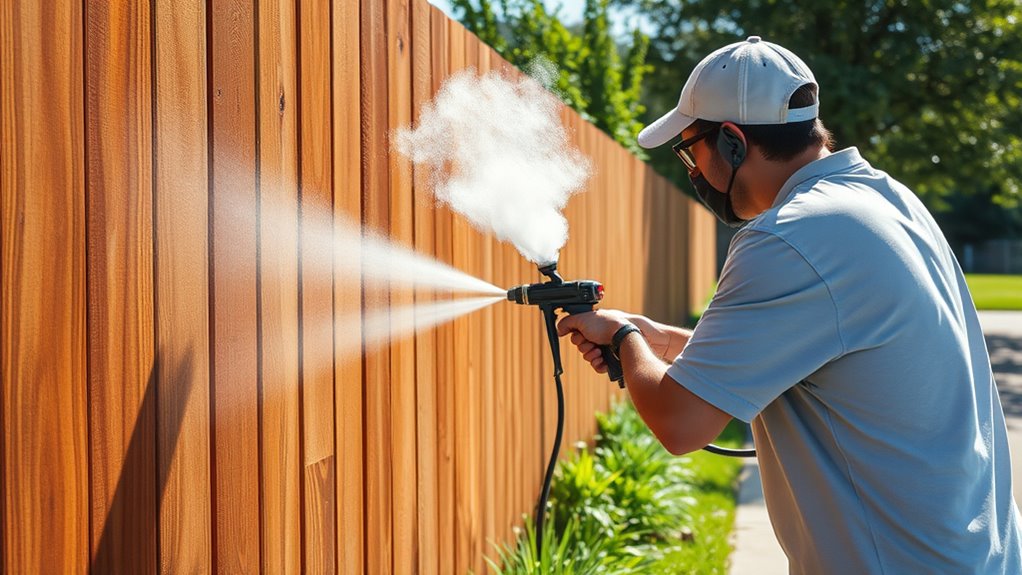
- Spray in calm, dry weather to prevent wind from carrying overspray onto nearby objects or surfaces.
- Start spraying slightly outside masked edges and move inward to avoid paint pooling and overspray leakage.
Spray painting outdoors can be an efficient way to achieve smooth, even finishes on various surfaces, but it requires proper technique and preparation. One of the most important aspects is controlling overspray, which can ruin your project and create messes in unwanted areas. To do this effectively, you need to master masking techniques. Masking helps protect surfaces you don’t want painted, such as trim, windows, or nearby objects. Use painter’s tape and masking paper or plastic to cover these areas thoroughly. Make sure the edges are pressed down firmly to prevent paint from seeping underneath. When masking, take your time to ensure all edges are sealed properly; rushing this step can lead to overspray leaks and extra cleanup later.
Master masking with painter’s tape and paper for a clean spray painting finish outdoors.
Another key factor in avoiding overspray is maintaining the correct spray distance. Keep the spray gun at a consistent distance from the surface, usually around 6 to 12 inches, depending on the type of spray equipment and paint being used. Holding the spray gun too close causes thick coats and increased overspray, while holding it too far away results in uneven coverage and drips. Practice on scrap material first to find your ideal distance, keeping the spray uniform and smooth. Moving the gun in steady, overlapping strokes helps distribute the paint evenly and reduces the chances of buildup or missed spots. Consistency is essential here—if you vary your spray distance, you risk creating an uneven finish and unintended overspray.
To further minimize overspray, consider adjusting your spray pattern and pressure settings. Narrowing your spray pattern concentrates the paint, reducing wastage and overspray. Lowering the spray pressure also diminishes the force of the paint spray, controlling how far the paint particles travel. Always test these adjustments before starting on your actual project to find the best settings. When you’re ready to begin, start spraying slightly off the edge of the masked area, then move into the surface, maintaining your spray distance and steady motion. This technique prevents paint from pooling near the edges and helps keep overspray contained within the masked zones.
Finally, work in calm, dry conditions. Wind can carry overspray onto unintended surfaces, so choose a day with minimal breeze. By combining proper masking techniques, maintaining a consistent spray distance, and adjusting your equipment settings, you can greatly reduce overspray and achieve a professional finish outdoors. Taking these steps ensures your project looks clean and precise, with less cleanup afterward.
Frequently Asked Questions
How Do I Prevent Paint From Dripping During Outdoor Spray Painting?
To prevent paint drips during outdoor spray painting, you should control your spray distance, keeping it consistent and around 6-12 inches from the surface. This helps avoid excessive paint buildup that causes drips. Also, apply thin, even coats and wait for each layer to dry before adding another. Proper technique reduces paint drips and ensures a smooth finish, making your outdoor project look professional.
What Weather Conditions Are Ideal for Outdoor Spray Painting?
You should aim for clear, calm days with low wind speed and moderate humidity levels. High humidity can cause paint to dry unevenly, while strong winds might blow overspray onto unwanted surfaces. Ideally, choose weather with gentle breezes under 10 mph and humidity around 40-60%. This way, your spray job stays smooth, even, and free of drips or overspray, ensuring a professional finish outdoors.
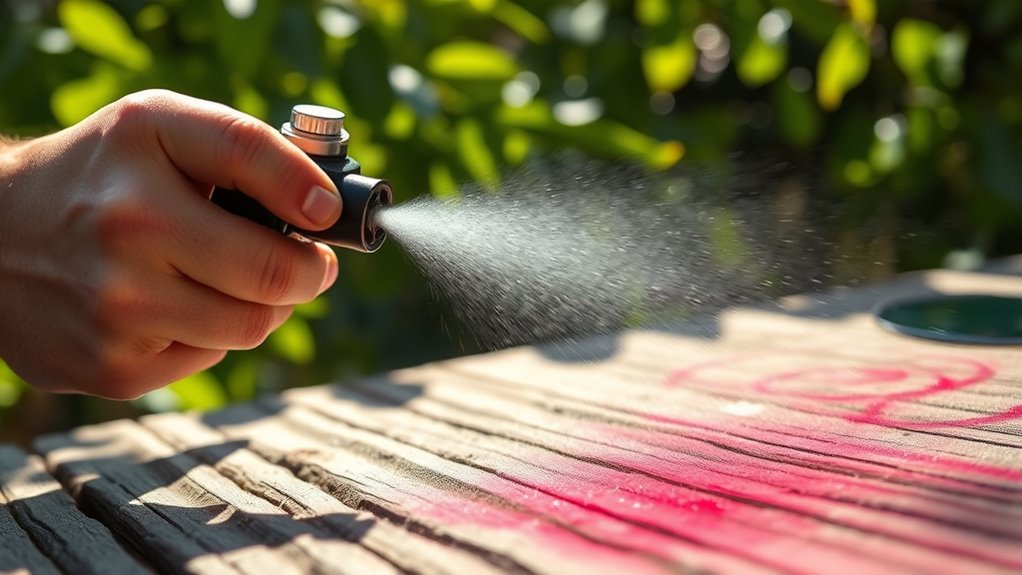
Can I Use Aerosol Spray Cans for Large Outdoor Projects?
Using aerosol spray cans for large outdoor projects isn’t ideal due to their limitations. Aerosol cans are better suited for small details or touch-ups because they can’t cover large areas efficiently, and their spray pattern may be inconsistent over big surfaces. For extensive outdoor projects, you’ll want to take into account larger equipment like spray guns or rollers, which handle bigger scales better and ensure a more even finish without the hassle of aerosol can limitations.
How Do I Clean Equipment After Outdoor Spray Painting?
After outdoor spray painting, you should focus on equipment maintenance by thoroughly cleaning your tools. Use appropriate cleaning solutions, like mineral spirits for oil-based paints or water and soap for water-based ones. Rinse everything well to prevent residue buildup and rust. Disassemble spray guns if possible, and wipe down nozzles and filters. Proper cleaning guarantees your equipment stays in good condition and is ready for your next project.
What Safety Gear Is Essential for Outdoor Spray Painting?
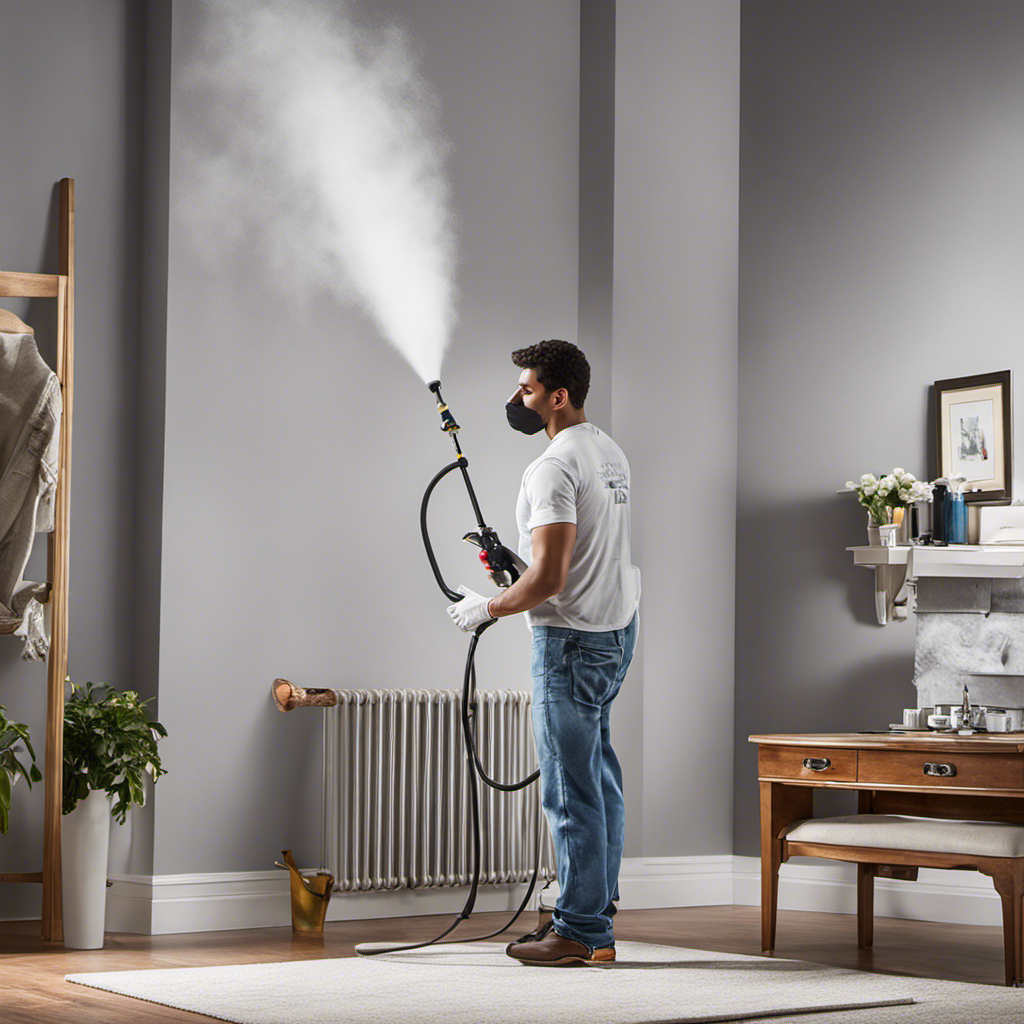
You might think safety gear is optional, but it’s vital for your protection. Always wear personal protective equipment like a respirator, gloves, goggles, and a mask. These items safeguard you from fumes and overspray, and also help minimize environmental considerations by preventing paint from contaminating surroundings. Taking these precautions keeps you safe and ensures responsible outdoor spray painting, so don’t skip on proper safety gear.
Conclusion
By mastering these outdoor spray painting techniques, you’ll achieve a flawless finish without the mess of overspray. Remember, patience and practice are your best allies—think of it as wielding a modern brush with the precision of a Renaissance artist. Don’t rush like a treasure hunter of yore; instead, take your time and enjoy the process. With these tips, your project will turn out stunningly, proving that even in the age of smartphones, good technique still reigns supreme.

Franz came aboard the Paint Sprayer Zone team with a background in both journalism and home renovation. His articulate writing style, combined with a passion for DIY projects, makes him an invaluable asset. Franz has a knack for breaking down technical jargon into easy-to-understand content, ensuring that even the most novice of readers can grasp the complexities of paint sprayers.