
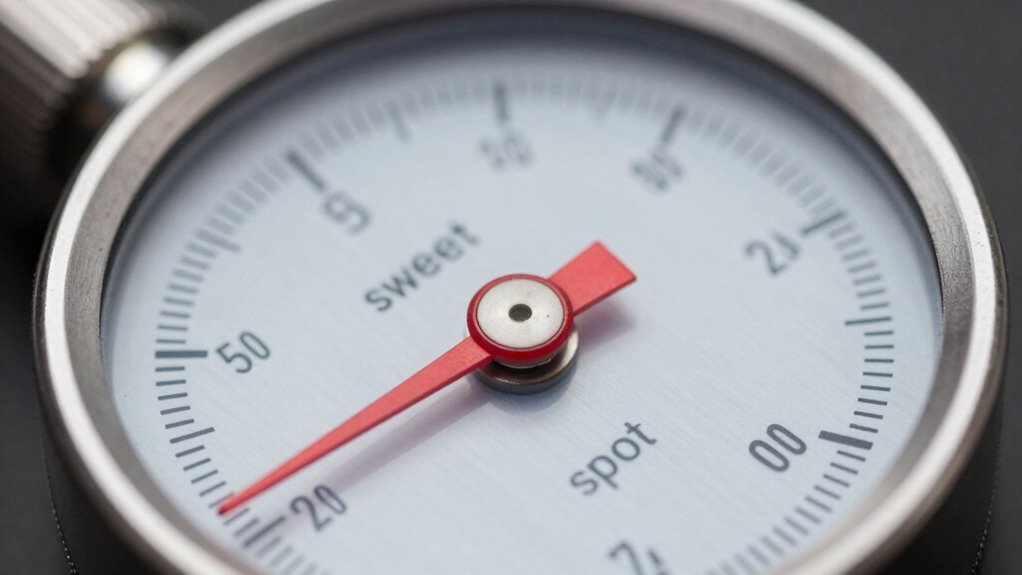
To mark your ‘sweet spots’ on a pressure dial through a one-time calibration, first identify the most stable and accurate pressure points by applying known standards and monitoring the dial’s response. Carefully adjust the gauge to match these points and mark the location with a clear indicator. Regular checks confirm your calibration stays accurate. Keep in mind that mastering this process can help improve efficiency and safety—so continue exploring for detailed tips.
Key Takeaways
- Identify stable, reliable pressure zones on the dial during testing for precise calibration points.
- Use accurate calibration tools to find and mark the optimal pressure spots on the dial surface.
- Adjust the dial carefully to match calibration standards, then mark the ‘sweet spots’ clearly for future reference.
- Record marked points and verify accuracy by applying pressure and comparing readings with a known standard.
- Regularly inspect and re-validate the marks to maintain long-term calibration accuracy and prevent drift.
How Pressure Dials Work and Why Calibration Matters
Pressure dials work by measuring the force exerted by a fluid or gas within a system and displaying that force as a numerical value on a gauge. Understanding pressure gauge mechanics is essential because it guarantees accurate readings. These gauges operate through a diaphragm, Bourdon tube, or other mechanisms that respond to pressure changes, moving the needle accordingly. Calibration standards are critical to maintain accuracy; they ensure the gauge’s readings match known pressure values. Without proper calibration, your pressure dial could give false readings, leading to system inefficiencies or safety hazards. Regular calibration aligned with industry standards guarantees reliable performance. Recognizing how pressure dials function and adhering to calibration standards helps you trust your measurements and maintain ideal system operation. Additionally, maintaining proper pressure ranges is vital to prevent damage and ensure optimal performance. Proper calibration procedures also help extend the lifespan of pressure gauges and prevent costly downtime. Incorporating piercing care and hygiene practices ensures the longevity and reliable functioning of pressure-sensitive components in the system, especially when dealing with fluid or gas media. Proper maintenance of these components is crucial to preserve measurement accuracy and system safety.
Why One-Time Calibration Saves Time and Ensures Accuracy
While ongoing calibration is important, opting for a one-time calibration can save you significant time and effort in the long run. By calibrating your pressure gauge once and marking its “sweet spots,” you reduce the need for frequent adjustments, streamlining pressure gauge maintenance. This approach ensures your readings stay accurate over time, preventing costly mistakes. To achieve this, carefully select calibration tools suited to your gauge type, ensuring precise adjustments during the initial calibration. A proper one-time calibration process minimizes errors caused by drift or wear, ultimately saving you time spent on repetitive calibrations. It also gives you confidence in your pressure readings, making your maintenance routines more efficient and reliable. Marking your key pressure points now keeps your system running smoothly without constant recalibration. Incorporating timeless outdoor wisdom can further enhance your calibration process by helping you understand the importance of consistency and precision in measurements. Additionally, understanding measurement stability can help maintain accuracy over time and reduce the need for frequent adjustments.
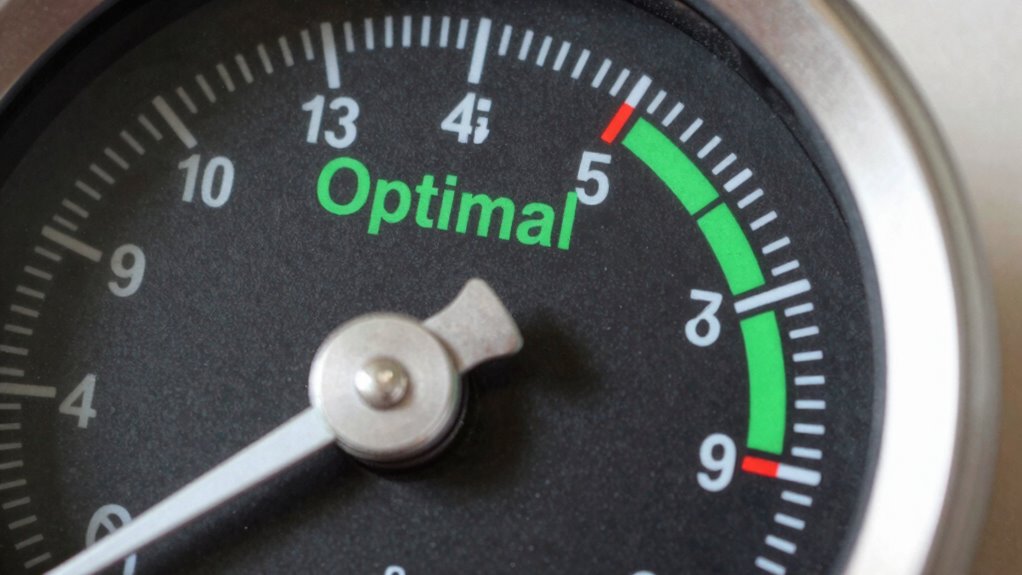
Finding the Optimal Pressure Point for Calibration

Finding the optimal pressure point for calibration is essential for maintaining accurate measurements over time. To calibrate accurately, you need to identify key pressure zones where your equipment performs best. Consistent calibration points ensure that your readings stay precise over time. Additionally, understanding the performance characteristics of your equipment can help you select the most suitable calibration zones. Recognizing wave and wind patterns can also assist in predicting environmental influences that might affect your measurements. Focusing on these ideal points can also help prevent measurement drift, which can compromise data integrity. Incorporating passive voice detection into your calibration routine can further enhance the consistency of your process. By focusing on these ideal points, you can improve the overall reliability of your calibration process.
Identifying Key Pressure Zones
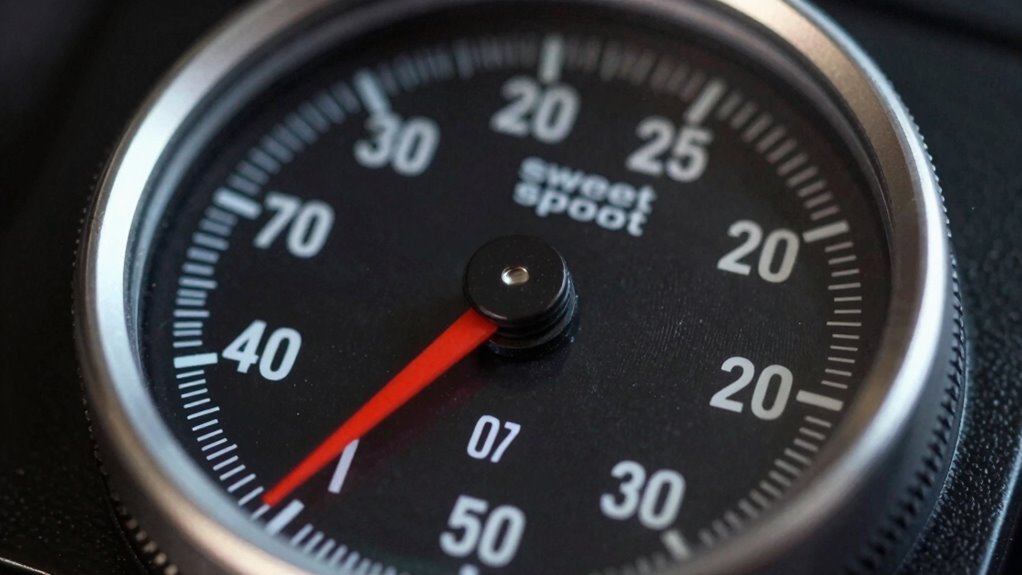
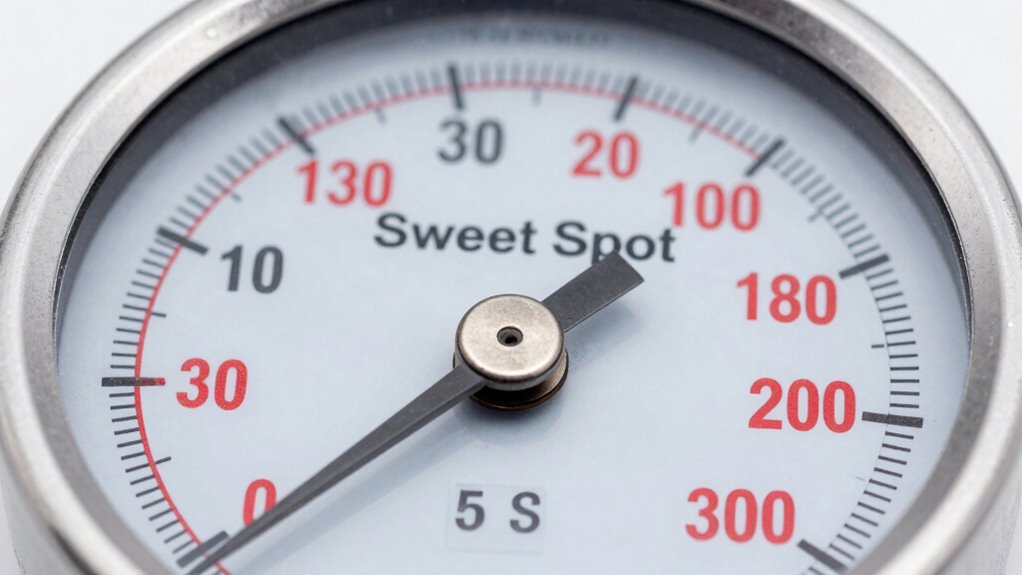
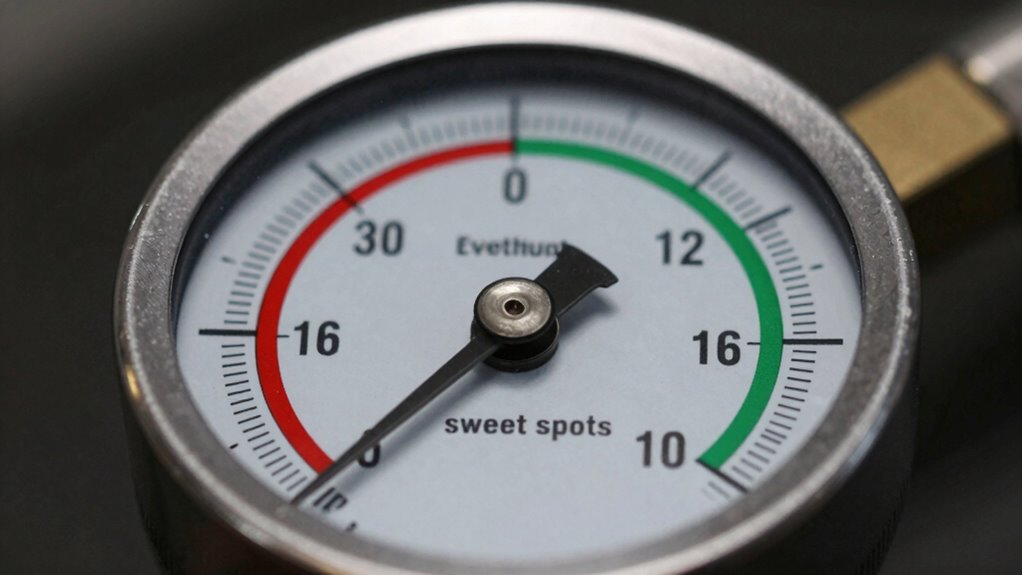
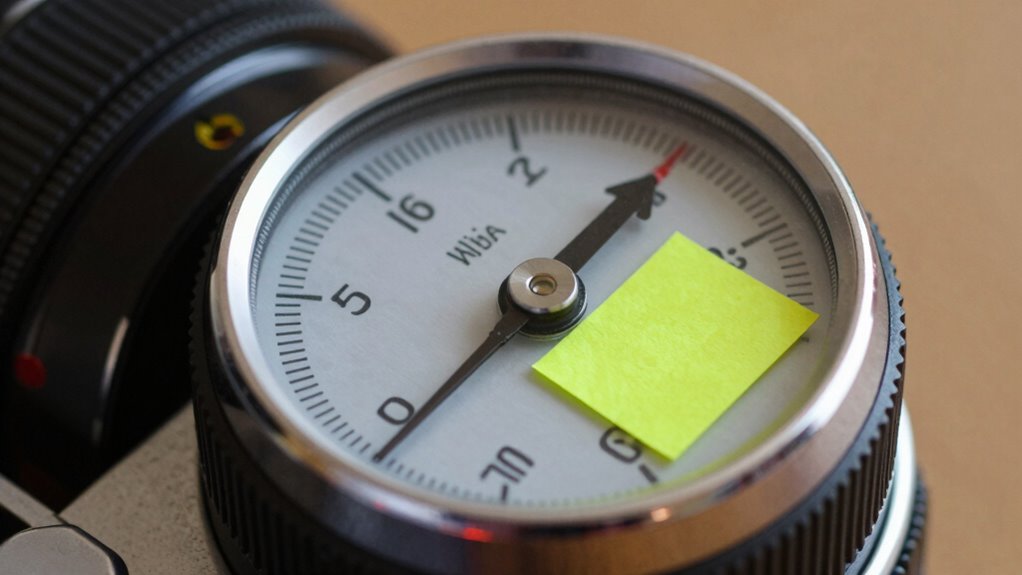
Finding the ideal pressure point for calibration requires you to identify specific zones on the dial where accuracy peaks. These key pressure zones are where your pressure sensor consistently provides the most reliable readings. To find them, monitor the dial as you apply different pressure levels, noting where readings stabilize and match known standards. These zones indicate the areas where dial accuracy is at its highest, making them perfect reference points. Marking these sweet spots ensures your calibration remains precise over time. Focusing on these key pressure zones helps avoid areas where the dial may drift or become less reliable. By carefully pinpointing these zones, you set a solid foundation for a one-time calibration that maintains consistent accuracy. Recognizing pressure stability is essential for effective calibration and long-term reliability, especially since consistent pressure application is crucial for sensor accuracy and dependable measurements. Additionally, understanding calibration techniques can further enhance your ability to identify these optimal zones effectively.
Fine-Tuning for Accuracy
Once you’ve identified the key pressure zones where your dial reads most accurately, the next step is to fine-tune your calibration by pinpointing the exact ideal pressure point. This involves careful dial adjustments while monitoring your pressure sensor’s response. Use a precise gauge to test different readings, gradually narrowing down the perfect setting. To assist this process, consider the following guide:
| Step | Action | Result |
|---|---|---|
| 1 | Observe pressure sensor data | Identify minor deviations |
| 2 | Slight dial adjustment | Corrects small errors |
| 3 | Re-test at target pressure | Confirms accuracy |
| 4 | Repeat as necessary | Fine-tunes calibration |
| 5 | Lock in final setting | Ensures consistent readings |
Additionally, understanding pressure regulation principles can help you make more informed adjustments. Investing in high-quality pressure gauges can improve your calibration process. Being familiar with pressure sensor calibration techniques ensures you maintain accuracy over time. With patience and careful dial adjustment, you’ll achieve precise calibration, ensuring your pressure sensor provides accurate, reliable measurements.
How to Mark Your Calibration Spot in Simple Steps
First, gather your equipment and make sure everything is clean and ready. Next, identify the exact pressure spot you want to mark on the dial. To ensure long-term accuracy, consider regular calibration to maintain precise control over your settings. Regularly inspecting and adjusting your calibration can help prevent errors caused by instrument drift, ensuring consistent results. Keep in mind that proper pressure control techniques can also extend the lifespan of your equipment. Additionally, understanding aviation regulations can help you stay compliant while maintaining your equipment properly. Implementing calibration best practices can further enhance the reliability of your markings. Finally, use a marker or tape to clearly mark that calibration point for easy reference later.
Prepare Your Equipment
Preparing your equipment is a crucial step to guarantee accurate calibration. First, confirm your pressure gauge is clean and in good working order. Check that the dial is free of damage or debris that could affect readings. Gather your calibration standards—trusted pressure sources that match the range you’ll be calibrating. Verify they are accurate and recent. Set up your calibration environment in a stable, vibration-free area to prevent any interference. Make sure all connections are secure and leak-free before starting. Calibrate your pressure gauge against the standards, noting the readings at various points. Proper preparation minimizes errors and ensures you can confidently mark your calibration spot on the pressure dial for future reference.
Mark the Calibration Spot
To mark your calibration spot accurately, start by identifying the specific point on the pressure dial that corresponds to your desired calibration standard. This guarantees your pressure gauge reflects correct readings during the calibration process. Once you find the spot, use a fine-tipped marker or a calibration sticker to mark it clearly. This mark serves as a visual cue for future reference, helping you quickly verify if the pressure gauge remains accurate.
| Step | Action |
|---|---|
| 1 | Locate the calibration point on the pressure dial. |
| 2 | Mark the spot with a fine marker or sticker. |
| 3 | Record the mark for future calibration checks. |
This simple step helps maintain accuracy and assures your pressure gauge stays reliable over time.
Testing and Confirming Your Calibration Spot

Once you’ve set what you believe is your calibration spot, verifying its accuracy is essential. To do this, use your pressure gauge and a reliable external reference, like a known calibrated device or a standard pressure source. Begin the calibration process by applying pressure to the gauge and noting the reading at your marked spot. Then, compare it to the reference pressure. If the readings match within an acceptable margin, your calibration spot is accurate. If not, adjust your mark accordingly and repeat the test. This confirmation step guarantees your pressure gauge provides precise readings when it matters most. Regular testing solidifies confidence in your calibration, preventing errors during critical measurements.
Maintaining Your Calibration Over Time for Best Results
Maintaining your calibration over time is essential to guarantee consistent and accurate pressure readings. To do this, regularly check your pressure gauge’s durability by inspecting for signs of wear or damage. Even with sturdy gauges, calibration can drift, so setting a proper calibration frequency is key. How often you recalibrate depends on usage; more frequent use may require more regular checks. Keep track of any discrepancies and re-calibrate promptly if readings become inconsistent. Proper maintenance also involves protecting your gauge from harsh conditions that could compromise its durability. By staying attentive to your gauge’s condition and following a consistent calibration schedule, you ensure your pressure readings stay reliable over the long term. This proactive approach helps prevent errors and maintains ideal performance.
Fixing Common Calibration Problems

Calibration problems can often be traced to simple issues like worn or damaged parts, environmental factors, or user error. If your pressure sensor isn’t reading accurately, check for leaks, dirt, or corrosion. Using proper calibration tools is essential to fix these issues. Sometimes, the dial may drift because of temperature fluctuations or vibrations. To troubleshoot, compare readings with a known standard and adjust accordingly. Here’s a quick guide:
| Issue | Cause | Solution |
|---|---|---|
| Unstable readings | Environmental factors | Calibrate in a controlled setting |
| Inconsistent results | Worn calibration parts | Replace damaged calibration tools |
| Overly sensitive sensor | Dirt or debris | Clean sensor gently |
| Dial not aligning | Mechanical misalignment | Realign the pressure sensor |
| Calibration drift | Long-term wear | Recalibrate regularly |
Address these factors to maintain accurate calibration.
When and Why to Recalibrate Your Pressure Dial
Regularly recalibrating your pressure dial helps guarantee it continues to provide accurate readings over time. Over its lifespan, a pressure gauge may drift from its original calibration, impacting measurement precision. Knowing when to recalibrate depends on factors like usage and environmental conditions. Typically, consider recalibrating:
- After extended use or if readings seem inconsistent
- When the gauge shows signs of damage or wear
- Following any impact or sudden temperature changes
- According to the recommended calibration frequency specified by the manufacturer
Understanding your pressure gauge’s lifespan and adhering to proper calibration schedules ensures ongoing accuracy. Regular recalibration prevents errors that could compromise safety or process quality, making it a crucial maintenance step to keep your tools reliable.
Applying Calibration Tips to Different Tools
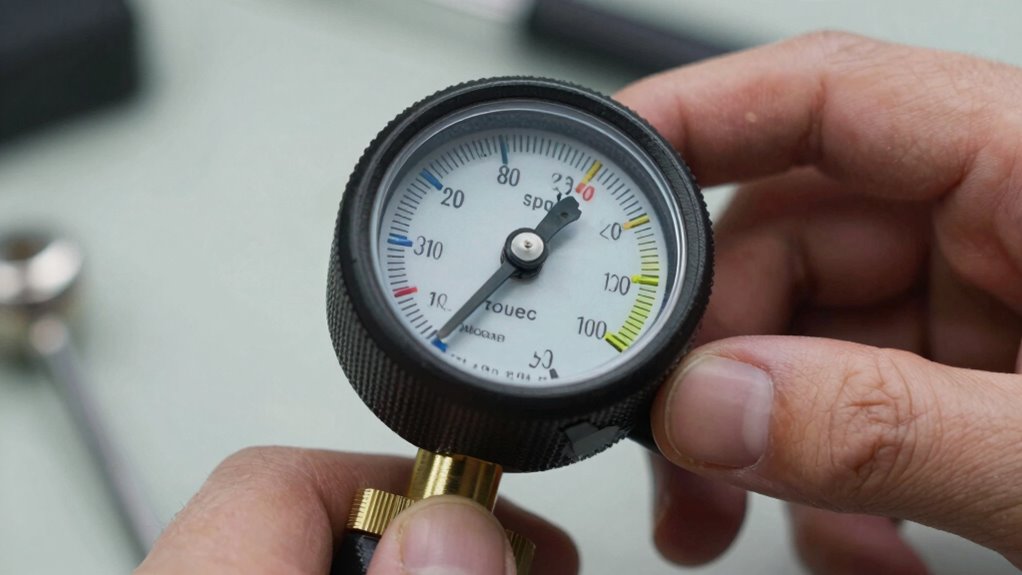
Applying calibration tips to different tools requires understanding each device’s unique design and usage. For pressure gauges, regular pressure gauge maintenance guarantees accuracy and prolongs lifespan. When calibrating, use appropriate calibration tools designed for specific ranges and types of pressure measurement. For example, some gauges need fine-tuning with digital calibration devices, while others may require manual adjustments. Always follow the manufacturer’s instructions to avoid damage. Keep in mind that different tools may have varying sensitivities and calibration points, so mark your ‘sweet spots’ accordingly. Consistent application of calibration techniques across your tools ensures reliable readings and reduces errors. By understanding each device’s specifications and applying tailored calibration tips, you’ll maintain peak performance and accurate pressure measurements over time.
Frequently Asked Questions
Can I Calibrate Multiple Pressure Dials With the Same Spot?
You shouldn’t calibrate multiple pressure dials to the same spot if you want consistent pressure and accurate calibration. Each dial may have slight variations, so marking the same spot can compromise pressure consistency and calibration accuracy. Instead, calibrate each dial individually, ensuring you mark unique “sweet spots” for every one. This approach maintains precise pressure control and guarantees that each dial functions correctly within your system.
What Tools Are Best for Marking Calibration Spots?
You need precise marking calibration, so don’t settle for just any tools. The best calibration tools are fine-tipped permanent markers or specialized calibration pens, which guarantee clear, durable markings. These tools let you accurately mark your calibration spots without smudging or fading over time. To assure consistency, use a steady hand and consider a magnifying glass for pinpoint accuracy. Precision is key—your calibration depends on it.
How Often Should I Recheck Calibration After Initial Setup?
You should recheck calibration regularly, ideally every 6 to 12 months, based on your equipment’s usage and criticality. Incorporate calibration frequency into your maintenance schedule to guarantee accuracy. Keep an eye on any discrepancies or performance issues that might indicate drift. Regular rechecks help maintain precision, prevent errors, and extend your device’s lifespan, saving you time and money in the long run.
Is There a Risk of Damaging the Pressure Dial During Calibration?
Oh, absolutely—calibrating your pressure dial is a walk in the park, and damage is nearly impossible if you follow proper dial safety tips. Pushing too hard or forcing the calibration can harm the mechanism, risking accuracy. So, take your time, avoid sudden jolts, and gently adjust. With patience, you’ll maintain calibration accuracy without risking any damage—your dial will thank you for the gentle treatment.
Can Digital Pressure Gauges Be Calibrated Using This Method?
Yes, you can calibrate digital pressure gauges using this method. By marking your ‘sweet spots’ on the pressure dial, you establish reference points that help guarantee pressure accuracy. This process allows you to verify and adjust your digital gauge, maintaining its precision over time. Just make sure to follow proper calibration procedures and handle the device carefully to avoid damaging sensitive components.
Conclusion
By taking the time to calibrate your pressure dial correctly, you’re setting yourself up for consistent, accurate results. Marking your sweet spot guarantees you won’t have to guess each time, saving you effort down the line. Remember, a stitch in time saves nine—so don’t wait until things go awry. Stay vigilant with regular checks, and your tools will perform like a well-oiled machine, keeping your projects on point and trouble-free.