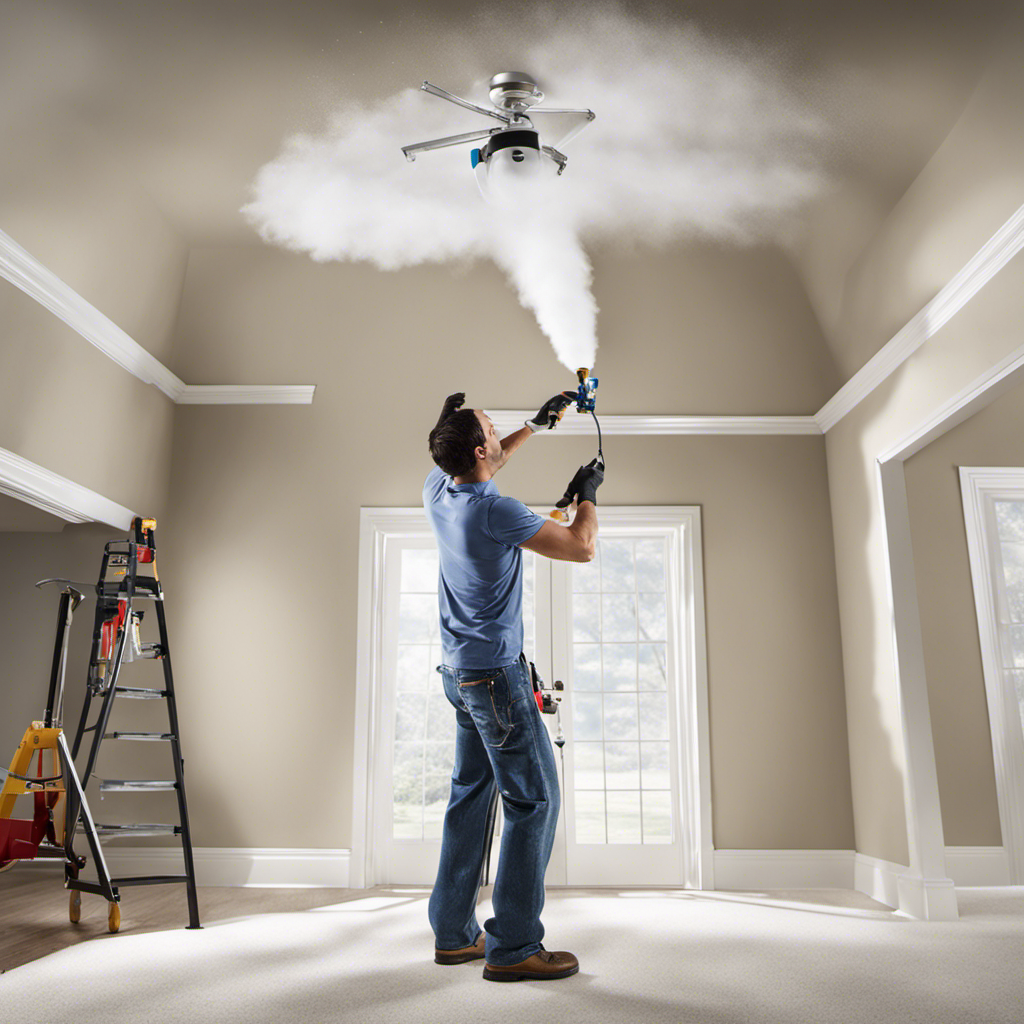
When it comes to painting ceilings, utilizing airless spray equipment can help make the job more efficient and increase productivity. These useful tools provide various advantages, including the ability to achieve a perfect finish and save time.
In this article, we’ll explore the benefits, techniques, and maintenance tips for painting ceilings with airless sprayers. From proper preparation and mixing paint to troubleshooting common issues, this guide will provide all the know-how you need to tackle your ceiling painting project with confidence.
Key Takeaways
- Airless sprayers offer faster application and a smoother finish compared to traditional methods.
- Proper preparation, including addressing imperfections and sanding rough areas, is essential for a professional result.
- Alternative methods, such as using a roller or hiring a professional painter, may be considered depending on preferences and budget.
- Diluting and mixing paint according to manufacturer’s instructions is crucial for optimal performance and avoiding clogs.
Benefits of Airless Sprayers for Painting Ceilings
Using an airless sprayer for painting ceilings offers several benefits.
Firstly, it allows for faster application compared to traditional methods like using a roller or brush. This is especially advantageous when dealing with large ceiling surfaces.
Secondly, the airless sprayer provides a smoother finish, as it atomizes the paint into tiny droplets, resulting in a more even and professional-looking coat.
Lastly, the airless sprayer ensures better coverage, as it can reach into corners and crevices that may be difficult to access with other tools.
However, there are a few drawbacks to consider. Airless sprayers can be expensive to purchase or rent, and they require proper maintenance and cleaning to ensure optimal performance. Additionally, the overspray produced by airless sprayers may require additional precautions to protect surrounding surfaces.
Despite these drawbacks, the advantages of using an airless sprayer for painting ceilings make it a popular choice among professionals and DIY enthusiasts alike.
Necessary Materials and Equipment for Airless Sprayer Ceiling Painting
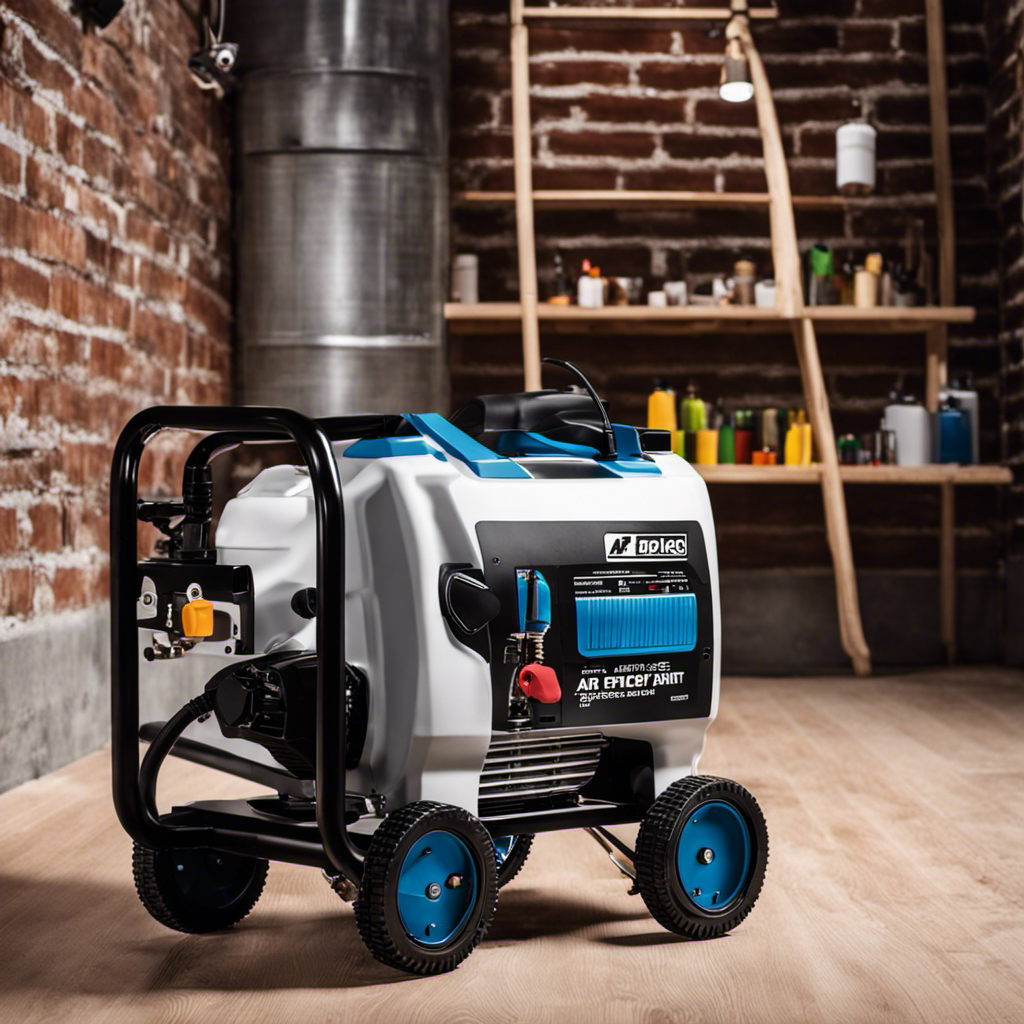
The painter gathers all the required materials and equipment for their airless sprayer ceiling project. They understand the importance of airless sprayer maintenance to ensure optimal performance.
Before starting the project, the painter takes the necessary steps to protect furniture during ceiling painting. They cover all furniture with plastic sheets or drop cloths to prevent any paint splatters or drips from damaging the surfaces.
The painter also ensures that the surrounding area is clear of any valuable or delicate items that could be accidentally damaged. By taking these precautions, the painter demonstrates their experience and knowledge in providing a professional and efficient painting service.
Proper Preparation and Technique for a Smooth Finish
To achieve a smooth finish, the painter carefully prepares the surface. They first inspect the ceiling for any imperfections and address them accordingly. Using a suitable filler, they fill in any cracks or holes, allowing it to dry completely before proceeding. Next, they gently sand down any rough areas to create a smooth and even surface. This step is crucial to achieving a uniform finish.
Once the surface is properly prepared, the painter can confidently apply the paint. They use their airless sprayer to ensure a professional and seamless result. This meticulous preparation ensures that the paint adheres evenly to the ceiling, resulting in a consistent and flawless appearance.
Alternative Methods for Painting Ceilings
Rollers and professional painters are two alternative options for homeowners who prefer not to use an airless sprayer when painting their ceilings.
Using a roller for painting ceilings has its pros and cons. On the positive side, rollers are easy to use and require minimal setup. They also provide good coverage and are ideal for textured surfaces. However, using a roller can be time-consuming and may result in a less smooth finish compared to using an airless sprayer.
When it comes to cost comparison, hiring a professional painter can be more expensive than using an airless sprayer yourself. However, professional painters have the expertise and equipment to ensure a high-quality finish.
Ultimately, the choice between a roller, professional painter, or airless sprayer depends on the homeowner’s preferences, budget, and desired outcome.
Diluting and Mixing Paint for Airless Sprayer Ceiling Painting
When diluting and mixing paint for an airless sprayer, homeowners should follow the manufacturer’s instructions to ensure proper consistency and avoid clogs. Achieving the correct paint consistency is crucial for the optimal performance of the sprayer.
Diluting the paint too much can lead to a thin and watery mixture that may not adhere properly to the ceiling surface. On the other hand, if the paint is not properly mixed, it can cause clogs in the sprayer, resulting in uneven spray patterns and delays in the painting process.
To achieve the correct consistency, homeowners should use a mixing paddle or a mechanical paint mixer to thoroughly mix the paint. It is important to follow the recommended ratios provided by the manufacturer to ensure the paint is properly diluted and mixed for an airless sprayer.
Proper Spraying Technique for Airless Sprayer Ceiling Painting
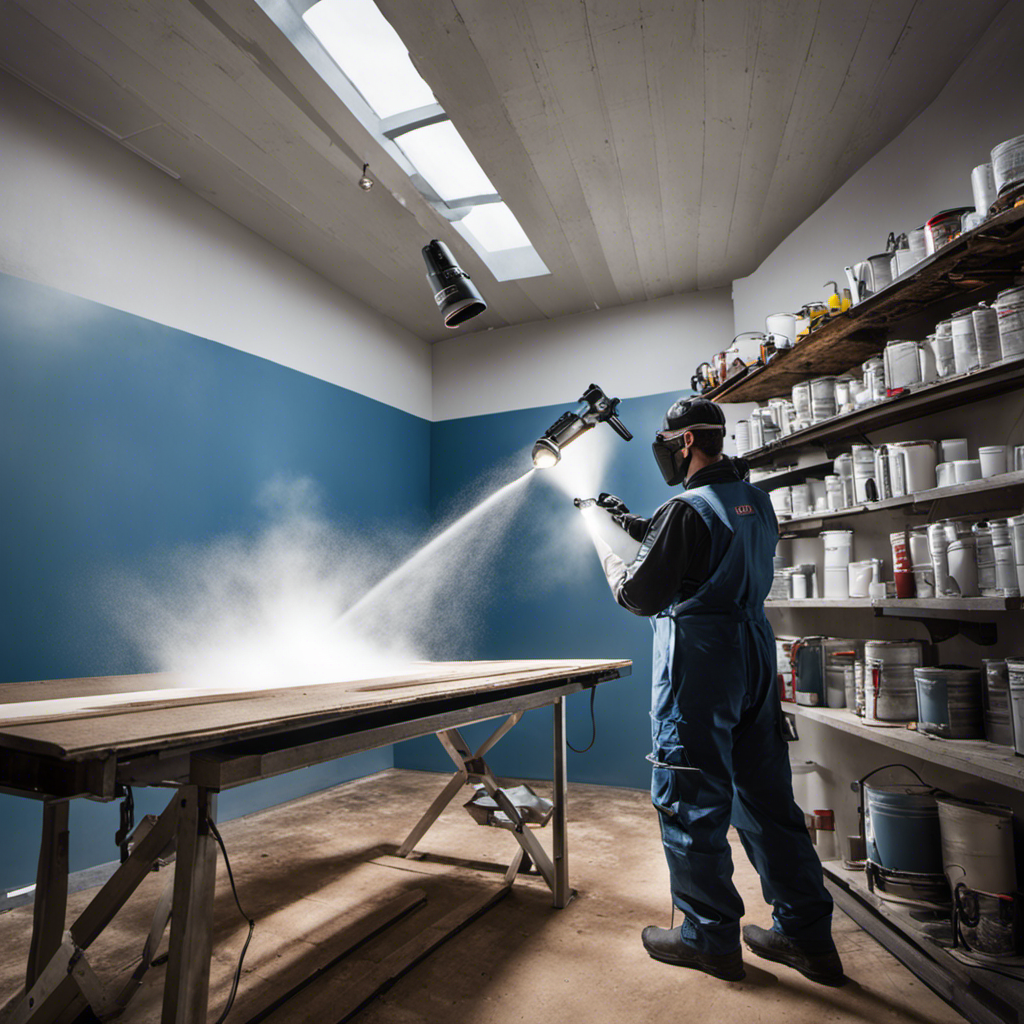
Using smooth and consistent motions, homeowners should maintain a proper distance when spraying ceilings with an airless sprayer to achieve an even and professional finish. This technique ensures that the paint is evenly distributed and eliminates any streaks or uneven coverage. It is important to hold the sprayer nozzle at a distance of about 12 to 18 inches from the ceiling surface. This allows for a wide and even spray pattern, covering a larger area with each pass. By keeping a consistent distance throughout the painting process, homeowners can achieve a seamless finish without any noticeable lines or variations in paint thickness. This technique is essential for achieving even coverage and a flawless result.
| Spraying Technique | |
|---|---|
| Maintain consistent distance | 12-18 inches |
| Use smooth and consistent motions | Left to right or up and down |
| Overlap each spray pass | 50% overlap |
| Adjust sprayer pressure | For desired spray pattern |
Adjusting Pressure Settings for Desired Spray Pattern
Homeowners can achieve their desired spray pattern by adjusting the pressure settings on the airless sprayer. Adjusting the pressure settings is crucial for achieving even coverage and a smooth finish.
By increasing the pressure, the spray pattern will become wider and the droplets will be smaller, resulting in a finer mist. Conversely, decreasing the pressure will create a narrower spray pattern with larger droplets.
It is important to find the right balance and experiment with different pressure settings to achieve the desired effect. Additionally, homeowners should consider the viscosity of the paint and adjust the pressure accordingly.
Thicker paints may require higher pressure settings, while thinner paints may require lower pressure settings. Overall, adjusting the pressure settings is a key technique in achieving professional-looking results when using an airless sprayer for painting ceilings.
Troubleshooting Common Issues With Airless Sprayer Ceiling Painting
Adjusting the nozzle size on the airless sprayer can help troubleshoot common issues with achieving an even spray pattern when painting ceilings.
When using an airless sprayer for ceiling painting, it’s important to be aware of potential problems that may arise. One common issue is overspray, which can result in uneven coverage and wasted paint. To address this problem, check the nozzle size and adjust it accordingly.
Another common problem is clogging, which can lead to splotchy or inconsistent spraying. Regularly cleaning the sprayer and using the appropriate paint viscosity can help prevent clogging.
Additionally, uneven spray patterns can occur if the sprayer’s pressure settings are not properly adjusted. Experiment with different pressure settings to achieve the desired spray pattern.
Regular Maintenance for Airless Sprayers
Regularly cleaning and inspecting the airless sprayer is essential for maintaining its optimal performance and prolonging its lifespan. Here are some maintenance tips and troubleshooting tips to help keep your airless sprayer in top condition:
| Maintenance Tips | Troubleshooting Tips |
|---|---|
| Clean the sprayer after each use, removing any paint residue or debris. | If the sprayer is not spraying evenly, check for clogs in the nozzle or hose. |
| Inspect the sprayer for any worn or damaged parts, and replace as needed. | If the sprayer is leaking, check for loose connections or worn seals. |
| Lubricate moving parts regularly to ensure smooth operation. | If the sprayer is not priming properly, check for air leaks or a faulty pump. |
Cleaning the Airless Sprayer After Use
After completing a painting project, it is important to clean the airless sprayer thoroughly to remove any paint residue and ensure its proper functioning for future use. Neglecting this crucial step can lead to clogs, diminished performance, and even permanent damage to the sprayer.
To maintain the sprayer effectively, follow these cleaning and maintenance steps:
- Flush the sprayer with an appropriate cleaning solution to dissolve any remaining paint.
- Use a brush or a soft cloth to remove any stubborn paint residue from the sprayer components.
- Inspect the sprayer for any signs of damage or wear and replace any worn-out parts.
By following these cleaning and maintenance practices, you can extend the lifespan of your airless sprayer and ensure its optimal performance for future painting projects.
Don’t overlook the importance of proper cleaning and maintenance to keep your sprayer in top shape and ready for the next job.
Drying Time, Paint Types, and Protection for Airless Sprayer Ceiling Painting
After thoroughly cleaning the airless sprayer, it is important to consider the drying time, paint types, and protection when painting ceilings with an airless sprayer. Different techniques can be used to speed up the drying time, ensuring a quicker completion of the project. Additionally, choosing the right paint type is crucial for achieving a smooth and even finish. It is essential to protect furniture and floors from paint splatters and spills during the painting process. This can be done by covering them with drop cloths or plastic sheets. Taking these precautions will not only prevent damage to your belongings but also ensure a clean and professional-looking result. By following these drying time techniques and protecting your furniture, you can successfully paint ceilings with an airless sprayer.
| Drying Time Techniques | Paint Types | Protecting Furniture |
|---|---|---|
| Use a dehumidifier or fans to circulate air and promote faster drying | Opt for quick-drying or low VOC (volatile organic compound) paints | Cover furniture with drop cloths or plastic sheets |
| Ensure proper ventilation in the room to allow moisture to evaporate quickly | Consider using water-based paints, as they dry faster compared to oil-based counterparts | Move furniture out of the room if possible |
| Avoid painting in high humidity conditions, as it can prolong drying time | Look for paints with a matte or flat finish, as they tend to dry faster than paints with a glossier finish | Use painter’s tape to protect edges and corners of furniture |
| Thin the paint slightly to help it dry faster, but be cautious not to compromise the quality of the finish | Consult the paint manufacturer’s guidelines for recommended paint types for airless sprayers | Place plastic covers or bags over furniture for additional protection |
| Consider using drying accelerators or additives to speed up the drying process | Test a small area before applying the paint to ensure compatibility with the airless sprayer | Clean any paint spills or splatters immediately to prevent them from drying and causing damage |
Frequently Asked Questions
Can I Use an Airless Sprayer to Paint a Popcorn or Textured Ceiling?
Yes, an airless sprayer can be used to paint a popcorn or textured ceiling. The proper technique for painting textured ceilings with an airless sprayer involves adjusting the sprayer’s pressure settings to achieve an even application.
It is important to maintain a consistent distance and smooth motion while spraying to ensure a uniform coverage. By using an airless sprayer, you can achieve a professional-looking finish on your popcorn or textured ceiling.
How Long Does It Typically Take for Ceiling Paint to Dry When Using an Airless Sprayer?
Typically, ceiling paint dries within a few hours when using an airless sprayer. However, the drying time can vary depending on factors such as humidity and the type of paint used. To ensure the best results, it is important to follow proper drying time guidelines and best practices.
This includes allowing sufficient time for the paint to dry before applying additional coats or allowing any contact with furniture or floors. Following these steps will help achieve a smooth and durable finish on the ceiling.
Are There Any Specific Safety Precautions I Need to Take When Using an Airless Sprayer for Ceiling Painting?
When using an airless sprayer for ceiling painting, it is important to take specific safety precautions.
Proper ventilation is crucial to prevent the inhalation of fumes and ensure a healthy working environment.
It is recommended to wear respiratory protection, such as a mask or respirator, to further protect against any airborne particles.
Additionally, it is essential to follow the manufacturer’s guidelines for safe operation and maintenance of the airless sprayer to minimize any potential risks.
What Are Some Common Issues That Can Occur When Using an Airless Sprayer for Ceiling Painting, and How Can I Troubleshoot Them?
When using an airless sprayer for ceiling painting, common issues may arise that require troubleshooting. Maintenance tips can help prevent and address these issues.
It is important to regularly check for clogs or damage and replace worn parts. Proper cleaning after each use is also crucial. Additionally, adjusting the sprayer’s pressure settings and ensuring a consistent distance and smooth motion during spraying can help achieve better results.
Can I Use Any Type of Paint With an Airless Sprayer, or Are There Specific Types That Are Recommended?
Different types of paint suitable for airless sprayers include latex, oil-based, and acrylic paints. When choosing the right paint, consider factors such as the ceiling material, desired finish, and the manufacturer’s recommendations.
To achieve an even finish when using an airless sprayer on ceilings, it’s important to use the correct nozzle size and maintain a consistent distance from the surface. Additionally, practicing proper spraying technique, such as using smooth, overlapping strokes, can help ensure a smooth and professional-looking result.
Conclusion
In conclusion, painting ceilings with airless sprayers offers a multitude of benefits. These include a smooth finish and time-saving efficiency. Just as the graceful strokes of a paintbrush can transform a blank canvas into a work of art, the airless sprayer allows for precision and ease in creating a flawless ceiling.
With proper maintenance and cleaning, this powerful tool can be a trusted companion in any painting project. So, let the airless sprayer be your artist’s brush, bringing life and beauty to your ceilings with every pass.
Drenched in creativity and armed with a fountain pen, Isolde weaves words as gracefully as a painter strokes their canvas. A writer for Paint Sprayer Zone, her passion for colors, textures, and spaces finds a harmonious blend with her profound knowledge of painting tools and techniques.
Having grown up in a family of artists, Isolde’s tryst with paints began early. While her relatives expressed themselves on canvas, Isolde found her medium in words. She dedicated herself to chronicling the world of painting, understanding the nuances of each tool, and the artistry behind every spritz of a paint sprayer.
