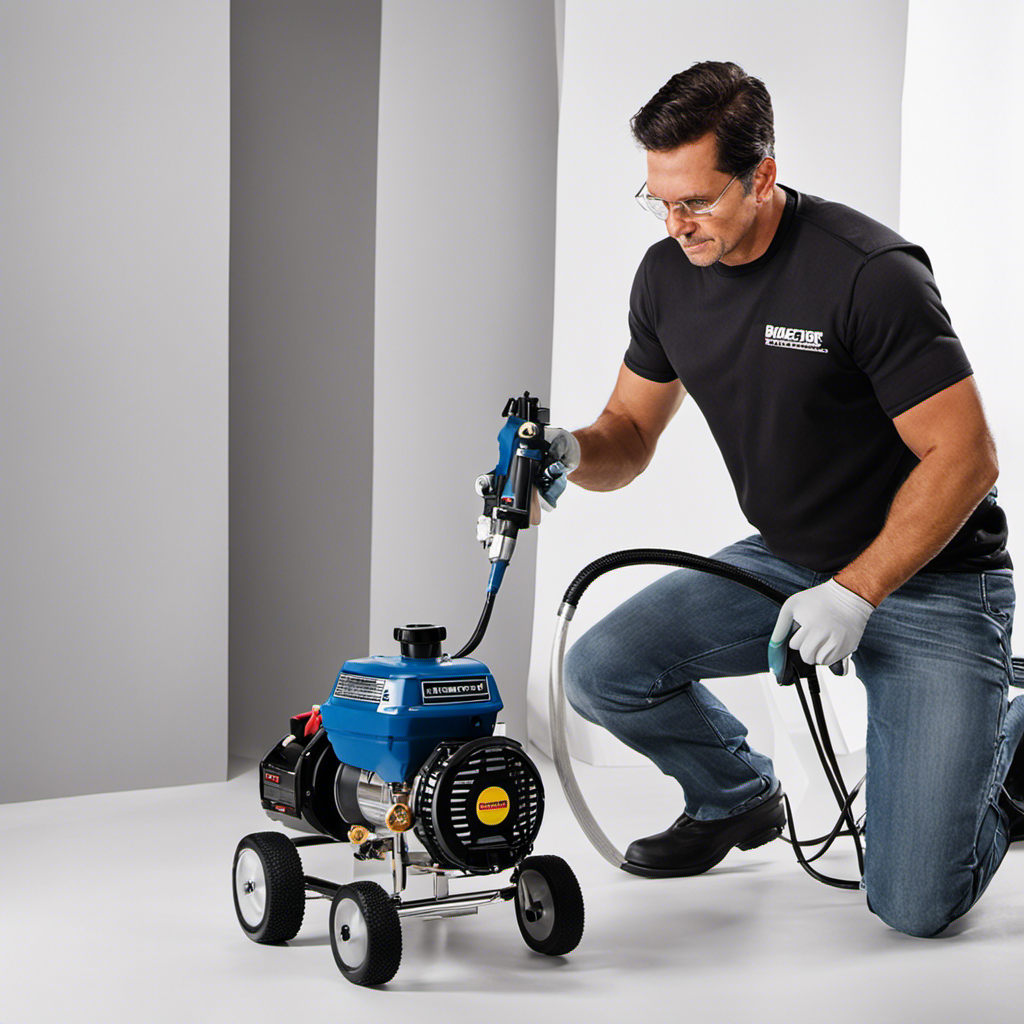
Achieving high-quality painting results is simple with the Krause and Becker Airless Paint Sprayer. This sturdy device guarantees easy attainment of consistent, professional finishes.
By adjusting the spray pattern, regulating pressure settings, and selecting the right paint type for different surfaces, you can transform any project into a work of art.
With its user-friendly design and efficient functionality, mastering the basics of this paint sprayer is a must for anyone looking to elevate their painting game.
Key Takeaways
- Master the spray pattern and adjust pressure settings for desired coverage and finish
- Choose the right paint type for different surfaces
- Properly prepare the surface before painting, including cleaning, sanding, and filling in imperfections
- Apply primer or sealer when necessary for improved adhesion and durability
Adjusting the Spray Pattern for Desired Coverage
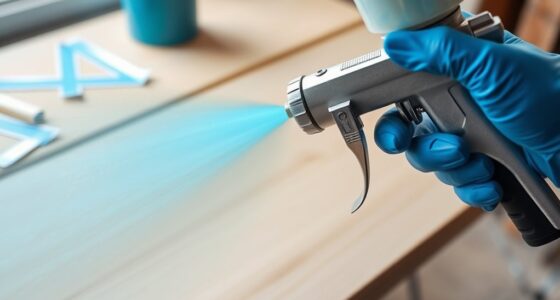
The user must adjust the spray pattern on the Krause and Becker airless paint sprayer in order to achieve the desired coverage for their project. Adjusting the spray pattern is essential for different textures and surfaces. By manipulating the spray pattern, the user can control the width and shape of the paint spray, allowing for even coverage on various surfaces.
To adjust the spray pattern, the user can typically rotate the nozzle or change the nozzle tip to achieve the desired pattern. It is important to troubleshoot common issues with the Krause and Becker Airless Paint Sprayer, such as clogging or inconsistent spray patterns. Regularly cleaning the nozzle and filters can help prevent clogs, while adjusting the pressure settings can help address inconsistent spray patterns.
Mastering the art of adjusting the spray pattern will result in a professional-looking finish for any painting project.
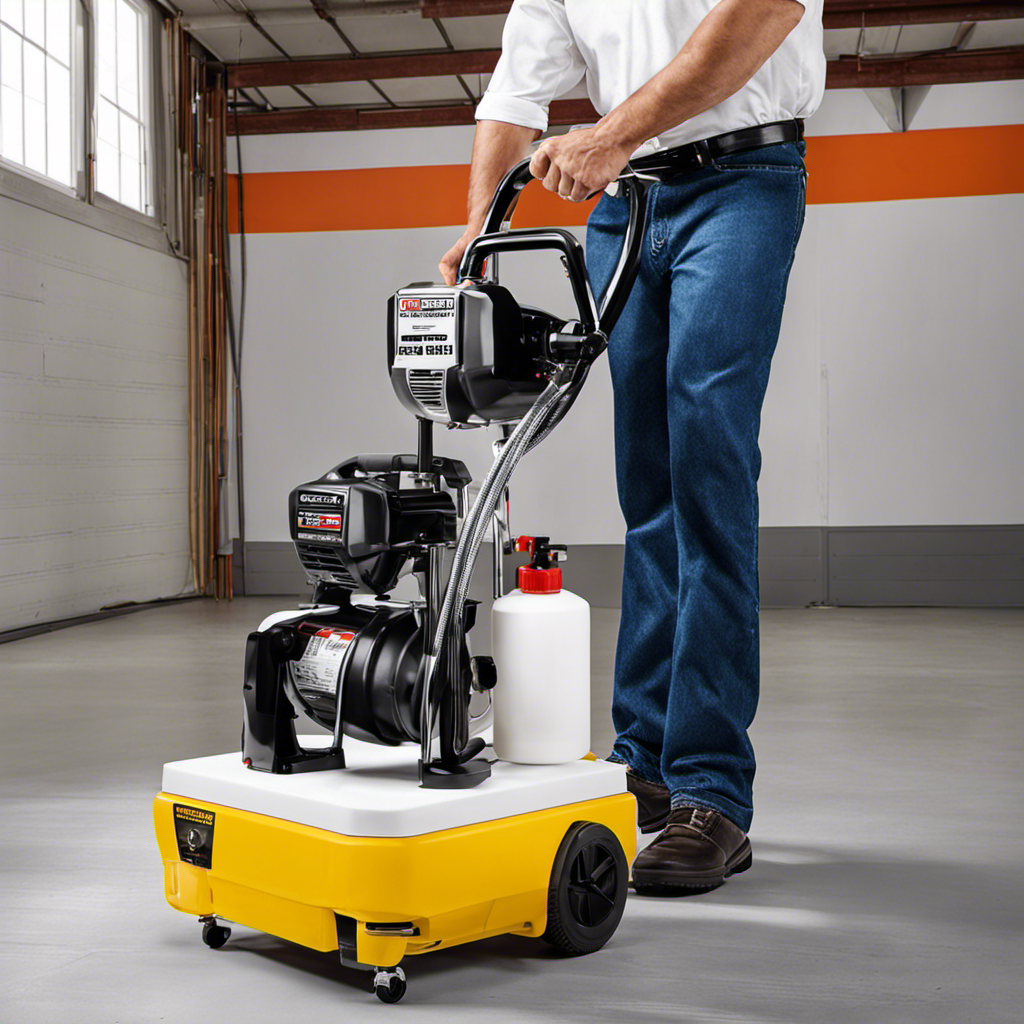
Regulating the Pressure Settings for Optimal Paint Flow
To achieve optimal paint flow, one must regulate the pressure settings on the airless sprayer. Properly regulating the pressure ensures a consistent and even application of paint, preventing issues such as sputtering or uneven coverage.
To begin, it is important to understand the recommended pressure range for the type of paint being used. Adjusting the pressure too high can result in excessive overspray, while setting it too low may cause the paint to clog or drip.
Troubleshooting common paint flow issues involves checking the nozzle for any blockages or wear, ensuring that the paint is properly mixed and strained, and adjusting the pressure accordingly.
Achieving Professional-Looking Results With the Krause and Becker Airless Paint Sprayer
Achieving professional-looking results with the Krause and Becker Airless Paint Sprayer requires understanding and implementing proper pressure regulation techniques. To paint a picture for the audience, here are some key steps to follow:
-
Adjust the spray pattern to accommodate different textures. This will ensure even coverage and a smooth finish.
-
Troubleshoot common issues with the airless paint sprayer, such as clogged nozzles or inconsistent spray. This can be done by cleaning or replacing the nozzle, checking the paint viscosity, and ensuring proper priming of the sprayer.
-
Remember to adjust the pressure settings to control the flow of paint. Higher pressure will result in faster coverage, while lower pressure will provide more control and reduce overspray.
-
Practice and experiment with the sprayer on a test surface before tackling the actual project. This will help you become familiar with the equipment and achieve the desired results.
Choosing the Right Paint Type for Different Surfaces
When choosing paint for different surfaces, it is important to consider the surface type, desired finish, and any specific requirements. Using the correct paint type for different surfaces can provide numerous benefits and considerations. To help visualize this, here is a table that outlines some common surface types and the recommended paint types:
| Surface Type | Recommended Paint Type |
|---|---|
| Wood | Latex or oil-based |
| Metal | Rust-resistant |
| Concrete | Masonry paint |
| Drywall | Latex |
Properly Preparing the Surface Before Painting
Properly preparing the surface before painting involves cleaning, sanding, and filling in imperfections for optimal paint adhesion and a smooth finish. To paint a picture for the audience, here are the steps involved in preparing the surface:
-
Surface Cleaning:
- Remove any dirt, dust, or grease from the surface using a mild detergent and water.
- Scrub the surface gently with a sponge or brush to ensure thorough cleaning.
-
Filling Imperfections:
- Inspect the surface for cracks, holes, or other imperfections.
- Use a suitable filler, such as spackle or wood filler, to fill in these imperfections.
- Smooth out the filler with a putty knife and let it dry completely.
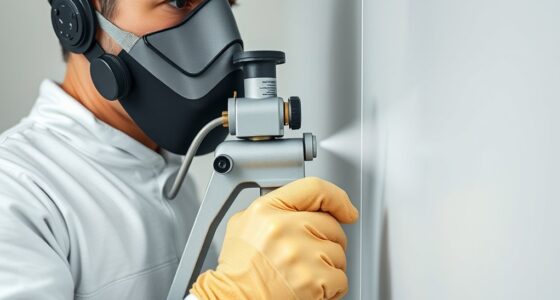
Applying Primer or Sealer for Improved Adhesion and Durability
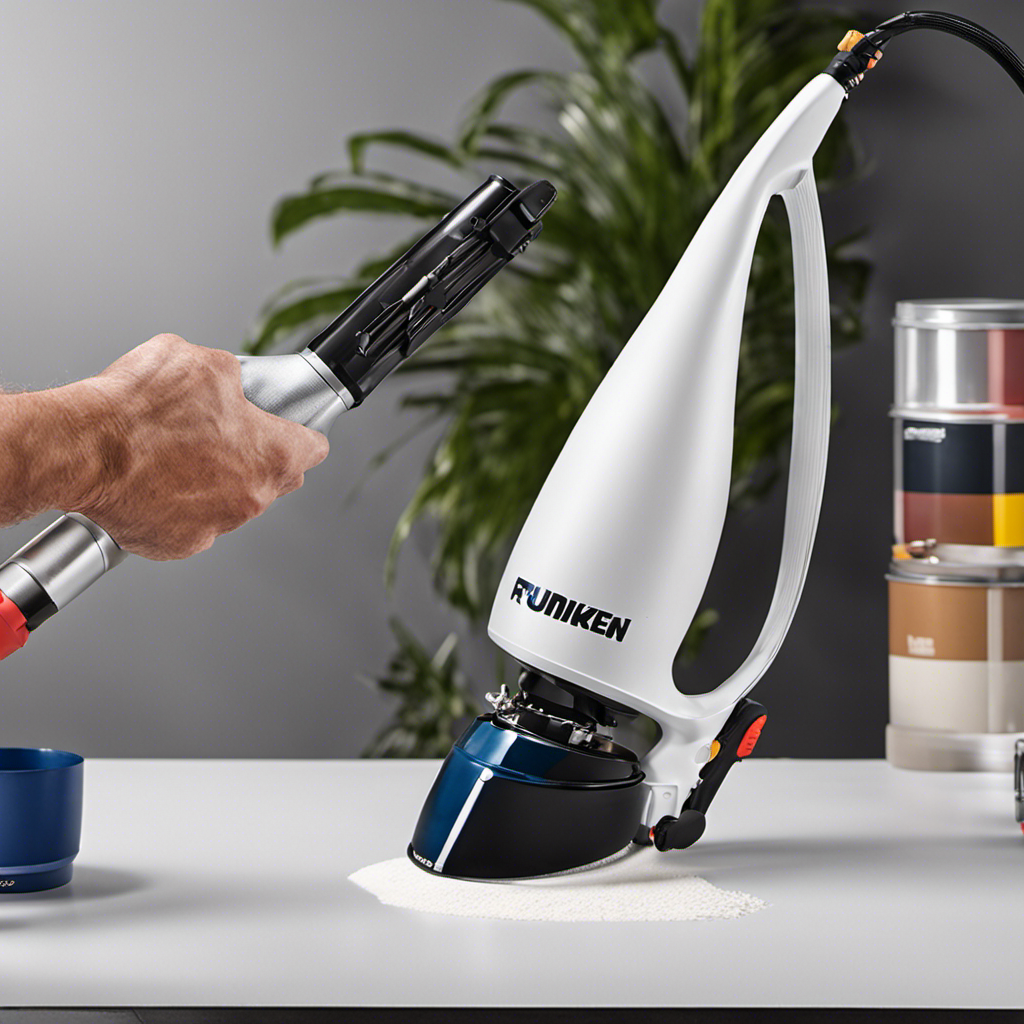
Applying primer or sealer before painting enhances adhesion and durability, ensuring a long-lasting finish. When using the Krause and Becker Airless Paint Sprayer, the right technique is crucial for achieving a smooth and even paint finish.
To start, make sure to select a primer or sealer that is appropriate for the surface and paint type you will be using. Apply an even coat, following the manufacturer’s instructions. Allow the primer or sealer to dry completely before applying the paint.
When using the airless paint sprayer, adjust the pressure settings to control the flow of paint. Start with a lower pressure and gradually increase it until the desired coverage is achieved. Move the sprayer in a steady, overlapping motion to ensure even distribution of the paint.
Selecting the Appropriate Paint Type for Your Project
To achieve the desired aesthetic and durability, it is important to carefully select the appropriate type of paint for the project. When choosing paint, there are several factors to consider.
Paint color selection:
- Consider the overall aesthetic and desired effect when choosing paint colors.
- Different finishes (matte, satin, gloss) offer varying levels of shine and durability.
- Matte finish is suitable for ceilings and walls with slight to no wear and tear.
- Satin finish is ideal for high-traffic areas like hallways and kitchens.
- Gloss finish is recommended for trim, doors, and furniture.
Factors to consider when choosing paint:
- Select a paint type appropriate for the surface (interior/exterior, wood/metal).
- Take into account any specific requirements or conditions of the project.
- Consider the durability and longevity needed for the specific area being painted.
- Evaluate the ease of cleaning and maintenance for the chosen paint type.
Understanding Different Paint Finishes and Their Uses
Different paint finishes offer varying levels of shine and durability, making it important to understand their uses in order to achieve the desired aesthetic and longevity of the paint job.
When it comes to interior surfaces, there are three main types of paint finishes: matte, satin, and gloss. Matte finishes provide a non-reflective, velvety appearance and are suitable for ceilings and walls with minimal wear and tear. Satin finishes have a slight sheen and are ideal for high-traffic areas like hallways and kitchens, as they are more resistant to stains and easier to clean. Gloss finishes, on the other hand, offer a high level of shine and are recommended for trim, doors, and furniture.
For exterior surfaces, it is best to use paint finishes that are specifically designed to withstand the elements and provide long-lasting protection.
When using the Krause and Becker Airless Paint Sprayer, it is crucial to follow the best practices for achieving a smooth and even finish. This includes mastering the spray pattern and adjusting the pressure settings to control coverage and achieve the desired finish. Additionally, choosing the right paint type for the surface and properly preparing it before painting are equally important steps to ensure professional-looking results.
Step-by-Step Guide to Surface Preparation for Long-Lasting Results
When preparing the surface for painting with the Krause and Becker Airless Paint Sprayer, it is crucial to thoroughly clean, sand, and fill in any imperfections in order to achieve long-lasting results.
Here are some surface cleaning techniques and tips for filling in imperfections:
- Surface cleaning techniques:
- Remove any dirt, grease, or mildew from the surface before painting.
- Inspect the surface for any contaminants that may affect paint adhesion.
Tips for filling in imperfections:
- Use a high-quality filler or spackling compound to fill in cracks, holes, and other imperfections.
- Smooth the surface with sandpaper after the filler has dried.
- Ensure that the surface is completely smooth and free of any bumps or rough spots before painting.
Frequently Asked Questions
Can the Krause and Becker Airless Paint Sprayer Be Used for Both Interior and Exterior Surfaces?
The Krause and Becker airless paint sprayer can be used for both interior and exterior surfaces. It is important to follow best practices when using the sprayer to achieve optimal results.
For interior applications, choose a paint type suitable for the specific surface, such as wood or metal. Thoroughly clean, sand, and fill in imperfections before painting.
For exterior surfaces, consider weather conditions and select a paint that offers durability and protection against the elements.
What Are the Recommended Pressure Settings for Achieving a Smooth Finish?
Achieving a smooth finish with the Krause and Becker Airless Paint Sprayer is a breeze when you know how to adjust the pressure settings. By fine-tuning the pressure, you can optimize the flow of paint and achieve professional results.
Start by experimenting with lower pressure settings and gradually increase until you find the sweet spot. Remember, practice makes perfect, so don’t be afraid to experiment and find what works best for your specific project.
With a little patience and adjustment, you’ll be amazed at the smooth finish you can achieve.
Is It Necessary to Thin the Paint Before Using It With the Airless Paint Sprayer?
It is not necessary to thin the paint before using it with the airless paint sprayer. The paint sprayer is designed to handle paint of various viscosities, making it convenient and efficient to use. Thinning the paint may alter its consistency and affect the coverage and finish of the paint job.
Using a paint sprayer offers several benefits, such as faster application, smoother finish, and reduced overspray, making it a popular choice among professional painters and DIY enthusiasts.
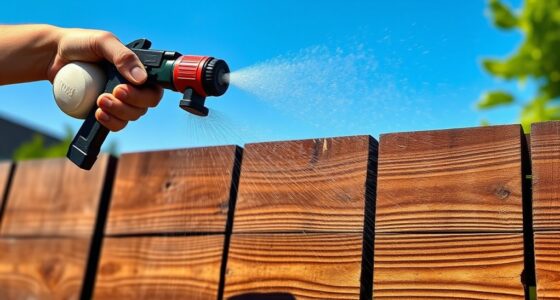
Can the Airless Paint Sprayer Be Used to Apply Stain or Varnish?
An airless paint sprayer can indeed be used to apply stain or varnish, making it a versatile tool for various projects.
When using the sprayer for deck staining, it is important to follow a few tips to achieve a flawless finish.
First, ensure that the sprayer is properly cleaned and maintained before starting.
Second, use the appropriate nozzle and pressure settings for the type of stain or varnish being applied.
Lastly, practice proper technique, such as maintaining a consistent distance and speed while spraying.
How Do I Clean and Maintain the Krause and Becker Airless Paint Sprayer After Use?
To clean and maintain the Krause and Becker airless paint sprayer after use, it is important to follow a few steps.
First, make sure to thoroughly clean the sprayer by flushing it with water or a cleaning solution. Remove any excess paint and debris.
Next, inspect the sprayer for any damage or worn parts and replace them if necessary.
Finally, store the sprayer in a dry and secure place to prevent any damage or clogging.
Proper cleaning and maintenance will ensure the longevity and effectiveness of the sprayer.
Conclusion
In conclusion, mastering the basics of the Krause and Becker Airless Paint Sprayer is essential for achieving professional-looking results. By adjusting the spray pattern and pressure settings, users can ensure optimal coverage and paint flow.
Choosing the right paint type for different surfaces and properly preparing the surface through cleaning, filling, and sanding is crucial for long-lasting results. Applying primer or sealer can improve adhesion and durability.
For example, let’s imagine a homeowner who wants to repaint their kitchen cabinets. By using the Krause and Becker Airless Paint Sprayer and following the proper techniques, they can achieve a smooth and flawless finish, transforming their kitchen’s appearance.

Franz came aboard the Paint Sprayer Zone team with a background in both journalism and home renovation. His articulate writing style, combined with a passion for DIY projects, makes him an invaluable asset. Franz has a knack for breaking down technical jargon into easy-to-understand content, ensuring that even the most novice of readers can grasp the complexities of paint sprayers.