It is crucial to regularly inspect and change the filters in airless paint sprayers to ensure they work at their best. Clogged filters can lead to an uneven spray pattern, causing nozzle blockages and decreased pressure. Replacing filters routinely is essential for prolonging the sprayer’s lifespan and maintaining peak performance.
In this article, we will provide a step-by-step guide on how to effectively change the filter in an airless paint sprayer. This guide will include the necessary tools and materials, proper disconnection and preparation, correct installation of the new filter, and final tips for proper disposal.
Key Takeaways
- Regularly checking and replacing filters is important for optimal performance and maintaining a consistent spray pattern.
- Clogged filters can strain the pump, decrease pressure, and lead to nozzle clogging.
- Properly disposing of old filters prevents negative environmental impact.
- Cleaning the filter housing regularly and ensuring filter compatibility with the paint sprayer are important for optimal performance.
The Importance of Regular Filter Maintenance
Regularly checking and replacing filters is essential for maintaining optimal performance and preventing potential issues in airless paint sprayers.
The importance of regular filter maintenance cannot be overstated. By regularly checking and replacing filters, users can ensure that their paint sprayers continue to deliver consistent and even spray patterns. This helps to prevent clogs caused by debris accumulation, which can strain the pump and decrease pressure.
Signs of a clogged filter include reduced pressure and frequent nozzle clogging. By regularly checking and replacing filters, users can extend the lifespan of their paint sprayers and avoid costly repairs.
The benefits of regularly checking and replacing filters include improved performance, increased efficiency, and a smoother painting process. Don’t underestimate the importance of regular filter maintenance for optimal performance in airless paint sprayers.
Signs and Consequences of a Clogged Filter
Frequent nozzle clogging and reduced pressure are signs of a clogged filter, which can strain the pump and decrease pressure in the paint sprayer. Neglecting filter maintenance can lead to several consequences, including inefficient performance and premature wear and tear.
-
Inefficient performance: A clogged filter can disrupt the flow of paint, resulting in an uneven and inconsistent spray pattern.
-
Premature wear and tear: The pump’s motor has to work harder to maintain pressure, leading to increased strain on the components and potential damage.
-
Downtime and delays: When a filter gets clogged, it may require immediate attention and replacement, causing interruptions in the painting process.
To troubleshoot common filter issues, it is important to follow these steps:
-
Clean the paint sprayer nozzle before changing the filter to eliminate any potential blockages.
-
Ensure proper installation of the filter in the filter housing to ensure a secure connection.
-
Troubleshoot if the paint sprayer doesn’t turn on after reassembling the filter housing, checking for any loose connections or electrical issues.
Step-by-Step Guide: Changing the Filter in an Airless Paint Sprayer
To successfully replace the filter in an airless paint sprayer, the user must gather the necessary tools and materials. This step-by-step guide will ensure a smooth and efficient process.
Firstly, turn off and disconnect the paint sprayer, then locate the filter housing. Remove the old filter and clean the filter housing thoroughly. Install the new filter and reassemble the filter housing.
Reconnect and test the paint sprayer to ensure it is working properly. It is important to properly dispose of the old filter to prevent any negative environmental impact. Regularly checking and replacing filters has many benefits, including preventing clogs and maintaining optimal performance.
Troubleshooting tips include cleaning the paint sprayer nozzle before changing the filter and troubleshooting any issues before changing the filter. By following these guidelines, users can ensure their airless paint sprayer operates at its best.
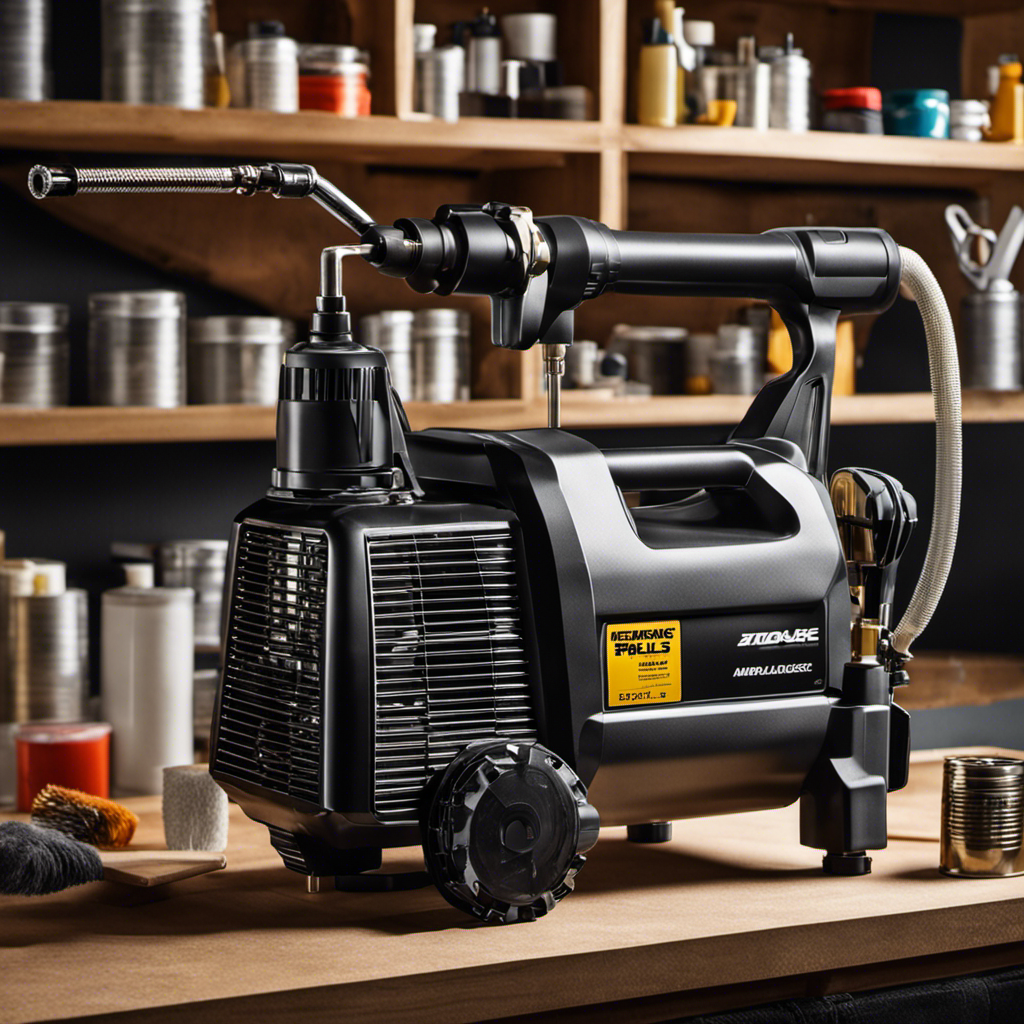
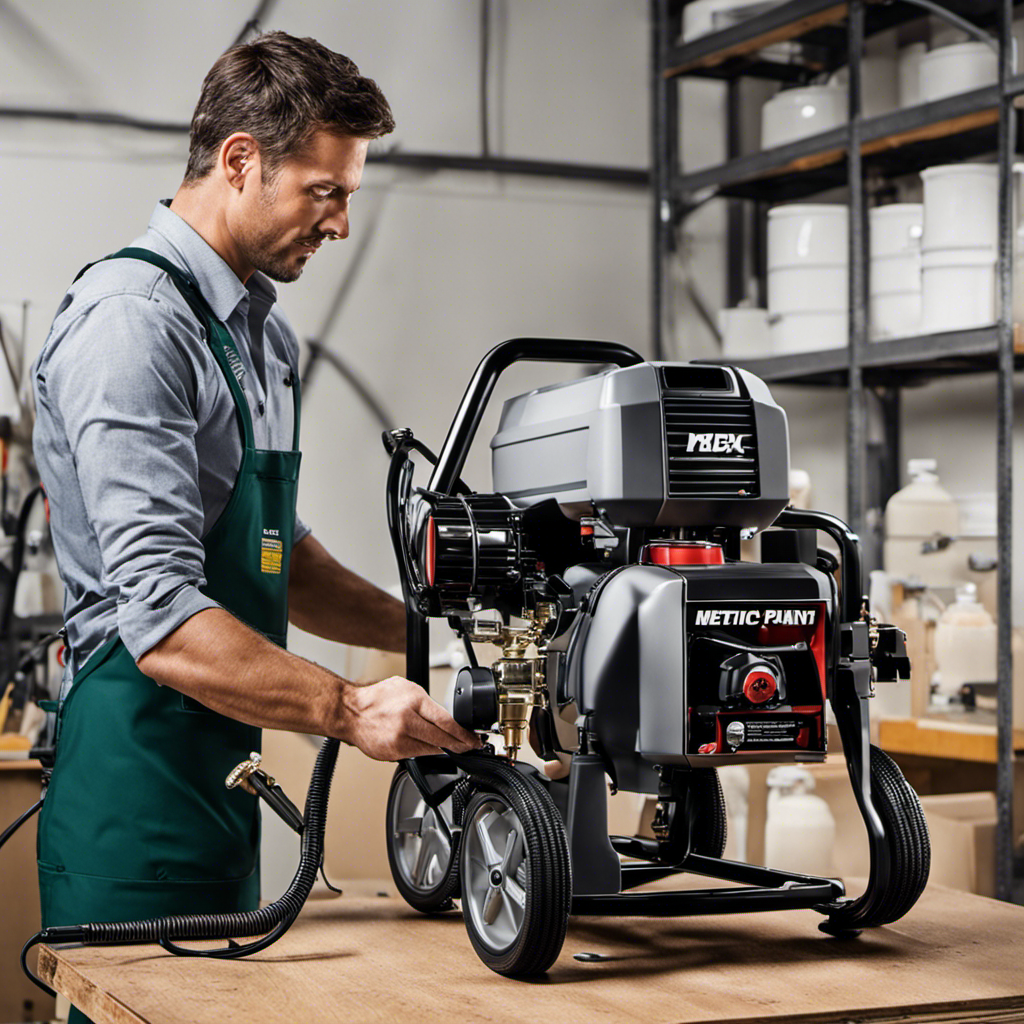
Gathering the Tools and Materials Needed
The user must gather the necessary tools and materials to successfully replace the filter in an airless paint sprayer.
- Tools and materials for changing the filter:
- Screwdriver
- Replacement filter
- Gloves
Before starting the process, it is important to ensure the availability of these tools and materials. The screwdriver is needed to remove the filter housing and access the old filter. The replacement filter is essential for replacing the old, clogged filter and ensuring optimal performance. Lastly, gloves are necessary to protect the hands from any residue or potential skin irritation.
Common issues when changing the filter include difficulties in removing the filter housing due to tight screws or a lack of proper tools. Another issue is finding the correct replacement filter that is compatible with the airless paint sprayer model. These issues can be resolved by using the appropriate tools and ensuring the compatibility of the replacement filter.
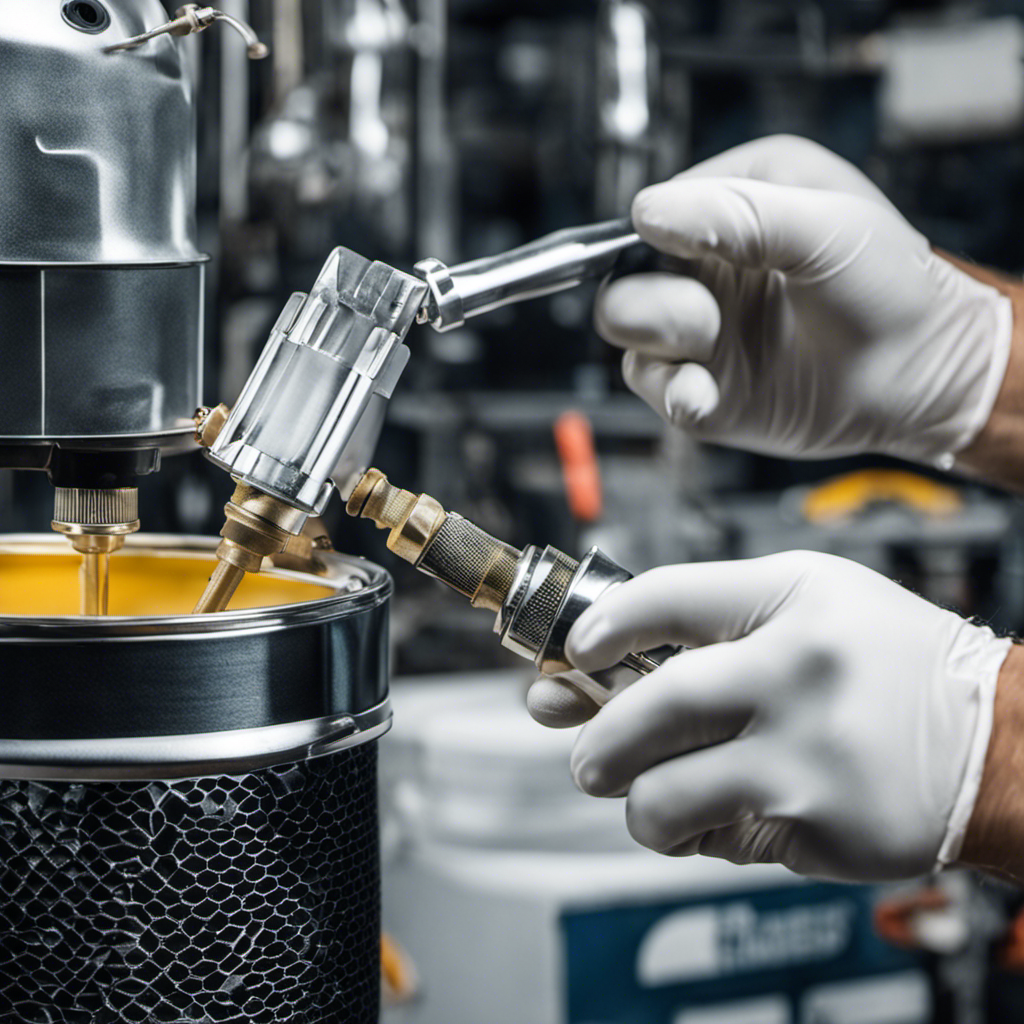
Properly Disconnecting and Preparing the Paint Sprayer
Disconnecting and preparing the paint sprayer involves turning off and unplugging the machine before proceeding with the filter replacement process. This ensures safety and prevents any accidental spraying while working on the sprayer.
Before disconnecting, it is important to make sure that the sprayer is turned off to avoid any electrical accidents. Once the machine is turned off, the next step is to unplug it from the power source. This ensures that there is no risk of electric shock during the filter replacement process.
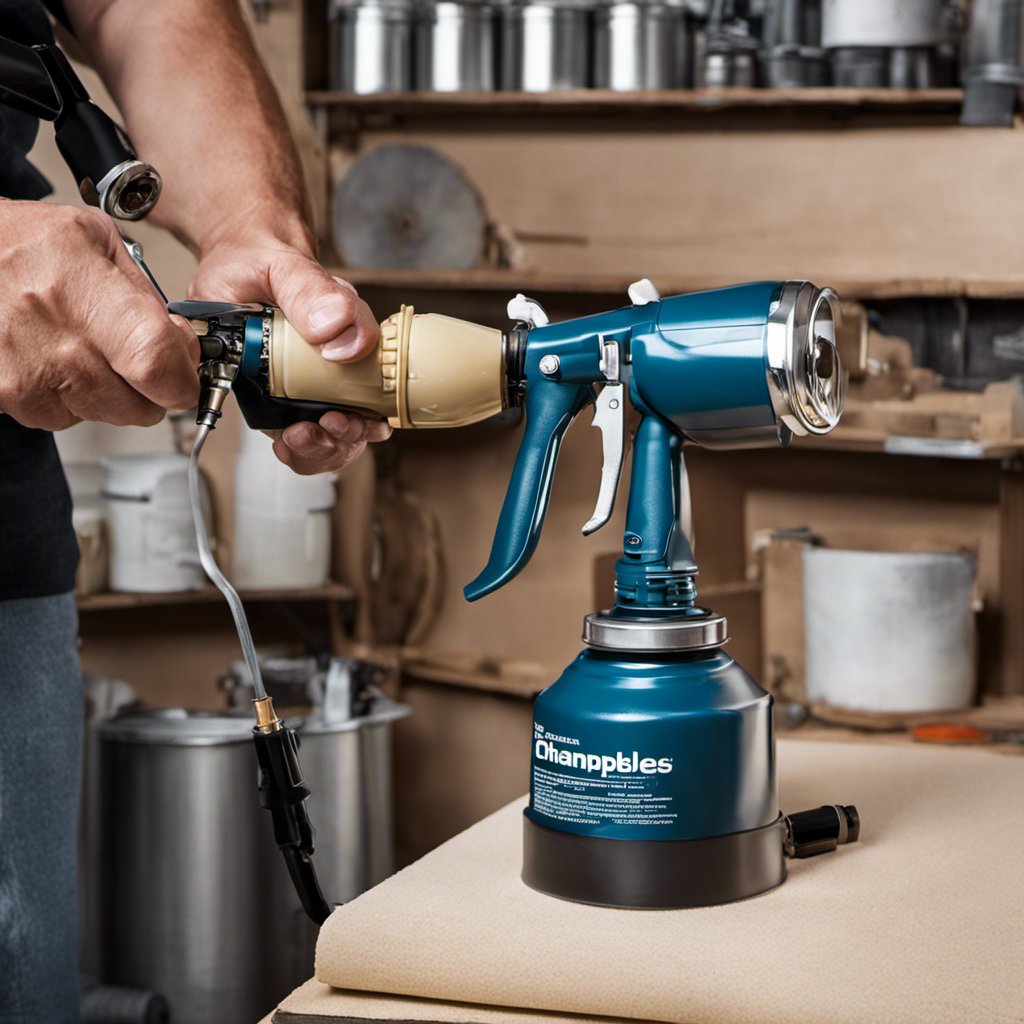
Locating and Removing the Old Filter
After turning off and unplugging the paint sprayer, the user can locate and remove the old filter from the filter housing. To safely remove the filter and avoid any damage to the sprayer, follow these steps:
- Carefully unscrew the filter housing to access the old filter.
- Gently remove the old filter from the housing, making sure not to force it or twist it excessively.
- Inspect the old filter for any signs of damage or clogs. If necessary, clean it before disposal.
Choosing the right filter for your airless paint sprayer is essential for optimal performance. Consider the following factors:
- Filter type: Select a filter designed for airless paint sprayers to ensure proper compatibility.
- Micron rating: Choose a filter with the appropriate micron rating to effectively filter out particles and debris.
- Flow rate: Consider the required flow rate of your paint sprayer and select a filter that can handle it.
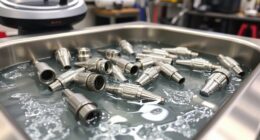
Cleaning the Filter Housing for Optimal Performance
To ensure the filter housing is clean and free from debris, the user can follow these steps.
First, turn off and unplug the paint sprayer.
Locate the filter housing and remove the old filter.
Now, it’s time to clean the filter housing. Use a soft brush or cloth to gently remove any dirt or debris from the housing. Be careful not to damage the housing or any other components.
If necessary, use a mild detergent or solvent to remove stubborn stains or residue.
Rinse the housing thoroughly with clean water and allow it to dry completely before installing the new filter.
Installing the New Filter Correctly
The user can ensure a secure connection by properly installing the new filter in the filter housing. Here are three important points to consider when installing the new filter correctly:
-
Align the filter properly: When installing the new filter, it is crucial to align it correctly in the filter housing. Installing the filter incorrectly can lead to poor performance and potential leaks.
-
Check for proper seating: After inserting the filter into the housing, make sure it is seated securely. This involves ensuring that the filter is pressed firmly into place and properly engaged with the housing.
-
Verify the filter orientation: Some filters have specific orientation requirements. It is essential to check the manufacturer’s instructions or markings on the filter to ensure it is installed in the correct orientation.
Troubleshooting filter installation:
-
If the filter does not fit snugly in the housing, double-check that it is the correct filter for your sprayer model.
-
If there are any signs of leakage or reduced performance after installation, remove the filter and inspect for any damage or debris that may be obstructing it.
-
If problems persist, consult the manufacturer’s troubleshooting guide or reach out to customer support for further assistance.
Reassembling the Filter Housing
When reassembling the filter housing, it is important to ensure all components are securely fitted together. Start by aligning the filter housing with the corresponding grooves or notches on the paint sprayer. Slide it into place until it locks securely.
Next, check that the seal or O-ring is properly seated and free from any damage or debris. This ensures a tight and leak-free connection. It is crucial to double-check that the filter is correctly installed, with the arrow or directional indicator pointing in the right direction. This helps maintain the proper flow of paint and prevents any potential clogs.
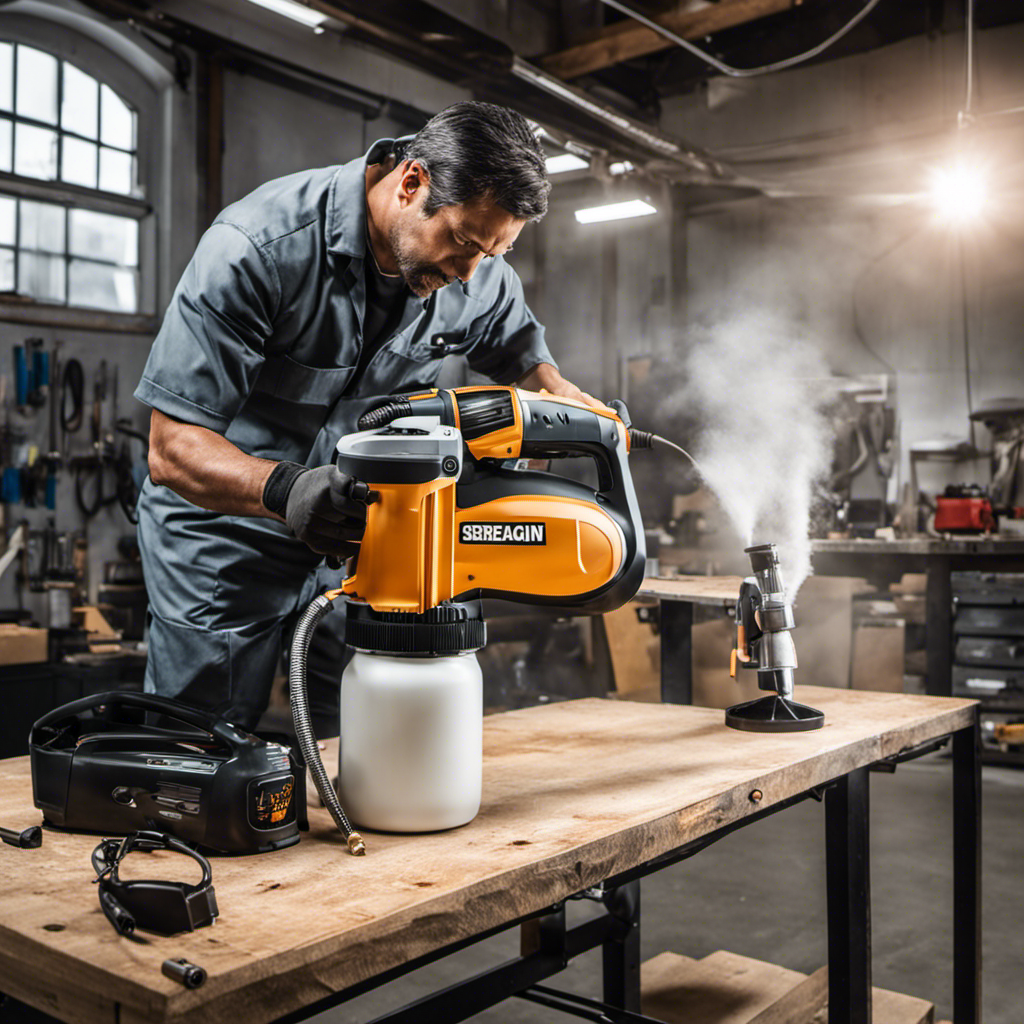
Reconnecting and Testing the Paint Sprayer
After reassembling the filter housing, the user should reconnect and test the paint sprayer to ensure it is functioning properly. To do this, follow these steps:
- Reconnect all the necessary hoses, ensuring a secure connection.
- Turn on the paint sprayer and check for any leaks or abnormal noises.
- Test the performance of the paint sprayer by spraying a small amount of paint onto a scrap surface.
During the testing process, the user should pay attention to the following:
- Check for any irregular spray patterns or inconsistencies in the paint flow.
- Ensure that the pressure is consistent and that there are no sudden drops or fluctuations.
- Monitor the overall performance of the paint sprayer, including the trigger responsiveness and the smoothness of the paint application.
If any issues or abnormalities are detected during the testing process, refer to the troubleshooting section in the manual or contact customer support for assistance. It’s important to address any problems before proceeding with painting to achieve the best results.
Proper Disposal of Used Filters and Final Tips
To properly dispose of used filters and ensure a smooth painting process, the user should follow these final tips.
Proper disposal of old filters is essential to prevent negative environmental impact. When handling old filters, it’s important to wear gloves to protect hands from residue and avoid touching the skin or eyes. To prevent leakage and contamination, seal old filters in a bag before storing them.
Regularly cleaning the filter housing is necessary to maintain optimal performance. Additionally, it’s crucial to ensure filter compatibility with the Campbell Hausfeld airless paint sprayer. By regularly checking and replacing filters, potential issues can be avoided, and the sprayer’s efficiency can be maintained.
Changing the filter is a crucial step in maintaining optimal performance and extending the sprayer’s lifespan.
Frequently Asked Questions
How Often Should I Check and Replace the Filters in My Airless Paint Sprayer?
When is the right time to replace the filters in an airless paint sprayer, and what are the consequences of not doing so regularly?
Is it possible to extend the lifespan of filters through regular cleaning and maintenance?
Regularly checking and replacing filters is crucial for maintaining optimal performance in an airless paint sprayer. Failure to do so can result in clogs, decreased pressure, and reduced spray pattern consistency.
Regular cleaning and maintenance can help extend the lifespan of filters, ensuring efficient and effective paint spraying.
Can I Use Any Type of Filter in My Campbell Hausfeld Airless Paint Sprayer?
Filter compatibility is crucial when using a Campbell Hausfeld airless paint sprayer. It is recommended to use the specific filters recommended by the manufacturer to ensure optimal performance.
Using the wrong type of filter may result in reduced efficiency and potential damage to the sprayer. The recommended filters are designed to fit securely in the filter housing and provide effective filtration, preventing clogs and maintaining a consistent spray pattern.
Using the recommended filters will ultimately benefit the performance and longevity of the paint sprayer.
What Should I Do if My Paint Sprayer Doesn’t Turn on After I’ve Reassembled the Filter Housing?
If a paint sprayer doesn’t turn on after reassembling the filter housing, there are a few troubleshooting tips to consider.
First, check for common filter assembly mistakes, such as improper filter installation or a loose connection. Ensure that the filter is securely placed in the housing and that all components are properly reassembled.
If the issue persists, it may be necessary to consult the manufacturer’s manual or contact customer support for further assistance.
Is It Necessary to Wear Gloves When Handling the Old Filters?
Wearing gloves when handling old filters is necessary due to the potential health risks involved. Proper filter maintenance is essential for airless paint sprayers to ensure optimal performance.
Gloves protect hands from residue and prevent direct contact with the skin or eyes, minimizing the risk of contamination or irritation. Additionally, they provide a barrier against any harmful substances that may be present in the old filters.
Therefore, wearing gloves is highly beneficial when handling and disposing of old filters.
Can I Clean the Filter Instead of Replacing It?
Cleaning vs. replacing filters is an important consideration when maintaining optimal performance in airless paint sprayers.
While it may be tempting to clean the filter instead of replacing it, it is generally recommended to replace the filter to ensure consistent and even spray patterns.
Alternative cleaning methods may not effectively remove all debris and can potentially result in clogs or decreased pressure.
Therefore, it is best to follow the manufacturer’s guidelines and replace the filter regularly to maintain optimal performance.
Conclusion
In conclusion, regular filter maintenance is crucial for maintaining optimal performance in airless paint sprayers. By regularly checking and replacing filters, users can ensure a consistent and even spray pattern, prevent clogs, and prolong the lifespan of the sprayer.
Signs of a clogged filter, such as reduced pressure and nozzle clogging, should be investigated to determine the truth of the theory and take appropriate action.
Following the step-by-step guide for changing the filter, gathering the necessary tools, and properly disposing of used filters are essential practices for maintaining the sprayer’s performance.

Drenched in creativity and armed with a fountain pen, Isolde weaves words as gracefully as a painter strokes their canvas. A writer for Paint Sprayer Zone, her passion for colors, textures, and spaces finds a harmonious blend with her profound knowledge of painting tools and techniques.
Having grown up in a family of artists, Isolde’s tryst with paints began early. While her relatives expressed themselves on canvas, Isolde found her medium in words. She dedicated herself to chronicling the world of painting, understanding the nuances of each tool, and the artistry behind every spritz of a paint sprayer.