To master HVLP spraying, start by properly adjusting your air cap to control the spray pattern and guarantee even coverage without drips or overspray. Manage your paint’s viscosity by testing it on glass, making sure it’s thin enough for good atomization. Use steady, overlapping passes while keeping the gun 6-8 inches from the surface. After spraying, clean your tools thoroughly. Keep refining your setup and technique to achieve professional results—and the more you practice, the better you’ll get.
Key Takeaways
- Properly adjust the air cap to control spray pattern and ensure even coverage without drips or overspray.
- Check and maintain correct paint viscosity by performing flow tests to prevent clogging and achieve optimal atomization.
- Test spray on scrap material, then fine-tune air pressure and fluid flow for consistent, professional results.
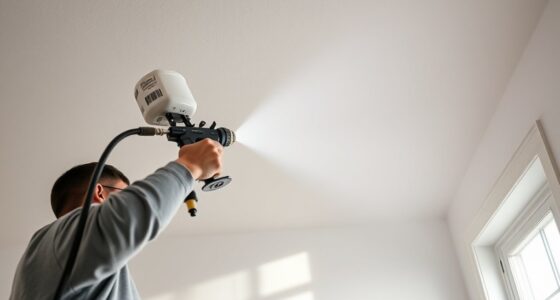
- Keep a steady distance (6-8 inches) from the surface, overlapping passes smoothly for uniform coats.
- Clean all equipment thoroughly after use to prevent clogs and maintain optimal spray performance.
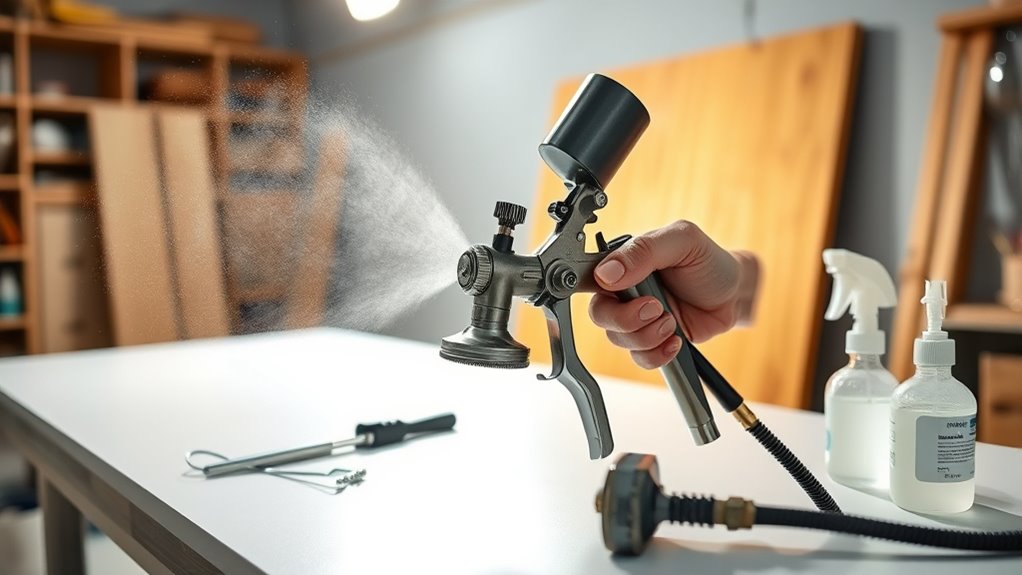
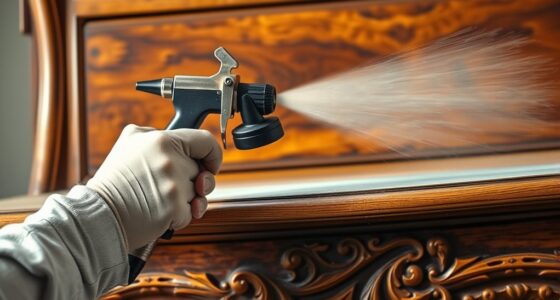
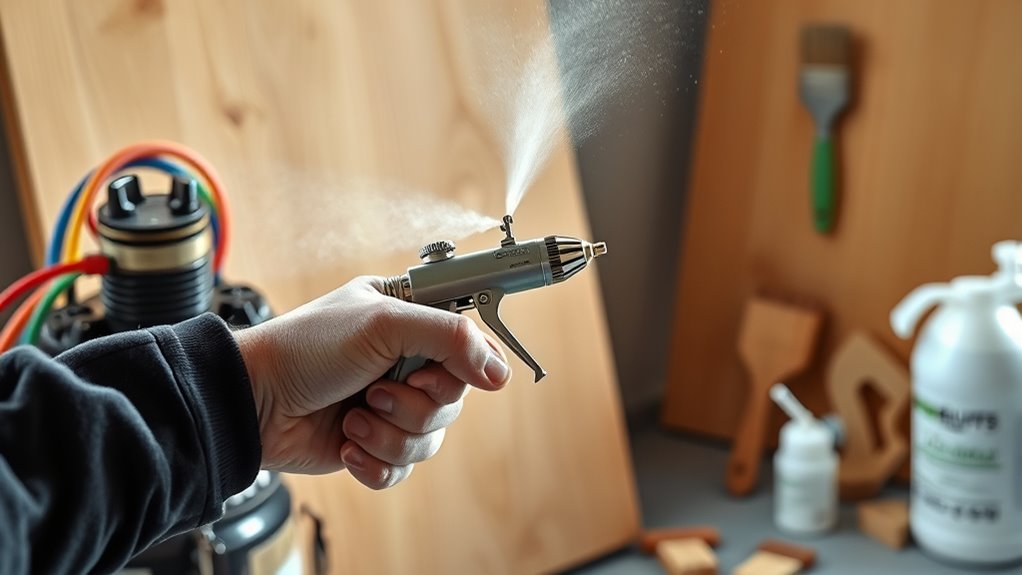
High-Volume, Low-Pressure (HVLP) spraying is a popular technique for applying finishes efficiently and with minimal overspray. To get the best results, you need to understand how to properly set up your spray gun. One of the most critical steps is adjusting the air cap. The air cap controls the shape and size of the spray pattern, so you want to make sure it’s aligned correctly with the fluid nozzle. Most HVLP guns allow you to adjust the air cap’s position or orientation, which helps you tailor the spray pattern for different project sizes and shapes. When adjusting, aim for a balanced pattern that covers evenly without drips or sags. Proper air cap adjustment ensures you don’t waste paint and achieve a smooth, professional finish.
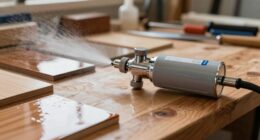
Another key factor in setup is managing paint viscosity. The viscosity, or thickness, of your paint directly influences spray quality and efficiency. Too thick, and the paint won’t atomize properly, leading to uneven coverage or clogging. Too thin, and you risk runs, drips, or overly wet coats. To determine the right viscosity, you can perform a simple flow test by drawing a small line of paint on a glass surface—if it drips or runs, thin it out slightly. Most HVLP sprayers have recommended viscosity ranges, which you should follow closely for ideal performance. Using a paint viscosity cup can help you measure and adjust the thickness precisely, ensuring your paint flows smoothly through the gun without clogging or splattering.
Once you’ve adjusted the air cap and set the paint viscosity, you’ll want to test spray on a scrap piece of material. This step allows you to fine-tune the air pressure and flow, making sure your spray pattern is even and consistent. Keep the gun at a steady distance—usually about 6 to 8 inches from the surface—and move it in smooth, overlapping passes. Consistent movement prevents uneven coats and helps you maintain control over the spray pattern. Remember, the key to a professional finish with HVLP spraying is patience and precision. Take your time to make small adjustments, test often, and always ensure your paint is appropriately thinned for the best atomization. By mastering air cap adjustment and paint viscosity, you’ll maximize efficiency and achieve flawless results every time.
Frequently Asked Questions
Can I Use HVLP for Automotive Painting Projects?
Yes, you can use HVLP for automotive painting projects. It’s ideal for applying automotive finishes and custom paint because it provides a smooth, even coat with minimal overspray. You’ll appreciate its precision, especially when detailing intricate areas. Just make certain your HVLP setup is powerful enough for automotive jobs, and follow proper technique to achieve a professional look. This method helps you get high-quality results efficiently and with less mess.
What Are the Best Safety Gear Recommendations for HVLP Spraying?
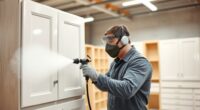
You should wear proper personal protective equipment like a respirator mask, safety goggles, and gloves to protect yourself from fumes and overspray. Make certain good ventilation in your workspace to meet ventilation requirements and prevent inhaling harmful particles. Always double-check that your PPE fits correctly and that your area is well-ventilated to stay safe during HVLP spraying. This helps minimize health risks and ensures a safer painting experience.
How Do I Choose the Right Spray Tip Size?
Did you know choosing the right spray tip size can boost your efficiency by up to 20%? To pick the correct spray tip size, consider your paint viscosity—thicker paints need larger tips, while thinner paints work best with smaller ones. Check the manufacturer’s recommendations, and test different sizes on scrap material. Proper spray tip selection guarantees smooth application, minimizes overspray, and gives you a professional finish every time.
Can HVLP Equipment Handle Thick or Viscous Paints?
HVLP equipment can handle thick or viscous paints, but you’ll face viscosity challenges. To manage this, you should thin your paint with appropriate paint thinners, which reduces viscosity and improves spray performance. Always test your mixture first to ensure it sprays smoothly without clogging or spitting. Adjusting your thinning ratio and using the right spray tip will help you achieve a smooth finish with thicker paints.
What Are Common Mistakes to Avoid During Cleanup?
During cleanup, avoid rushing the cleaning procedures, which can leave paint residues or damage your equipment. Always disassemble your spray gun carefully, clean all parts thoroughly with the right solvents, and make certain no paint is left in the nozzles or filters. Follow storage tips like drying components completely and storing in a clean, dry place. This prevents clogs, corrosion, and extends your equipment’s lifespan, saving you time and money.
Conclusion
Now that you understand the basics of HVLP spraying, you can see how proper setup, technique, and cleanup make all the difference. Many believe HVLP offers a perfect balance of efficiency and quality, and evidence supports this—delivering smooth finishes with less overspray. By mastering these steps, you’ll not only save time and materials but also achieve professional results. Trust the process, and you’ll turn your projects into stunning, durable masterpieces every time.

Franz came aboard the Paint Sprayer Zone team with a background in both journalism and home renovation. His articulate writing style, combined with a passion for DIY projects, makes him an invaluable asset. Franz has a knack for breaking down technical jargon into easy-to-understand content, ensuring that even the most novice of readers can grasp the complexities of paint sprayers.