
If your HVLP finish looks dry, focus on adjusting your spray distance and air pressure first. Keep the gun about 6 to 8 inches from the surface and make sure your air pressure is set between 10-15 PSI. Too much distance or air can cause fine atomization, resulting in a dry or uneven look. Fine-tuning these settings often fixes the issue more than changing your paint or thinning it. Keep going to learn more tips for a flawless finish.
Key Takeaways
- Maintaining too great a distance (beyond 8 inches) causes over-atomization, resulting in a dry, uneven finish.
- Using excessively high air pressure (above 15 PSI) leads to rapid drying and a dry appearance.
- Properly adjusting air pressure and spray distance ensures even coverage and a smooth finish.
- Moving the spray gun steadily at the correct distance prevents dry patches caused by uneven application.
- Focusing on air and distance adjustments rather than paint consistency effectively resolves the “dry” finish issue.
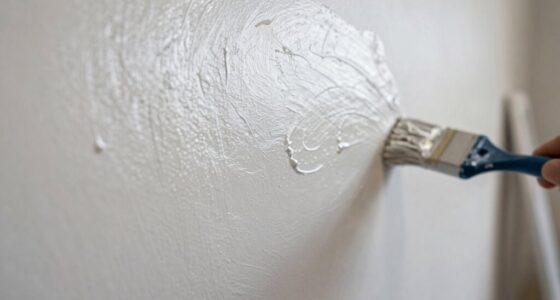
If you’ve recently applied HVLP finishes and notice they look “dry,” you’re not alone. Many DIYers and professionals encounter this issue, and it’s often frustrating because it can make your project appear incomplete or poorly finished. The good news is that the problem usually isn’t with the paint itself but with how it’s applied. When HVLP finishes look dry, it’s typically a sign that your spray gun adjustments or technique need some fine-tuning, not that the paint is bad or improperly mixed.
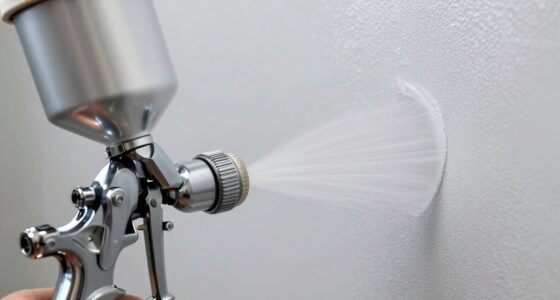
First, focus on your spray gun adjustments. HVLP sprayers rely heavily on proper settings to deliver a smooth, even coat. If the spray pattern is uneven or the paint is atomized too finely, the finish can look dry or patchy. Adjust your air pressure to ensure it’s within the recommended range for your specific sprayer — usually between 10 to 15 PSI at the gun. Too much air causes the paint to atomize into tiny droplets that dry too quickly upon hitting the surface, leaving a dry or rough appearance. Conversely, too little air may cause drips or runs but can also lead to uneven coverage. Experiment with the air pressure and the fluid control to find a balance that produces a consistent spray pattern.
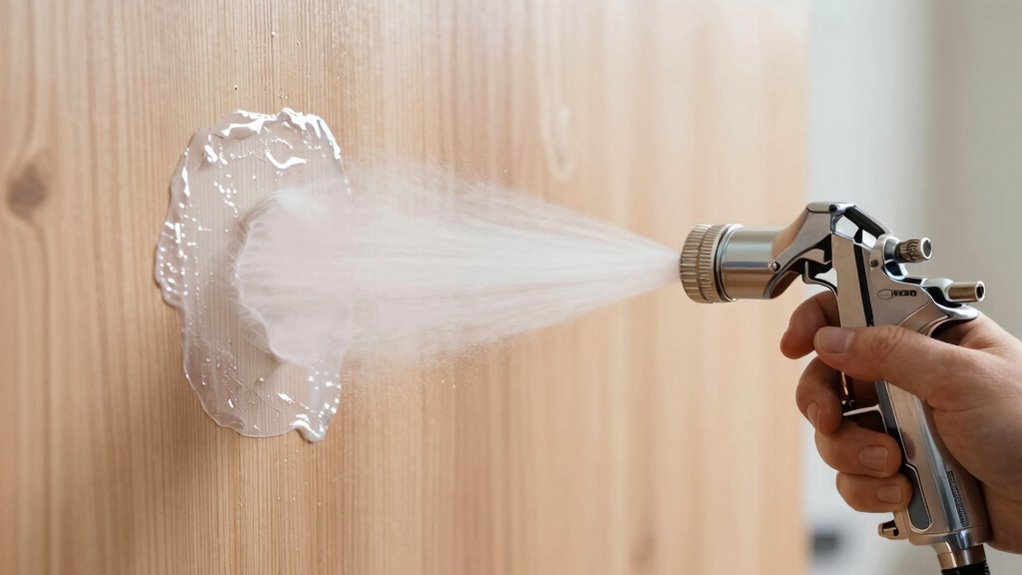
Adjust spray gun air pressure for an even, smooth HVLP finish.
Next, pay close attention to your paint consistency. If the paint is too thick or too thin, it can adversely affect the finish. Thin paint might dry too fast, giving a dry-looking appearance, while thick paint may clog the spray gun or cause uneven coverage. Always follow the manufacturer’s recommended thinning ratios and mix thoroughly. Proper paint consistency ensures a smooth, even application that flows well through your spray gun, reducing the likelihood of dry patches or rough textures. Remember, it’s better to slightly thin the paint more than to use it straight out of the container, especially when working with HVLP equipment.
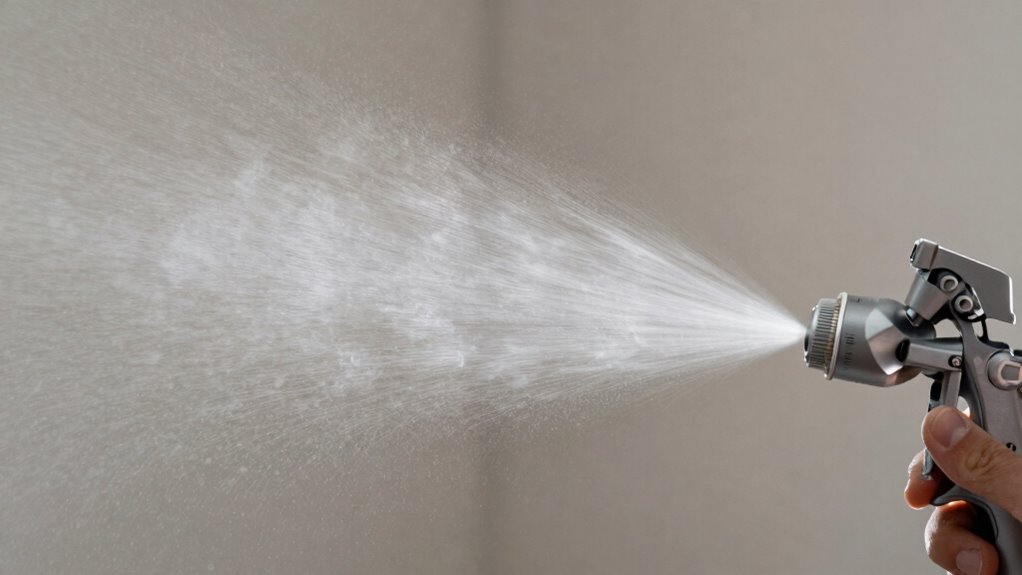
Lastly, don’t forget to consider your distance from the surface. Holding the spray gun too far away causes the paint to atomize into finer droplets, which can dry mid-air and produce a dry-looking finish. Keep your spray gun at the ideal distance—usually about 6 to 8 inches from the surface—and move steadily to maintain even coverage. Slow or inconsistent movements can lead to uneven layers, accentuating the “dry” effect. Additionally, adjusting paint temperature can improve flow and drying times, further enhancing the finish quality.

ENDOZER Professional HVLP Spray Gun Set Gravity Feed Air Spray Gun with 1.4, 1.7, 2.0mm Nozzles 20oz 600cc with Gauge for Auto Paint, Primer, Clear/Top Coat & Touch-Up (Not Suitable for Latex Paint)
- Capacity: 20 oz (600 ml) gravity feed cup
- Nozzle Sizes: Includes 1.4, 1.7, 2.0mm nozzles
- Material: Stainless steel nozzle and needle
As an affiliate, we earn on qualifying purchases.
As an affiliate, we earn on qualifying purchases.
Frequently Asked Questions
Can I Use HVLP With Thicker or More Viscous Paints?
Yes, you can use HVLP with thicker or more viscous paints, but you’ll need to modify your spray gun setup. Increase the air pressure slightly and thin the paint to improve sprayability, ensuring proper atomization. Keep in mind that higher viscosity may require a larger fluid tip or needle to prevent clogging and achieve a smooth finish. Properly adjusting your setup ensures efficient spraying and a professional-looking result.
How Does Ambient Temperature Affect HVLP Finish Quality?
Ambient temperature greatly impacts your HVLP finish quality. Warmer temperatures can cause humidity effects, leading to runs or uneven coats, while colder temps slow paint flow and drying. To guarantee a smooth finish, you need proper temperature control—maintain consistent, moderate temperatures and reduce humidity effects by working in a controlled environment. This helps your HVLP system atomize paint evenly, delivering a professional-looking finish every time.
Is It Necessary to Thin the Paint for HVLP Spraying?
Think of your paint as a dance partner—sometimes, it needs a little help to move smoothly. You don’t always need to thin it, but if the paint’s viscosity is too thick, it can stumble and splatter. Use thinning techniques like adding a bit of reducer or water to achieve the right consistency. This guarantees a seamless spray, giving you a flawless finish without compromising the paint’s integrity.
What Are the Signs of an Improperly Adjusted HVLP Spray Gun?
If your HVLP spray gun is improperly adjusted, you’ll notice uneven spray patterns or runs in the finish, indicating issues with pressure regulation. You might also see inconsistent coverage or excessive overspray. To fix this, check your pressure settings and confirm the spray pattern is even and well-defined. Proper adjustment helps maintain a smooth, professional finish, preventing the “dry” look caused by incorrect distance or air pressure.
How Often Should I Clean My HVLP Equipment During a Project?
You should clean your HVLP equipment after every few hours of use or once you notice paint buildup. Consistent cleaning maintains equipment performance and prevents clogs. During a project, follow your manufacturer’s recommended cleaning frequency, especially if switching colors or finishes. Equipment maintenance is essential, so don’t wait until it’s completely clogged—regular cleaning keeps your spray gun working smoothly and guarantees professional-quality results throughout your project.
Conclusion
Think of your HVLP spray as a gentle rain—too far away or too little air, and your finish dries out before it hits the surface. I once watched a fellow woodworker adjust his distance and airflow, and suddenly, his finish looked smooth and glossy, not chalky. Remember, tweaking your spray parameters is like tuning a musical instrument—you’ll produce a perfect, professional finish when everything’s in harmony. So, check your distance and air, and let your finish shine.