High humidity can secretly cause waterborne paint to refuse to level properly, leaving streaks, uneven textures, and a sticky finish. When the air is too moist, moisture slows drying and traps water underneath, preventing smooth flow and adhesion. Fluctuating humidity also creates stress points, leading to cracks later. To prevent this, controlling your environment and keeping humidity between 40-50% helps paint settle evenly. Keep going to discover practical tips for avoiding these issues altogether.
Key Takeaways
- High humidity slows moisture evaporation, causing uneven drying and preventing the paint from leveling smoothly.
- Excess moisture creates bubbles, blisters, or surface defects, indicating poor adhesion and improper leveling.
- Fluctuating humidity levels lead to inconsistent drying rates, resulting in an uneven, streaky finish.
- Maintaining optimal humidity (40-50%) with proper ventilation ensures better paint flow and smoother leveling.
- Using dehumidifiers and climate control helps stabilize conditions, reducing humidity’s sneaky interference with paint leveling.
How Humidity Causes Problems With Water-Based Paints

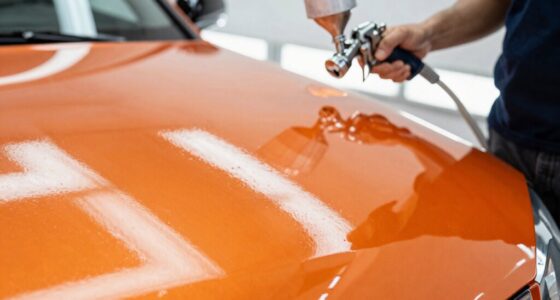
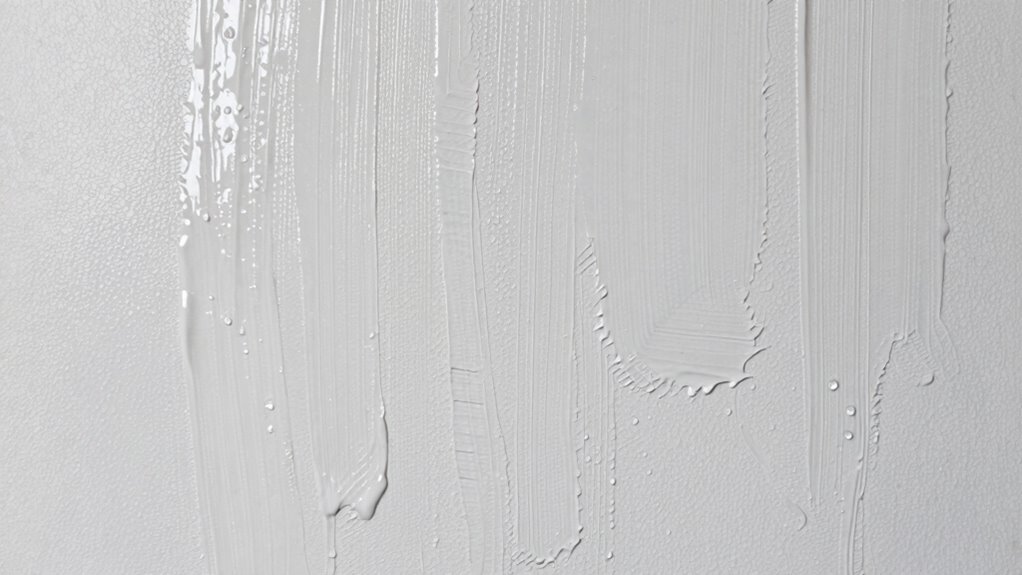
Humidity can substantially interfere with water-based paints, especially during application and drying. High humidity levels slow down the evaporation of moisture from the paint, causing it to stay wet longer. This can lead to uneven drying, streaks, or a sticky finish. To combat this, maintaining an ideal paint temperature is essential, as cooler or overly warm conditions can exacerbate issues. Proper air circulation helps remove excess moisture from the air, promoting faster drying and better adhesion. When air is still or humid, water-based paints struggle to level out smoothly, resulting in an uneven surface. You should ensure good ventilation and avoid painting in overly humid environments to achieve a professional finish. Managing paint temperature and air circulation is key to preventing humidity-related problems. Additionally, using air purifiers with proper humidity control features can help maintain optimal conditions for painting projects. Controlling humidity levels in your workspace is vital for consistent results, especially considering the importance of environmental conditions in achieving a high-quality paint finish. Being aware of humidity’s effects on waterborne paints can help you plan your painting projects more effectively.
Signs Your Waterborne Paint Is Suffering From Humidity
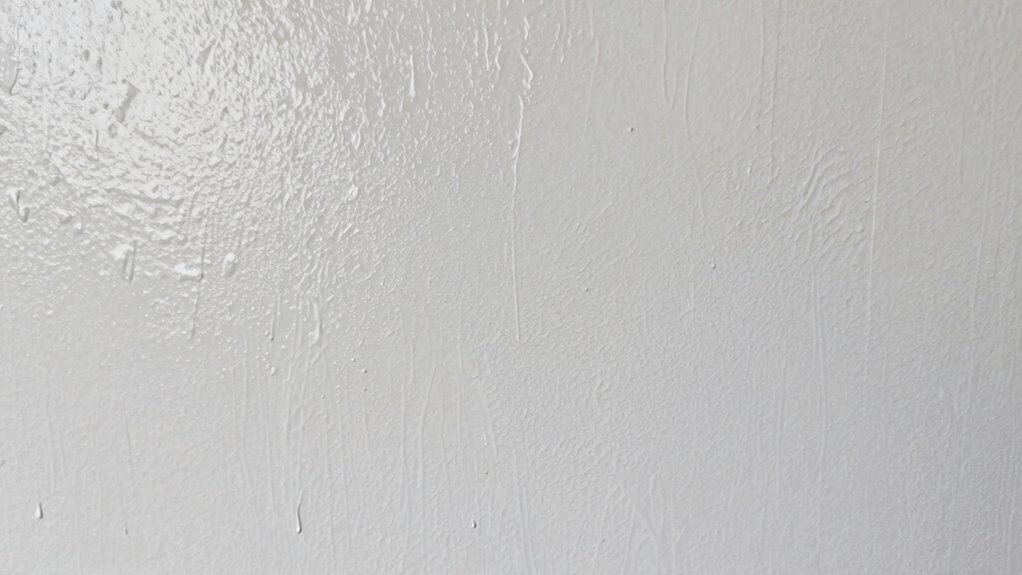
If your waterborne paint isn’t drying properly, you might notice bubbles or blisters forming on the surface. You could also see the paint taking much longer to dry than usual. These signs indicate humidity is interfering with the paint’s curing process. Proper climate control can help you maintain optimal drying conditions and prevent issues caused by fluctuating humidity levels. Additionally, controlling climate conditions in your garage can significantly reduce these issues and promote proper paint curing. Maintaining a stable indoor environment can also help ensure consistent drying times and prevent moisture-related problems during painting. Regularly monitoring and adjusting air quality with devices like air purifiers can also help maintain the ideal environment for painting.
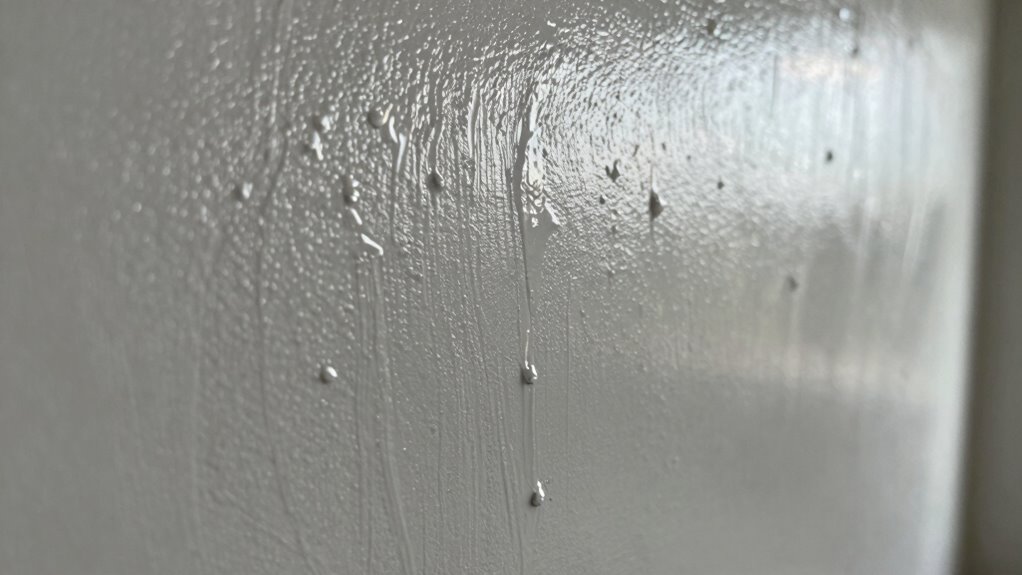
Visible Bubbles and Blisters
When waterborne paint is exposed to high humidity during application or drying, you might notice small bubbles forming beneath the surface or tiny blisters popping up on the finish. These visible bubbles and blisters are signs your paint is struggling due to moisture. They indicate poor paint adhesion and often stem from inadequate surface preparation in humid conditions. If you see these issues, it’s a clear warning that humidity interfered with proper drying, trapping moisture beneath the coat. To prevent this, always ensure the surface is thoroughly prepared and dry before painting. Here’s a quick overview:
| Cause | Effect |
|---|---|
| Excess humidity | Formation of bubbles and blisters |
| Poor surface prep | Increased vulnerability to moisture |
| Inadequate drying time | Moisture trapped beneath paint |
| Insufficient curing | Surface defects like blisters |
Additionally, understanding the properties of waterborne paint can help you better anticipate how environmental factors like humidity impact the finish. For example, the drying process can be significantly slowed or disrupted by moisture, leading to these undesirable surface defects. Recognizing how humidity affects paint is essential for achieving a smooth, durable finish. Being aware of the effects of moisture on drying is crucial for optimal results in painting projects.
Extended Drying Times
Extended drying times are a common sign that moisture is interfering with your waterborne paint. When humidity is high, the paint takes longer to cure, leaving you wondering if it’s due to application issues or environmental factors. Using a dehumidifier offers benefits by lowering ambient moisture, helping paint dry more evenly and quickly. Additionally, humidity sensors can monitor moisture levels in real-time, alerting you when conditions are unfavorable for painting. Keeping humidity in check ensures proper film formation and prevents problems like tackiness or uneven finish. Maintaining ideal humidity levels supports proper curing processes and can significantly reduce drying times. If you notice your paint isn’t drying as expected, consider controlling the environment with these tools. Maintaining optimal humidity levels promotes faster drying, better adhesion, and a professional-looking result. Environmental conditions can also impact the curing process, and managing them effectively is crucial for achieving the desired finish. Sound healing science research also indicates that managing environmental vibrations can influence curing processes, further supporting optimal drying conditions. Proper environmental control is especially crucial during critical stages of paint curing to prevent waterborne paint issues.
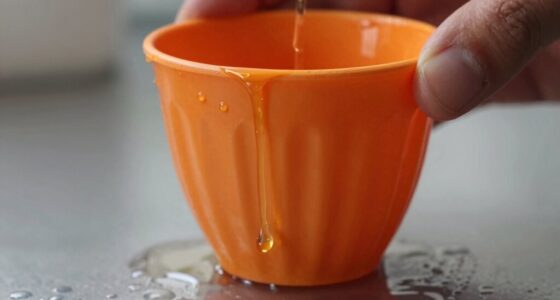
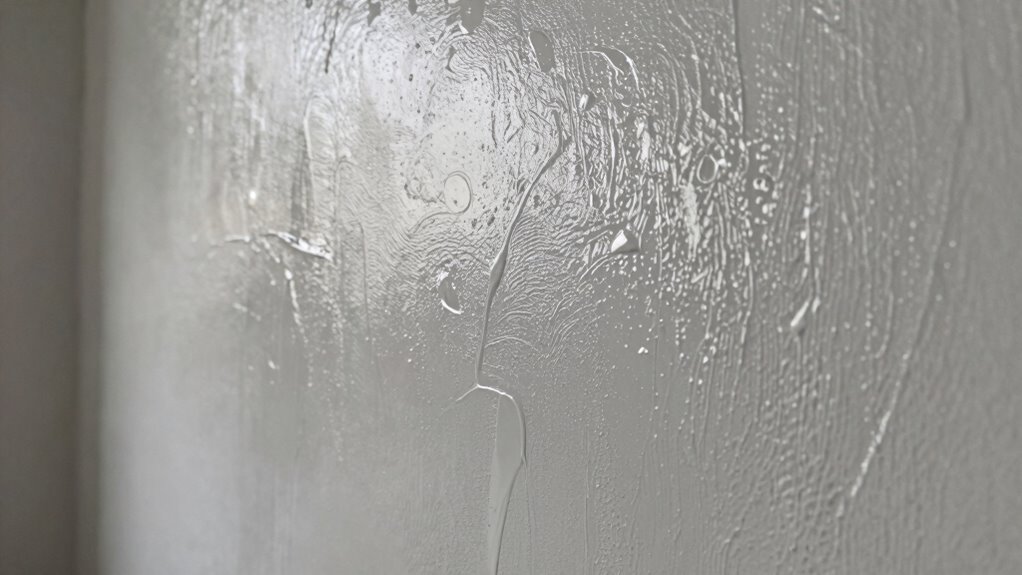
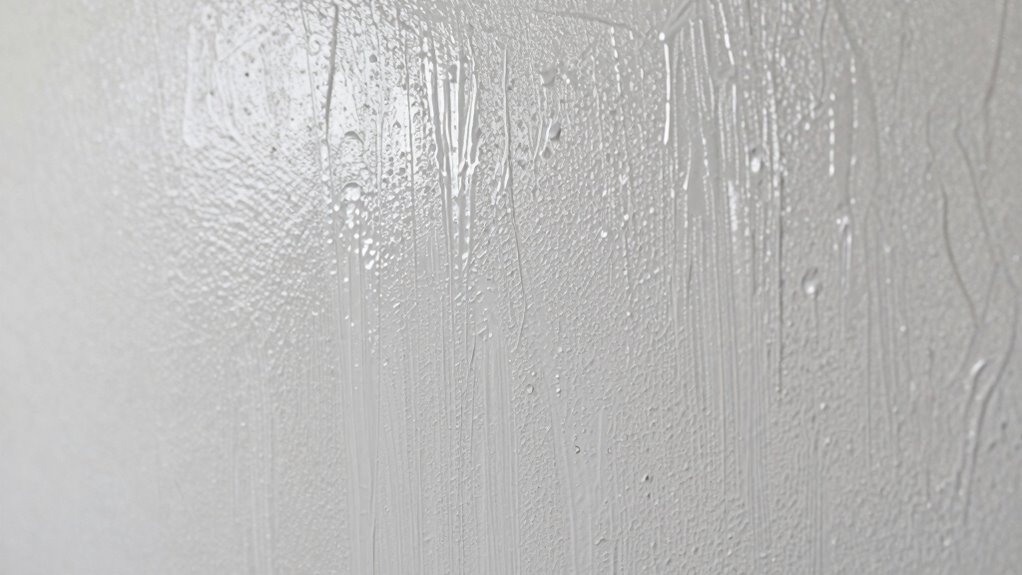
The Science of How Moisture Affects Paint Finish
Moisture levels directly influence how your paint dries and forms a solid film. When humidity is high, it slows down drying and can cause an uneven finish. Too much moisture can also lead to cracking as the paint contracts and shifts during curing. Proper ventilation considerations are essential to ensure the paint dries evenly and avoids moisture-related issues. Additionally, understanding the effects of humidity on drying times can help you plan your painting projects more effectively. Recognizing how auditory processing impacts your perception of drying sounds can also be beneficial for monitoring drying progress in noisy environments. Furthermore, controlling indoor air quality can help maintain optimal moisture levels, promoting a smoother finish. Incorporating indoor gardening techniques, such as using innovative planters, can help improve air quality and reduce excess moisture indoors.
Moisture Levels and Drying
Understanding how moisture levels influence drying is essential for achieving a smooth, durable paint finish. Excessive moisture can delay drying, affecting paint adhesion and surface preparation. When moisture is high, water vapor slows solvent evaporation, leading to uneven film formation. To illustrate, consider how different conditions impact drying times:
| Humidity Level | Effect on Drying | Recommended Action |
|---|---|---|
| Low (<40%) | Faster drying, risk of cracking | Maintain moderate humidity |
| Moderate (40-60%) | Ideal drying, good adhesion | Control environment |
| High (>60%) | Slow drying, poor leveling | Use dehumidifiers |
| Excessive (>80%) | Extended drying, adhesion issues | Improve ventilation |
| Ideal (50%) | Balanced drying, best results | Keep consistent conditions |
Paint Film Formation
Have you ever wondered how moisture influences the way paint forms a smooth, durable film? Moisture can interfere with paint film formation by affecting paint adhesion to the substrate. When humidity is high, excess water vapor can create a barrier between the paint and the surface, preventing proper bonding. This leads to uneven coating, poor leveling, and reduced durability. Proper substrate preparation is essential; it ensures the surface is clean, dry, and free of moisture that could hinder adhesion. If the surface isn’t adequately prepared, moisture may get trapped under the paint, compromising the film’s integrity. Understanding how moisture impacts paint film formation helps you choose the right conditions and techniques for a flawless, long-lasting finish.
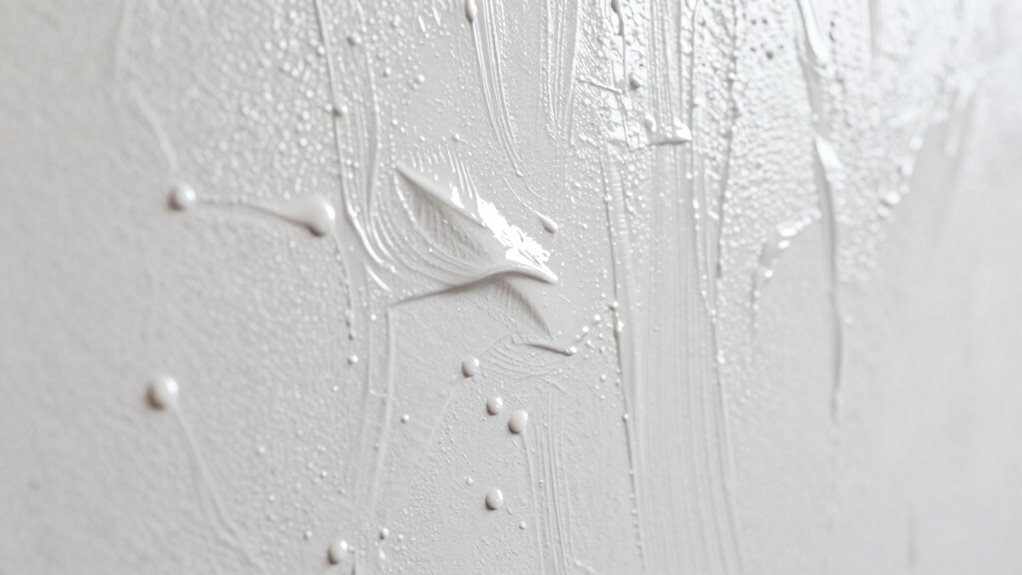
Humidity-Induced Cracking
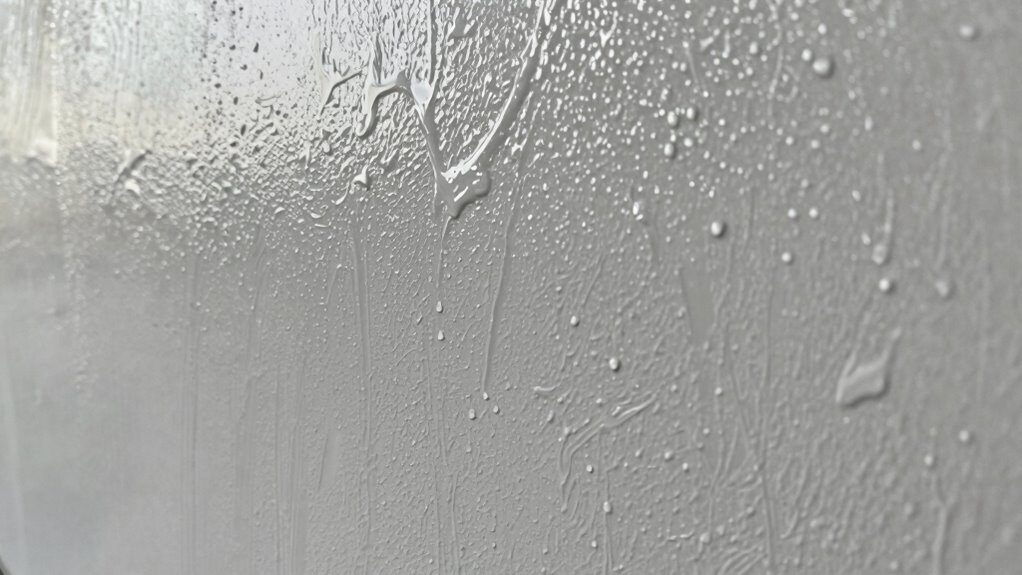
When humidity levels fluctuate dramatically during or after painting, moisture can cause the paint film to crack. Excess moisture weakens paint adhesion, leading to stress points that result in cracking as the paint dries. Proper surface preparation is vital; if surfaces aren’t clean and dry, moisture can get trapped beneath the paint, exacerbating the problem. High humidity slows evaporation, causing the paint to dry unevenly and creating tension within the film. Over time, this tension causes cracks to form, especially if the paint isn’t applied under ideal conditions. To prevent humidity-induced cracking, you need to control moisture levels during application and guarantee surfaces are properly prepared. This proactive approach helps maintain a smooth, durable finish, minimizing the risk of unsightly cracks.
What Are Ideal Indoor Humidity Levels for Painting?

Maintaining the right indoor humidity level is essential for achieving a smooth, durable paint finish. Ideally, aim for a humidity measurement between 40% and 50%. Staying within this range helps paint level properly and prevents issues like blistering or uneven drying. Too high humidity can lead to mold prevention problems and prolong drying times, while too low can cause rapid evaporation, cracking, or poor adhesion. To guarantee ideal conditions, consider these factors:
- Use a hygrometer to monitor humidity levels accurately
- Keep humidity consistent throughout the painting process
- Ventilate the space to control moisture buildup
- Avoid painting in extreme temperature or humidity fluctuations
- Maintain proper airflow to facilitate even drying
Following these guidelines ensures your environment supports the best paint results and mold prevention.
Simple Ways to Control Indoor Humidity Before Painting
Controlling indoor humidity before painting is essential to achieving a professional finish. Start by using humidity sensors to monitor the air’s moisture levels accurately. These devices help you determine if humidity is within the ideal range. If levels are too high, place a dehumidifier in a central location, such as the room’s corner, to effectively reduce moisture. Ensure the dehumidifier is unobstructed and run it for at least 24 hours before painting. Keep windows and doors closed during this period to prevent outdoor humidity from affecting indoor conditions. Ventilate the space well before starting your project. By using humidity sensors and strategic dehumidifier placement, you can maintain stable, excellent humidity levels, preventing issues like paint bubbling or uneven drying.
How to Adjust Your Painting Technique in Humid Conditions
In humid conditions, you should apply thinner layers of paint to prevent drips and uneven drying. Choosing fast-drying products helps you finish projects quicker and reduces the risk of moisture-related issues. Adjusting your technique like this guarantees a smoother, more durable finish despite the humidity.
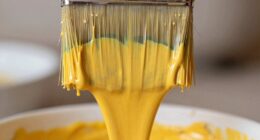
Use Thinner Paint Layers
When humidity levels are high, applying thick paint layers can cause uneven drying and drips. To counter this, use thinner paint layers for better control and drying. This approach helps prevent runs and guarantees a smoother finish, especially when color matching is vital. Keep your coats light, and build up coverage gradually.
Consider these tips:
- Reduce paint thickness for quicker drying
- Apply multiple thin coats instead of one thick layer
- Maintain consistent brush or roller pressure
- Watch for surface tension issues that affect leveling
- Allow proper drying time between coats
Opt for Fast-Drying Products
High humidity can slow down paint drying, making it challenging to achieve a smooth, even finish. To counter this, opt for fast-drying products designed for humid conditions. These paints typically have a quicker solvent evaporation rate, helping you avoid prolonged tackiness and uneven drying. Choosing a paint color with quick-drying properties ensures your project stays on schedule and reduces the risk of smudges or streaks. Additionally, maintaining your brush properly is vital; clean it thoroughly between coats to prevent paint buildup that can hinder drying. Using fast-drying paint and keeping your tools in good shape allows you to work efficiently, even in humid weather, and helps you achieve a professional-looking, smooth, level finish without delays.
Quick Fixes for Uneven or Imperfect Paint Due to Humidity
Dealing with uneven or imperfect paint caused by humidity can be frustrating, but quick fixes can often save your project. First, lightly sand the affected areas to smooth out bumps or drips. Next, use a high-quality primer to seal uneven surfaces and prevent mold growth. If you notice areas that are still tacky, apply a thin layer of paint over the spots, then feather the edges for a seamless finish. Proper paint storage is essential—keep paints in a controlled environment to reduce moisture absorption. To prevent future issues, make sure the workspace stays dry and well-ventilated. Additionally, periodically check for mold and clean any affected surfaces promptly. These steps help correct imperfections and keep your paint job looking professional despite humidity challenges.
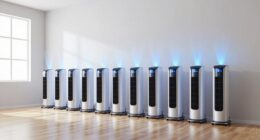
Best Tools and Products to Fight Humidity During Painting

Controlling humidity during painting requires the right tools and products to guarantee a smooth, lasting finish. Start with a dehumidifier to reduce moisture in the air and a hygrometer to monitor humidity levels. Use a fan or air mover to improve air circulation and speed up surface drying. For effective surface preparation, select high-quality primer and paint designed for humid conditions. When dealing with existing paint, invest in proper paint removal tools to eliminate peeling or bubbling caused by moisture. Clean surfaces thoroughly before painting to prevent trapped moisture. Additionally, moisture barriers or sealants can help protect surfaces from humidity-related issues. These tools and products ensure you create an ideal environment for painting, minimizing the impact of humidity on the final result.
When Should You Postpone Painting Because of Humidity?
You should postpone painting when humidity levels are too high, as excess moisture can prevent paint from adhering properly and cause issues like bubbling or peeling. High humidity also hampers proper paint drying, leading to uneven finishes. Additionally, moisture can interfere with paint removal, making it harder to prep surfaces correctly. Waiting for ideal conditions ensures better color mixing and a smooth finish. Keep an eye out for these signs:
- Persistent foggy or damp surfaces
- Slow drying times
- Paint bubbling or cracking
- Difficulties blending colors seamlessly
- Excessive moisture in the air
Long-Term Tips for Flawless Water-Based Finishes in Humid Climates
To achieve flawless water-based finishes in humid climates, adopting long-term strategies is key. Focus on maintaining ideal ventilation and climate control in your workspace. Ensure proper airflow to reduce moisture buildup and dry paint evenly. Use dehumidifiers or air conditioners to regulate humidity levels consistently. Keep your environment cool and dry to prevent water from affecting the finish over time. Regularly monitor humidity and temperature to avoid fluctuations that can compromise the paint.
| Strategy | Benefit | Implementation Tips |
|---|---|---|
| Improve ventilation | Reduces moisture and promotes drying | Use exhaust fans and open windows |
| Climate control | Maintains steady humidity | Use dehumidifiers and air conditioning |
| Consistent monitoring | Ensures ideal conditions | Use hygrometers and thermostats |
Frequently Asked Questions
Can Dehumidifiers Completely Eliminate Humidity Issues During Painting?
Dehumidifiers can’t completely eliminate humidity issues during painting because of their limitations, especially in very damp environments. They help reduce excess moisture, but paint drying challenges may persist if humidity levels are still too high or if the dehumidifier isn’t powerful enough. To guarantee proper paint leveling, combine dehumidifiers with good ventilation and temperature control. This approach minimizes humidity’s sneaky effects, promoting better drying and a smoother finish.
How Does Temperature Interact With Humidity to Affect Paint Drying?
You should know that a 10°F increase in temperature can speed up paint drying by nearly 50%. When temperature fluctuates, it impacts moisture absorption, causing uneven drying or paint wrinkling. Warm air holds more moisture, which can slow down the process or cause issues. Maintaining consistent temperature helps your paint dry smoothly, as it prevents unexpected interactions between temperature and humidity that hamper proper leveling.
Are There Specific Paint Brands Better Suited for Humid Environments?
You should look for paint brand recommendations that focus on humidity resistant paints, ideal for humid environments. Brands like Sherwin-Williams, Benjamin Moore, and Behr offer formulations designed to resist moisture and prevent issues like poor leveling or peeling. These humidity resistant paints help make sure a smooth finish and faster drying times, making your project easier and more durable, even in challenging, humid conditions.
What Are Natural Methods to Reduce Indoor Humidity Quickly Before Painting?
Remember, a stitch in time saves nine. To reduce indoor humidity quickly before painting, you can use DIY moisture methods like placing bowls of silica gel or activated charcoal around the room. Increase household ventilation by opening windows and doors, and run exhaust fans to circulate air. These quick steps help lower humidity, ensuring your waterborne paint levels smoothly and dries properly, giving you a flawless finish.
How Long Should I Wait After Rain or High Humidity Before Painting Indoors?
You should wait at least 24 to 48 hours after rain or high humidity before starting painting indoors. During this time, focus on proper painting preparation by monitoring humidity measurement with a hygrometer. Guarantee the indoor environment is dry and stable, as high humidity can cause paint to level poorly. Keep windows open or use dehumidifiers to help reduce moisture, creating ideal conditions for a smooth, lasting finish.
Conclusion
Did you know that excessive humidity can cause 60% of water-based paint failures? Don’t let moisture sabotage your project. By understanding humidity’s sneaky effects and taking simple steps to control indoor moisture, you can achieve a smooth, flawless finish every time. Stay mindful of weather conditions and use the right tools to combat humidity. With a little preparation, you’ll enjoy professional-looking results, even in humid climates.