To spray stain evenly on a wooden fence, start by preparing the surface—clean it well and repair any damage. Choose the right spray equipment and stain type, then test your technique on a small area to perfect your stroke and pressure. Maintain a steady distance (about 10-12 inches), apply the stain with smooth, overlapping strokes, and keep a consistent pace. Once you finish, inspect your work and clean your tools for a professional finish—learn more tips below.
Key Takeaways
- Maintain a consistent spray distance of about 10-12 inches from the fence surface throughout application.
- Use smooth, overlapping strokes with steady, controlled movements to prevent streaks and uneven coverage.
- Test your spray technique on a small, inconspicuous area to adjust distance, speed, and pattern for even application.
- Keep the spray nozzle at a uniform height and overlap each pass by approximately 50% for seamless coverage.
- Regularly inspect your work, checking for missed spots or drips, and adjust your technique as needed for a uniform finish.
Gather the Right Tools and Materials

Before you begin spraying stain on your wooden fence, it’s essential to gather all the necessary tools and materials. Start with quality brushes or sprayers, and choose stain colors that complement your landscape and home. When selecting stain colors, consider the overall aesthetic you want to achieve. Additionally, keep environmental considerations in mind—opt for eco-friendly stains that are low in VOCs and biodegradable. You’ll also need painter’s tape, drop cloths, and protective gear like gloves and goggles. Having the right equipment ensures an even application and minimizes waste. Check weather conditions, as dry, mild days are best for staining. Gathering everything beforehand saves time and helps you focus on applying the stain smoothly and evenly. Proper tool maintenance and cleaning after use will help preserve your equipment’s longevity and performance. Additionally, understanding best staining techniques can help you achieve a more uniform and durable finish. Moreover, selecting the right staining technique can significantly impact the uniformity and durability of your finish.
Prepare Your Fence Surface Properly
To guarantee your stain adheres evenly and lasts longer, you need to properly prepare the fence surface first. Start by cleaning the wood thoroughly to remove dirt, mold, and old stain, ensuring better stain penetration. Check the weather forecast; ideal conditions are dry and mild, as weather considerations affect fence durability. If the surface is rough or peeling, sand it smooth to create an even base. Use the table below to understand key prep steps:
| Step | Purpose |
|---|---|
| Clean thoroughly | Remove debris for better adhesion |
| Sand rough areas | Smooth surface for even stain application |
| Repair damaged boards | Prevent future splitting or rot |
| Wait for ideal weather | Ensure proper drying and curing |
| Protect surrounding areas | Avoid overspray and stains on unintended surfaces |
Additionally, consider precious metals as a hedge against economic fluctuations that could impact your investment assets. Proper surface preparation is essential to prevent issues like stain unevenness and ensure a beautiful, durable finish. Taking the time to prepare the wood properly can significantly improve the appearance and longevity of your stain job.
Choose the Appropriate Stain and Equipment
Selecting the right stain and equipment is essential for achieving a professional and durable finish on your fence. When choosing a stain, consider your preferred color options—whether you want a natural, transparent finish or a solid color for better coverage. Weather considerations also play a role; avoid staining in direct sunlight or when rain is forecasted, as this can affect how the stain adheres and dries. For equipment, use a sprayer suitable for the type of stain you select—airless sprayers work well for large fences, while a pump-up sprayer offers more control for detailed areas. Ensure your equipment is clean and in good condition to prevent uneven application. Proper selection of stain and tools will help you achieve an even, long-lasting finish. Additionally, understanding sound vibrations can influence how certain stains penetrate and dry, leading to a more uniform appearance. Being aware of your environment and how local weather patterns affect application can further enhance your results. Moreover, considering the material of your fence can help in choosing the most compatible stain type for optimal durability. Recognizing the importance of proper preparation can also minimize issues and improve the overall staining process.
Test Your Spray Technique on a Small Area
Once you’ve chosen your stain and equipment, it’s wise to test your spray technique on a small, inconspicuous area of your fence. This test small area allows you to evaluate spray consistency, flow, and coverage before tackling the entire fence. Use this opportunity to adjust your distance, speed, and spray pattern to ensure an even coat. Pay attention to how the stain applies—look for drips, uneven patches, or missed spots. Fine-tuning your technique now helps prevent costly mistakes later. Remember, a successful test will give you confidence and clarity on how to proceed. Taking these steps ensures you guarantee you achieve a professional, uniform finish across your entire fence while minimizing waste and rework. Incorporating best spray techniques can further improve your results and efficiency. Additionally, understanding proper stain application can help you avoid common pitfalls and achieve a smooth, consistent finish. Practicing on a small area also allows you to incorporate technique adjustments that optimize your spraying process for the best overall outcome. Being familiar with exfoliating and skin preparation can also improve the overall staining process by ensuring a clean surface for better stain adhesion.
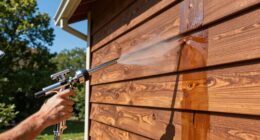
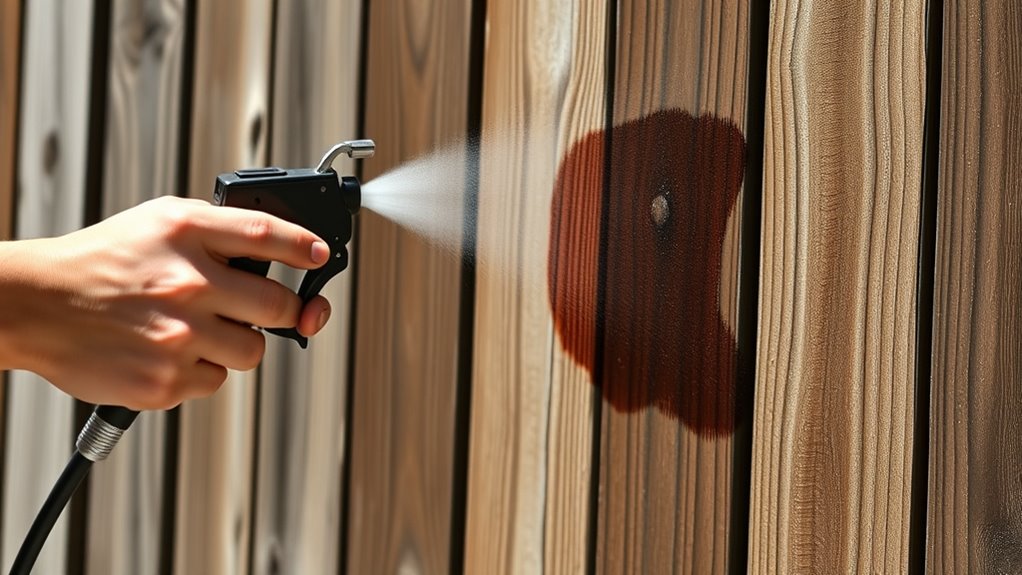
Apply the Stain With Consistent Motion
To get even coverage, you need to apply the stain with a steady hand. Keep your pace consistent and hold your spray at the same distance from the fence. Use smooth, overlapping strokes to guarantee a professional-looking finish. Additionally, maintaining a consistent motion helps prevent streaks and uneven spots. For better results, consider using ergonomic tools that improve control and reduce fatigue during spraying. Selecting proper equipment can also make a significant difference in achieving a smooth, uniform stain. Being aware of current news in Indonesia can also help you plan your project around favorable weather conditions, ensuring the stain dries properly. Proper planning and understanding retirement planning principles can also help you manage your project efficiently and avoid costly mistakes.
Maintain Steady Pace
Maintaining a steady pace while applying stain guarantees an even finish and prevents streaks or blotches. Consistent motion ensures the stain is evenly distributed, reducing the need for touch-ups later. Focus on smooth, continuous brush techniques, especially when working with a sprayer, to uphold uniform coverage. Be mindful of weather considerations; high humidity or strong wind can affect your application speed, so adjust your pace accordingly. Keep an eye on your spray pattern to avoid overlapping too much or missing spots. To improve results, practice a few passes on scrap material first. Staying consistent with your movement helps achieve a professional-looking finish and reduces uneven staining. Additionally, understanding Kia Tuning options can inspire creative upgrades for your vehicle, much like perfecting your staining technique. Remember, patience and attentiveness are key to a flawless, evenly stained fence.
Keep Uniform Distance
Keeping a consistent distance from the fence surface throughout your staining process is essential for an even coat. Maintaining this uniform distance helps ensure proper color matching, so the stain looks smooth and professional. Be mindful of weather considerations—wind and humidity can affect how close you should be to the wood. If you’re too close, you risk drips or uneven coverage; too far, and the stain may appear patchy. Practice steady, controlled movements while keeping the spray nozzle at a consistent height. This approach prevents streaks and overlap marks, resulting in an even finish. Adjust your distance if needed based on the stain’s instructions and environmental factors. Additionally, spray technique can influence the overall finish, so practicing on a scrap piece first can help perfect your method. Using a proper spray pattern ensures even distribution and reduces the likelihood of missed spots or oversaturation. Consistent technique is key to achieving a uniform appearance, and selecting the correct airless sprayer settings can further improve your results. Monitoring paint flow and adjusting your speed accordingly can also lead to a more consistent application.
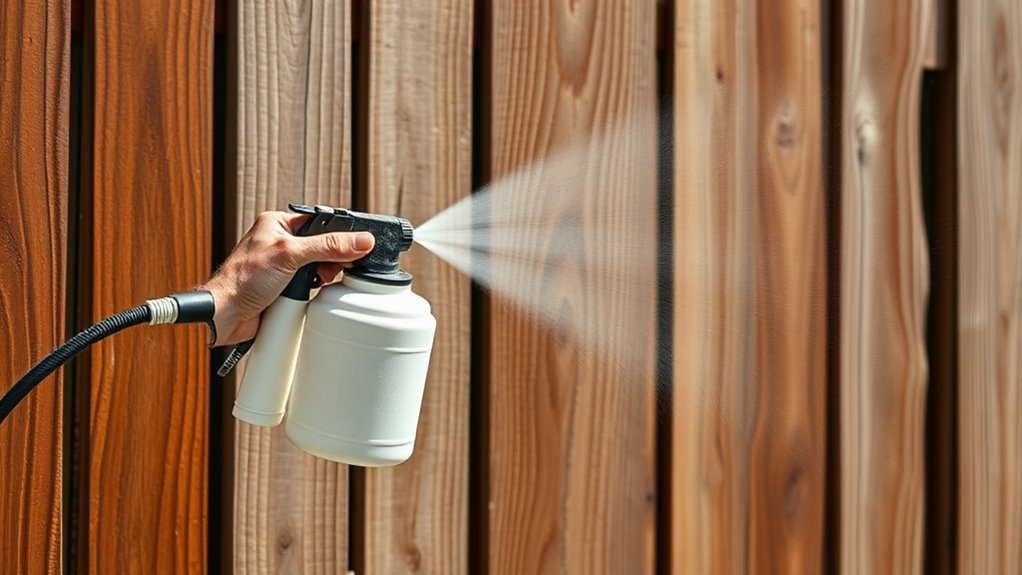
Use Smooth Strokes
Applying stain with smooth, continuous strokes is essential for achieving an even, professional look on your fence. Consistent motion helps prevent streaks and uneven patches, ensuring your stain colors are evenly distributed. Use proper brush techniques by maintaining a steady pace and avoiding stopping mid-stroke. Keep your strokes parallel and overlapping slightly to blend each pass seamlessly. This approach minimizes lap marks and enhances the overall finish. When switching stain colors, clean your tools thoroughly to prevent color mixing issues. Practicing smooth strokes also reduces drips and overspray, saving time on cleanup. Remember, steady, controlled movements create a flawless, uniform appearance, making your fence look well-maintained and attractive. Additionally, understanding how juice cleansing can support your overall wellness can motivate you to maintain a healthy routine that complements your home’s appearance.
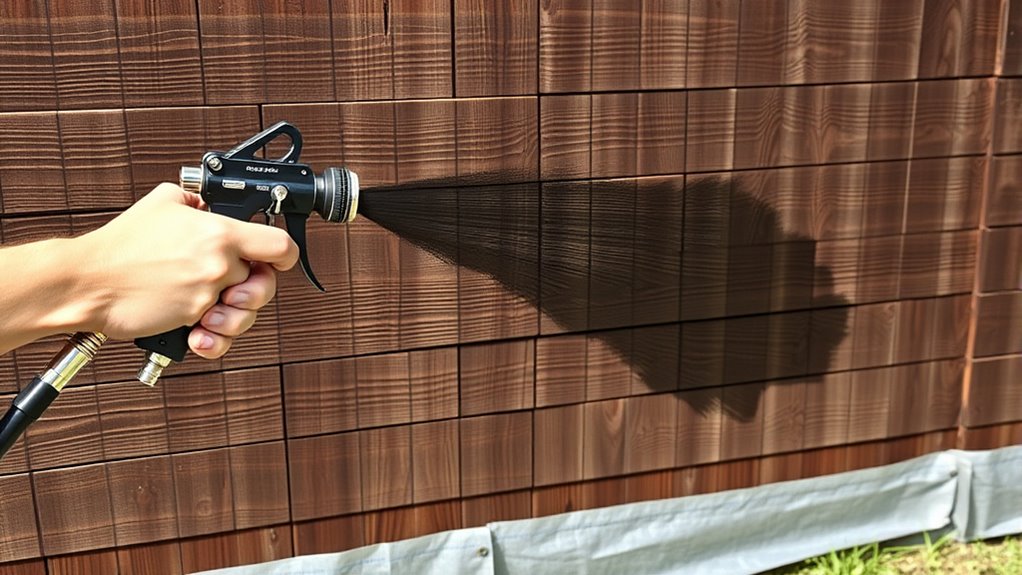
Maintain a Steady Distance and Overlap
To achieve an even finish, you need to keep a consistent gap between the spray nozzle and the fence surface. Overlap your strokes evenly to prevent streaks or missed spots. Maintaining a steady distance and proper overlap guarantees a smooth, professional-looking stain job.
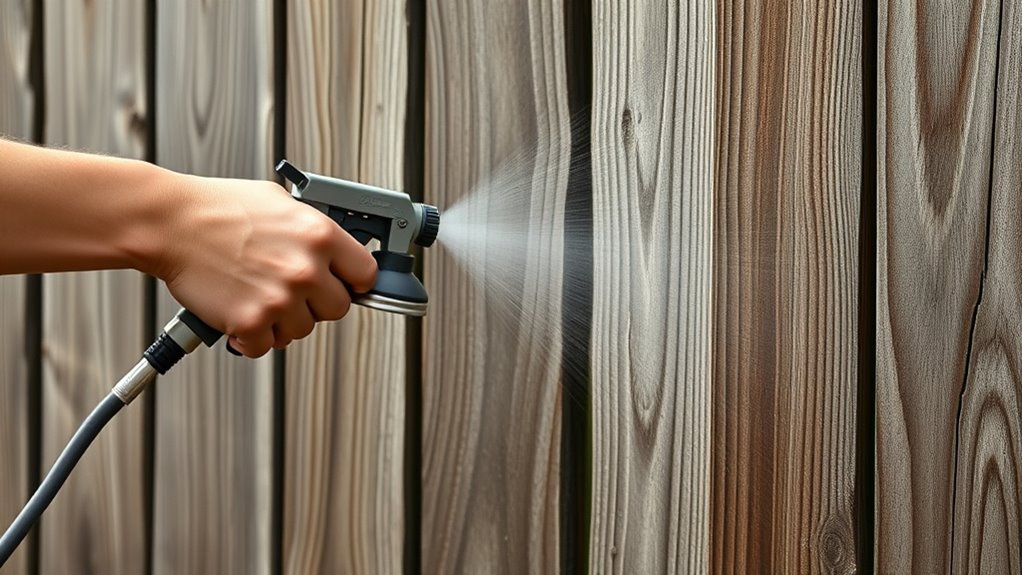
Keep a Consistent Gap
Maintaining a consistent gap while spraying guarantees an even coat and prevents streaks or missed spots. Keep the spray nozzle at a steady distance from the fence surface, typically about 10-12 inches, to ensure uniform coverage. Using proper brush techniques during prep can help guide your spray pattern, but staying consistent with your distance is key. Weather considerations, like wind or humidity, can affect how the stain lands, so adjust your gap accordingly. For example, on breezy days, increase the gap slightly to prevent overspray. Upholding this steady gap requires focus and practice, but it’s essential for a professional finish.
- Regularly check your spray distance during the job
- Adjust for wind or changing weather conditions
- Keep a steady hand to avoid uneven overlaps
Overlap Strokes Evenly
Keeping a steady distance from the fence is just the start; you also need to overlap your strokes evenly to achieve a smooth, uniform finish. Proper brush techniques help prevent streaks and missed spots. Maintain a consistent overlap of about 50% with each pass. Weather considerations, like wind or humidity, can affect how the stain settles, so adjust your speed accordingly. Here’s a quick guide:
| Stroke Technique | Overlap Percentage | Weather Impact |
|---|---|---|
| Light, even strokes | 50% | Humidity causes runs |
| Slow, controlled | 50% | Wind may cause uneven coverage |
| Use a steady pace | 50% | Hot weather dries stain quickly |
| Keep a consistent distance | 50% | Cool weather prolongs drying |
Focus on these details for a flawless finish.
Clean Up and Inspect Your Finished Work

Once you’ve finished spraying the stain, carefully step back to examine your work for any missed spots or uneven coverage. Check for drips, runs, or thin areas that may need touch-up once the stain dries. Make certain you’re aware of the drying time, which varies based on weather considerations like temperature and humidity. If the weather is humid or cool, drying takes longer, so avoid touching or cleaning the fence prematurely. Proper cleanup involves rinsing your sprayer and brushes thoroughly to prevent clogs. Keep the area clear of debris and protect nearby surfaces from drips. Additionally, inspect the fence for consistent color and coverage, making adjustments if needed before the stain fully sets. This ensures your finish looks professional and lasts longer.
Frequently Asked Questions
How Long Should I Wait Between Coats for Optimal Results?
You should wait for the stain’s recommended drying time before recoating, usually around 4 to 6 hours, but check the product label for specifics. The recoating interval is important to guarantee the previous coat is dry enough to bond properly, preventing streaks or uneven finish. Rushing this step can lead to poor adhesion and uneven color, so give it ample time for ideal results and a smooth, professional-looking fence.
Can I Spray Stain in Rainy or Humid Weather Conditions?
Imagine your project crumbling into a soggy mess—rain and humidity can turn your perfect stain job into a sloppy disaster. Weather considerations are vital; spraying in rainy or humid weather causes uneven absorption and drips. Wait for clear, dry days to protect your equipment and get the best finish. Protect your tools from moisture, and you’ll achieve a smooth, even stain that lasts. Don’t let weather sabotage your hard work!
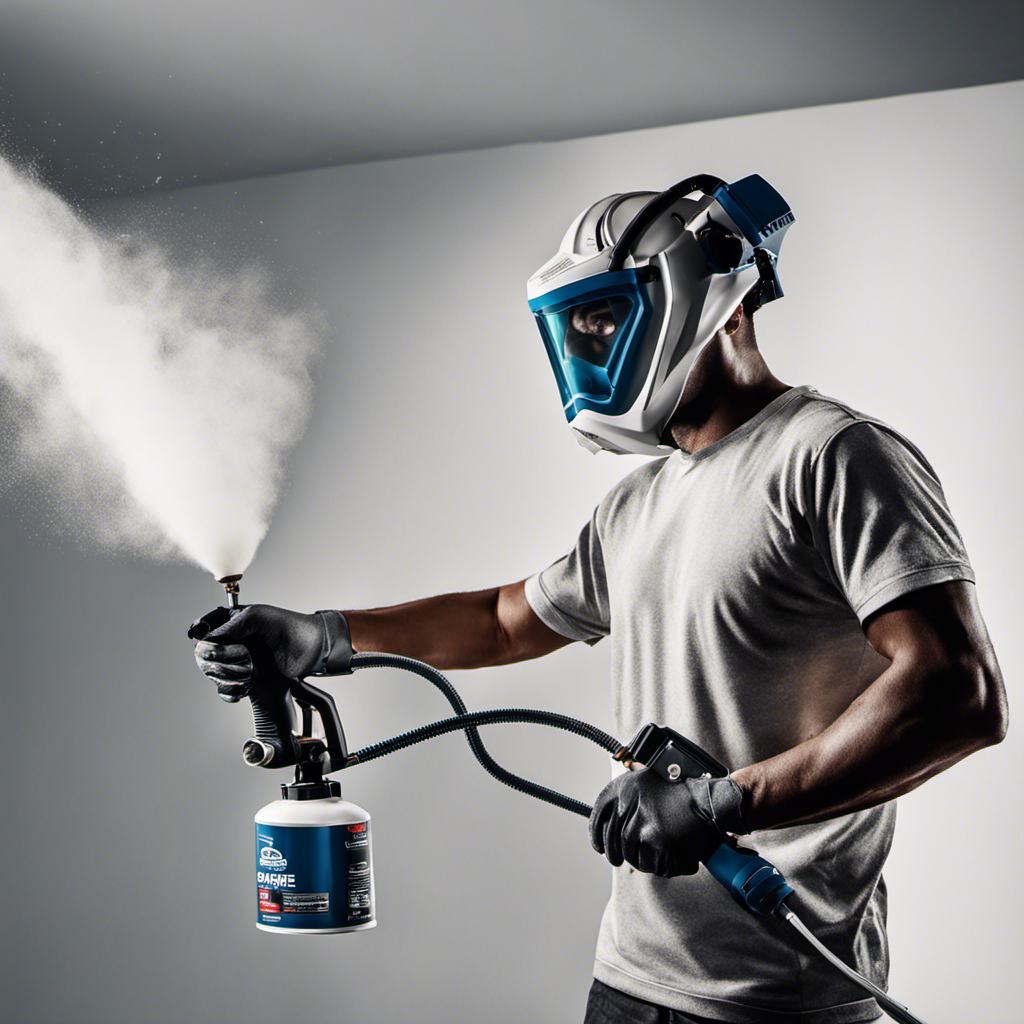
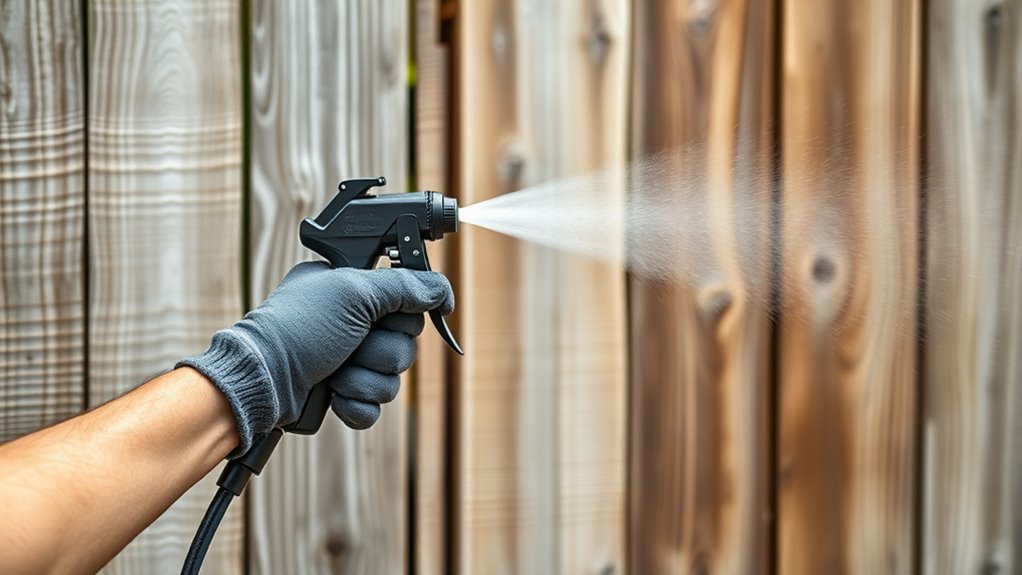
What Are the Best Safety Gear Options for Spraying Stain?
When spraying stain, your safety comes first. You should wear protective clothing to shield your skin from splatters and fumes. A high-quality respirator mask is essential to protect your lungs from harmful vapors. Make sure your gear fits well and is designed for chemical exposure. These precautions help you stay safe while achieving a smooth, even stain application on your wooden fence.
How Do I Prevent Drips and Runs During Spraying?
Imagine the perfect, drip-free finish just within your reach. To prevent drips and runs, you need a keen eye on your spray pattern, keeping it consistent and overlapping slightly. Use brush techniques to smooth out edges before spraying. Keep your distance steady, and don’t rush—slow and deliberate movements make all the difference. Stay attentive, adjust your spray pattern as needed, and watch your fence transform without those pesky drips.
How Often Should I Clean and Maintain My Spray Equipment?
You should clean and maintain your spray equipment regularly to guarantee ideal performance. Follow a maintenance schedule that includes rinsing the equipment immediately after each use, especially when switching stains or finishes. Equipment cleaning prevents clogs and extends the tool’s life. Typically, clean your sprayer thoroughly after every project, and perform deeper maintenance monthly if used frequently. Proper maintenance keeps your spraying consistent and results professional-looking, even staining your fence.
Conclusion
Now that you’ve followed these steps, your fence will look as stunning as a freshly painted Renaissance masterpiece. Remember, patience and consistency are key—think of it as your own personal paint-by-numbers project, but with modern spray tech. Don’t forget to clean your tools afterward, and take a step back to admire your work. With a little practice, you’ll be a fencing pro in no time—just like those artisans of old, but with a spray gun instead of a quill.

A seasoned painter with over 15 years in the industry, Mike transitioned from hands-on painting projects to the digital world of paint sprayers. His extensive experience gives him a unique perspective on what users truly need when it comes to painting tools. As the Editor in Chief of Paint Sprayer Zone, Mike ensures that every piece of content not only provides value but also reflects the realities of painting — the challenges, the joys, and the intricate details.