In all of my painting projects, my main objective has always been to achieve a perfect result. This has driven me to become skilled in preparing paint for use in an airless sprayer.
In this article, I’ll share my knowledge and expertise on selecting the right paint, preparing it for the sprayer, and setting up the equipment.
I’ll also provide techniques for achieving a smooth paint application and tips for cleaning and maintaining the airless sprayer equipment.
Get ready to elevate your painting game with these precise and detailed steps.
Key Takeaways
- Consider the viscosity and consistency of the paint for smooth flow and even application.
- Proper mixing techniques ensure thorough blending and avoid clumps.
- Filtering the paint removes impurities that can clog the sprayer nozzle.
- Viscosity affects atomization and spray quality, while consistency ensures even coverage and professional-looking results.
Understanding the Airless Sprayer System
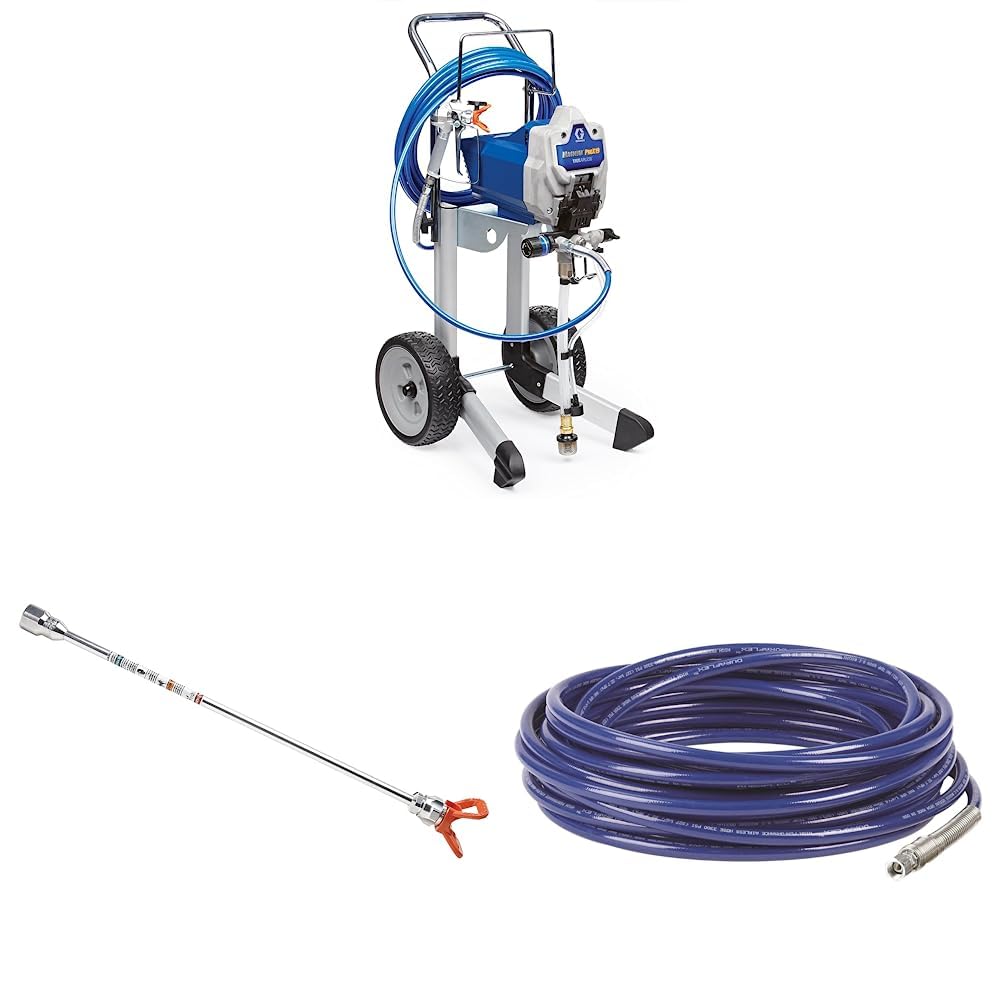
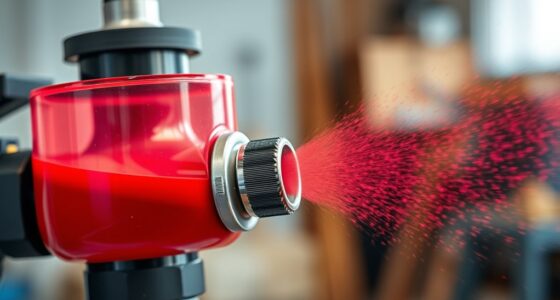
Before you can use an airless sprayer, it’s important to understand how the system works. The airless sprayer is a powerful tool that uses high pressure to atomize paint and create a fine mist for smooth and even application.
To ensure the optimal performance of the airless sprayer, regular maintenance is crucial. This includes cleaning the filters, lubricating the pump, and inspecting the hoses for any signs of wear or damage. Troubleshooting common issues such as clogs or uneven spray patterns is also part of the maintenance process.
By familiarizing yourself with the inner workings of the airless sprayer and implementing proper maintenance, you can ensure its longevity and efficiency.
Now, let’s move on to selecting the right paint for your airless sprayer.
Selecting the Right Paint for Airless Sprayer
When choosing the right paint for your airless sprayer, make sure to consider the type of surface you will be painting. Understanding paint compatibility is crucial to achieve excellent results. Different surfaces require different types of paint to ensure proper adhesion and durability. Here is a helpful table to guide you in selecting the right paint type for your airless sprayer:
| Surface Type | Recommended Paint Type |
|---|---|
| Wood | Latex or oil-based |
| Metal | Enamel or epoxy |
| Concrete | Acrylic or epoxy |
Preparing the Paint for Airless Sprayer
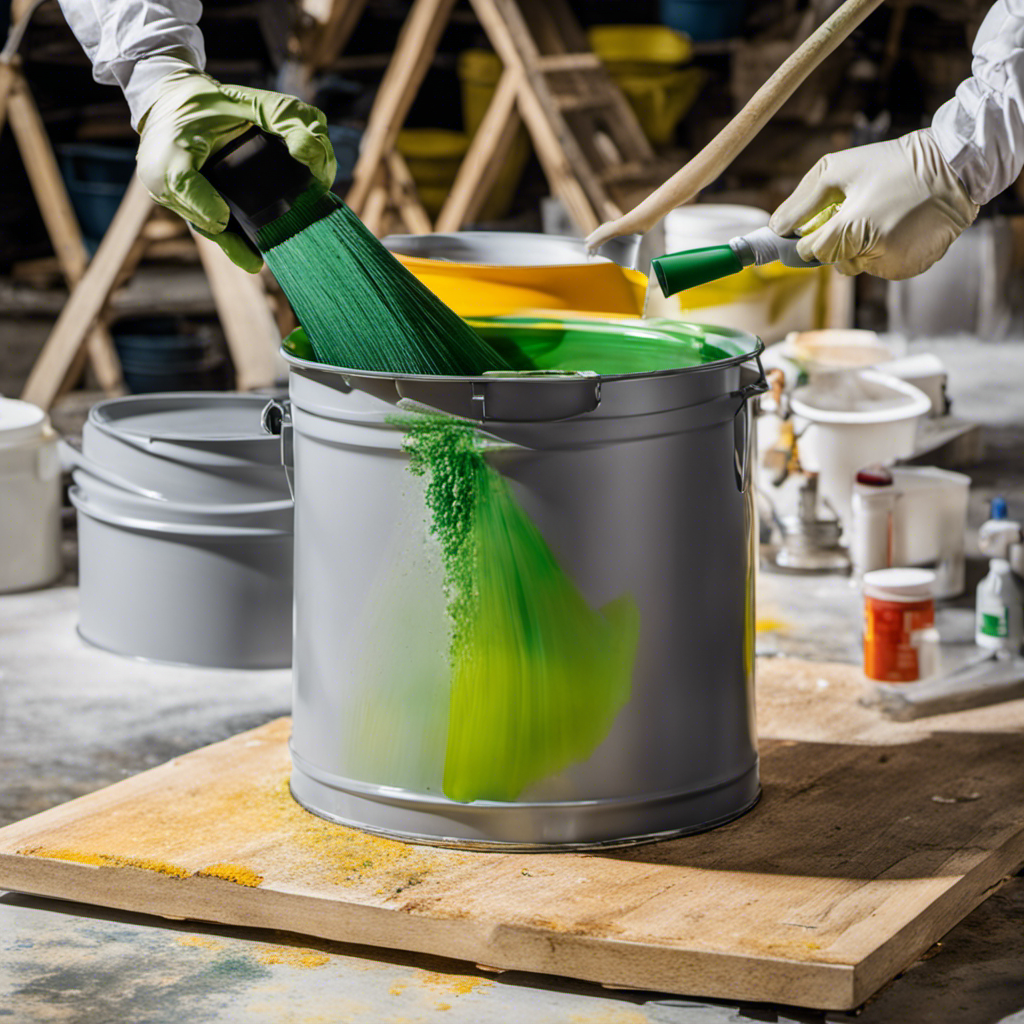
When preparing paint for an airless sprayer, it’s important to consider the paint viscosity and consistency. This will ensure that the paint flows smoothly through the sprayer and provides an even application.
Proper mixing techniques should also be employed to ensure that all the components of the paint are thoroughly blended, avoiding any clumps or inconsistencies.
Additionally, filtering the paint before pouring it into the sprayer can help remove any impurities or debris that could potentially clog the sprayer nozzle and affect the paint application.
Paint Viscosity and Consistency
To ensure optimal results with your airless sprayer, it’s important to pay attention to the viscosity and consistency of the paint. These factors greatly affect the paint drying time and the overall quality of the finish. Here are three key points to consider:
-
Viscosity: The thickness of the paint plays a crucial role in how well it atomizes and sprays through the nozzle. If the paint is too thick, it can clog the sprayer and result in an uneven application. On the other hand, if the paint is too thin, it may run or drip, leading to a poor finish.
-
Consistency: Consistency refers to the smoothness and uniformity of the paint. It’s important to ensure that the paint is well mixed and free of lumps or clumps. A consistent paint will provide an even coverage and help achieve a professional-looking result.
-
Paint Thinning: If the viscosity of the paint is not suitable for the airless sprayer, it may be necessary to thin it. Thinning the paint involves adding a compatible thinner or water to achieve the desired consistency. It’s crucial to follow the manufacturer’s guidelines and recommendations for proper thinning ratios.
Proper Mixing Techniques
Now that you’ve learned about viscosity and consistency, it’s time to discuss proper mixing techniques for achieving the best paint application with your airless sprayer. When it comes to mixing paint, using the right tools and additives can make a big difference in the quality of your finish.
Here are some key techniques to keep in mind:
Mixing Tools:
- Use a stir stick or paddle attachment on a power drill for efficient mixing.
- Ensure the mixing tool reaches the bottom of the paint can to properly blend all ingredients.
- Stir in a circular motion, gradually increasing speed to avoid splashing.
Paint Additives:
- Additives like flow improvers can enhance the paint’s leveling properties.
- Thinning agents can be used to adjust viscosity for better sprayability.
- Follow the manufacturer’s instructions for the correct ratio of additives to paint.
By using the right mixing tools and incorporating paint additives, you can achieve a more consistent and smooth paint mixture. This will ensure better results when using your airless sprayer.
Now, let’s move on to the next section and discuss filtering the paint to further improve its quality.
Filtering the Paint
To improve the quality of your paint mixture, start by filtering it to remove any impurities. Paint filtration is a crucial step in the preparation process that ensures a smooth and flawless finish. Here are three reasons why you should always filter your paint:
-
Enhanced paint flow: By removing particles and debris, filtering the paint allows for a more consistent flow through the sprayer, preventing clogs and interruptions.
-
Improved surface appearance: Filtering eliminates impurities that can cause imperfections on your painted surface, resulting in a professional-looking finish.
-
Longer equipment lifespan: Filtering the paint prevents abrasive particles from entering the airless sprayer, reducing wear and tear on the equipment and extending its lifespan.
Setting Up the Airless Sprayer Equipment
Make sure you’ve got all the necessary equipment ready for setting up the airless sprayer. Start by attaching the sprayer nozzle securely to the gun. This is an important step to ensure proper paint flow and coverage. Check for any leaks or loose connections, as this can cause issues during operation.
Next, ensure that the paint container is properly filled and positioned. Make sure the paint is well mixed and free from any impurities that could clog the sprayer. Troubleshooting common sprayer issues involves checking the pressure settings, ensuring the nozzle is clean and unclogged, and adjusting the spray pattern as needed. These steps will help you achieve optimal results when painting.
Now let’s move on to techniques for achieving smooth paint application without any streaks or drips.
Techniques for Achieving Smooth Paint Application
When it comes to achieving a smooth paint application, there are three key factors to consider: proper paint consistency, preparing the surface, and using effective sprayer technique tips.
First and foremost, ensuring that the paint has the right consistency is crucial for optimal results. This involves following manufacturer guidelines and adjusting the paint with water or a thinning agent if necessary.
Secondly, preparing the surface properly is essential for a smooth and long-lasting finish. This includes cleaning, sanding, and priming the surface to ensure proper adhesion.
Lastly, mastering sprayer technique tips such as maintaining the correct spraying distance, moving in a consistent and even pattern, and avoiding overspray can greatly contribute to achieving a flawless paint application.
Proper Paint Consistency
Achieving the proper paint consistency is crucial for successful airless sprayer application. When it comes to paint mixing, there are a few key factors to keep in mind.
First, make sure to measure the paint and the thinner accurately to achieve the desired consistency.
Second, mix the paint thoroughly to ensure all the pigments are evenly distributed.
Lastly, consider using a paint filtration system to remove any impurities that could clog the sprayer nozzle. This will help prevent blockages and ensure a smooth application.
Now, let’s move on to preparing the surface for painting.
Preparing the Surface
Before starting the painting process, it’s important to ensure that the surface is properly prepared. Surface preparation plays a crucial role in achieving a smooth and long-lasting finish. To achieve the best results, follow these priming techniques:
| Surface Type | Preparation |
|---|---|
| Wood | Fill any cracks or holes with wood filler. Sand the surface to remove any imperfections. Apply a wood primer to seal and protect the wood. |
| Metal | Clean the surface to remove any dirt or grease. Use a metal primer to prevent rust and promote adhesion. |
| Drywall | Repair any cracks or dents with joint compound. Sand the surface to create a smooth finish. Apply a primer to seal the drywall and ensure proper paint adhesion. |
| Concrete | Clean the surface to remove any dirt or debris. Use a concrete primer to fill any pores or imperfections and promote paint adhesion. |
| Masonry | Clean the surface to remove any dirt or efflorescence. Apply a masonry primer to seal the surface and promote adhesion. |
Sprayer Technique Tips
Now that we’ve covered preparing the surface for painting, let’s dive into some sprayer technique tips to ensure a smooth and efficient painting process.
Proper sprayer maintenance is crucial for achieving excellent results. Here are some key tips to keep in mind:
-
Check for clogs: Before starting, inspect the sprayer for any clogs in the nozzle or hose. Clear them out to avoid uneven spray patterns or blockages.
-
Adjust pressure: Ensure the sprayer is set to the correct pressure for the type of paint being used. Too high or too low pressure can result in overspray or poor coverage.
-
Troubleshoot issues: If you encounter any problems like air bubbles or inconsistent spray, refer to the sprayer’s manual for troubleshooting tips or seek professional assistance.
With these sprayer technique tips, you’ll be well-equipped to tackle any painting project.
Now, let’s move on to the next section, where we’ll discuss the cleaning and maintenance of airless sprayer equipment, ensuring its longevity and optimal performance.
Cleaning and Maintenance of Airless Sprayer Equipment
To keep your airless sprayer equipment in good condition, it’s important to regularly clean and maintain it.
Cleaning equipment after each use is crucial to prevent clogs and ensure optimal performance. Start by flushing out any remaining paint from the system by running clean water or solvent through the sprayer.
Disassemble the spray gun and clean all the parts thoroughly. Pay attention to the nozzle, which is prone to clogging. Use a small brush or toothpick to remove any dried paint or debris.
Additionally, troubleshoot any problems you may encounter with your airless sprayer. Common issues include uneven spray patterns, loss of pressure, or leaking. Refer to the manufacturer’s guide for troubleshooting steps or contact customer support for assistance.
Regular cleaning and maintenance will extend the lifespan of your airless sprayer equipment and ensure consistent, high-quality results.
Frequently Asked Questions
How Long Does It Take for the Paint to Dry After Being Sprayed With an Airless Sprayer?
After being sprayed with an airless sprayer, the drying time of paint can vary based on several factors such as humidity, temperature, and type of paint used. It typically takes a few hours to dry completely.
Can an Airless Sprayer Be Used to Paint Textured Surfaces?
An airless sprayer is a useful tool for painting textured surfaces. To achieve the best results, it is important to follow proper airless sprayer maintenance and use the appropriate techniques for painting textured surfaces.
What Safety Precautions Should Be Taken When Using an Airless Sprayer?
Safety measures and important precautions must be followed when using an airless sprayer. Proper ventilation, eye protection, and protective clothing are essential. Additionally, ensuring the sprayer is properly grounded and following manufacturer guidelines is crucial for safe operation.
Can Different Types of Paint Be Mixed Together and Used With an Airless Sprayer?
Oh, the joy of mixing different types of paint for an airless sprayer! But alas, my knowledge tells me that it is not advisable. Stick to one type for optimal compatibility and avoid any potential mishaps.
Is It Necessary to Thin the Paint Before Using It With an Airless Sprayer?
Yes, it is necessary to thin the paint before using it with an airless sprayer. Thinning paint allows for better spray coverage and prevents clogging in the sprayer. It ensures a smooth and even application.
Conclusion
In conclusion, preparing paint for an airless sprayer requires careful attention to detail and knowledge of the equipment. By understanding the airless sprayer system, selecting the right paint, and properly setting up the equipment, you can achieve smooth and professional paint application.
Remember the old saying, ‘A stitch in time saves nine.’ Taking the time to clean and maintain your airless sprayer equipment will ensure its longevity and prevent any future painting mishaps.
So, take the necessary steps to prepare your paint and enjoy a flawless painting experience.
Franz came aboard the Paint Sprayer Zone team with a background in both journalism and home renovation. His articulate writing style, combined with a passion for DIY projects, makes him an invaluable asset. Franz has a knack for breaking down technical jargon into easy-to-understand content, ensuring that even the most novice of readers can grasp the complexities of paint sprayers.
