If your sprayer won’t prime, start by checking for clogs in the nozzles and filters, and make sure all hoses and seals are tight and free of leaks. Remove any trapped air by venting the system or running the pump until steady flow resumes. Inspect the pump for wear or damage and refill the liquid tank if levels are low. For a full guide, you’ll discover important tips to get your sprayer working smoothly again.
Key Takeaways
- Check and clear clogged nozzles and filters to ensure unobstructed liquid flow.
- Inspect hoses, seals, and fittings for leaks or cracks and tighten or replace as needed.
- Bleed trapped air by venting the system or running the pump until steady flow resumes.
- Verify the pump is functioning properly; repair or replace if it’s worn or faulty.
- Refill the tank and confirm the liquid source is unobstructed to maintain proper priming.
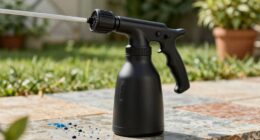
Have you ever experienced a sprayer that won’t pump or sprays unevenly? If so, you’re probably frustrated, especially if you rely on your sprayer for precise work. One of the most common issues with sprayers is that they won’t prime properly, which can prevent the liquid from flowing correctly and result in inconsistent spraying. Addressing this problem starts with understanding sprayer maintenance and the typical causes behind these issues. Knowing what to look for can save you time and money, and help keep your equipment functioning smoothly.
Experiencing uneven spray or pump failure? Learn how proper maintenance can fix common priming issues quickly.
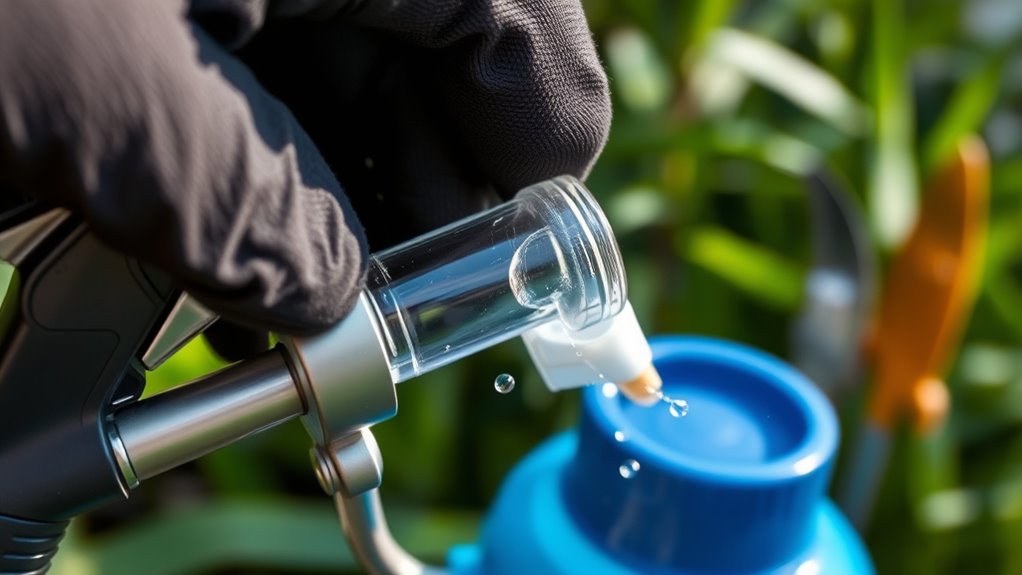
The first step in fixing a sprayer that won’t prime is to check for simple problems. Often, the issue stems from clogged nozzles or filters, which can block the flow of liquid. Regular sprayer maintenance involves cleaning these parts thoroughly after each use. Use a soft brush or compressed air to clear debris and buildup. If the nozzles are clogged, soaking them in warm water or a cleaning solution recommended by the manufacturer can often resolve the problem. Sometimes, hardened residue or chemical deposits can harden over time, making cleaning necessary to restore proper flow.
Another common issue is a leak in the system. Leaks can cause the sprayer to lose pressure, preventing it from priming correctly. Inspect all hoses, seals, and connections for cracks or loose fittings. Tighten or replace any damaged components. Ensuring that seals and gaskets are in good condition helps maintain the necessary pressure for priming. If you notice a drop in pressure or the sprayer is not building up enough, it’s often a sign that a leak or a worn-out seal is the culprit.
Air trapped in the system can also prevent proper priming. Air pockets can form if the system wasn’t vented properly or if there was a recent refill. To fix this, you need to bleed the sprayer by opening the vent or running the pump until a steady flow of liquid is achieved. Sometimes, the pump itself may be faulty or worn out, which can hinder its ability to create the necessary suction. Replacing or repairing the pump might be necessary if cleaning and tightening connections don’t work.
Additionally, understanding how mindfulness can help in troubleshooting can promote a more patient and methodical approach to repairs, reducing stress and making the process more manageable. Finally, consider the liquid level. If the tank is nearly empty or the liquid isn’t flowing freely from the source, the sprayer won’t prime. Refill the tank and verify the liquid is flowing unimpeded. Regular sprayer maintenance, including checking for common issues like clogged nozzles, leaks, trapped air, or worn parts, will help prevent priming problems in the future. When you stay attentive to these details, fixing a sprayer that won’t prime becomes a straightforward task rather than a frustrating mystery.
Frequently Asked Questions
Can I Repair My Sprayer Myself or Need Professional Help?
You can definitely try DIY fixes if your sprayer won’t prime, but if you’re unsure or the problem persists, professional repair might be your best bet. Start by checking for clogs, leaks, or damaged seals yourself. If these steps don’t work, don’t hesitate to seek expert help to avoid further damage. Knowing when to do it yourself or call in a pro guarantees your sprayer gets fixed properly and safely.
Which Types of Fluids Are Safe for My Sprayer?
Think of your sprayer as a delicate dancer on stage; using the wrong fluids can trip it up. To keep it performing smoothly, choose fluids with proper fluid compatibility and chemical safety. Water-based solutions like water, mild detergents, or plant-safe liquids are generally safe, but avoid harsh chemicals or solvents that can damage seals and parts. Always check labels and manufacturer guidelines to safeguard your sprayer’s health and ensure safe operation.
How Often Should I Perform Maintenance on My Sprayer?
You should perform maintenance on your sprayer every 20 to 30 hours of use or at least once a season. Follow a regular maintenance schedule to keep it in top shape, and don’t forget troubleshooting tips like cleaning filters and checking seals. Regular upkeep prevents clogs and guarantees consistent priming, saving you time and frustration. Stay proactive, and your sprayer will work reliably whenever you need it.
Are There Specific Brands That Are More Reliable?
You should look for brands with strong reputation and high reliability ratings, like Solo, Chapin, and Hudson. These brands are known for durable, dependable sprayers that perform well over time. Check customer reviews to gauge real-world dependability, and opt for models with solid warranties. Investing in trusted brands saves you frustration and ensures your sprayer works when you need it most, especially if you’re tackling tasks that require consistent prime function.
What Safety Precautions Should I Take During Troubleshooting?
When troubleshooting a sprayer that won’t prime, you should wear personal protective equipment like gloves and goggles to prevent exposure to chemicals. Make certain electrical safety by unplugging the sprayer before inspecting or repairing parts. Work in a well-ventilated area, keep your workspace dry, and avoid contact with moving parts. Taking these precautions helps protect you from potential hazards and ensures a safer, more effective repair process.
Conclusion
Once you’ve fixed your sprayer, you might notice how often small issues like priming problems seem to appear just when you’re about to finish a task. It’s almost as if the sprayer’s stubbornness is a reminder to double-check your work and stay patient. Sometimes, resolving one tiny hiccup reveals how interconnected everything is—making you more aware of the little details. In the end, fixing your sprayer becomes a quiet lesson in persistence and the unexpected lessons hidden in everyday chores.

Franz came aboard the Paint Sprayer Zone team with a background in both journalism and home renovation. His articulate writing style, combined with a passion for DIY projects, makes him an invaluable asset. Franz has a knack for breaking down technical jargon into easy-to-understand content, ensuring that even the most novice of readers can grasp the complexities of paint sprayers.