
To fix rough dry spray texture quickly, start by lightly sanding the uneven areas with fine-grit sandpaper to de-nib and smooth out the surface. Wipe away dust, then reapply the texture carefully, matching the original spray pattern. Feather edges for seamless blending and work while the paint is damp. Using proper tools and techniques makes this process easy and effective. Keep going to discover more tips for a flawless finish.
Key Takeaways
- Lightly sand rough areas with fine-grit sandpaper to de-nib before recoating.
- Match spray pattern and texture by feathering edges and using controlled, light layers.
- Keep tools and spray equipment clean to ensure even application and avoid rough patches.
- Properly prepare the surface by cleaning and priming to promote adhesion and smooth finish.
- Blend new texture seamlessly with existing paint using gentle feathering for a professional look.
Why Dry Spray Texture Looks Rough and How to Fix It

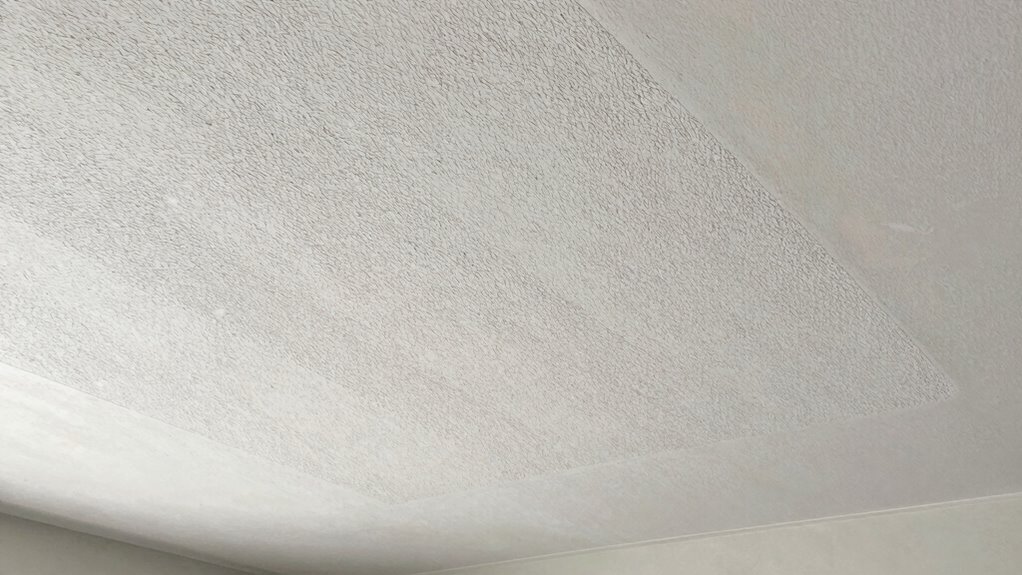
Dry spray texture can often look rough or uneven, especially if it’s been applied too thickly or too quickly. This unevenness affects the texture consistency, making the surface appear inconsistent. When the spray is too heavy, it can also impact the paint sheen, causing it to look dull or patchy instead of smooth and even. Proper technique is key to achieving a uniform texture; applying thin, even coats helps maintain consistent texture and a desirable sheen. If you notice roughness, it’s usually because of overspray or inconsistent application. To fix this, you can lightly sand the rough areas to smooth out the surface, then reapply a thin coat of texture spray. This ensures a more polished look with an even texture and consistent sheen.
How to Tell If You Need to Recoat or Just Repair the Texture
If you notice persistent rough spots or uneven texture even after repair attempts, it’s time to decide whether you need a full recoat or just a spot repair. Check the texture consistency across the wall—if it remains uneven or mismatched, a recoat is likely necessary to restore uniformity. Also, examine the paint adhesion; if the new texture peels or chips easily, a recoat ensures better bonding and a seamless finish. Conversely, if the rough spots are localized and the overall texture looks consistent, spot repairs can fix imperfections without reapplying the entire surface. Remember, a proper assessment of texture consistency and paint adhesion helps you avoid unnecessary recoats and guarantees a smoother, more professional finish. Understanding surface preparation is crucial to achieving optimal results in texture repair. Additionally, evaluating environmental conditions can impact how well the texture adheres and cures, influencing your repair strategy. Proper cleaning and priming before applying new texture also plays a key role in ensuring a durable, seamless repair.
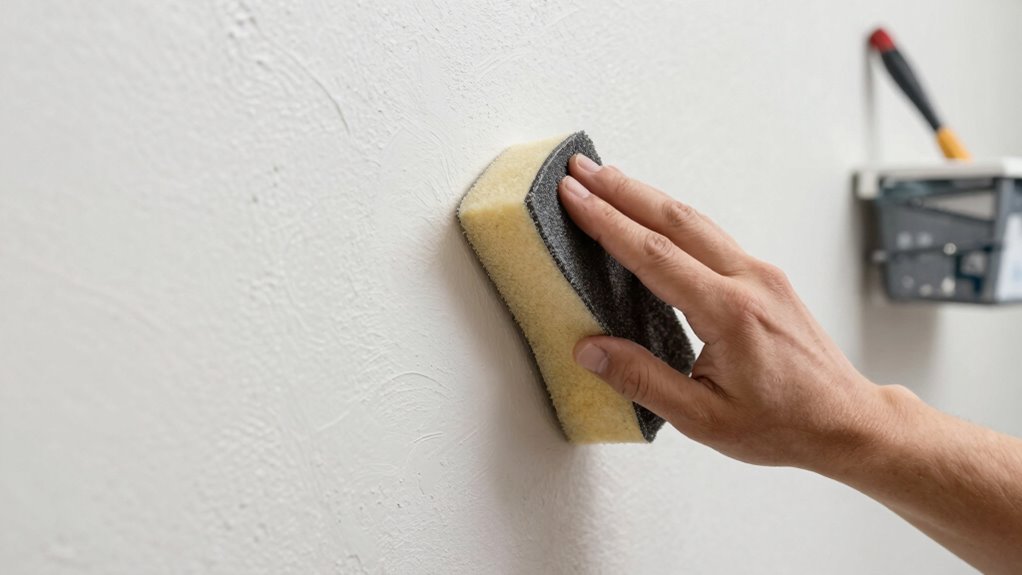
Getting Your Wall Ready for a Quick Fix
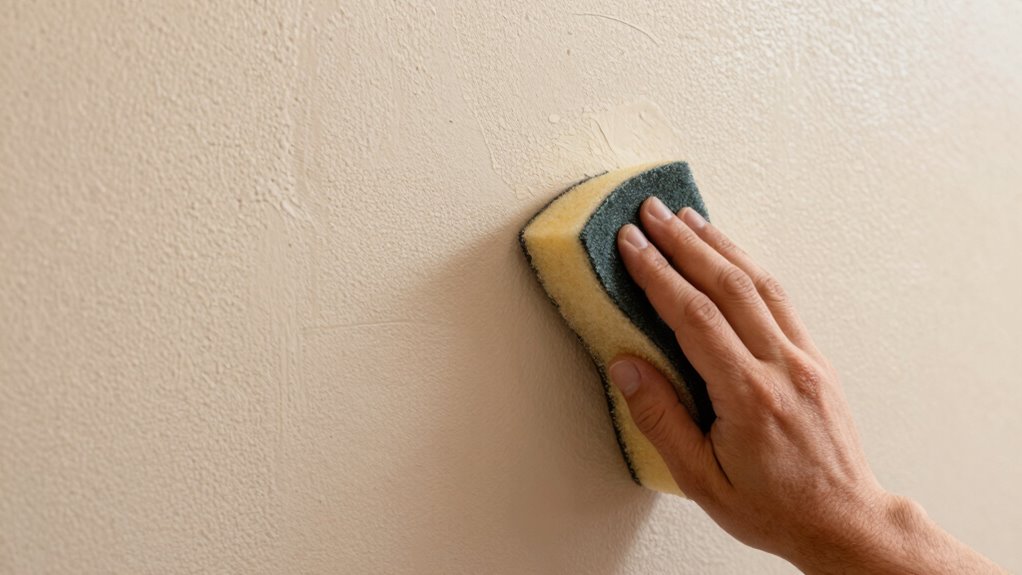
Before you apply a quick fix to dry spray texture, it’s essential to prepare the wall properly. Start with thorough surface cleaning to remove dust, grease, or stains that can hinder adhesion. Proper wall preparation ensures your repair bonds well and blends seamlessly. Use a gentle cleaner and a sponge or cloth, paying attention to corners and textured areas. For optimal results, consider air quality considerations that might affect your workspace, such as dust or humidity levels. Maintaining a clean surface is crucial for adhesion and a smooth finish. Additionally, ensuring proper ventilation can help control moisture and dust, contributing to better adhesion and a more professional result. Good air circulation in your workspace can also help in reducing airborne particles that may settle on the surface during the repair process. Monitoring humidity levels is also important, as excessive moisture can compromise the drying process and the final appearance.
Essential Tools and Materials for Dry Spray Texture Repair
To repair dry spray texture quickly, you’ll need the right tools and materials on hand. An essential tools checklist includes items like a putty knife, spray gun, and sanding sponge, while selecting the right material types—such as joint compound or texture spray—is equally important. Having these ready ensures your repair process is smooth and efficient. For best results, consider using top-rated products like those recommended in best laundry detergents, which can help ensure a clean finish.
Essential Tools Checklist
Gathering the right tools and materials is essential to guarantee a smooth and effective dry spray texture repair. Having the proper items ensures you can de-nib, match texture patterns, and recoat seamlessly using drywall techniques. Here’s your essential tools checklist:
- Putty knife or sanding block for smoothing the surface
- Fine-grit sandpaper for de-nibbing and blending
- Drop cloths and painter’s tape to protect surrounding areas
- Dust mask and safety goggles for protection
- Spray bottle or sponge for light moisture and cleanup
These tools help you achieve a professional finish, ensuring your repair blends flawlessly with existing textures and patterns. Keep your supplies organized for a quick, stress-free process, and always prioritize safety when working with drywall materials.
Recommended Material Types
Choosing the right materials is essential for a successful dry spray texture repair. You need recommended material types that match your existing texture and ideal applicators for a seamless finish. Use a high-quality joint compound or texture spray designed for spray applications. These materials ensure proper adhesion and easy blending. For best results, select spray guns with adjustable nozzles to control spray pattern and consistency.
| Material Type | Ideal Applicator |
|---|---|
| Texture spray compound | HVLP spray gun |
| Joint compound (for de-nib) | Airless spray gun |
| Primer or bonding agent | Rollers or brushes |
| Finishing spray | Hand-held spray gun |
Stick with these recommended material types and ideal applicators to streamline your repair process.
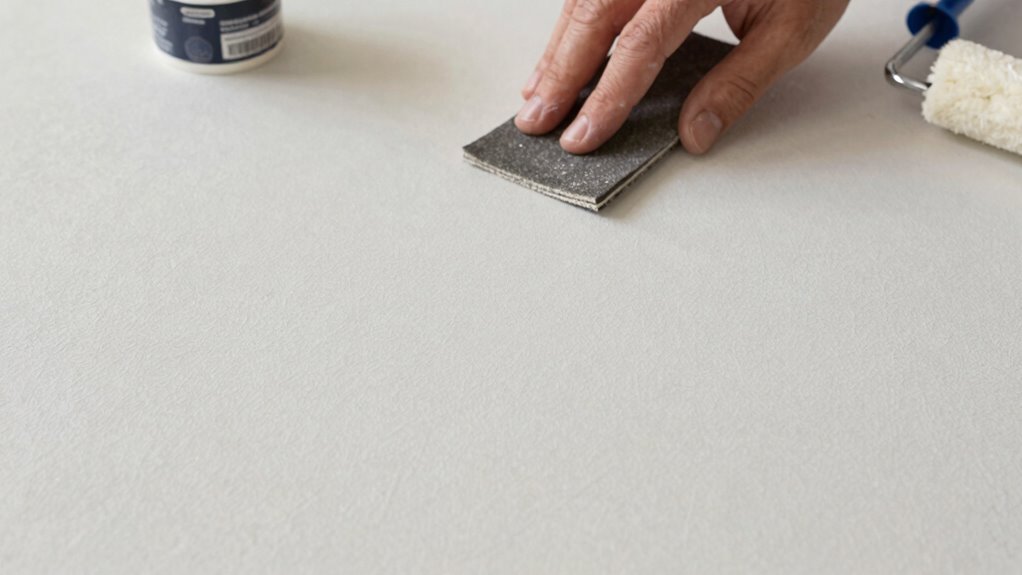
How to De-Nib Dry Spray Texture for a Smooth Finish
When dry spray texture has nibbled or uneven spots, smoothing it out is essential for a professional finish. To achieve this, you need to de-nib the surface carefully. First, lightly sand the area with fine-grit sandpaper, focusing on high or rough spots to improve texture consistency. Keep the spray technique in mind—use consistent, gentle strokes when applying texture to prevent future unevenness. Here are key steps to follow:
- Use a sanding block or sponge for even pressure
- Avoid over-sanding, which can damage the drywall
- Wipe away dust before reapplying texture
- Feather out rough edges for seamless blending
- Test on a small area to gauge texture consistency
Proper de-nibbing ensures your surface remains smooth and ready for the next coat.
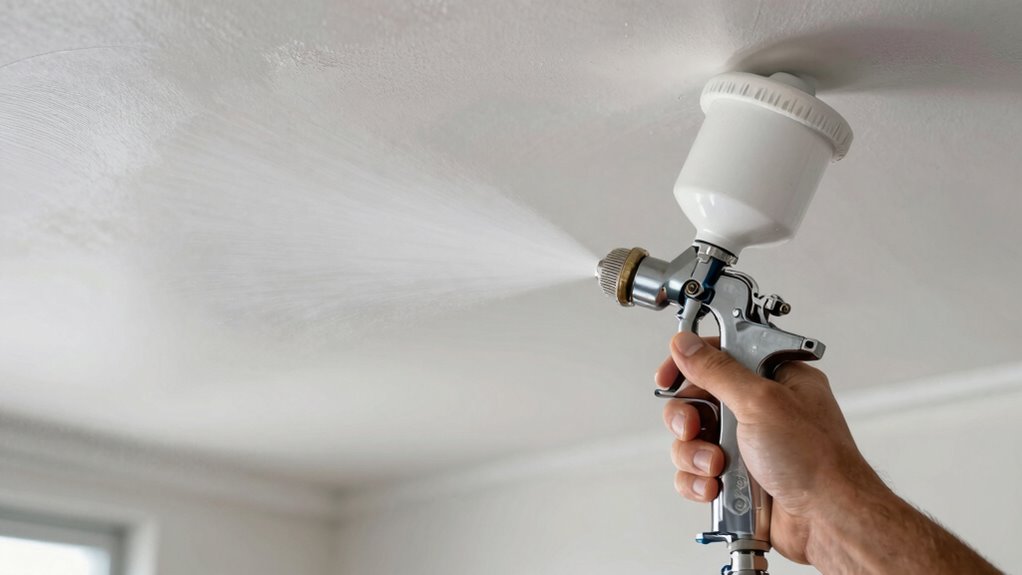
Applying a Recoat That Blends Perfectly With Your Walls
To make certain your recoat blends seamlessly, you need to match the existing texture and pattern on your walls. Focus on blending the paint edges carefully so the new coat doesn’t stand out. Properly matching these elements creates a smooth, uniform finish that looks professional. Additionally, understanding wall surface finishes helps in selecting the right tools and techniques for blending effectively. Incorporating textured wall finishes can also assist in achieving a consistent look across the entire surface. Consulting interior design fundamentals can provide further insight into achieving a flawless match. Being aware of different types of wall textures, such as flat, eggshell, or satin finishes, can also guide your approach for better blending results. Recognizing surface irregularities can help you address imperfections before applying the final coat for a seamless appearance.
Match Texture and Pattern
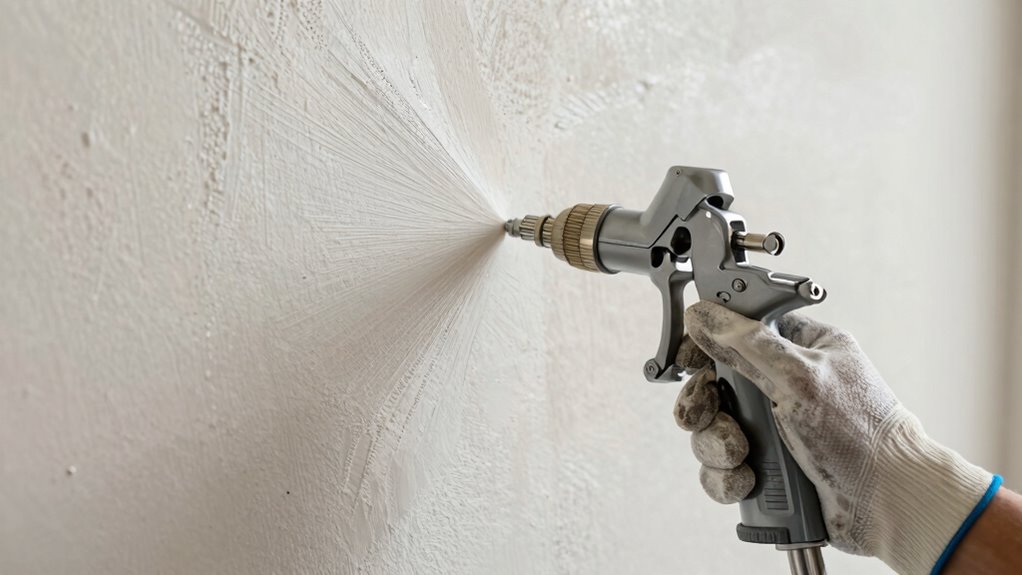
Matching the existing pattern and maintaining texture consistency across the wall is essential for achieving a seamless repair. To guarantee your new coat blends perfectly, focus on matching pattern and maintaining texture consistency across the wall. Use tools like a stippling brush or sponge to mimic the original spray pattern, paying close attention to the direction and density of the texture. Keep your application light and controlled, layering gradually until the pattern looks natural. Remember, subtle variations can make a big difference in blending. Proper spray technique can significantly improve your results and help you blend repairs more effectively. Understanding spray patterns and how they influence texture can help you replicate the original texture more accurately. Here’s what to keep in mind: – Study the existing pattern carefully before reapplying – Use the same spray technique and nozzle size – Maintain consistent pressure during application – Match the spray distance to original work – Check texture from different angles for uniformity — also, adjusting air pressure during spraying can help you better control texture consistency and achieve a more seamless blend.
Blend Paint Edges
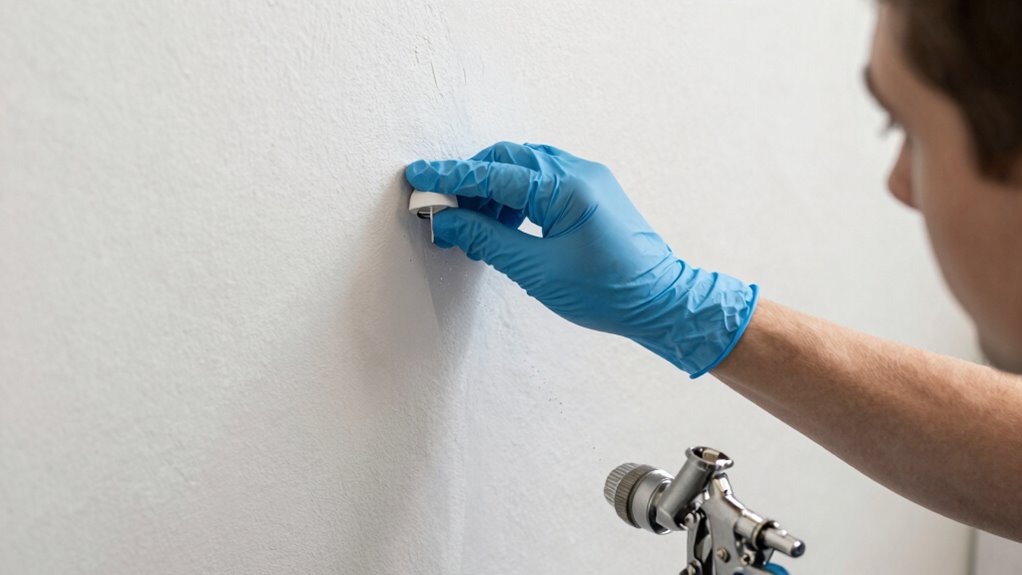
Blending paint edges seamlessly is essential for achieving a professional-looking repair. To do this, focus on maintaining texture consistency at the edges, so the new coat blends smoothly with the existing wall. Use a slightly damp brush or sponge to feather the paint outward, softening harsh lines. Work quickly to blend the edges before the paint dries, ensuring a seamless gradual change. Avoid overworking the area, as this can create uneven texture. Instead, gently blend the edges into the surrounding wall with controlled, light strokes. Proper edge blending minimizes visible lines and creates a uniform surface. Paying attention to ergonomics and technique helps you work comfortably and precisely during this process. Additionally, utilizing modern tools can improve your control and results during blending. Using drone imagery for detailed wall inspections can help identify areas needing extra attention before blending. With patience and the right technique, your wall will look flawless, and your repair will be virtually invisible.
Tips to Prevent Dry Spray Texture Problems in Future Projects
Preventing dry spray texture problems starts with proper preparation and technique. To guarantee consistent texture and avoid issues, focus on controlling your spray technique and maintaining proper equipment. Consistency in spray distance, pressure, and movement helps achieve an even texture. Additionally, use the right nozzle and tip size for your project, and always test spray on a scrap surface first. Keep the spray gun clean to prevent clogging, which can cause uneven application. Properly prepping the surface by sanding and priming ensures better adhesion and texture uniformity. Proper equipment maintenance can also reduce the likelihood of application problems. Additionally, adjusting your spray technique can make a significant difference in achieving a uniform finish. Finally, work in controlled environments—avoid high humidity and drafts that can affect spray patterns. Using professional-grade equipment can also significantly improve your results. Following these tips will help you maintain texture consistency and reduce the risk of problems in future projects.
Troubleshooting Common Recoating Problems
Even with careful preparation, recoating dry spray texture can sometimes lead to issues like uneven coverage, peeling, or visible lap marks. To troubleshoot these problems, first check your spray gun maintenance. A clogged or poorly maintained spray gun can cause inconsistent spray patterns, affecting texture consistency. Clean your equipment thoroughly and ensure proper nozzle size and pressure settings. If the texture appears uneven, adjust your spraying technique to maintain a steady distance and speed. Peeling or flaking may indicate improper surface prep or incompatible coatings; sand the area lightly and reapply with a compatible primer or sealer. For lap marks, feather out the edges and avoid overlapping too much on subsequent coats. Addressing these common issues helps achieve a smooth, uniform finish.
Final Checks to Make Your Walls Look Flawless
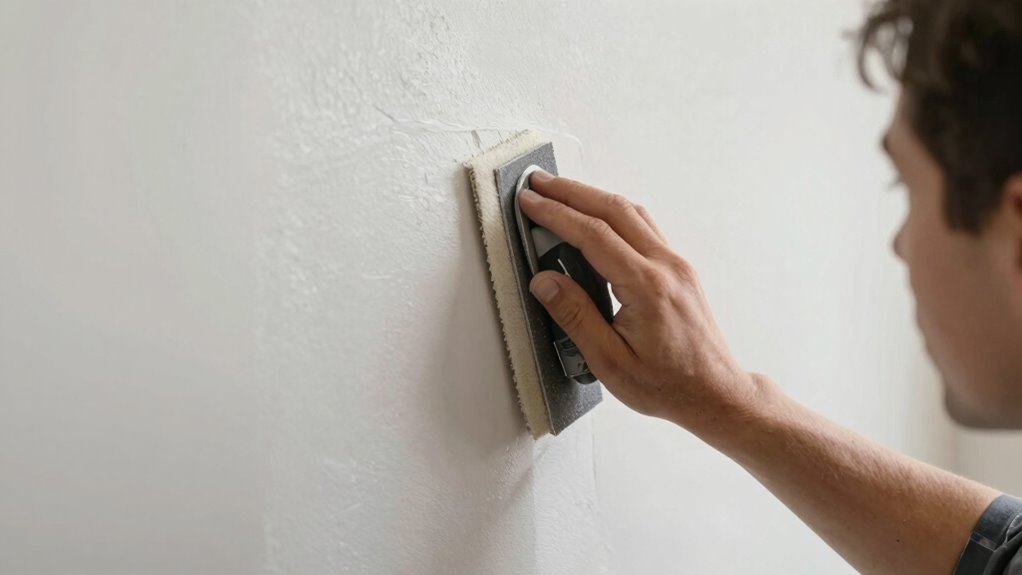
Once you’ve finished spraying and the texture has dried, it’s vital to perform final checks to make sure your walls look flawless. Focus on texture consistency across all surfaces, making certain there are no uneven patches or spots that stand out. Carefully examine your wall preparation—look for any missed spots or areas needing touch-ups. Use good lighting to spot imperfections and assess the overall finish. Smooth out any minor irregularities with a sanding sponge if needed. Check that the spray pattern is even and that the texture aligns seamlessly with adjoining sections. Confirm that the wall surface is clean and free of dust before re-coating. These final steps help achieve a professional look and prevent future touch-ups.
Perform final checks for texture consistency, surface cleanliness, and even spray pattern to ensure a flawless, professional finish.
- Inspect for texture consistency
- Confirm wall preparation was thorough
- Spot and fix uneven patches
- Ensure even spray pattern
- Clean surfaces before recoating
Frequently Asked Questions
How Long Should I Wait Before Recoating Dry Spray Texture?
You should wait 24 hours before recoating dry spray texture to make certain of proper adhesion and avoid ruining the texture’s consistency. During this time, the texture will fully dry and cure, making it easier to achieve a smooth finish with your application techniques. Rushing the process can cause uneven texture or peeling. Patience ensures better results and a seamless finish when you de-nib and recoat your spray texture.
Can I Fix Rough Texture Without Sanding?
Yes, you can fix rough texture without sanding by using proper spray techniques. First, lightly mist the area with a compatible texture spray or joint compound, then gently blend it into the existing surface. Keep your spray distance consistent and use smooth, even strokes to avoid creating new bumps. This method allows for effective texture repair without the mess or dust of sanding, giving you a seamless finish.
What Causes Dry Spray Texture to Crack Later?
Dry spray texture cracks later mainly because of uneven texture consistency or poor paint adhesion. When the spray isn’t applied evenly or the surface isn’t properly prepared, the texture can develop stress points. As the paint cures and contracts, these stress points cause cracking. To prevent this, verify consistent texture application and use high-quality paint that adheres well to the textured surface, reducing the risk of future cracks.
Is It Necessary to Prime Before Reapplying Texture?
Yes, priming before reapplying texture is essential. Priming benefits include improving texture adhesion and creating a smooth, consistent surface for the new coat. It helps seal any imperfections and guarantees the recoat bonds properly, preventing issues like cracking or peeling later. By priming, you make sure your repair lasts longer and looks seamless, making the entire process smoother and more professional.
How Do I Match New Texture With Existing Walls?
You can seamlessly match existing walls by focusing on texture blending. Carefully observe the wall’s original pattern and replicate it with your spray or trowel technique. Use a sponge or brush to gently blend the new texture into the old, avoiding harsh lines. Take your time, and don’t rush the process—patience guarantees a perfect wall matching that looks natural and undetectable, restoring your space’s flawless finish.
Conclusion
Think of fixing dry spray texture like tuning a guitar—you want each string to sound just right. When you de-nib and recoat carefully, your walls will look flawless again. I once rushed a repair, and the rough patch stuck out like a sore thumb. Now I know that patience and proper technique make all the difference. With the right steps, you’ll have smooth, professional-looking walls that turn heads—no drama, just results.