To avoid lap marks when staining your deck with a sprayer, keep your spray consistent by maintaining a steady distance, usually 6-12 inches, and use overlapping passes to guarantee even coverage. Practice your technique beforehand on scrap areas. Work in manageable sections and keep your spray pattern uniform. Also, monitor weather conditions—ideal temps and low humidity help. For more tips on achieving a flawless finish, continue exploring how to perfect your staining process.
Key Takeaways
- Maintain a consistent distance of 6-12 inches from the surface for even spray application.
- Use overlapping, steady passes to blend each stroke and prevent visible lap lines.
- Practice on scrap material to perfect your technique before staining the deck.
- Keep a brush nearby to smooth out edges and touch up areas prone to lap marks.
- Stain in stable weather conditions with moderate temperatures and low humidity to ensure even drying.

Are you looking for an efficient way to stain your deck? Using a sprayer can save you time and effort, but it also requires careful technique to avoid common issues like lap marks. To get a smooth, even finish, understanding brush techniques and weather considerations is key. Even if you’re opting for a sprayer, having a brush nearby can help with touch-ups and tricky spots, so knowing how to use it effectively is essential. When using a sprayer, start by cleaning and preparing the deck thoroughly. This ensures the stain adheres properly and reduces the likelihood of streaks. Before beginning, inspect the weather forecast. Ideally, you want a day with moderate temperatures, low humidity, and minimal wind. Excessive heat can cause the stain to dry too quickly, leading to uneven coverage, while high humidity can prolong drying time and promote runs or drips. Wind, on the other hand, can carry overspray and cause uneven application, so plan your staining when the wind is calm.
As you begin, practice your spray technique on a scrap piece or a hidden section of the deck. Maintain a consistent distance from the surface—usually around 6 to 12 inches—and move your arm in steady, overlapping passes. This overlap is vital; it helps prevent lap marks, which happen when sections are stained unevenly, creating visible lines or streaks. To further prevent lap marks, keep your spray pattern uniform and avoid stopping mid-section. If you need to pause, release the trigger and continue smoothly when you resume, blending the edges carefully. Use smooth, overlapping strokes to ensure the stain is evenly distributed across each section. For edges and corners, switch to a brush to get precise coverage, especially in tight spaces where the sprayer might be less effective. Additionally, understanding the sound vibrations associated with various tools can help improve application techniques and surface preparation for more consistent results.
Weather considerations shouldn’t be ignored during the entire staining process. If the temperature drops or rises considerably during application, it can impact the stain’s drying and curing. Avoid staining late in the day when dew or cooler evening temperatures might affect drying time. Also, be cautious if rain is forecasted; even a light drizzle can ruin your work, causing streaks or blotches. Keep an eye on the weather forecast and plan your project accordingly, ideally completing the staining during a window of stable weather. By combining proper brush techniques with careful attention to weather conditions, you can achieve a professional-looking finish without those frustrating lap marks, making your deck look beautiful and well-maintained.

Wagner Spraytech 2419326 Control Spray QX2 HVLP Handheld Stain Sprayer, Ideal for Staining Fences, Decks, Lattice and More, 3 Spray Patterns, Adjustable Settings
- Fast coating application: Sprays 2X faster than a brush
- Efficient for small projects: Ideal for fences, decks, furniture
- Multiple spray patterns: Includes 3 adjustable spray patterns
As an affiliate, we earn on qualifying purchases.
As an affiliate, we earn on qualifying purchases.
Frequently Asked Questions
Can I Stain My Deck in the Rain?
You shouldn’t stain your deck in the rain because it affects the application and finish. Before starting, guarantee proper deck preparation, like cleaning and drying the surface thoroughly. Weather considerations are essential; wait for a dry, calm day with no rain forecast. Staining in the rain can cause uneven absorption, lap marks, and longer drying times, compromising your deck’s appearance and durability. Always choose a clear, dry day for best results.
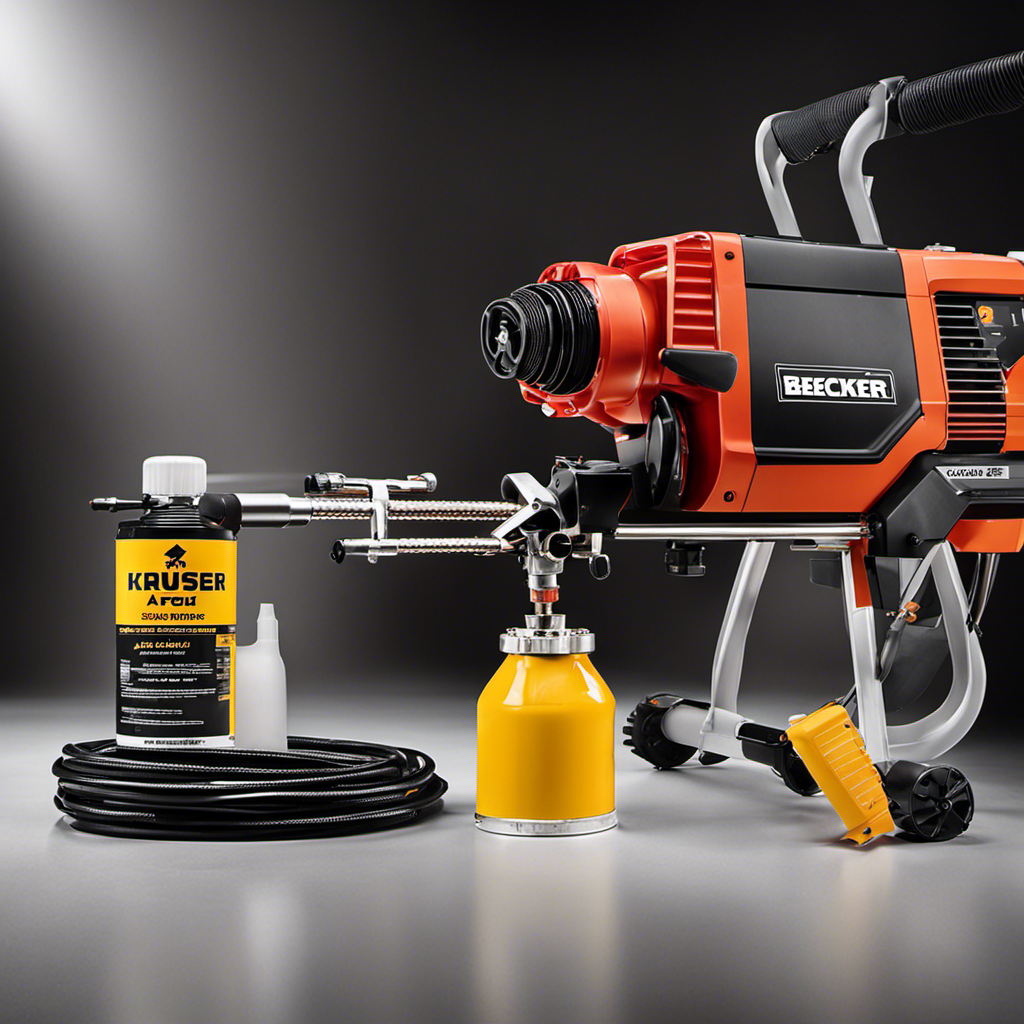
What Type of Sprayer Is Best for Staining?
You should choose a pump sprayer or an airless sprayer for staining. Pump sprayers are great for small areas and detailed work, while airless sprayers cover large surfaces quickly. For the best staining techniques, keep a consistent distance and overlap each pass slightly to avoid lap marks. Using the right sprayer type guarantees even application and a professional finish, making your deck look great with minimal effort.
How Long Should I Wait Between Coats?
You should wait about 4 to 6 hours between coats, but always check the drying time on your stain’s label. Weather considerations matter—if it’s humid or rainy, give it more time to dry thoroughly. Make certain the first coat feels dry to the touch before applying the next. Proper drying prevents lap marks and ensures even coverage, so don’t rush the process.
Is It Necessary to Sand Before Spraying?
Think of surface preparation like sharpening a pencil before drawing; it makes all the difference. You don’t always need to sand before spraying, but for best results, lightly scuff the surface to guarantee paint adhesion. Use proper spray technique, keeping the sprayer at a consistent distance and overlapping strokes. This helps avoid lap marks and creates a smooth finish. Sand only if the surface is rough or peeling for ideal results.
How Do I Clean My Sprayer After Use?
To clean your sprayer after use, first, wear gloves and disconnect it from the power source. Then, flush the equipment with water or the appropriate solvent, depending on your stain. Use a brush or nozzle to scrub out any residue. Proper maintenance involves cleaning thoroughly after each use to prevent clogs. Regularly check parts for wear, store the sprayer in a dry place, and follow manufacturer instructions for best results.
Conclusion
By taking the time to master your sprayer technique, you’ll find your deck’s beauty shines through, inviting everyone to enjoy its warmth and charm. With patience and care, you can minimize imperfections and let your deck truly reflect your pride. Remember, every smooth stroke brings you closer to a flawless finish that will make future gatherings even more memorable. Trust in your efforts, and soon, your outdoor space will become a treasured part of your home’s story.

Franz came aboard the Paint Sprayer Zone team with a background in both journalism and home renovation. His articulate writing style, combined with a passion for DIY projects, makes him an invaluable asset. Franz has a knack for breaking down technical jargon into easy-to-understand content, ensuring that even the most novice of readers can grasp the complexities of paint sprayers.