
When switching paint types, you need to thoroughly clean your sprayer to prevent cross-contamination that could ruin your next project. Disassemble the parts, rinse with the appropriate solvent, and scrub away any leftover paint. Follow by flushing the system with clean water or solution, then dry all components completely. Proper cleaning not only guarantees the best finish but also extends your equipment’s life. Keep going to discover more tips for maintaining a spotless sprayer.
Key Takeaways
- Disassemble sprayer parts and rinse thoroughly with appropriate solvent to remove residual paint before switching colors.
- Use dedicated brushes or cloths to scrub inside components, ensuring stubborn deposits are eliminated.
- Flush the entire system with clean water or recommended cleaning solutions to prevent cross-contamination.
- Dry all parts completely to inhibit mold growth and residual paint drying inside the equipment.
- Consider switching to specialized cleaning solutions to effectively break down dried paint and sterilize the sprayer.
Cross-contamination is a common cause of foodborne illnesses, but you can prevent it by following simple, effective practices. When it comes to painting projects, the same principle applies—especially when switching between different paint types or colors. Residual paint left in your sprayer, known as paint residue, can carry over from one job to another if you don’t properly clean your equipment. This not only affects the quality of your work but can also lead to issues like color contamination or unwanted textures. To avoid these problems, thorough equipment sterilization is essential before changing paints. Proper cleaning ensures no leftover paint residues remain, which helps maintain the integrity of each new coat and prevents cross-contamination.
Proper cleaning prevents paint residue buildup and cross-contamination for flawless, professional results.
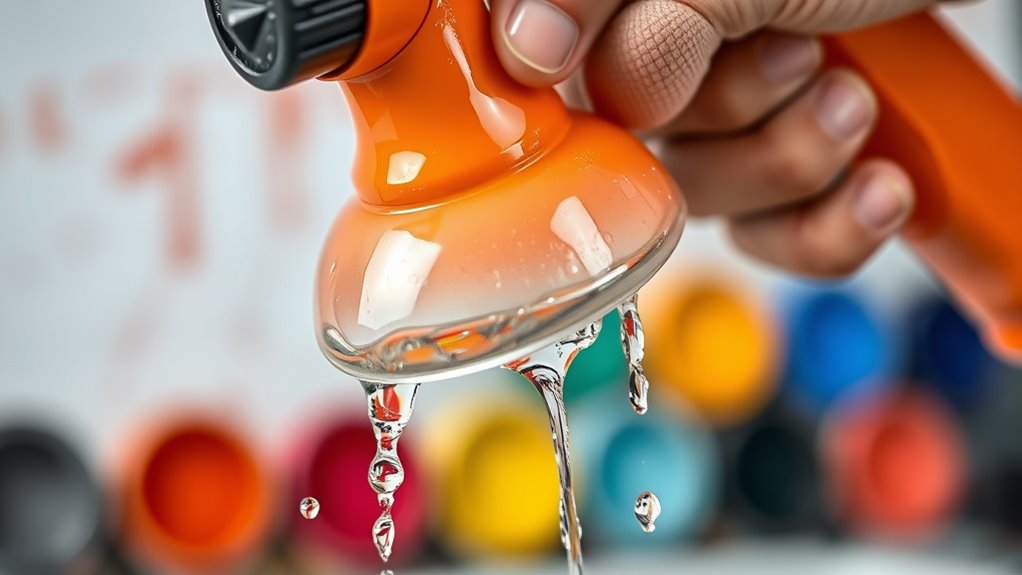
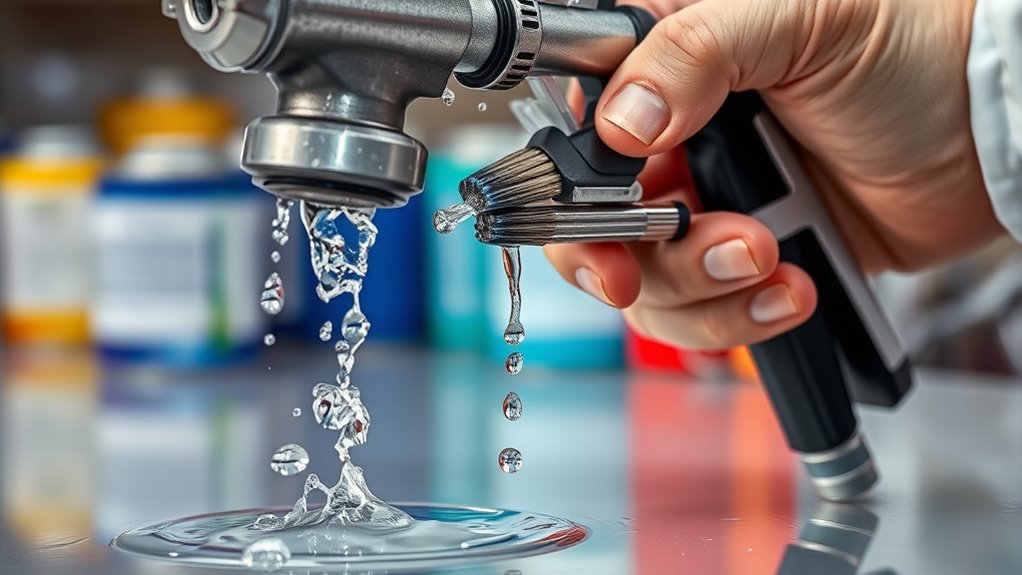
Start by disassembling your sprayer as recommended by the manufacturer. Remove all removable parts, such as the nozzle, filters, and hoses. Rinse each component with the appropriate solvent—water for latex paints or mineral spirits for oil-based paints. This initial rinse clears out the bulk of the paint residue. Take your time during this step; rushing can leave behind traces of previous paint. After rinsing, use a brush or cloth to scrub the inside of your sprayer and its components to remove any stubborn paint deposits. For thorough equipment sterilization, consider using a cleaning solution specifically designed for sprayers or paint equipment. These solutions are formulated to break down dried paint and sanitize the equipment, reducing the risk of contamination. Regular maintenance, including cleaning and inspection, can also help identify potential issues early, ensuring optimal performance. Once you’ve scrubbed and rinsed, run clean water or the recommended cleaning solution through the sprayer to flush out any remaining residue. Make sure to follow the manufacturer’s guidelines for the correct cleaning procedure to avoid damage. Dry all parts thoroughly before reassembling or storing your sprayer. A completely dry sprayer limits mold growth and prevents paint from drying inside, which can make future cleaning more difficult. If you’re switching to a different type of paint—say from latex to oil-based—you may want to repeat the cleaning process more than once. This extra step reinforces equipment sterilization, ensuring no paint residue remains that could compromise your new project.
Regularly maintaining your sprayer by cleaning it after each use is crucial. It’s a simple practice that saves you time in the long run and guarantees your work remains professional. By dedicating time to proper cleaning and equipment sterilization, you reduce the risk that paint residue will cause cross-contamination between projects. This attention to detail preserves the quality of your finishes and extends the life of your tools. Proper cleaning also aligns with best practices for appliance maintenance plans, which emphasize preventive care to extend equipment lifespan. Ultimately, clean equipment leads to better results, fewer headaches, and a more efficient workflow.
Frequently Asked Questions
Can I Reuse Leftover Paint in a Different Project?
You can often reuse leftover paint for a different project if you store it properly and it remains in good condition. Make sure to keep it tightly sealed to prevent drying out. When reusing, consider color matching to ensure consistency. However, always check for any signs of spoilage or thickening, and stir thoroughly before use. Proper paint storage helps maintain quality, so you get the best results in your new project.
What Cleaning Agents Are Best for Sprayer Maintenance?
When choosing cleaning agents for sprayer maintenance, you should consider solvent selection carefully. Use water-based cleaners for latex paints and mineral spirits or specialized solvents for oil-based paints. Always follow the manufacturer’s recommendations to guarantee thorough cleaning. Proper solvent selection helps prevent clogs, extends your sprayer’s lifespan, and ensures you’re ready for the next project without residue or contamination.
How Often Should I Clean My Sprayer During a Project?
During your project, you should follow a maintenance schedule that includes cleaning your sprayer regularly. Typically, you need to clean it after every few hours of use or whenever you switch paint types or colors. Cleaning frequency depends on the project’s scope and the materials used. Consistent cleaning prevents clogs, guarantees peak performance, and extends your sprayer’s life. Don’t forget, a well-maintained sprayer makes your work easier and more professional.
Is It Necessary to Disassemble the Entire Sprayer for Cleaning?
Did you know that neglecting proper cleaning can lead to up to 70% of equipment failures? When considering your sprayer disassembly during cleaning, complete disassembly isn’t always necessary. Focus on the cleaning process for removable parts, like the nozzle and filter, to ensure thorough cleaning. For stubborn residue, disassemble more components carefully, but avoid unnecessary disassembly to save time and prevent damage. Proper cleaning maintains your sprayer in top shape.
How Do I Prevent Paint Clogs After Switching Colors?
To prevent paint clogs after switching colors, you should focus on proper paint color mixing and sprayer clog prevention. First, flush the sprayer thoroughly with the appropriate solvent or water, depending on your paint. Next, clean the nozzle and filter carefully to remove any residual paint. Regularly check for blockages and clear them promptly. These steps assure smooth spraying and reduce the risk of clogs when changing colors.
Conclusion
To keep your projects flawless, always clean your sprayer thoroughly when switching paint types. Think of it as changing gears smoothly—skipping steps can cause a mess you’ll regret. By taking this simple step, you prevent cross-contamination and guarantee each coat looks its best. Remember, a clean sprayer is like a fresh canvas—ready for your next masterpiece without any unwanted surprises. Keep your tools in top shape, and your work will speak for itself.

Franz came aboard the Paint Sprayer Zone team with a background in both journalism and home renovation. His articulate writing style, combined with a passion for DIY projects, makes him an invaluable asset. Franz has a knack for breaking down technical jargon into easy-to-understand content, ensuring that even the most novice of readers can grasp the complexities of paint sprayers.