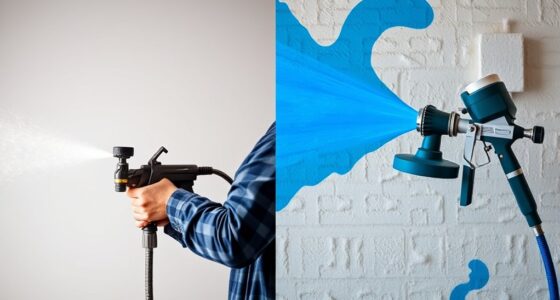

To clean your sprayer after using oil-based or latex paints, start by disassembling the parts. For oil-based paints, use mineral spirits or paint thinner to flush out residual paint, ensuring you spray and wipe all components thoroughly. With latex paints, wash parts with warm water and detergent, scrubbing gently to remove buildup. Proper cleaning prolongs your sprayer’s life and maintains performance—continue to learn the best techniques for each type of paint.
Key Takeaways
- Use mineral spirits or paint thinner to clean oil-based paints, running solvent through the sprayer until clear.
- Rinse all parts with water or appropriate cleaner after cleaning oil-based paints to prevent residue buildup.
- For latex paints, wash with warm water and mild detergent, thoroughly rinsing and scrubbing to remove residual paint.
- Disassemble the spray gun for both types to ensure complete cleaning of nozzles, hoses, and other components.
- Dry all sprayer parts thoroughly before storage and follow manufacturer guidelines for maintenance and calibration.
Understanding the Differences Between Oil-Based and Latex Paints
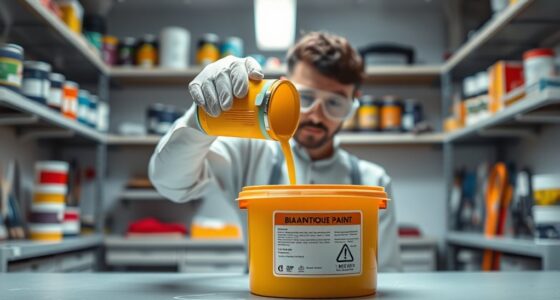
Understanding the differences between oil-based and latex paints is essential for choosing the right type for your project. Paint composition plays a key role here: oil-based paints contain solvents like mineral spirits, while latex paints are water-based, making cleanup easier. Drying times also vary considerably; oil-based paints take longer to dry, often requiring several hours or even overnight, whereas latex paints typically dry within an hour or two. This affects your project timeline and how quickly you can apply additional coats. Oil-based paints tend to offer a smoother finish and better durability but are messier to clean and have stronger fumes. Latex paints dry faster, are more environmentally friendly, and easier to work with. Understanding these differences helps you select the best paint for your specific needs.
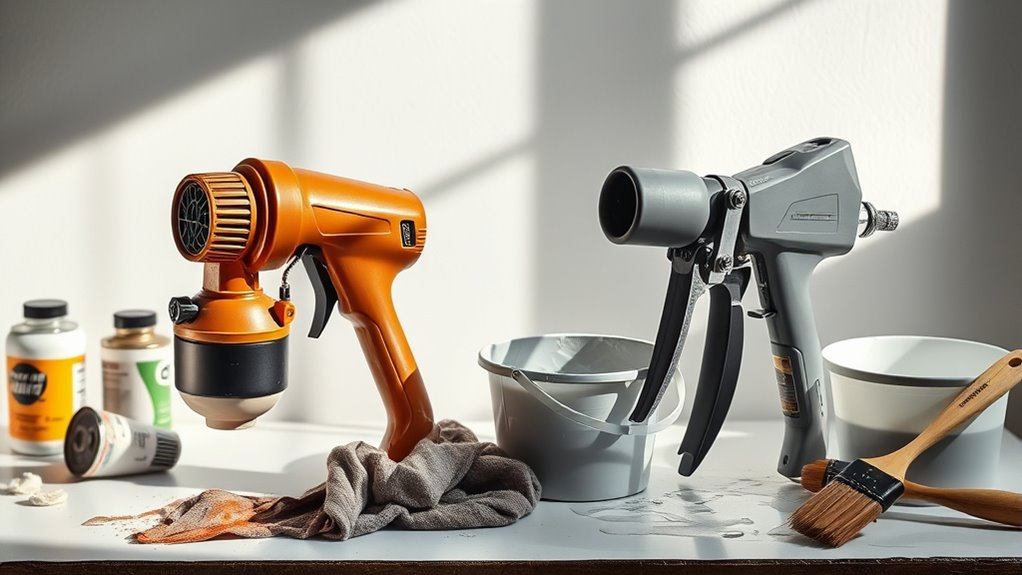
Preparing Your Workspace and Equipment Before Cleaning

Before you start cleaning your sprayer, it’s important to prepare your workspace and equipment to guarantee safety and efficiency. Begin by organizing your workstation, ensuring all cleaning supplies, containers, and tools are within reach and clearly labeled. Clear the area of any obstacles to prevent accidents. Follow safety precautions by wearing gloves, goggles, and a mask if needed, especially when handling solvents for oil-based paints. Ventilate the space well to avoid inhaling fumes. Disconnect the sprayer from power sources and drain any remaining paint or cleaners. Keep a trash bin nearby for disposal of used rags or leftover paint. Proper organization and safety measures help streamline the cleaning process and protect you from potential hazards. Additionally, understanding the type of paint used can inform the appropriate cleaning method to prevent damage to your equipment. Being aware of the paint composition can also influence the choice of cleaning agents, ensuring effective removal without harming the sprayer. Remember that using appropriate cleaning supplies tailored to the specific paint type will result in a more thorough and safe cleaning process.
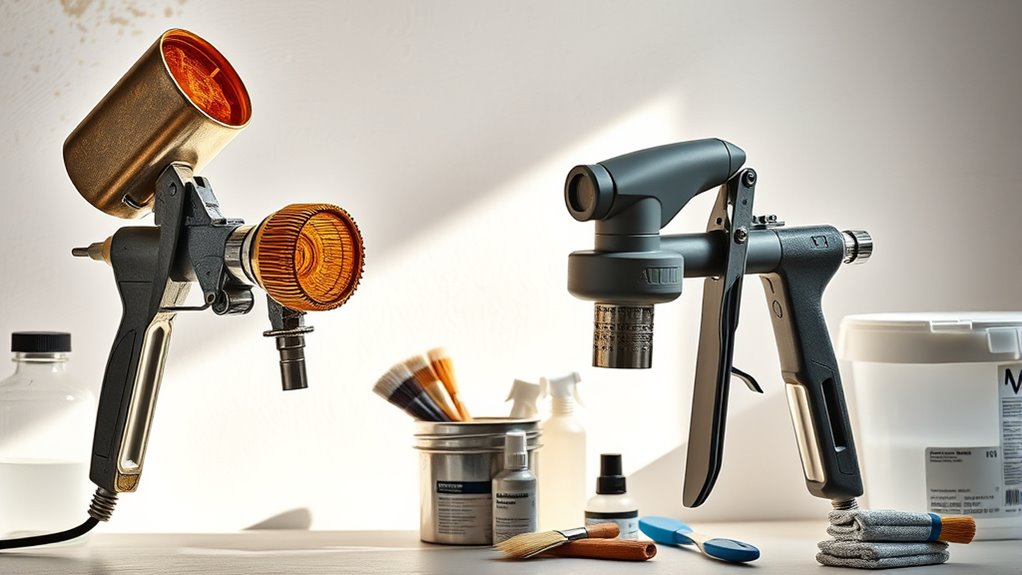
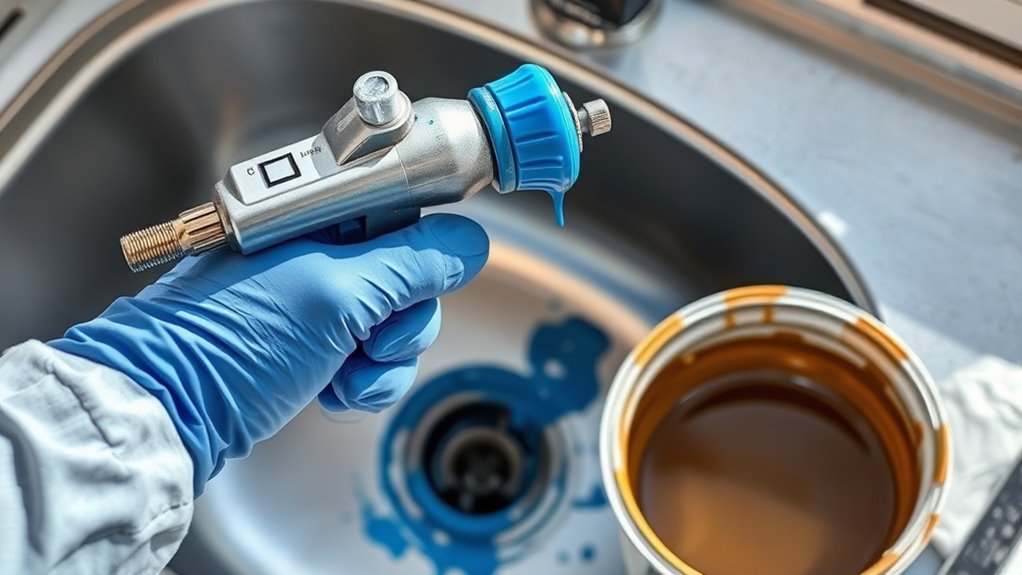
Step-by-Step Cleaning Process for Oil-Based Paints

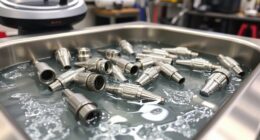
To effectively clean your sprayer after using oil-based paint, start by removing any remaining paint from the equipment. This step is vital for proper sprayer maintenance and prevents clogs. Next, fill the paint container with a cleaning solvent designed for oil-based paints, such as mineral spirits or paint thinner. Spray the solvent through the system until it runs clear, ensuring you clean all parts, including the nozzle and hoses. Afterward, disassemble the spray gun and wipe down all components with a clean cloth soaked in solvent. Repeat the process if necessary, then rinse everything thoroughly with water or a compatible cleaner. Proper use of cleaning solvents and diligent maintenance will keep your sprayer in top condition for future projects. When cleaning, it’s also helpful to refer to proper cleaning techniques to ensure all residues are fully removed. Additionally, understanding the influence of technology on artistic expression can inspire innovative approaches to creative projects involving paint and other mediums.
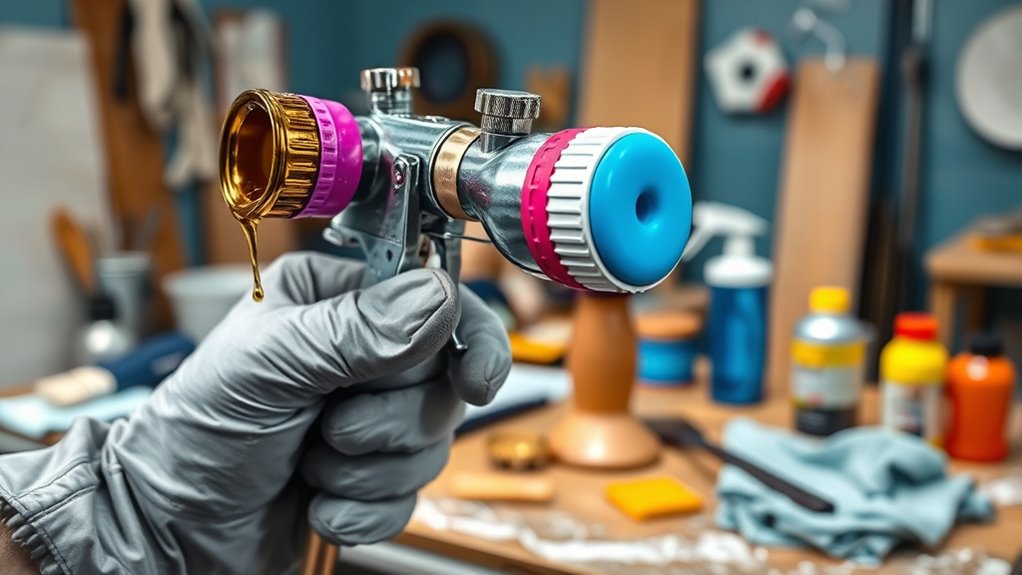
Effective Methods for Cleaning Latex Paint From Your Sprayer
Cleaning latex paint from your sprayer requires a different approach than oil-based paints. First, choose the right solvent—warm water with a mild detergent usually suffices. Next, follow these steps:
- Rinse the nozzle and hose immediately after use to prevent paint buildup.
- Disassemble the spray gun for thorough cleaning, paying attention to brush maintenance for parts needing gentle scrubbing.
- Use a soft brush or cloth to remove residual paint, avoiding damage to sensitive components.
- Rinse all parts with clean water and inspect for paint remnants, repeating the process if necessary.
Proper solvent selection guarantees effective cleaning without damaging your equipment. Regular brush maintenance and prompt cleaning help prolong your sprayer’s life and maintain ideal spray performance.
Tips for Maintaining Your Sprayer After Cleaning
Maintaining your sprayer after cleaning guarantees it stays in top condition and ready for future use. Store your equipment in a clean, dry place, preferably upright to prevent any residual paint from settling or leaking. Before storing, double-check that all parts are thoroughly dry to avoid rust or mold growth. Incorporate storage tips like covering the sprayer with a protective cap or storing it in a sealed container. Additionally, after cleaning, take a moment to verify and calibrate your equipment to ensure consistent spray patterns and paint flow. Proper storage and calibration help extend your sprayer’s lifespan and ensure reliable performance on your next project. Regular maintenance not only preserves your tool but also saves you time and effort during future paint jobs. Additionally, staying informed about automation in business can help you find more efficient ways to manage your equipment and workflow. Properly following manufacturer guidelines for maintenance schedules can further enhance your sprayer’s longevity and performance. For example, understanding industry standards can guide you in maintaining optimal operation and safety practices.
Frequently Asked Questions
Can I Switch Between Oil-Based and Latex Paints Without Cleaning?
You can’t switch between oil-based and latex paints without cleaning because of paint compatibility issues. Residue from the previous type can clog your sprayer or cause poor adhesion. To guarantee peak performance, clean your sprayer thoroughly after each use. Regular cleaning frequency helps prevent paint buildup and cross-contamination, saving time and effort. Always follow manufacturer guidelines for cleaning to maintain your equipment’s longevity and achieve the best finish.
How Long Does It Typically Take to Clean a Sprayer Thoroughly?
Oh, the thrill of sprayer cleaning—who knew it could rival an episode of a reality show? Typically, a thorough clean takes around 30 minutes to an hour, ensuring all paint residues are removed. Rushing this process risks poor drying time and compromised paint adhesion on your next project. So, take your time; your future self—and your paint job—will thank you for the effort.
Are There Any Safety Precautions Specific to Cleaning Oil-Based Paint?
When cleaning oil-based paint from your sprayer, you need to prioritize safety. Always wear protective gear like gloves, goggles, and a mask to prevent skin and respiratory irritation. make certain good ventilation in your workspace to disperse fumes and harmful vapors. Follow the manufacturer’s instructions for cleaning solvents, and avoid open flames or sparks nearby. Taking these precautions helps protect you from health hazards associated with oil-based paint cleanup.
What Are the Environmental Considerations When Disposing of Cleaning Solvents?
When disposing of cleaning solvents, you should consider their environmental impact and follow disposal regulations. Always avoid pouring solvents down drains or onto the ground, as this can contaminate water sources and harm ecosystems. Instead, take used solvents to authorized hazardous waste facilities. Proper disposal guarantees environmental safety and ensures you’re compliant with local laws, helping protect wildlife and public health.
Can I Use the Same Tools for Cleaning Both Paint Types?
Imagine switching tools from oil-based to latex paint without cleaning—you’re risking clogs and poor results. While tool compatibility exists, you should clean your sprayer thoroughly between uses to prevent paint buildup. Regular cleaning increases cleaning frequency but guarantees peak performance. Using the same tools without proper cleaning can cause contamination, affecting finish quality. Always clean your tools properly, especially when switching paint types, to maintain efficiency and avoid damage.
Conclusion
Think of your sprayer as a trusty steed. To keep it ready for the next adventure, you must care for it after every ride. Cleaning oil-based and latex paints is like tending to its hooves and saddle—essential for smooth rides ahead. With proper care, your sprayer will serve you well, delivering flawless finishes each time. Keep it clean, and it’ll be your reliable partner in every painting journey.

Franz came aboard the Paint Sprayer Zone team with a background in both journalism and home renovation. His articulate writing style, combined with a passion for DIY projects, makes him an invaluable asset. Franz has a knack for breaking down technical jargon into easy-to-understand content, ensuring that even the most novice of readers can grasp the complexities of paint sprayers.