
A bonding primer is a special coating designed to improve paint adhesion on challenging surfaces like glossy, slick, or porous materials. You need one when painting over surfaces with existing coatings, ceramic tiles, plastics, or surfaces that tend to peel or chip. Using a bonding primer guarantees the new paint sticks well and lasts longer. Want to learn how to choose and apply the right primer for your project? Keep exploring for more tips.
Key Takeaways
- Bonding primers improve adhesion on slick, glossy, or porous surfaces like ceramic tiles, plastics, and old painted wood.
- They create a strong bond between the surface and paint, preventing peeling, chipping, and ensuring durability.
- Use bonding primers when switching from glossy to matte finishes or painting over non-porous surfaces.
- They are essential in high-traffic, moisture-prone, or problematic surfaces for long-lasting results.
- Proper surface prep and primer selection are vital for effective bonding and a durable, professional finish.

1 Quart Bulls Eye 1-2-3 Primer Sealer Stain Killer
- Suitable for interior and exterior use: Designed for both indoor and outdoor surfaces
- Bonds without sanding: Adheres to glossy surfaces without scuffing
- Low temperature application: Works at 35°F for easy use
As an affiliate, we earn on qualifying purchases.
As an affiliate, we earn on qualifying purchases.
What Is a Bonding Primer and How Does It Improve Adhesion
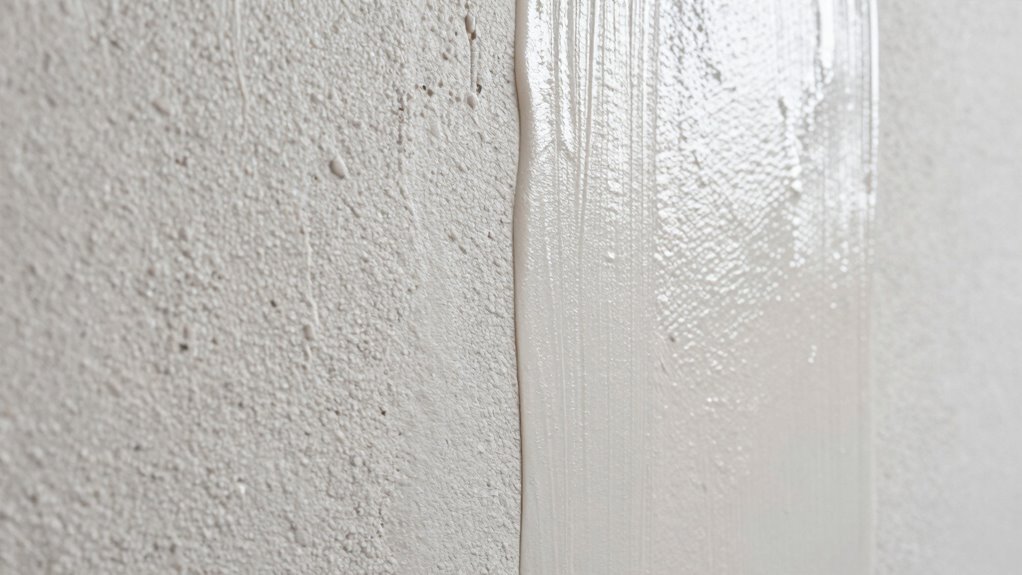
Have you ever wondered how to guarantee paint sticks perfectly to a tricky surface? That’s where a bonding primer comes in. It’s specially formulated to improve adhesion, especially on surfaces that are slick, porous, or previously painted with incompatible finishes. Bonding primers create a strong bond between the surface and your paint, ensuring better adhesion improvement. Proper surface preparation is *essential* before applying the primer—clean, dry, and free of dust or grease. The primer penetrates tiny crevices and rough spots, providing a uniform base. This not only enhances the durability of your paint job but also prevents peeling or chipping over time. Using a bonding primer is a smart step to make sure your paint adheres firmly, especially on challenging surfaces.
When Do You Need a Bonding Primer in Your Painting Projects?
You should consider using a bonding primer whenever you’re working with surfaces that are difficult for paint to adhere to, such as slick, glossy, or porous materials. These surfaces often present adhesion issues, causing paint to peel or chip over time. A bonding primer improves surface compatibility by creating a strong, uniform foundation that enhances adhesion. Use it on surfaces like ceramic tiles, plastics, or previously painted areas with peeling paint. Applying a bonding primer ensures your paint bonds effectively, preventing future problems. It’s especially important when switching from a glossy finish to a matte or when painting over non-porous surfaces. In these cases, a bonding primer is essential to achieve a durable, long-lasting finish. Additionally, using a bonding primer can be particularly beneficial on surfaces with low porosity, as it helps improve the overall adhesion of the paint layer. It can also help to prevent peeling and chipping, especially in high-traffic or moisture-prone areas. Incorporating a bonding primer can also be advantageous on non-porous surfaces to ensure optimal adhesion and longevity. For surfaces with existing paint issues, a bonding primer can help stabilize the surface and promote better adhesion of the new coat. Moreover, selecting the right bonding primer based on the surface material can significantly enhance the durability of your painting project.
Surfaces That Benefit Most From Bonding Primers and Why
Certain surfaces pose more challenges for paint adhesion and substantially benefit from a bonding primer. Surfaces with low surface compatibility, such as glossy or slick finishes, ceramic tiles, and plastics, often resist standard paint adhesion. These materials require a bonding primer to improve primer adhesion and ensure a strong bond between the surface and the paint. Similarly, surfaces like drywall repairs, old painted wood, or concrete with previous coatings can benefit from a bonding primer to create a stable, compatible foundation. Using a bonding primer helps address adhesion issues caused by surface texture or material composition. Understanding surface compatibility is crucial for selecting the right primer and achieving a durable finish. Without it, paint may peel, chip, or fail to adhere properly. Incorporating the proper primer also involves understanding paint compatibility, which is crucial for a durable finish. Applying a bonding primer on these surfaces increases durability and provides a more reliable, long-lasting finish. Recognizing surface preparation as an essential step ensures optimal results and longevity of the paint job. Additionally, considering surface texture can influence primer choice and application techniques to optimize adhesion. Moreover, being aware of manufacturer guidelines can help ensure the primer is used effectively for different materials and conditions.
How to Choose the Best Bonding Primer for Your Surface
Choosing the right bonding primer depends on understanding your surface’s material and condition. To guarantee proper surface compatibility, consider these factors for primer selection:
- Surface type (metal, wood, drywall, plastic)
- Surface condition (smooth, rough, porous, glossy)
- Existing coatings or contaminants
- Environmental factors (humidity, temperature)
Assessing these aspects helps you identify which primer will bond effectively. For instance, a plastic surface may require a specialty primer, while a porous surface might need a primer with higher adhesion properties. Always match the primer’s formulation to your surface’s unique needs. Proper primer selection assures optimal adhesion, durability, and finish quality. Additionally, understanding key traits of successful quality assurance engineers can help ensure your project meets high standards throughout application. Recognizing the importance of surface preparation can further enhance your results and prevent future issues. Proper surface preparation involves cleaning, sanding, and sometimes priming to create an ideal bonding environment. Having a clear understanding of market options for gold IRAs can also help you select the most suitable products for your needs. Taking these steps simplifies your decision and enhances your project’s success.
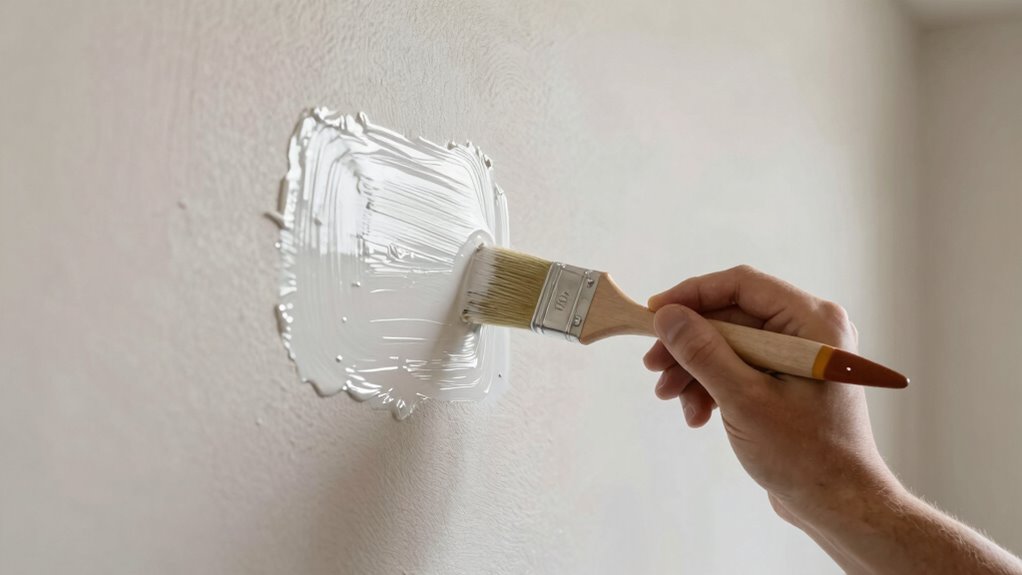
How to Apply a Bonding Primer Properly: A Step-by-Step Guide
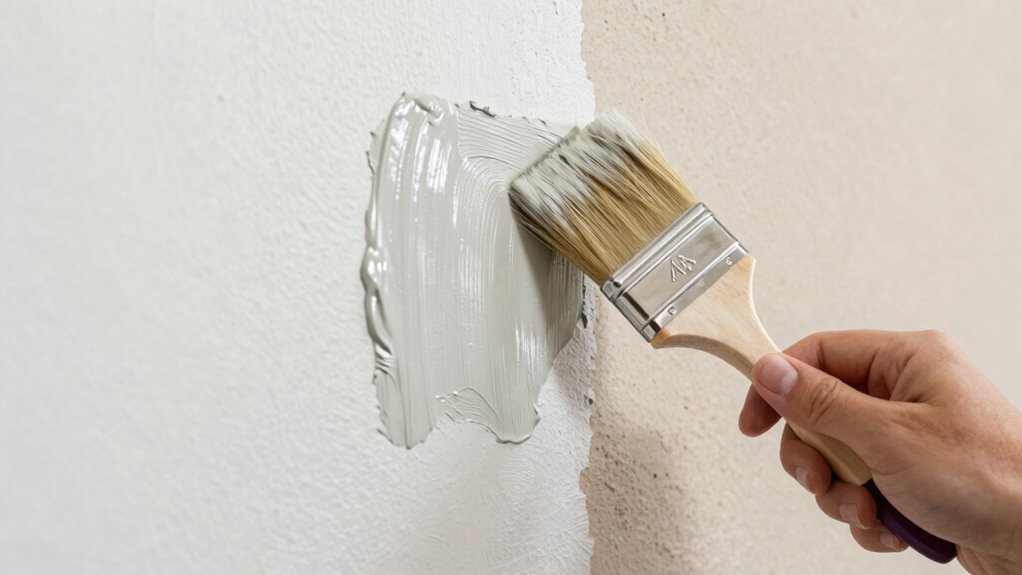
To get the best results, start by preparing the surface thoroughly to guarantee it’s clean and dry. Then, apply the primer in thin, even coats to avoid uneven coverage. A clean surface ensures proper adhesion and longevity of the primer. Additionally, selecting a high-quality bonding primer can significantly improve the durability of the finish. Incorporating proper surface preparation techniques enhances the overall adhesion and performance of the primer. Using the correct application techniques can help prevent issues like peeling or bubbling. Finally, give the primer enough time to dry completely before moving on to the next step. Using a reliable application technique ensures the primer adheres properly and provides optimal protection.
Prepare the Surface Properly
Before applying a bonding primer, you need to guarantee the surface is thoroughly prepared. Proper surface cleaning is essential to remove dirt, grease, and loose particles that can hinder adhesion. Once clean, inspect the surface for cracks or peeling paint, and repair as needed. Surface priming is crucial; it creates a uniform base for the bonding primer to adhere to. To prepare effectively:
- Clean the surface with a suitable cleaner to eliminate contaminants.
- Remove any loose or peeling paint, sanding rough edges smooth.
- Repair cracks or holes with filler, then sand lightly.
- Ensure the surface is dry and free of dust before applying the bonding primer.
- Considering surface compatibility can help determine the most effective primer for your specific material.
Following these steps ensures optimal adhesion and a durable finish.
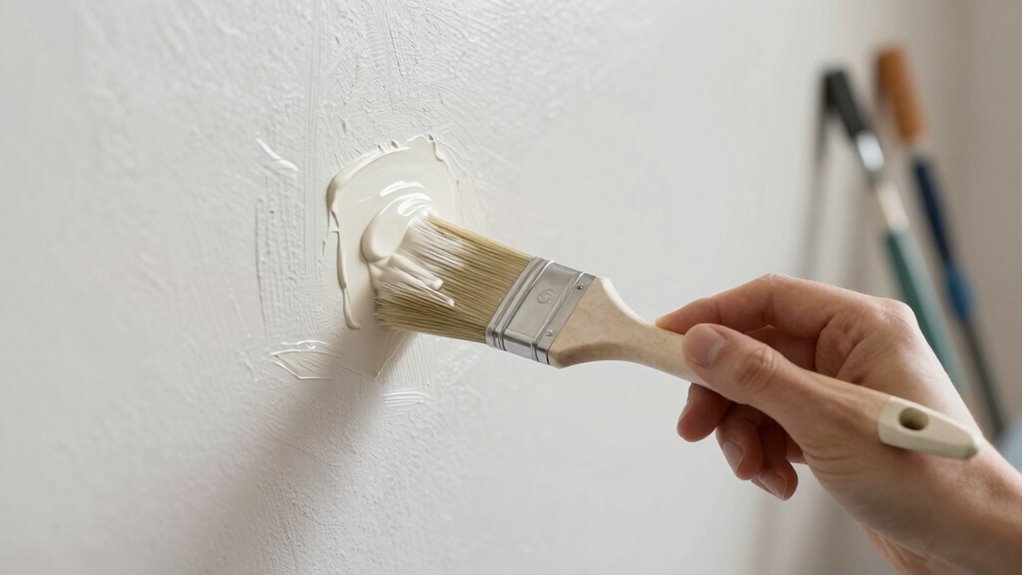
Apply Primer Evenly
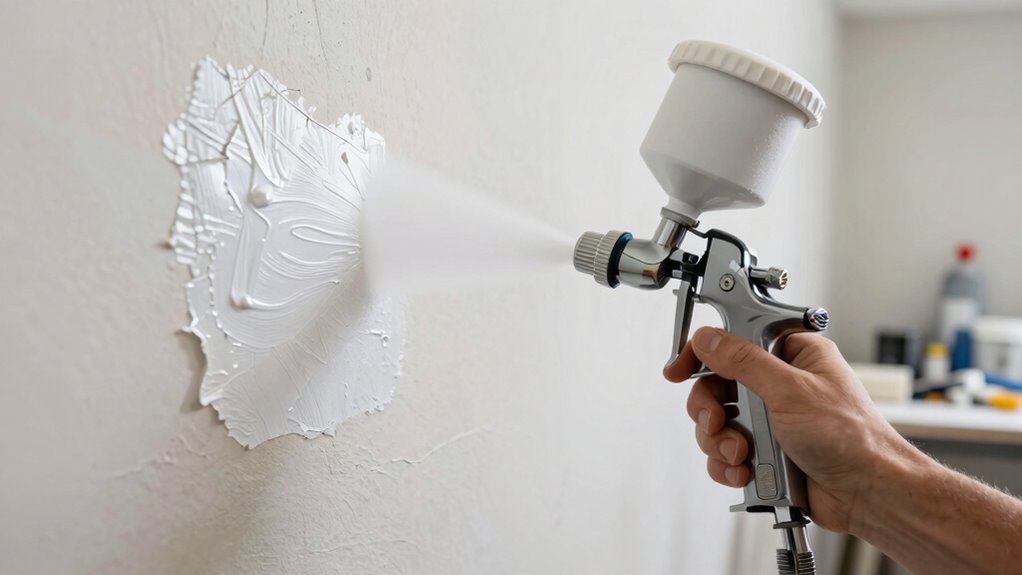
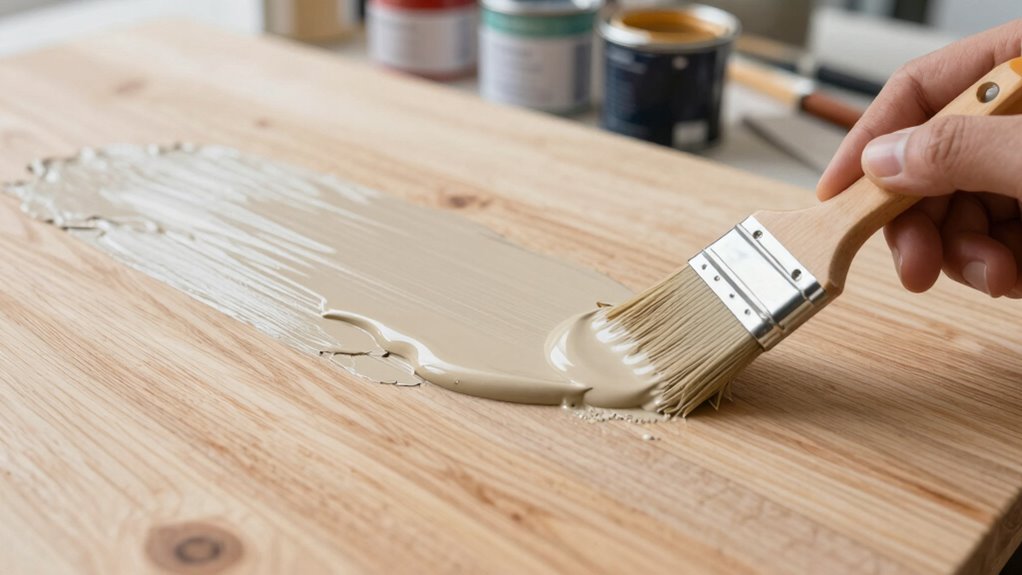
Once your surface is thoroughly cleaned and prepped, it’s time to focus on applying the bonding primer evenly. Start by using a high-quality brush or roller suited for the primer’s consistency and your surface texture. Apply the primer in thin, even coats, working in small sections to prevent drips or uneven coverage. Be mindful of primer compatibility; make sure you’re using the right type for your surface—whether it’s drywall, wood, or concrete. Avoid applying too much at once, as thick layers can lead to poor adhesion. Check for streaks or missed spots, and touch up as needed. Consistent application helps create a uniform bonding layer, which is essential for the best adhesion and durability of your paint or coating.
Allow Adequate Drying Time
After applying the primer, it’s essential to let it dry completely before moving on to painting or adding additional coats. Proper drying time guarantees the best adhesion and paint compatibility. To achieve this, consider these steps:
- Follow the manufacturer’s recommended drying time listed on the label.
- Avoid rushing the process; drying times can vary based on temperature and humidity.
- Check that the surface feels dry to the touch and looks matte, not wet or glossy.
- Wait at least the minimum suggested period before applying paint to prevent peeling or adhesion issues.
Skipping this step can compromise the bonding primer’s effectiveness and lead to problems with subsequent layers. Patience here guarantees a smooth, durable finish.
Common Mistakes to Avoid When Using Bonding Primers
One common mistake is skipping surface preparation, which can lead to poor adhesion. Using the wrong primer type for your surface can also cause problems and reduce durability. To get the best results, pay close attention to these details and choose your primer wisely. Additionally, understanding the specific application context can help prevent common pitfalls and ensure a smooth finishing process. Being aware of surface compatibility is essential for optimal bonding and long-lasting results. For example, knowing the material composition of your surface can influence your primer choice and overall outcome. Recognizing the importance of psychological manipulation tactics can also play a role in selecting the appropriate primer for specialized applications, especially in environments requiring heightened adhesion properties.
Skipping Surface Preparation
Skipping surface preparation before applying bonding primer is a mistake that can compromise the entire project. If you neglect this step, surface contamination like dust, grease, or loose paint can hinder adhesion. Additionally, improper preparation affects primer compatibility, risking peeling or failure. To avoid these issues, make certain you:
- Clean the surface thoroughly to remove dirt, oil, and other contaminants.
- Sand or abrade the surface to create a rough texture for better bonding.
- Remove any loose or peeling paint or coatings.
- Check that the primer is suitable for your surface type and thoroughly dry before application.
Neglecting surface prep undermines primer effectiveness, leading to poor adhesion and longer-term problems. Proper preparation guarantees a stronger, more durable bond.
Using Wrong Primer Type
Choosing the wrong primer type can undermine your entire project even if you’ve properly prepared the surface. Primer compatibility is vital for guaranteeing good adhesion and durability. If you select a primer that isn’t compatible with your surface or the topcoat, it may peel or fail prematurely. Always perform surface testing before applying primer to confirm it adheres well and suits your material. Different surfaces require specific bonding primers, so using the wrong one can lead to poor results. For example, using a standard primer on a glossy or greasy surface won’t work effectively. Make sure to check manufacturer recommendations and test small areas first. Proper primer selection based on surface testing helps guarantee your project lasts and looks its best.
Frequently Asked Questions
Can Bonding Primers Be Used on Outdoor Surfaces?
Yes, bonding primers can be used on outdoor surfaces if you guarantee proper surface preparation and primer compatibility. You need to clean the surface thoroughly and remove any dirt, grease, or loose paint before applying. Check that the bonding primer is suitable for exterior use and compatible with your topcoat. This will help the primer adhere better and withstand weather conditions, providing a durable, long-lasting finish outdoors.
Are Bonding Primers Suitable for Use on Plastics?
Are bonding primers suitable for use on plastics? Absolutely, but you need to check plastic compatibility first. Not all plastics bond equally well, so proper surface preparation is vital — clean, dry, and lightly sand the surface. Use a primer specifically formulated for plastics to guarantee strong adhesion and avoid peeling or failure. Ready to get started? Just verify your plastic type and follow the right prep steps for best results.
How Long Does a Bonding Primer Take to Dry?
Bonding primers typically dry within 30 minutes to an hour, depending on the product and environmental conditions. The drying time refers to when the primer feels dry to the touch, but the curing process takes longer—usually around 24 hours—to reach full adhesion strength. To guarantee proper bonding, it’s best to follow the manufacturer’s instructions, allowing the primer ample time to cure before applying your topcoat.
Can Bonding Primers Be Tinted to Match Paint Colors?
Think of bonding primer as a blank canvas ready to be painted. Yes, bonding primers can be tinted to match your paint colors through primer tinting, making color matching easier and more seamless. This not only guarantees a uniform finish but also helps hide imperfections beneath the surface. Just tell your supplier your desired shade, and they’ll add the tint, turning your primer into a perfect partner for your paint job.
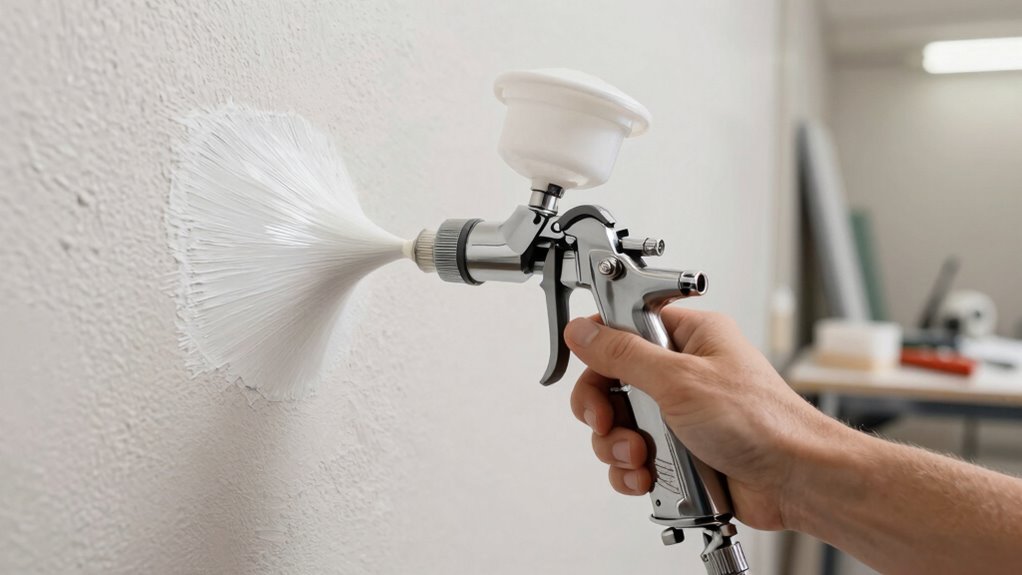
Is Special Equipment Needed to Apply Bonding Primers?
You don’t need special equipment to apply bonding primers, but proper application techniques are essential for good adhesion. Use a brush, roller, or spray gun compatible with the primer to guarantee even coverage. Always check primer compatibility with your surface and paint type before starting. Follow manufacturer instructions for the best results, and make sure the surface is clean and dry to achieve maximum bonding and a smooth finish.
Conclusion
Now that you know what a bonding primer is and when to use it, you’re ready to tackle your project like a seasoned artisan. Remember, skipping this step is like sailing without a compass—you’re likely to face peeling or chipping. By choosing the right primer and applying it correctly, you’ll ensure your paint adheres like a knight’s armor. So, don’t wait for the next Renaissance—start your project today and enjoy a flawless finish!