
To avoid swirl marks under sprayed paint, start by thoroughly sanding your drywall with a drywall sander, applying light, even pressure and smooth strokes to create a flawless surface. Make sure to eliminate all dust afterward. Use a high-quality primer and guarantee it’s evenly applied before painting. During spraying, maintain a consistent distance and steady motion, applying thin coats. For more tips on achieving a perfect finish, keep exploring how proper preparation can make all the difference.
Key Takeaways
- Ensure the drywall surface is thoroughly sanded with fine-grit paper for a smooth, even finish before priming.
- Apply primer evenly and allow proper drying to prevent drips and uneven surfaces that cause swirl marks.
- Maintain steady, consistent motion and correct distance when spraying paint to avoid streaks and swirl patterns.
- Use thin, multiple coats of paint rather than thick layers to promote smooth drying and reduce swirl formation.
- Lightly sand affected areas with fine-grit paper, clean thoroughly, and reapply paint to correct swirl marks effectively.

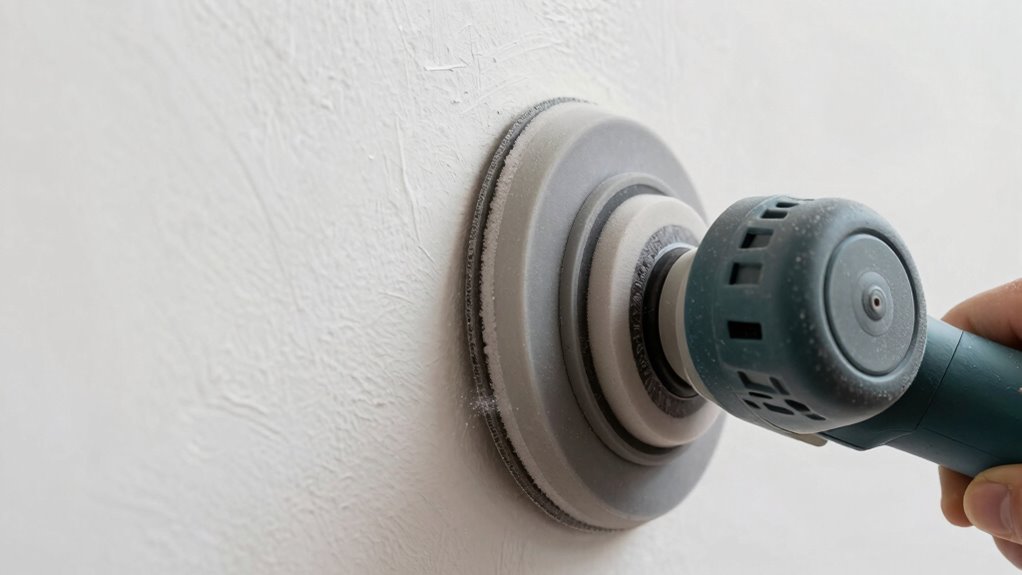
A drywall sander is an essential tool for achieving smooth, professional-looking wall surfaces. When preparing your walls, proper primer application is key to guaranteeing an even finish, especially before spraying paint. Before you start spraying, you need a flawless surface free of imperfections, and that begins with effective sanding techniques. Using a drywall sander helps you smooth out drywall joints, seams, and any rough patches, creating an ideal base for primer and paint. The goal is to eliminate any ridges, ridges, or uneven spots that could cause swirl marks or streaks once painted.
A drywall sander creates smooth, professional walls by eliminating ridges and imperfections before priming and painting.
To start, focus on your sanding techniques. Use light, even pressure and move the sander in consistent circular or overlapping strokes. This ensures you don’t accidentally gouge the drywall or leave uneven patches. When sanding, pay special attention to joints and taped areas, as these are often the most noticeable if not smoothed properly. Once you’ve finished sanding, remove all dust with a damp cloth or a vacuum designed for drywall debris. Dust can settle into the paint, creating rough spots or causing the paint to lift, which can lead to swirl marks.
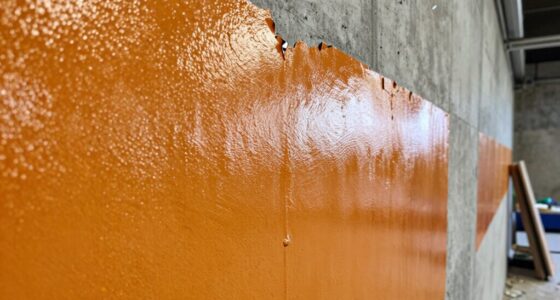
Now, with a clean, smooth surface, you’re ready for primer application. Applying primer after proper sanding helps seal the drywall surface, providing a uniform base for the final coat of paint. It’s important to choose the right primer—preferably one that’s compatible with your paint type. Use a roller or sprayer for primer, ensuring even coverage without drips or thick spots. This initial coat of primer also highlights any remaining imperfections; if you see areas that haven’t been fully covered or look uneven, lightly sand those spots again before proceeding to paint.
When spraying paint over the primed surface, the key to avoiding swirl marks is maintaining a consistent spray pattern and distance from the wall. Keep your spray gun moving smoothly and steadily, avoiding stopping and starting in one spot. Thin, even coats are better than thick ones, giving the paint time to level out and reducing the risk of marks. If you notice any swirl marks, lightly sand the area with a fine-grit paper, wipe away dust, and reapply a thin coat of paint.
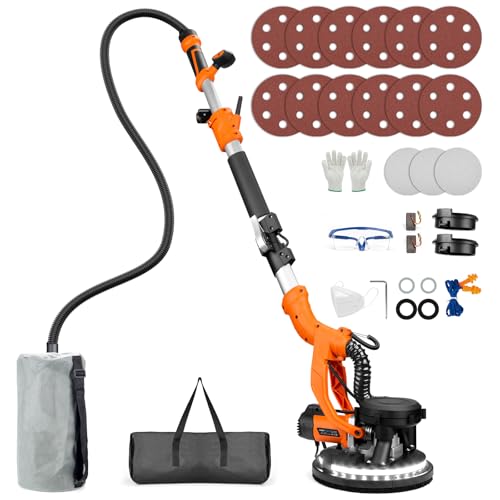
Drywall Sander, 1000W Popcorn Ceiling Removal Tool, Automatic Drywall Sander with Vacuum Dust Collection, LED Light, 6 Variable Speed 800-2200RPM, Foldable & Extendable Handle,15Pcs Sanding Discs
[1000W Pure Copper Motor & 2200RPM High Efficiency – Works Perfectly in Any Scene] High-power high-speed electric drywall…
As an affiliate, we earn on qualifying purchases.
As an affiliate, we earn on qualifying purchases.
Frequently Asked Questions
What Are the Best Types of Drywall Sanders for Beginners?
For beginners, the best drywall sanders are lightweight, ergonomic models like pole sanders or hand-held corner sanders. These tools make traditional sanding techniques easier and help you achieve smooth drywall finishing without creating swirl marks. Look for models with variable speed settings and dust collection features to keep your workspace clean. Using proper sanding techniques with these tools, you’ll get a professional finish and avoid common issues like swirl marks under sprayed paint.
How Do Humidity Levels Affect Drywall Sanding and Painting?
While the humidity impact might seem subtle, it can markedly influence your drywall sanding and painting. Higher humidity levels can cause excess moisture, leading to uneven surfaces and paint issues, whereas low humidity may cause rapid drying, resulting in swirl marks or cracks. To maintain ideal results, focus on moisture control by working in a controlled environment, and monitor humidity levels closely, especially during delicate finishing stages.
Can I Use a Drywall Sander on Textured or Painted Surfaces?
You can use a drywall sander on textured or painted surfaces, but proceed with caution. Use a fine-grit sanding pad to gently remove texture or paint, focusing on paint preparation and avoiding excessive pressure. This helps prevent swirl marks or damage. For painted surfaces, test a small area first. Always make certain of proper ventilation and wear safety gear to protect yourself from dust and debris during texture removal or paint prep.
What Safety Gear Should I Wear When Sanding Drywall?
When sanding drywall, you should always wear protective eyewear to shield your eyes from dust and debris, and respiratory masks to prevent inhaling harmful particles. These safety gears keep you safe from irritation and respiratory issues. Make sure your masks fit snugly, and choose goggles that cover your eyes fully. Staying protected is essential for a safe and efficient sanding process.
How Often Should I Replace Sanding Pads or Screens?
Think of your sanding pad as a trusted tool that wears out with use. You should replace your sanding pads or screens when you notice decreased efficiency or visible wear—usually after about 3-4 projects or every 5-10 hours of use. Regular replacement ensures peak sanding quality, prevents swirl marks, and maintains a smooth finish. Keep an eye on the sanding pad lifespan to avoid compromising your work.

3M Drywall Sanding Sponge, Fine/Medium Grits, Dual Grit Block, Medium Grit to Remove, Fine Grit to Smooth, Ideal for Sanding and Smoothing of Joint Compounds, 2-5/8 in x 3-3/4 in (9095DC-NA)
IDEAL FOR MODERATE SANDING AND SMOOTHING of joint compounds
As an affiliate, we earn on qualifying purchases.
As an affiliate, we earn on qualifying purchases.
Conclusion
Think of your drywall as a blank canvas awaiting its masterpiece. By avoiding swirl marks, you’re not just perfecting a surface—you’re shaping the story it will tell. When you sand with care and patience, you’re planting seeds of precision that bloom into flawless finishes. Remember, the true beauty lies in the details you nurture; each stroke is a brushstroke in the artwork of your space. Your effort transforms plain drywall into a canvas of possibility.
Zinsser 272479 Bulls Eye 1-2-3 Plus Spray Primer, 13 oz, White
Interior/exterior use on new or previously painted Drywall, concrete, wood, masonry, metal and glossy or difficult surfaces
As an affiliate, we earn on qualifying purchases.
As an affiliate, we earn on qualifying purchases.

VONFORN Paint Sprayer, 700W HVLP Spray Gun with Cleaning & Blowing Joints, 4 Nozzles and 3 Patterns, Easy to Clean, for Furniture, Cabinets, Fence, Walls, Door, Garden Chairs etc. VF803 Yellow
【4 Nozzles & 3 Spray Patterns】VONFORN 700W paint sprayer includes 4 nozzle sizes (1.0mm, 1.5mm, 2.0mm, 3.0mm) to…
As an affiliate, we earn on qualifying purchases.
As an affiliate, we earn on qualifying purchases.