
To avoid telegraphing lines in spray finishes when crack filling, focus on thorough surface preparation. Clean and dry the area, then use flexible, spray-compatible fillers for seamless blending. After applying, smooth and sand the filled cracks level with the surface before spraying. Proper technique, such as even coats and controlled environmental conditions, helps conceal imperfections. For detailed tips on cracks, primers, and finishing, explore further to ensure a flawless, long-lasting finish.
Key Takeaways
- Properly clean and dry surfaces before applying crack fillers to ensure good adhesion and prevent telegraphing.
- Use flexible, spray-compatible crack fillers that blend smoothly with the surface and accommodate movement.
- Sand filled cracks lightly after curing to create a flat, even surface, minimizing visible lines under topcoats.
- Apply primers and sealers evenly with thin coats to seal cracks thoroughly before spraying the finish.
- Maintain optimal environmental conditions (temperature, humidity) during application and drying to ensure a smooth, flaw-free finish.

Great Stuff 99108824 Smart Dispenser Gaps & Cracks, Cream, 12 Ounce
- Effective gap and crack sealing: Reduces drafts and saves energy
- Mess-free application: Foam stops where you stop
As an affiliate, we earn on qualifying purchases.
As an affiliate, we earn on qualifying purchases.
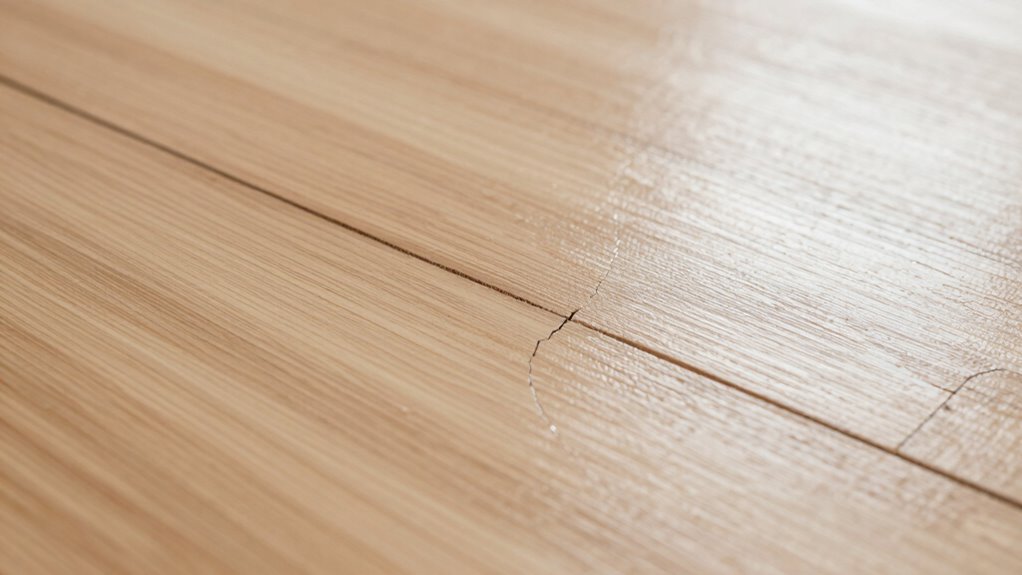
How Do Telegraphing Lines Happen in Spray Finishes: And What Role Do Cracks Play?
Telegraphing lines occur when the texture or pattern of the substrate beneath a spray finish becomes visible through the topcoat. This often results from inadequate surface preparation or missed crack detection before spraying. When cracks exist, they can transfer movement or imperfections through the paint, creating unwanted lines or patterns. If you don’t thoroughly inspect and prepare your surface, these flaws remain unaddressed, making the cracks more likely to telegraph. Proper surface preparation involves cleaning, sanding, and smoothing the substrate to ensure an even base. Detecting cracks early allows you to fill and repair them properly, preventing their patterns from showing through your finish. Addressing these issues before spraying ensures a clean, smooth surface free of unsightly telegraphing lines. Additionally, understanding the horsepower of your equipment can help you choose the right tools for a smoother application. Recognizing the importance of surface quality helps achieve a professional, flawless spray finish. Paying close attention to crack detection during preparation can significantly reduce the risk of telegraphing lines appearing later. Incorporating proper crack repair techniques further minimizes the chances of these lines telegraphing through your finish.
Preparing Your Surface Properly Before Filling Cracks
Before you fill cracks, it’s important to prepare your surface thoroughly. Start with surface cleaning to remove dirt, grease, or dust that could prevent proper adhesion. A clean surface guarantees the filler bonds well and reduces the risk of future cracks or telegraphing lines. Next, consider primer selection carefully; choose a primer compatible with your surface material and crack filler. Applying the right primer helps create a uniform base, promotes better adhesion, and smooths out minor imperfections. Ensure the surface is dry before applying primer, as moisture can compromise the bond. Proper preparation minimizes the likelihood of cracks telegraphing through your finish and provides a solid foundation for a flawless spray coat. Taking these steps sets the stage for a smooth, durable finish.
Choosing the Best Crack Filler for Spray Applications
When selecting a crack filler for spray applications, you need to take into account how well it works with your spray coats. Make sure the filler matches the texture and flexibility of your finish to prevent cracking or peeling. Choosing the right product ensures a smooth, long-lasting result without extra hassle.
Compatibility With Spray Coats
Choosing a crack filler that works well with spray finishes is essential for achieving a smooth, professional look. Compatibility issues can cause the filler to lift or crack when sprayed over, ruining your finish. To avoid this, select a filler designed for spray applications and compatible with your topcoat. Check product labels for adhesion properties and ensure the filler bonds well with both the substrate and the spray coating. Testing a small area first can help identify potential adhesion problems. Using incompatible fillers may lead to peeling, cracking, or obvious lines that telegraph through your final coat. By choosing a filler formulated for spray finishes, you ensure better adhesion, a seamless surface, and a polished, professional result. Understanding adhesion is fundamental to successful spray finishing, as it directly impacts durability and appearance. Additionally, smart coating technology can enhance the performance and longevity of the repair. Being aware of material compatibility can further prevent issues like bubbling or delamination over time. Incorporating advanced formulation techniques can also improve how well the filler responds to spray application, resulting in a more consistent and durable finish. For optimal results, consider the essential properties of the filler, such as flexibility and curing time, to match your project’s specific needs.
Texture and Flexibility
Selecting a crack filler with the right texture and flexibility is essential for spray applications, especially on surfaces that expand, contract, or experience movement. Texture considerations ensure the filler blends smoothly with the surrounding surface, preventing visible lines or uneven finishes. A filler with appropriate flexibility factors allows it to move naturally with the substrate without cracking or breaking apart over time. Rigid fillers may crack as the surface shifts, causing telegraphing lines to appear beneath the spray coat. Look for flexible, elastomeric fillers that can stretch and compress without losing adhesion or integrity. The compatibility of the filler with the substrate material is also crucial to ensure long-lasting results. By choosing a product that balances texture and flexibility, you’ll achieve a seamless, durable finish that resists future cracking and maintains a professional appearance. Additionally, understanding the material properties of the filler can help you select the most suitable product for your specific application. Being aware of brand reputation and user reviews can further guide you toward reliable options that perform well in spray finishes. Incorporating expansion and contraction considerations into your selection process can help prevent telegraphing lines caused by substrate movement over time.
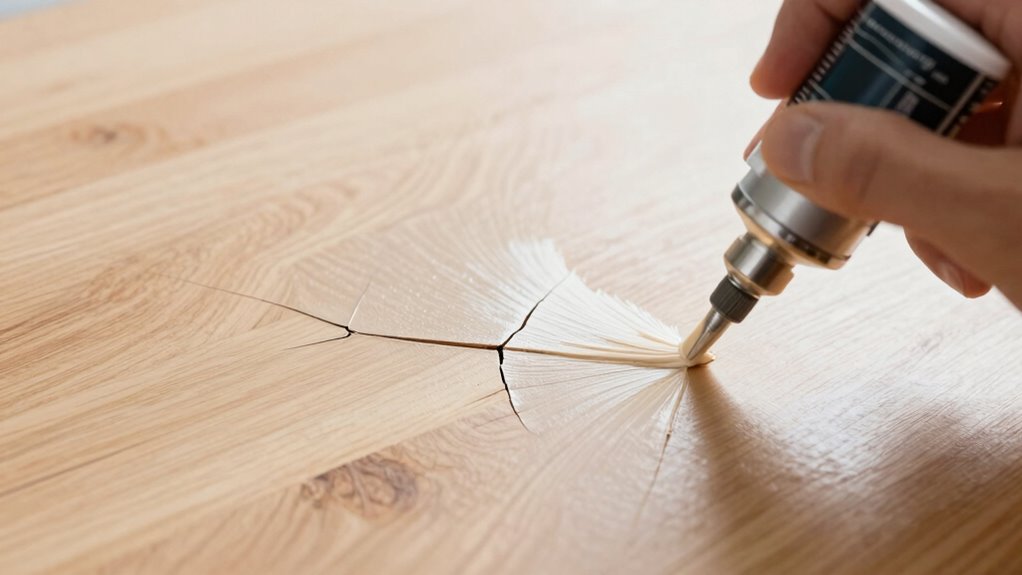
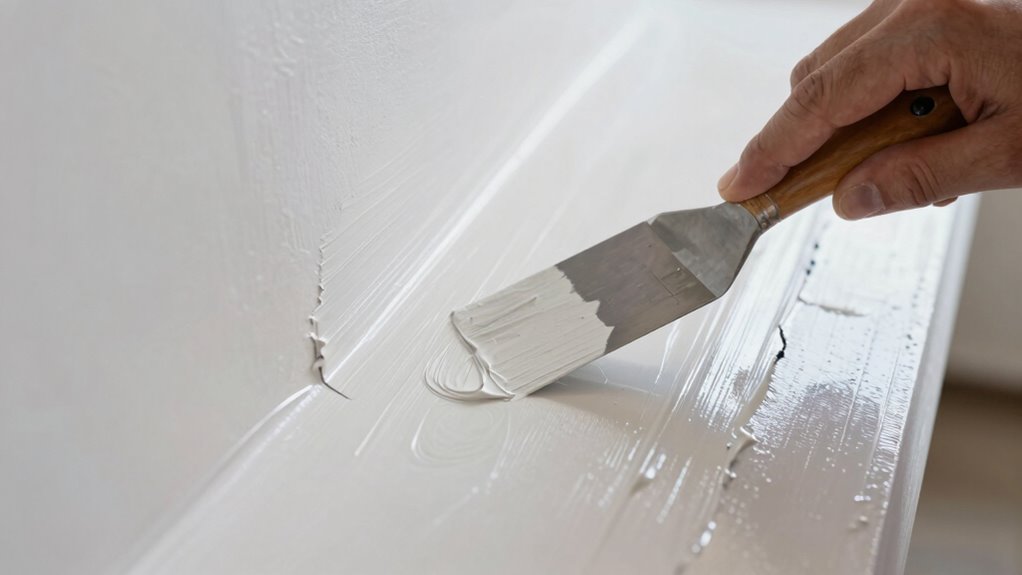
Applying Crack Fillers Correctly to Avoid Lines
To achieve a smooth, professional finish when applying crack fillers, it’s essential to work carefully and methodically. Start with proper surface prep by cleaning the area thoroughly, removing dust, grease, or loose debris that could affect adhesion. Selecting the right filler is vital; choose a product compatible with your surface and flexible enough to move with it. When applying, use a putty knife or spatula to press the filler firmly into the crack, ensuring full coverage and avoiding air pockets. Smooth the surface level with the surrounding area, but don’t overwork the filler, which can cause lines or ridges. Proper technique and attention to detail help prevent telegraphing lines and create a seamless finish. Additionally, understanding the material properties of your filler can help you select the best product for a long-lasting, flawless repair. Considering application techniques can further reduce the risk of lines and improve overall results. Choosing a filler with the right flexibility can accommodate movement in the surface and prevent cracking over time.
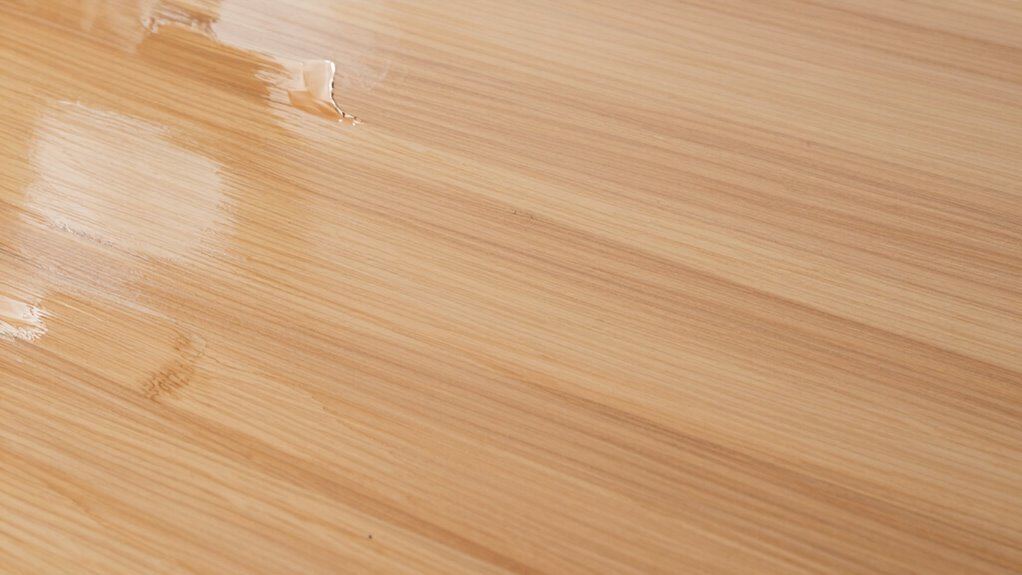
Sand and Smooth Filled Cracks for a Flawless Finish
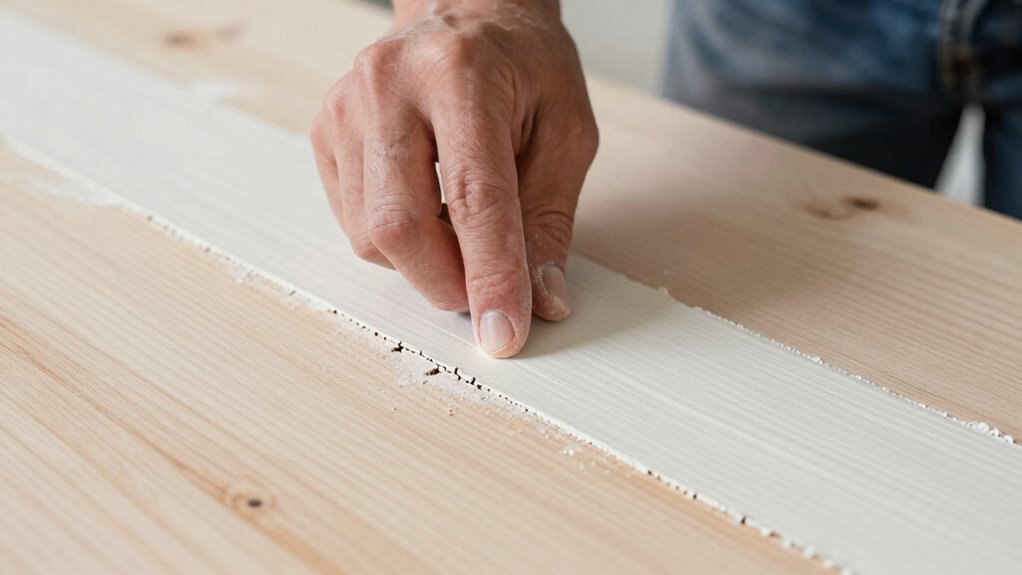
Once the crack filler has dried completely, you should sand the area to achieve a smooth, even surface. Proper surface prep is vital to prevent telegraphing lines and guarantee a flawless finish. Use fine-grit sandpaper to gently smooth out any ridges or uneven spots, especially around different crack types like hairline or larger splits. Focus on blending the filled area seamlessly with the surrounding surface for an ultra-smooth finish. Remember, patience during this step pays off when spray finishing. Here’s what you might feel during this process:
| Crack Type | Surface Prep Challenge |
|---|---|
| Hairline Cracks | Very delicate, requires gentle sanding |
| Larger Cracks | Needs more material removal for smoothness |
| Surface Texture | Ensuring no ridges or bumps |
| Overall Finish | Achieving flawless, uniform surface |
Additionally, understanding the importance of proper surface preparation can significantly reduce the risk of telegraphing lines appearing after painting or spraying. Incorporating surface adhesion techniques can further enhance the durability of your finish and minimize imperfections.
Sealing Filled Cracks With Primer and Sealers to Prevent Show-Through

Choosing the right primer is essential to guarantee your filled cracks don’t show through your finish. Proper application techniques, like even brushing or spraying, help seal the repairs effectively. Afterward, curing and light sanding create a smooth surface ready for the final coat. Additionally, selecting a compatible primer suitable for the specific finish and surface type ensures better adhesion and durability. Surface preparation is critical for a seamless, professional-looking repair. Ensuring proper adhesion between the primer and surface can prevent future issues such as cracking or peeling. Incorporating proper surface compatibility considerations during primer selection further enhances the longevity of your finish. Regularly inspecting and maintaining your primer layer can also help avoid problems like primer failure over time. Using primers formulated with UV filters can also help protect the repair from sun damage and extend its lifespan.
Proper Primer Selection
Selecting the right primer is vital for ensuring a seamless spray finish when filling cracks. High primer quality helps prevent show-through and creates a uniform base for your topcoat. Before applying primer, proper surface preparation is essential; make sure the surface is clean, dry, and free of dust or grease. This ensures good adhesion and minimizes the risk of future cracks or telegraphing. Choose a primer compatible with your surface material and the type of finish you plan to use. Thin, even coats are best, allowing adequate drying time between applications. Investing in quality primer and properly preparing your surface will provide a smooth, durable base, helping you achieve a flawless, professional-looking finish free of lines or imperfections.
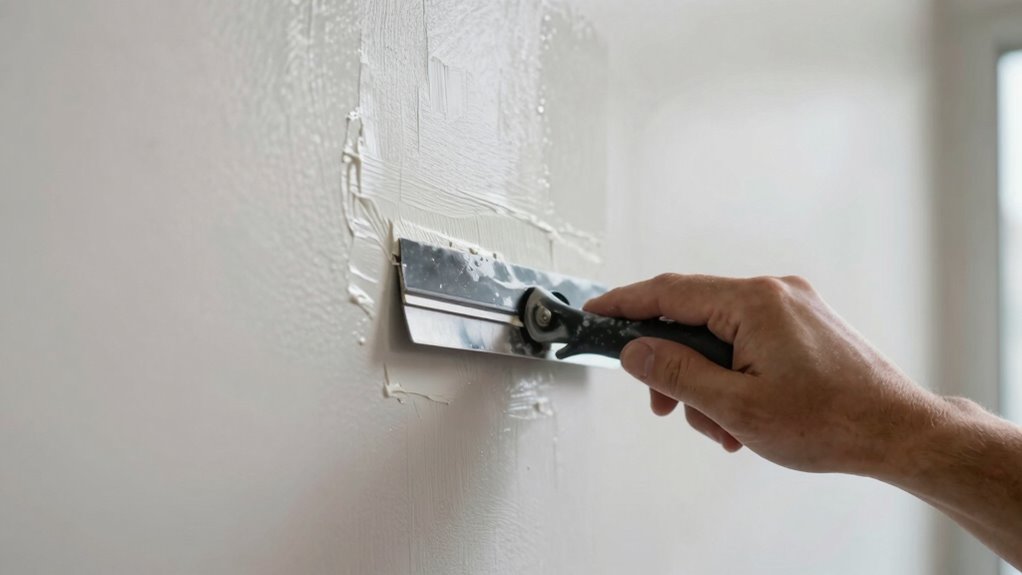
Sealer Application Techniques
To effectively prevent show-through after filling cracks, applying a sealer or primer over the repair area is essential. Your surface preparation sets the foundation for a smooth finish. Using the right techniques overview, you should clean and lightly sand the area to ensure proper adhesion. Once prepared, apply a high-quality sealer or primer evenly with a spray or brush, avoiding thick coats that can cause unevenness. Proper surface preparation combined with consistent application minimizes the risk of telegraphing. The table below summarizes key steps:
| Surface Preparation | Sealer Application Techniques |
|---|---|
| Clean dust and debris | Use even, light coats |
| Light sanding for smoothness | Avoid over-application |
| Repair cracks thoroughly | Follow manufacturer instructions |
| Ensure dry, dust-free surface | Allow proper drying time |
Curing and Sanding Steps
After applying the primer or sealer over filled cracks, allowing proper curing time is essential to guarantee the product fully hardens and bonds with the surface. During curing, avoid disturbing the surface and follow the recommended drying times closely. Use smooth brush techniques to apply the sealer evenly, preventing streaks or uneven coverage that could telegraph through your finish. Once the sealer has dried completely, inspect the surface for any imperfections. Lightly sand with fine-grit sandpaper to smooth out any raised edges or rough spots, ensuring a seamless finish. Proper curing and careful sanding are vital steps to prevent show-through and achieve a flawless spray finish. Patience during this process results in a professional, smooth, and durable final coat.
Best Spray Finishing Tips to Keep Fillers and Lines Hidden
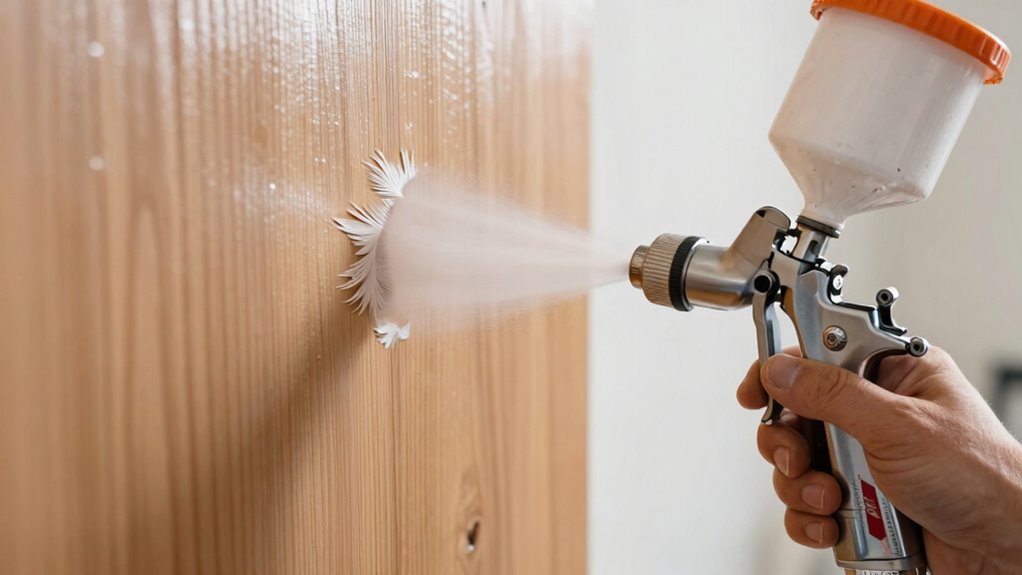
Achieving a smooth, professional finish requires careful spray technique to hide fillers and lines effectively. Start by adjusting your spray equipment for even coverage, maintaining consistent pressure and a steady distance from the surface. Keep your movements smooth and overlapping to prevent streaks. Use proper brush techniques to smooth out any imperfections before spraying, ensuring the surface is well-prepared. When applying the spray, keep the nozzle perpendicular to the surface and move in steady, even passes. Thin your filler or primer properly to avoid pooling or thick layers that can telegraph through the topcoat. Don’t rush; patience and precision with your spray equipment and brush techniques will help you achieve a flawlessly smooth finish, hiding fillers and lines seamlessly.
Troubleshooting Common Causes of Telegraphed Lines in Spray Finishes
Telegraphed lines often appear in spray finishes when your spray technique or equipment settings aren’t properly managed. Inadequate surface preparation can cause uneven adhesion, highlighting cracks and leading to visible lines. If the surface isn’t thoroughly cleaned or sanded, the finish can settle into cracks or expand cracks further during drying, creating a telegraphing effect. Additionally, crack expansion during application can result in lines that mirror the underlying imperfections. To troubleshoot, ensure your surface is smooth, clean, and properly prepared before spraying. Adjust your spray gun pressure and distance to maintain a consistent, even coat. Proper surface prep and controlling crack expansion during application will help you achieve a smooth, flawless finish free of telegraphed lines.
Final Inspection and Touch-Ups for a Perfect, Smooth Finish
As you finish your spray project, take a close look for any imperfections or uneven spots. If you spot issues, make precise touch-ups to guarantee a flawless surface. Finally, apply your last coats to achieve a smooth, professional finish.
Inspect for Imperfections
Once the spray finish has dried, thoroughly inspect the surface for any imperfections or uneven spots. Proper surface preparation is vital to identify issues like cracks or rough areas that may have been missed. Use good lighting to enhance crack detection and reveal subtle flaws. Look closely for telegraphing lines or areas where the finish isn’t smooth. If you find any imperfections, mark them clearly for touch-up. Pay attention to areas where previous crack filling might have settled unevenly. Remember, early detection of imperfections allows for targeted repairs, preventing them from worsening. A meticulous inspection ensures the final coat will result in a flawless, professional finish. Taking your time now can save you from costly rework later.
Apply Final Coats
After inspecting the surface and addressing any imperfections, it’s time to apply the final coats of spray finish. Ensure the surface has good adhesion by cleaning and lightly sanding if needed. Check environmental conditions—ideal humidity and temperature help prevent issues like runs or uneven drying. When applying the final coats, use smooth, even strokes, maintaining consistent distance and speed to avoid telegraphing lines. Proper surface adhesion is vital for a durable, flawless finish. If you notice any imperfections during application, address them immediately with light sanding and touch-ups. Keep the workspace well-ventilated and maintain ideal environmental conditions to promote even drying. This careful approach results in a sleek, professional look, free of streaks and imperfections, guaranteeing your spray finish looks perfect and lasts longer.
Expert Tips for Maintaining a Flawless Spray Finish Long-Term
Maintaining a flawless spray finish over time requires consistent care and attention. You can preserve your work by refining your brush techniques and controlling environmental factors. Proper brush techniques help smooth out any imperfections that might develop, while minimizing dust and debris in your workspace keeps the finish pristine. Environmental factors like humidity, temperature, and sunlight can cause the finish to crack or fade if not managed properly. Regularly inspecting your surface allows you to catch issues early. Additionally, applying protective topcoats can shield your finish from daily wear.
Consistent care, proper techniques, and environmental control keep your finish flawless and durable over time.
- Use consistent, smooth brush techniques for touch-ups
- Control environmental factors such as humidity and temperature
- Regularly clean and inspect surfaces to catch problems early
Frequently Asked Questions
What Are the Best Tools for Applying Crack Fillers Efficiently?
You should use a putty knife or a flexible spreader to apply crack fillers efficiently. Focus on maintaining the right filler consistency—not too thick or thin—and employ smooth brush techniques to blend the filler seamlessly. Using these tools allows you to control application better, reducing the risk of telegraphing lines. Work steadily and make sure the filler is pressed into the crack thoroughly for a smooth, even finish.
How Do Environmental Factors Influence Telegraphing Lines?
Environmental factors like temperature fluctuations and humidity effects can cause telegraphing lines to appear, much like ripples on a pond. When you spray, rapid changes in temperature or humidity can cause the filler to dry unevenly, making lines more visible. To avoid this, work in stable conditions and allow proper drying time. Keeping the environment consistent helps the filler settle smoothly, preventing those unwanted lines from telegraphing through your finish.
Can Different Types of Spray Equipment Impact Crack Line Visibility?
Yes, different spray equipment can impact crack line visibility. Equipment variability affects how evenly paint is applied, which influences the spray pattern consistency. For example, inconsistent spray patterns can cause uneven coverage, making crack lines more noticeable. To minimize telegraphing, choose equipment that delivers a uniform spray and regularly maintain it. Ensuring your spray pattern stays consistent helps hide crack lines and creates a smooth, professional finish.
What Are Common Mistakes to Avoid When Filling Cracks?
Filling cracks is like smoothing a rough road—you want a seamless finish. Avoid common mistakes by thoroughly cleaning the surface and ensuring proper surface prep before applying filler. Choose the right filler for your material; using the wrong type can cause telegraphing lines. Don’t rush the drying process, and always sand lightly after filling to create a smooth surface. These steps help prevent visible cracks and achieve a flawless spray finish.
How Often Should You Inspect and Maintain Spray Finishes for Flaws?
You should inspect your spray finish regularly, ideally every few months, to catch flaws early. During these inspections, look for signs of cracking, peeling, or discoloration. Timely touch-ups help prevent small issues from becoming bigger problems, ensuring your finish remains smooth and flawless. Regular maintenance not only preserves the appearance but also extends the lifespan of your spray finish, keeping it looking its best over time.
Conclusion
By following these tips, you’ll achieve a smooth, professional spray finish that looks like it was crafted by a master artisan. Proper surface prep, the right crack filler, and careful application are your allies in avoiding telegraphing lines. Think of it like tending a lush garden—patience and attention to detail will keep your finish flawless and timeless, just like a well-tended landscape that stands the test of time, even through the ages of the Renaissance.