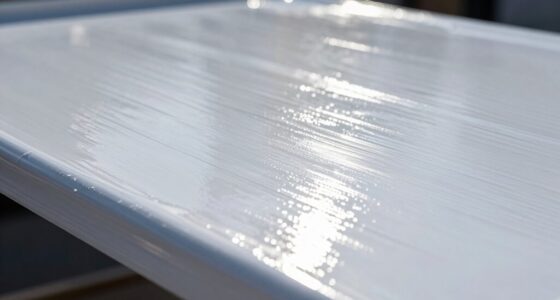
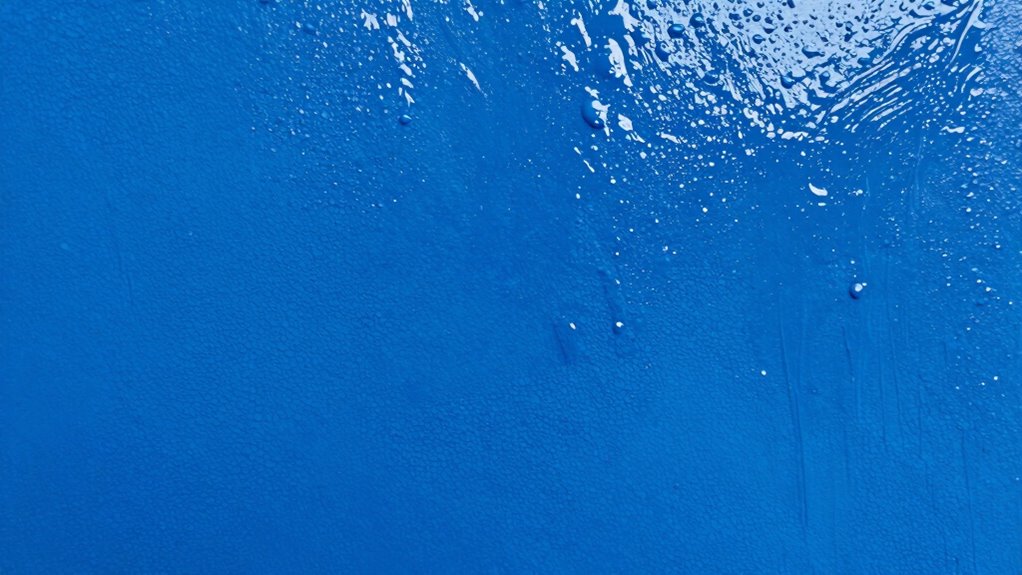
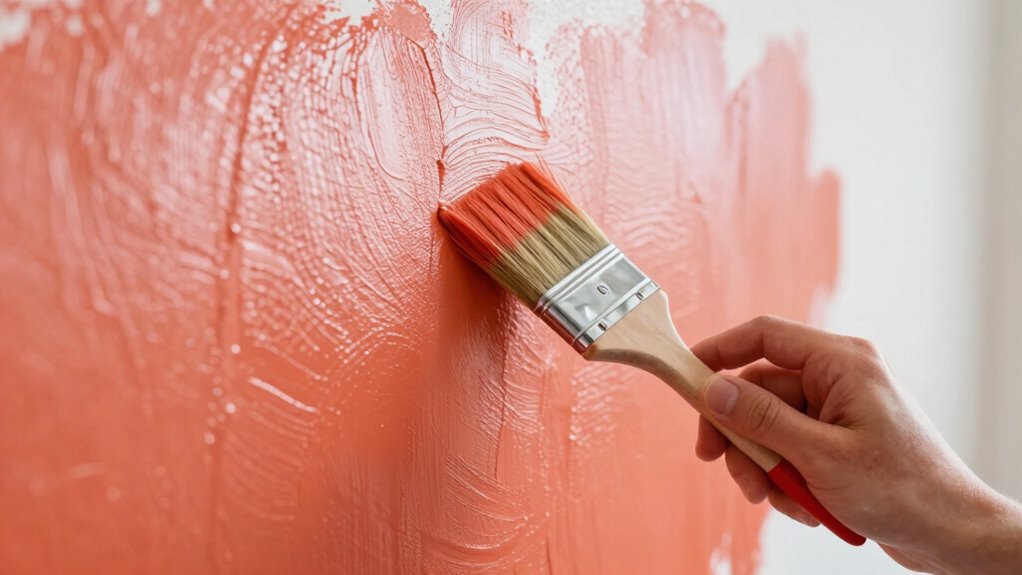
To know if you’re applying enough paint, look for a glossy, even wet sheen on your surface—this indicates proper coverage. The wet look reveals whether paint is sufficiently thick and well-distributed, reflecting a smooth, uniform surface. If the sheen’s dull or patchy, you may need to add more paint or reapply. Paying close attention during this quick test guarantees a durable finish, and if you keep going, you’ll discover more tips to perfect your technique.
Key Takeaways
- A glossy, wet appearance during drying indicates sufficient, even paint coverage.
- Conduct the test shortly after application on a smooth surface for accurate results.
- Proper brush techniques and well-mixed paint promote a uniform wet look and sheen.
- An even sheen with light reflection confirms thorough surface coverage.
- Avoid rushing drying times; testing too early or late can lead to inaccurate assessments.
How Do You Perform the Wet Look Test Correctly?
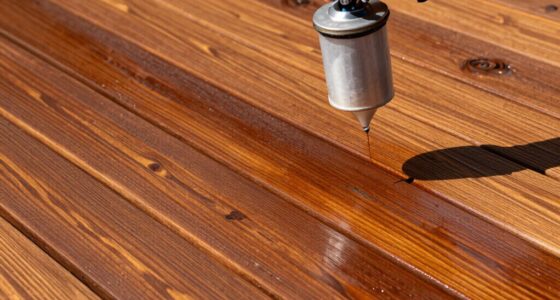
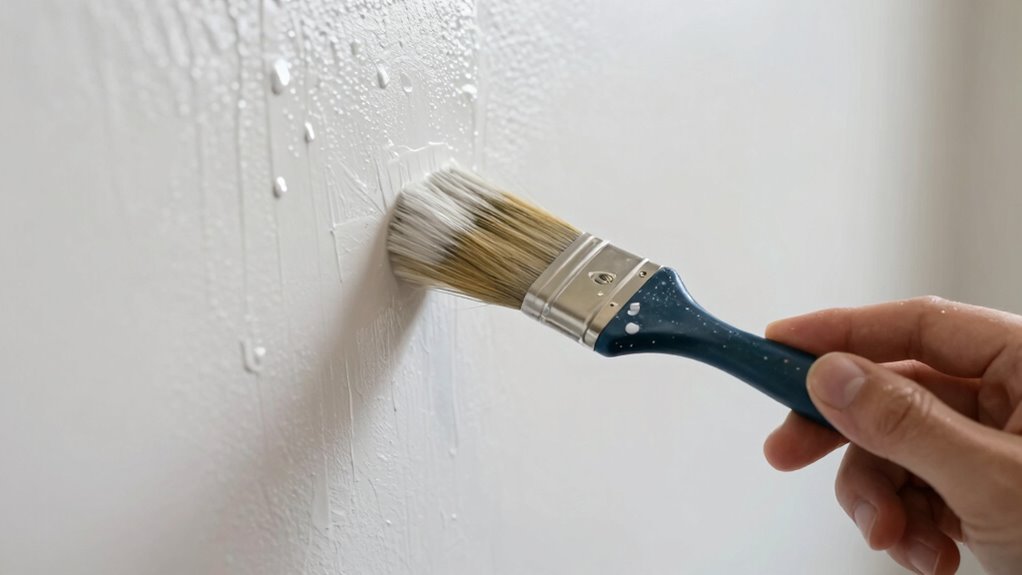
To perform the Wet Look Test correctly, start by preparing a clean, smooth surface and applying a consistent layer of paint. Use smooth brush techniques to ensure even coverage, avoiding streaks or thin spots. Allow the paint to dry for the recommended drying times specified by the manufacturer—rushing this step can lead to inaccurate results. Once the paint feels dry to the touch, gently press a clean, damp cloth onto the surface. The goal is to see if the paint retains a glossy, wet appearance without streaks or dull patches. Proper brush techniques and adherence to drying times help you achieve a uniform coat, making the Wet Look Test a reliable method to determine if you’ve applied enough paint. Additionally, understanding water chemistry can help ensure optimal drying and curing of the paint for best results. Proper paint application techniques can also contribute to more accurate testing outcomes, especially when considering factors like humidity and temperature that influence paint drying conditions.
What Does the Wet Look Tell You About Your Paint Coverage?
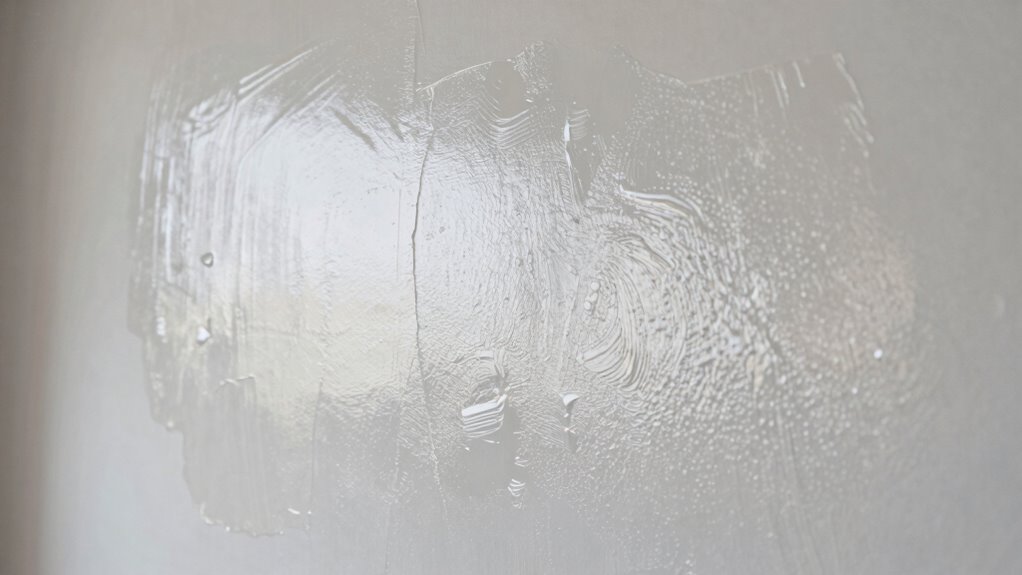
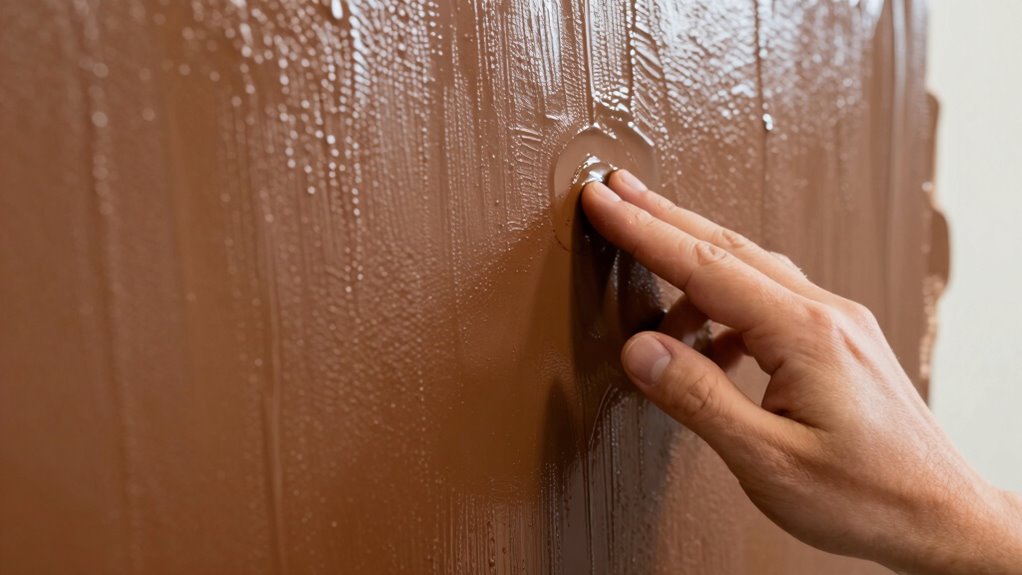
When the paint exhibits a glossy, wet appearance during the Wet Look Test, it indicates that your coverage is likely sufficient. This shiny look shows that you’ve applied enough paint to create a smooth, even layer. To achieve this, your brush techniques should promote even distribution, avoiding streaks or thin spots. Proper paint mixing ensures consistency in thickness and sheen, helping you avoid patchiness that could compromise coverage. If the wet look appears uneven or dull in some areas, it suggests you need to reload your brush or apply a second coat. Remember, a uniform glossy finish is your cue that your paint coverage is ideal, and you’re on the right track to a professional-looking job. Paint application techniques are essential to achieving consistent coverage and a flawless finish.
Why Does the Sheen Indicate Enough Paint?
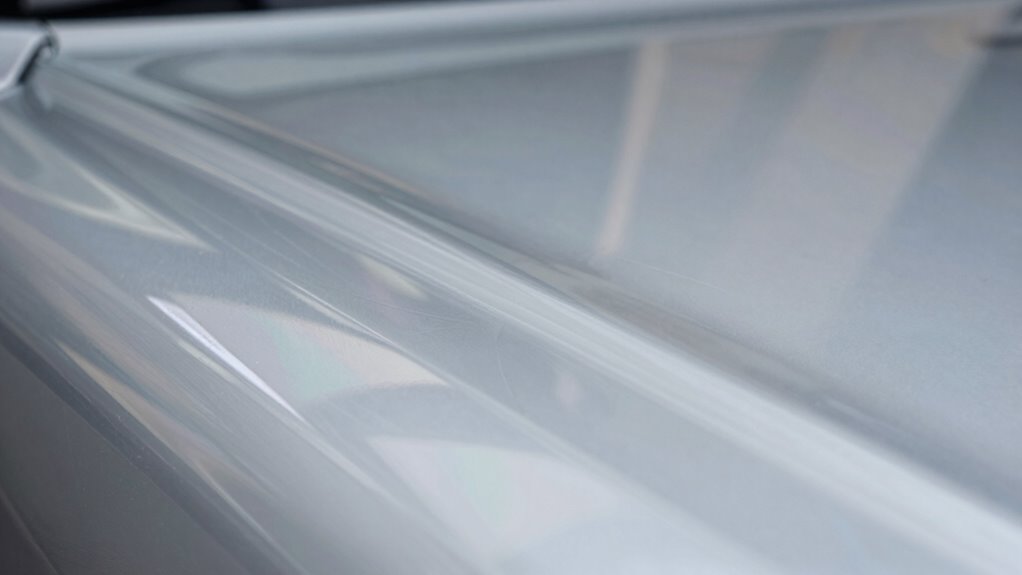
When the sheen reflects light evenly, it shows you’ve applied enough paint. A proper sheen level indicates your coverage is balanced, not too thin or thick. This uniformity helps confirm you’ve laid down the right amount of paint for a smooth, durable finish.
Reflects Light Uniformly
A paint’s sheen reveals whether you’ve applied enough, as it reflects light evenly across its surface. When the paint has the right amount, the light reflection appears smooth and consistent, without dull spots or uneven patches. This visual cue helps you assess coverage at a glance without needing specialized tools. The uniform light reflection indicates the paint’s surface is properly sealed and free of thin or thick areas. If the sheen is uneven or shows patches with different levels of gloss, it’s a sign that the paint isn’t evenly applied. Achieving a consistent sheen ensures the light bounces uniformly, giving your walls a polished, professional look. Paying attention to paint sheen and how the light reflects can help you instantly tell if you’ve laid enough paint, avoiding uneven finishes and ensuring a smooth, durable surface.
Shows Proper Sheen Level
The sheen level of your paint provides an immediate visual cue that you’ve applied enough coats. When the sheen consistency appears even and balanced, it indicates proper application. Light reflection plays a key role here; a consistent sheen reflects light smoothly without dull spots or overly glossy patches. If the sheen looks uniform across the surface, it shows you’ve achieved the right amount of paint, neither too thin nor too thick. This even light reflection confirms that the surface has been coated adequately, with enough layers to achieve the desired finish. Additionally, the visual cues from sheen can help detect any missed spots or uneven coverage early in the process. Paying attention to the paint thickness can also help ensure that the application is neither excessive nor insufficient. Recognizing the sheen level is an essential part of achieving a professional-looking finish. Properly assessing the sheen can also aid in paint drying and curing, ensuring longevity of the finish. For best results, consider how lighting conditions influence the appearance of sheen and coverage, as different lighting can highlight imperfections or inconsistencies. Pay close attention to the sheen, and you’ll know instantly if you’ve laid enough paint.
Indicates Adequate Coverage
Ever wondered how to tell if you’ve covered a surface thoroughly with paint? The sheen can reveal if your coverage is complete. When the paint has a consistent, even appearance, it’s a sign that you’ve spread it well. Look for smooth brush strokes that blend seamlessly, without streaks or gaps. The sheen should be uniform, not glossier in some areas and duller in others. During drying time, check if the surface remains even and free of patches. If the sheen is consistent and the brush strokes are no longer visible, you’ve likely achieved adequate coverage. Remember, proper coverage depends on an even layer, which the sheen helps confirm. Key indicators include:
- Smooth, blended brush strokes
- Uniform sheen level
- No visible streaks or patches
- Consistent surface appearance
- Sheen stability during drying
Common Mistakes When Testing the Wet Look and How to Avoid Them
Many testers make simple mistakes that can skew the results of a wet look test, leading to inaccurate assessments of paint quality. One common error is neglecting proper surface preparation, which can affect paint adhesion and cause uneven wetness. If the surface isn’t clean, smooth, and properly primed, the paint may not spread evenly, giving false readings of coverage. Additionally, incorrect paint application techniques, such as using inconsistent pressure or angle on the brush or roller, can also distort the wet look. Another mistake is applying too much or too little paint, which can distort the wet look. Also, rushing the test or not waiting long enough after application can lead to misleading results. To avoid these issues, make certain you thoroughly prepare the surface, apply a consistent coat, and follow the recommended drying times. Proper surface preparation is essential for reliable wet look testing, preventing common errors that compromise accuracy. Incorporating knowledge about paint properties can further enhance the accuracy of your assessment. Being aware of application techniques can help ensure even coverage and consistent results, especially when using airless paint sprayers that provide uniform paint application. Additionally, understanding the role of AI Ethicist Jobs can help ensure that technological tools used in testing are ethically designed and implemented.
What Do Your Results Mean, and How Should You Interpret Them?
Interpreting your wet look test results accurately is key to evaluating paint quality and performance. If the paint forms a shiny, even layer without streaks, it indicates proper application and sufficient coverage. Conversely, a blotchy or uneven appearance suggests you might have used too much or too little paint. Your brush technique influences how evenly the paint spreads, affecting the wet look. Pay attention to drying time; if the surface remains overly glossy or sticky, you may need to adjust your application method. Proper paint application techniques ensure a more consistent finish and durability. Consider these outcomes: – Smooth, consistent sheen signals correct paint thickness – Excessive gloss may mean over-application – Dull, patchy areas suggest insufficient paint – Uneven texture hints at inconsistent brush technique – Quick drying with a uniform finish indicates proper coverage
When and Where Should You Use the Wet Look Test During Painting?
Knowing when and where to perform the wet look test guarantees you accurately assess your paint’s application and coverage. Conduct the test after applying a sufficient amount of paint in a section, especially before moving to a new area. Check the surface while the paint is still wet to evaluate color consistency; uneven shine or patches indicate uneven coverage. Perform the test during drying time, typically within a few minutes of application, to ensure the paint has settled properly. Focus on areas with complex surfaces or corners where paint might be thinner. Timing and placement are essential for accurate results, so avoid testing too early, which can give misleading outcomes, or too late, when the paint has dried completely. This approach helps you identify spots needing additional coverage for a smooth, even finish.
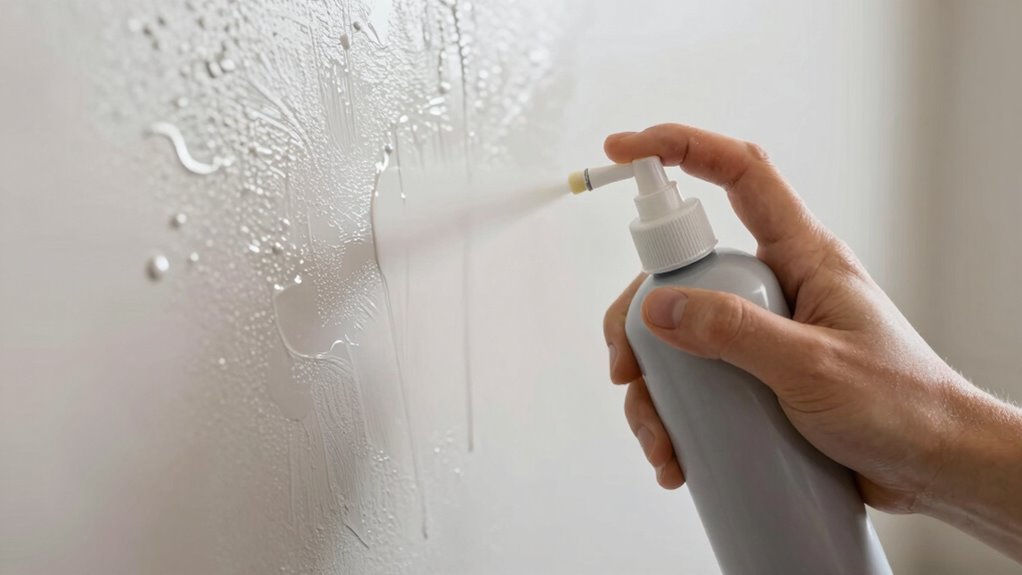
Tools and Tips for a More Accurate Wet Look Test
To get the most accurate results from your wet look test, using the right tools is essential. Proper surface preparation ensures that your paint behaves predictably, making the test more reliable. When evaluating the wet look, consider these tools:
- A clean, flat spatula for spreading paint evenly
- A quality paint mixer to ensure consistent paint mixing
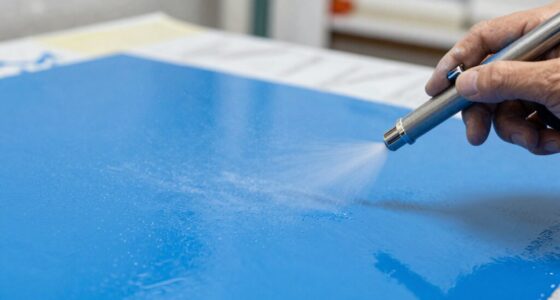
- A spray bottle for light, even application
- A level or straightedge to examine surface uniformity
- A damp cloth for quick surface cleaning before testing
These tools help you achieve an even coat and prepare the surface properly, reducing variables that can distort your results. Remember, well-mixed paint and a clean, smooth surface are key to accurately judging if you’re laying enough paint during your wet look test. Ensuring your surface preparation is thorough will help you get the most precise assessment of your paint’s wet look. Additionally, understanding paint consistency can significantly impact the accuracy of your test results. Recognizing the importance of surface quality can further enhance your knowledge of achieving a perfect finish.
What Should You Do If the Wet Look Shows Insufficient Paint?

If your wet look test reveals that there’s not enough paint to achieve the desired glossy finish, the next step is to add more paint to the affected areas. Focus on touch-up spots where the sheen is lacking. Use blending techniques to seamlessly integrate the new paint with the existing layer, avoiding visible lines or streaks. Applying thin, even coats helps guarantee a uniform gloss.
| Touch Up Spots | Blending Techniques |
|---|---|
| Small imperfections | Feathering edges for smooth transition |
| Spot repairs | Using a clean brush or sponge |
| Uneven sheen | Gradually build up layers |
| Isolated areas | Match paint consistency |
| Final touch-up | Lightly blend for seamless look |
Frequently Asked Questions
Can the Wet Look Test Be Used on All Types of Paint?
The wet look test isn’t suitable for all paint types because paint consistency varies, and some finishes dry differently. You can use it on latex or oil-based paints, but always consider drying time first. If the paint appears glossy and wet, you’re likely applying enough. However, for matte or textured paints, this test might not be reliable, so check manufacturer guidelines for the best method.
How Does Ambient Temperature Affect the Wet Look Test Results?
Ambient temperature substantially affects the wet look test results. If it’s too hot, rapid evaporation can falsely suggest you’ve applied enough paint, while cold temperatures slow drying, making the wet look last longer. Humidity effects also play a role, as high humidity delays drying, and temperature fluctuations cause inconsistent results. To get accurate readings, perform the test in stable conditions, avoiding extreme heat, cold, or humidity changes.
Is the Wet Look Test Suitable for Textured or Uneven Surfaces?
Think of the wet look test as a clear window into your painting progress, but it struggles on textured or uneven surfaces. Surface irregularities and roughness can mask the true amount of paint, making it hard to judge whether you’ve applied enough. To get accurate results, smooth out the surface first or use other methods, as the wet look test isn’t reliable when texture skews the visual cues.
How Often Should I Perform the Wet Look Test During a Project?
You should perform the wet look test frequently throughout your project, especially during the early stages of application, to guarantee even coverage. Check the surface after each coat or every few hours, depending on the project duration and drying times. Regular testing helps you maintain proper application frequency and avoid under- or over-coating, ensuring a smooth, professional finish as your project progresses.
What Are Signs of False Positives or Negatives in the Wet Look Test?
Watch for wavering when performing the wet look test; false positives may show a glossy, uniform sheen even if coverage is incomplete, while false negatives can occur if surface contamination skews the shine, masking thin patches. Pay attention to paint color consistency—uneven hues or streaks hint at insufficient coverage. Surface contamination, like dust or grease, can also fool you, making areas look properly painted when they’re not.
Conclusion
By mastering the wet look test, you guarantee your walls are perfectly coated without wasting paint. Imagine noticing a dull sheen halfway through a project—using this simple trick, you can quickly assess if you need to add more paint. With practice, you’ll confidently achieve a smooth, even finish every time. Don’t let uneven coverage ruin your work—trust the wet look test to keep your painting flawless from start to finish.