
To maintain a wet edge in long hallways and open plans, work in small sections, overlapping each stroke slightly to keep the paint moist. Keep your brush loaded with enough paint and move steadily at a consistent pace, avoiding stopping mid-section. Regularly check your progress from different angles to ensure seamless blending. Proper surface prep and using the right tools help too. Keep practicing these tips, and you’ll master a flawless finish.
Key Takeaways
- Work in small, manageable sections to ensure each area is kept wet before moving on.
- Use consistent brush or roller techniques with overlapping strokes to blend edges seamlessly.
- Reload your tool frequently to maintain sufficient paint load and prevent dry edges.
- Maintain a steady pace, applying paint in continuous, smooth motions to avoid lap marks.
- Adjust lighting to identify and blend any missed spots or uneven edges effectively.
Why Maintaining a Wet Edge Is Key to a Flawless Finish
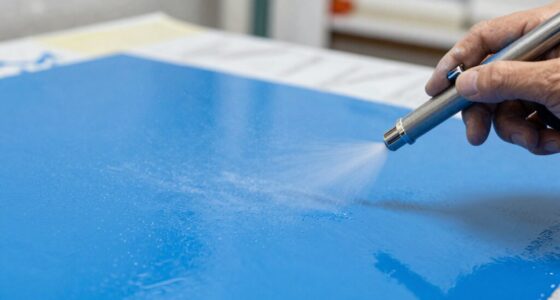
Maintaining a wet edge is essential because it guarantees a smooth, even finish without streaks or lap marks. When you keep your paint wet, you allow color blending to occur naturally, creating seamless transitions between sections. Using edge tools effectively helps you stay within your desired boundaries, ensuring clean lines and consistent coverage. If the edge dries before you blend, you risk visible streaks and uneven textures. By working quickly and maintaining a continuous, wet surface, you minimize the need for touch-ups later. This technique also helps you control the flow of paint, making the entire process more efficient. Additionally, understanding how contrast ratio affects image quality can help you choose the right projector for your home cinema, ensuring vibrant visuals and deep blacks. Recognizing the importance of proper surface preparation further enhances the overall quality of your finish. Properly managing your paint application technique is crucial for achieving a flawless look, especially in long hallways and open plan spaces. Moreover, awareness of cosmic influences can subtly inform your approach to color selection and design choices, adding an extra layer of harmony to your project. Incorporating lighting considerations can also significantly impact the appearance of your painted surfaces, highlighting the importance of planning your lighting setup. Ultimately, staying mindful of your moist boundary results in a professional-looking finish that’s free of imperfections.
How to Prepare Surfaces and Tools for Seamless Painting

Preparing your surfaces and tools properly is essential for achieving a seamless paint finish. Start by cleaning walls thoroughly to remove dust and grease, then sand rough areas for a smooth base. Using appropriate cleaning methods can help ensure the surface is free of debris that could compromise adhesion. Proper cleaning not only improves the appearance but also enhances the paint’s longevity by promoting better bonding. Additionally, understanding surface preparation techniques can significantly impact the final result. Use the right brush selection—synthetic brushes work well with latex paints, while natural bristles suit oil-based paints. Applying paint priming ensures better adhesion and uniform color, especially on bare or stained surfaces. Maintaining your tools, like rinsing brushes frequently and storing them properly, helps keep their quality. Regularly inspecting your tools and maintenance practices can prevent issues that might affect your finish. Consider this quick guide to essential preparations:
Techniques for Keeping a Wet Edge in Large Spaces
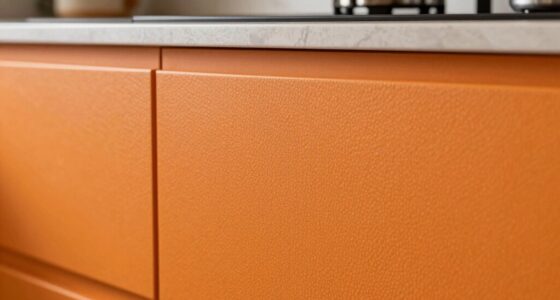
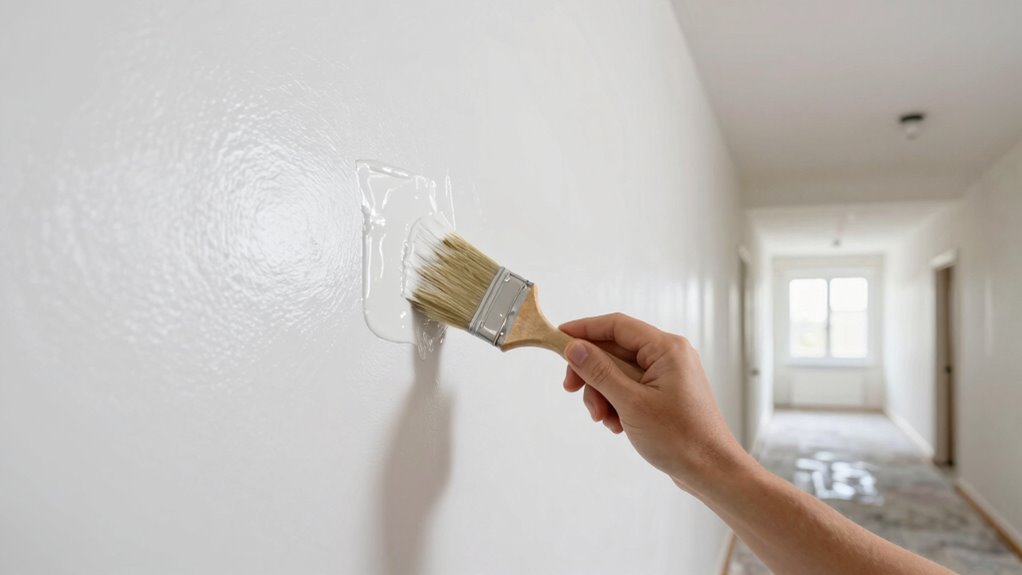
When painting large spaces, keeping a wet edge is essential to achieving a smooth, uniform finish. To do this, use consistent brush techniques, such as overlapping your strokes and maintaining a steady pace. Work in manageable sections, blending each area into the next before the paint dries. Pay attention to lighting considerations; bright or uneven lighting can highlight lap marks or missed spots, so adjust your lighting or work during ideal times. Keep your brush loaded with enough paint to avoid dry edges and avoid stopping mid-stroke. Regularly check your progress from different angles to guarantee seamless blending. These techniques help maintain a wet edge and prevent streaks or uneven patches, giving your large space a professional, polished look.
Managing Paint Consistency and Timing to Avoid Lap Marks
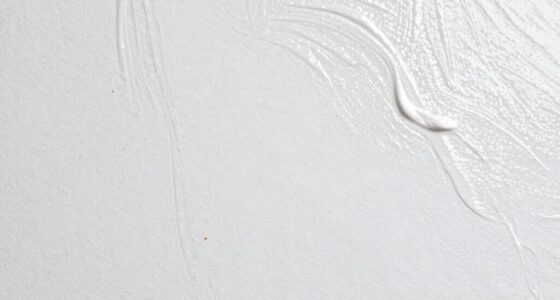
To prevent lap marks, you need to carefully manage both your paint’s consistency and the timing of your application. Thin your paint to the right consistency using paint additives if necessary, ensuring it flows smoothly without being too thin or thick. Proper brush techniques, such as overlapping slightly and maintaining a wet edge, help distribute the paint evenly. Work in small sections, completing each before moving on to avoid dryness that can cause lap marks. Keep a wet edge by reloading your brush regularly and avoiding over-brushing. Adjust your paint’s consistency as needed throughout the job, especially if you notice it thickening or drying too quickly. Staying mindful of timing and paint quality guarantees a seamless, professional finish free of lap marks.
Troubleshooting Common Painting Challenges and Fixes
Even experienced painters encounter challenges like drips, uneven coverage, or brush marks that can compromise a finish. To fix these issues, focus on proper brush techniques—using the right amount of pressure, loading the brush correctly, and maintaining a consistent stroke. When brush marks appear, try feathering or lightly going over the area with a dry brush. Poor paint selection can also cause problems; choose high-quality, smooth-flowing paints suitable for your surface. If you notice drips, immediately smooth them out with a brush or roller before they dry. For uneven coverage, ensure your paint is well-mixed and at the right viscosity. Additionally, understanding art care principles can help you select the best materials and techniques for a durable, professional finish. Proper surface preparation and paint application techniques are also essential to achieving a seamless appearance. Practicing brush control can significantly improve your results and reduce common issues. Incorporating techniques for maintaining a wet edge can also help prevent visible lines and color inconsistencies during long painting sessions. Developing a steady hand and consistent motion is crucial for achieving a smooth finish, especially on large or open areas. Tackling these common challenges with proper brush techniques and thoughtful paint selection helps achieve a professional, flawless finish.
Frequently Asked Questions
What Are the Best Brushes or Rollers for Maintaining a Wet Edge?
You should choose high-quality brushes and roller types to maintain a wet edge effectively. Opt for synthetic brushes or rollers with fine nap, like 3/8-inch or 1/4-inch, which help spread paint smoothly without leaving streaks. Select a roller with a smooth or semi-smooth cover, depending on your wall surface. Using the right brush selection and roller types guarantees you can work quickly and seamlessly, keeping your paint wet as you go.
How Does Ambient Temperature Affect Wet Edge Maintenance?
Think of ambient temperature like the weather outside—hotter days can make paint dry faster, while cooler days slow it down. Temperature effects considerably impact your wet edge maintenance; high temperatures cause paint to dry quickly, making blending tough. Humidity control becomes essential, as high humidity extends drying times, helping you keep a wet edge longer. Maintaining consistent temperature and humidity ensures smooth, professional-looking results in long hallways and open plans.
Can I Use Different Paint Finishes in the Same Space Without Issues?
You can use different paint finishes in the same space, but make certain paint finish compatibility to avoid issues like uneven texture or adhesion problems. To create smooth color transitions between finishes, use techniques like feathering or blending. Carefully plan your approach, testing small areas first. This way, you achieve a cohesive look while maintaining durability, even when combining matte, satin, or semi-gloss finishes within one room.
How Often Should I Re-Wet the Edges During Long Painting Sessions?
To keep your paint projects smooth, re-wet the edges about every 15-20 minutes, aligning with typical paint drying times. This rhythm allows you to master edge blending techniques effortlessly, ensuring seamless progressions. As you work along long hallways or open plans, maintaining a consistent re-wetting schedule helps prevent streaks and lap lines, making your finish look professional and polished. Trust your timing, and enjoy the process.
Are There Specific Techniques for Painting Around Fixtures and Corners?
You should use masking techniques to protect fixtures and create clean edges around corners. Apply painter’s tape carefully to mask off fixtures, ensuring a straight line. Use corner tools or angled brushes to cut in precisely around corners and fixtures. These tools help you reach tight spots smoothly, reducing drips and overlaps. With these techniques, you’ll achieve professional-looking results and maintain sharp, clean edges throughout your painting project.
Conclusion
Mastering the wet edge is like conducting a symphony—you blend each note seamlessly for a flawless finish. As you glide through long hallways and open plans, keep your tools steady and your pace steady, like a gentle river flowing smoothly. With patience and practice, your walls will sing with a uniform, beautiful coat, turning your space into a masterpiece. Embrace the rhythm, and let your brush dance gracefully across every surface.