To spray stucco and masonry on rough surfaces effectively, start by thoroughly cleaning and repairing the area to guarantee good adhesion. Use high-quality spray equipment and adjust the nozzle size and pressure for texture control. Keep a steady hand and consistent motion, maintaining 12-18 inches from the surface. Applying multiple thin coats and practicing on scrap allows you to master the technique. Continue exploring tips to achieve a professional, durable finish even on uneven surfaces.
Key Takeaways
- Prepare rough surfaces thoroughly by cleaning, removing debris, and repairing cracks for optimal adhesion.
- Use adjustable spray equipment with larger tips to achieve textured, rugged finishes on masonry and stucco.
- Maintain consistent spray distance (12-18 inches) and steady motion to ensure uniform rough texture.
- Apply multiple coats with appropriate drying time, adjusting spray pattern and pressure for desired ruggedness.
- Practice on scrap surfaces to master spray technique and avoid patchy or uneven rough finishes.
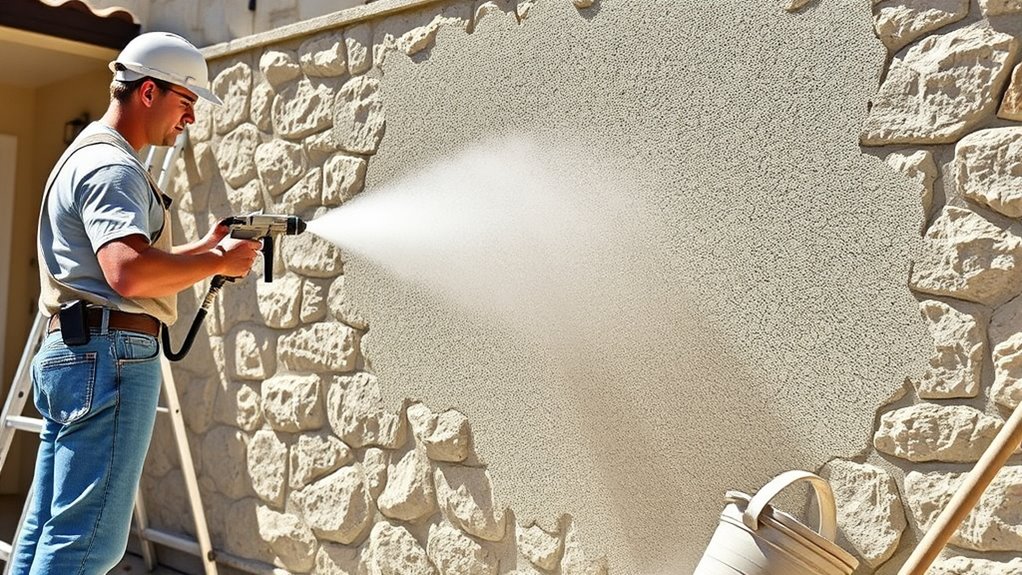
Spraying stucco and masonry offers a fast and efficient way to achieve a smooth, even finish on various surfaces. When tackling rough surfaces, proper texture application is crucial to ensure a uniform look and durable coating. Using spray equipment makes this process more manageable, allowing you to cover large areas quickly while maintaining consistent texture. Before starting, inspect the surface carefully. Remove loose debris and dirt, and repair any cracks or holes to create a solid foundation for the spray application. This preparation helps prevent uneven textures and ensures the coating adheres properly.
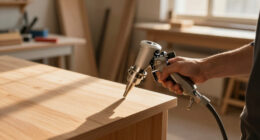
Once the surface is prepped, select the right spray equipment for the job. A high-quality hopper gun or spray gun with adjustable settings gives you control over the spray pattern and pressure, which is essential for textured finishes. For rough surfaces, you may need to modify the nozzle or tip size to match the desired texture. Larger tips tend to produce more pronounced textures, ideal for achieving a rugged, natural look. Keep in mind that consistency is key; adjusting the spray pressure and distance from the surface helps you maintain an even texture across the entire area.
Selecting the right spray gun and adjusting settings ensures a consistent, textured finish on rough surfaces.
When applying the texture, start with a light, even coat to gauge how the material responds. Move the spray equipment steadily, maintaining a uniform distance from the surface—typically around 12 to 18 inches. Keep your movements consistent to avoid uneven patches or overly thick spots. For rough surfaces, you might need to apply multiple coats to build up the texture and achieve the desired look. Between coats, allow sufficient drying time, and lightly sand or brush any drips or uneven spots before proceeding. Using the correct materials ensures better adhesion and a more professional finish.
Practice is vital when working with spray equipment for texture application. If you’re new to the process, test on a scrap piece or an inconspicuous area first. This helps you get a feel for the spray pattern, pressure, and texture outcome. Remember, controlling the spray angle and speed directly influences the final appearance. For textured finishes, a more erratic spray motion can help create a natural, rugged look, but always stay consistent enough to avoid patchiness.
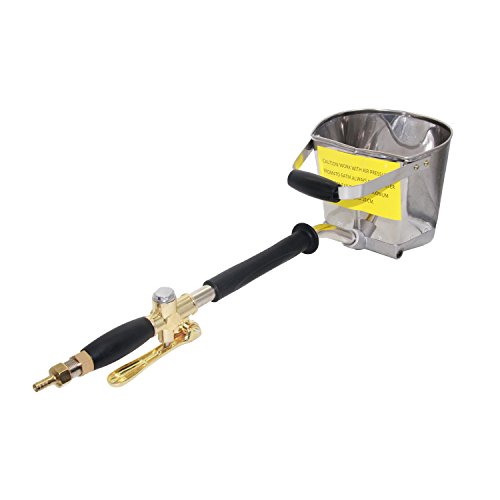
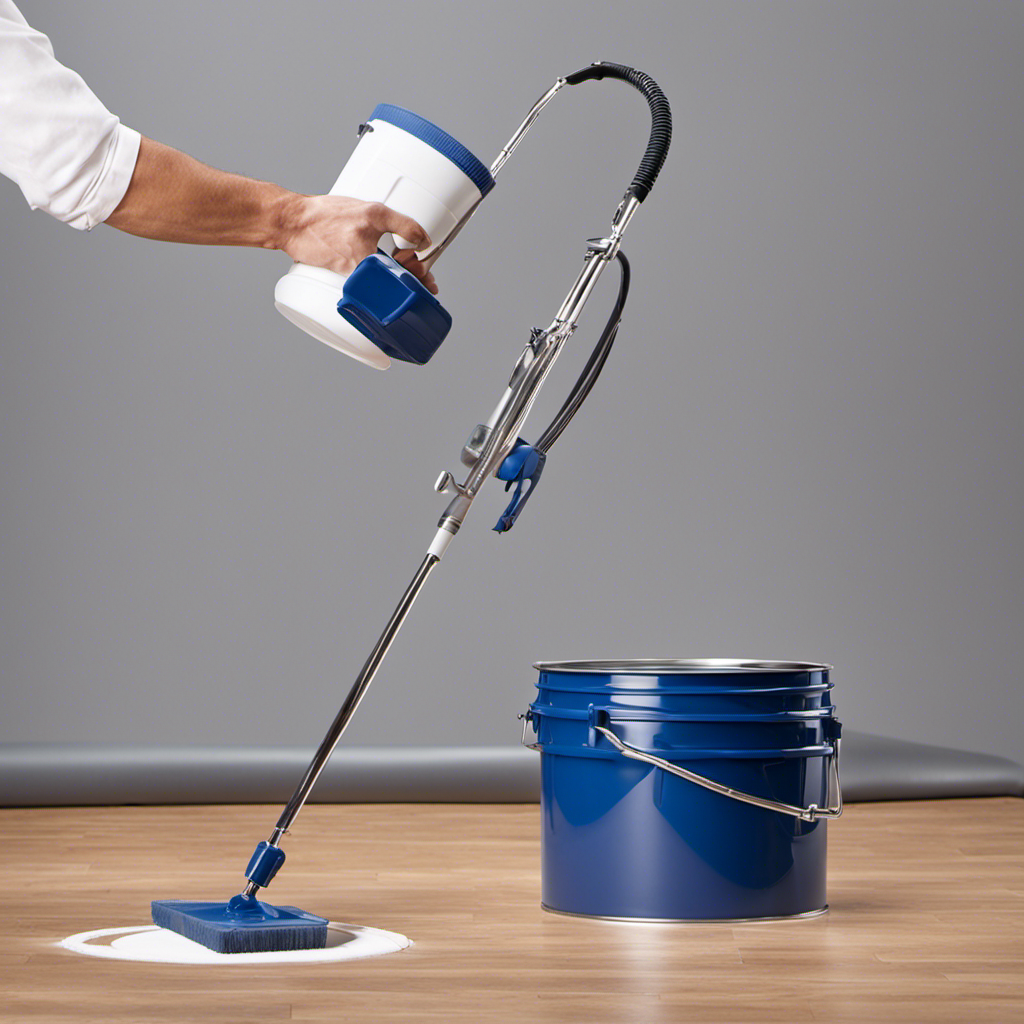
Joywayus Air Stucco Cement Texture Hopper Sprayer Plaster Wall Plastering Tool House Paint 4 Jets 1PCS
- Includes handle and bucket fitting: Hex nut fitting for handle and bucket
- Four spray holes: Requires air compressor for operation
- Ergonomic handle: Provides better control and ease of use
As an affiliate, we earn on qualifying purchases.
As an affiliate, we earn on qualifying purchases.
Frequently Asked Questions
What Safety Gear Is Recommended for Spraying Stucco and Masonry?
You should wear protective clothing and respiratory masks when spraying stucco and masonry. Protective clothing shields your skin from splatters and dust, while respiratory masks prevent you from inhaling harmful particles and fumes. Make sure the mask fits snugly and is rated for dust or chemical vapors. Additionally, consider gloves and eye protection for all-encompassing safety, ensuring you stay safe and comfortable during the spraying process.
How Do Weather Conditions Affect the Spraying Process?
Weather impact on spraying stucco and masonry can be huge, like a thunderstorm in a clear sky. You need to take into account temperature considerations carefully, as extreme heat or cold can cause inconsistent spray patterns or premature drying. Wind can blow your spray off course, and rain can ruin your work. Always check the forecast and choose the best weather window to ensure your project turns out perfect and not a muddy mess.
Can I Spray Over Existing Painted Masonry Surfaces?
Yes, you can spray over existing painted masonry surfaces, but you need proper surface preparation first. Clean the surface thoroughly to remove dirt, loose paint, and debris. Lightly sand or etch smooth areas to improve paint adhesion. Check paint compatibility to guarantee the new coating bonds well with the old paint. Taking these steps helps prevent peeling and ensures a durable, professional finish on your masonry surface.
What Are Common Mistakes to Avoid During Spraying?
You should avoid common spraying mistakes like using improper brush techniques and inconsistent paint consistency. Keep your brush strokes smooth and steady to prevent streaks, and guarantee your paint is neither too thick nor too thin. Rushing the process or overloading the sprayer can lead to drips and uneven coverage. Take your time, maintain a consistent paint flow, and practice proper brush techniques for the best results on rough surfaces.
How Do I Clean Spray Equipment After Use?
To clean spray equipment after use, start by disconnecting it and emptying any remaining material. Follow proper equipment maintenance by rinsing all parts with water or the recommended solvent, depending on the material used. Use cleaning procedures like brushing or using compressed air to remove stubborn debris. Regularly cleaning your equipment guarantees it functions smoothly, extends its lifespan, and maintains ideal spray quality for your next project.
Conclusion
Remember, as with Da Vinci’s masterful murals, patience and technique are your greatest allies. When you spray stucco and masonry on rough surfaces, you’re not just applying material—you’re creating a lasting work of art. Embrace the process confidently, knowing each spray brings you closer to a flawless finish. With careful attention and skill, you’ll turn a rugged surface into a masterpiece, echoing the timeless beauty of craftsmanship that endures through the ages.

Franz came aboard the Paint Sprayer Zone team with a background in both journalism and home renovation. His articulate writing style, combined with a passion for DIY projects, makes him an invaluable asset. Franz has a knack for breaking down technical jargon into easy-to-understand content, ensuring that even the most novice of readers can grasp the complexities of paint sprayers.