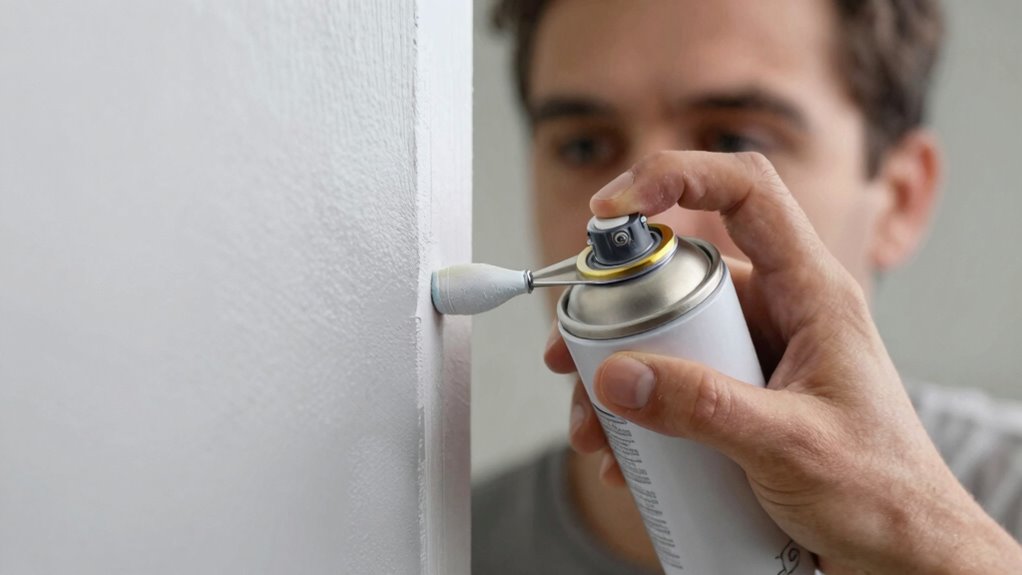
To prevent dry spray, start with the edges before moving to the faces. Applying light, controlled coats on edges helps create sharp lines and reduces buildup, while spraying faces next ensures even coverage on flat surfaces. This sequence minimizes dry spray and uneven textures. Proper spray order enhances your finish and reduces touch-ups later. Keep in mind that adjusting your technique based on surface shape is key—learn more about mastering your spray order to achieve flawless results.
Key Takeaways
- Start with edges to achieve sharp lines and prevent rough buildup later.
- Spray faces first for broad coverage, then detail edges to reduce dry spray risk.
- Prioritize detailed areas before large surfaces for better control and finish.
- Use light, controlled coats on edges to avoid roughness and uneven texture.
- Maintain a consistent spray order to ensure smooth, even layers and prevent dry spray.
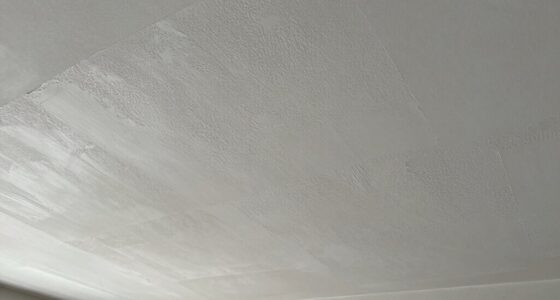
Why Dry Spray Happens and How It Affects Your Finish
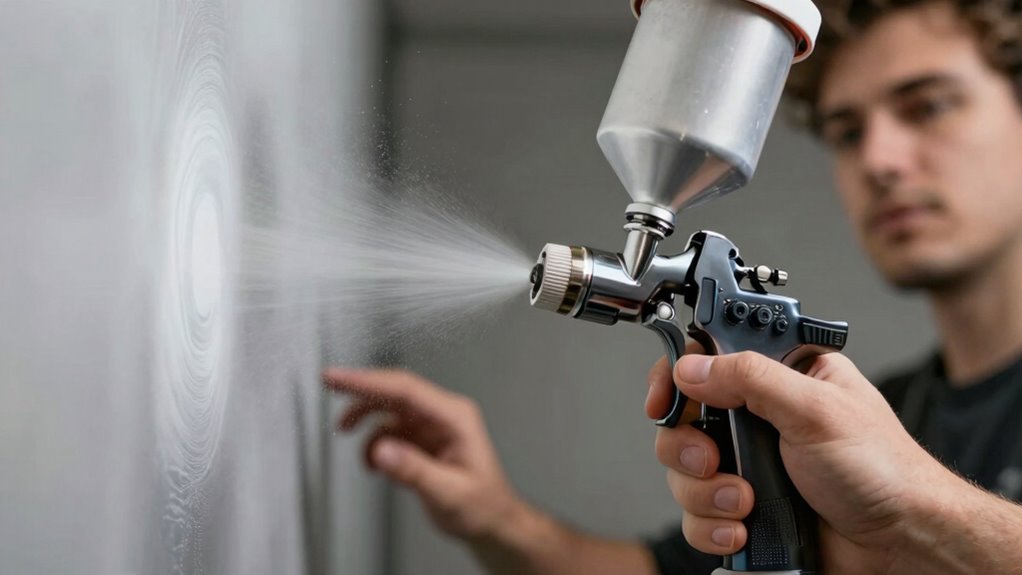
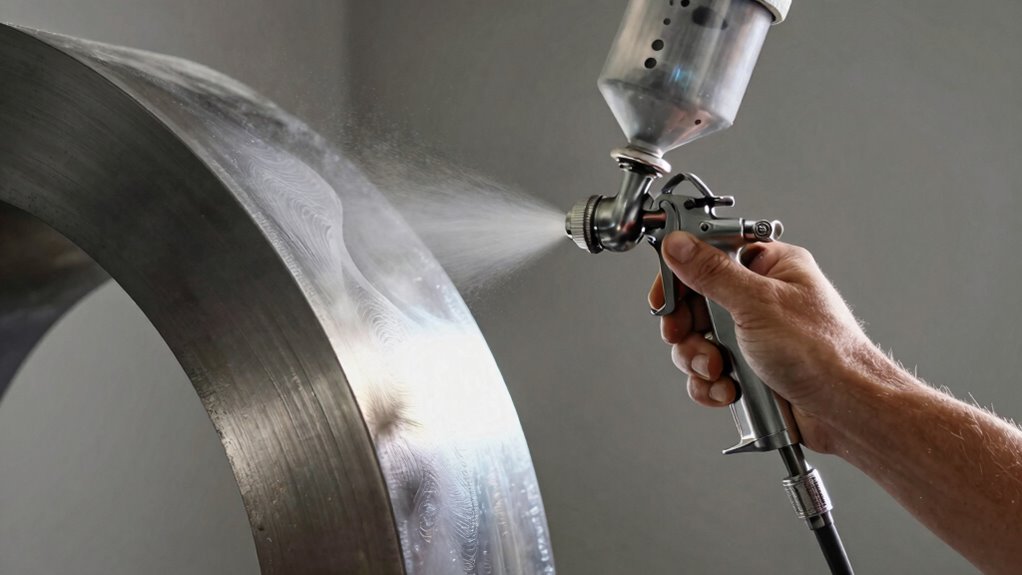
Dry spray occurs when paint particles dry in mid-air before reaching the surface, often resulting from improper spraying technique or environmental factors. When you spray too close or with excessive speed, the paint doesn’t have enough time to level out, causing dry spray. Surface porosity also plays a role; porous surfaces absorb moisture quickly, which can lead to uneven drying and dry spray formation. This dry spray leaves a rough, dull finish that diminishes the quality of your work. It’s essential to control your spray distance, speed, and environmental conditions to prevent this issue. Ensuring the surface isn’t overly porous and maintaining proper spray techniques help achieve a smooth, professional-looking finish without dry spray. Additionally, understanding spray pattern control can significantly reduce the risk of dry spray and improve overall finish quality. Proper filtering and pump protection can also help maintain consistent paint flow, reducing the chance of dry spray caused by inconsistent paint delivery. Being aware of environmental conditions such as humidity and temperature can further help prevent premature drying and dry spray formation. Paying attention to paint viscosity and ensuring it’s appropriate for your spraying method can also make a significant difference in preventing dry spray. Furthermore, proper surface preparation is crucial for minimizing surface porosity that can contribute to dry spray issues.
Edges or Faces: What’s the Difference in Spray Painting?
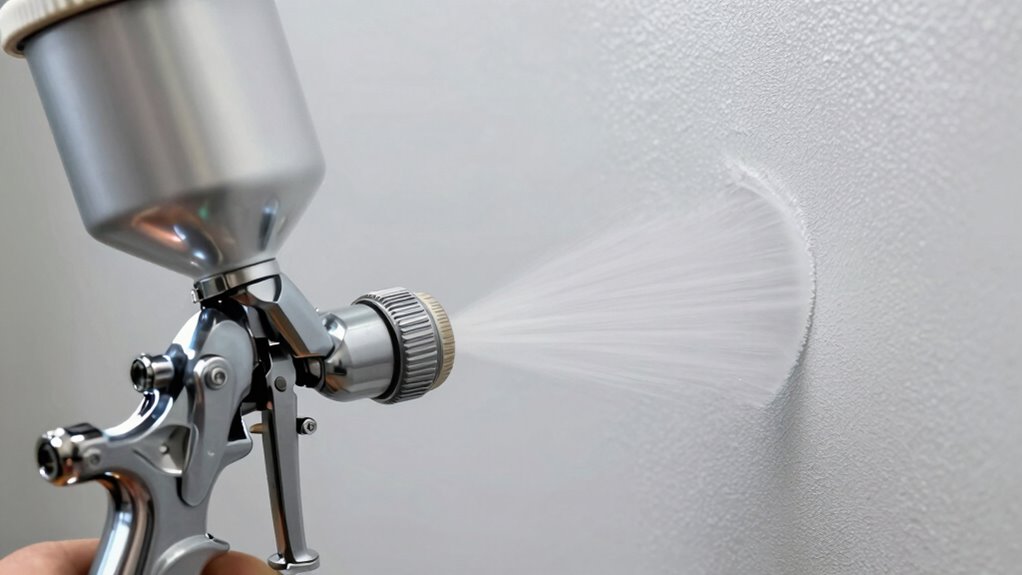
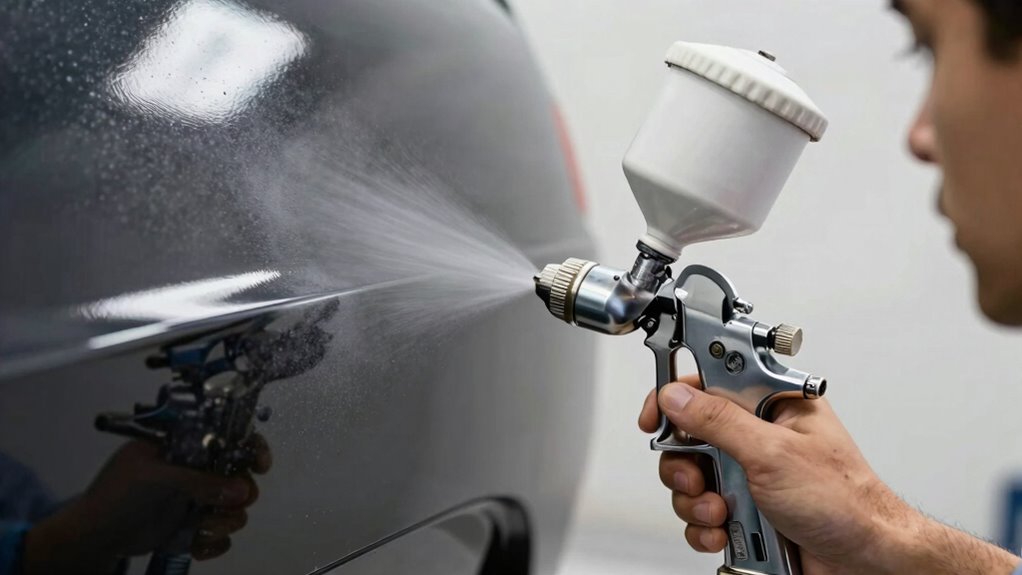
Understanding the difference between edges and faces is essential for achieving a smooth spray finish. Edges, like corners or sharp transitions, require careful edge priming to prevent dry spray and guarantee proper adhesion. Applying the correct spray technique to edges involves using light, controlled strokes to avoid buildup and roughness. Faces, on the other hand, are flat surfaces that need even face coverage for a uniform look. To enhance your spray technique, focus on proper spray technique and applying light, consistent coats on edges to prevent dry spray at corners. Use smooth, overlapping strokes to cover faces evenly, avoiding runs or dry spots. Adjust your spray pressure and distance based on whether you’re priming edges or covering faces for ideal results. Remember that proper electric dirt bike maintenance can also impact your overall project quality by ensuring your equipment functions correctly. Additionally, practicing technique consistency can significantly improve your overall spray results.
Should You Spray Edges or Faces First? Find Out Here
Deciding whether to spray edges or faces first depends on your project’s priorities and the effect you want to achieve. If you focus on precise edge preparation, start with edges to prevent buildup and ensure clean lines. For full face coverage, spray faces first to establish an even base before tackling edges. Here’s a quick comparison:
| Aspect | Spray Edges First | Spray Faces First | Recommended Approach |
|---|---|---|---|
| Edge Preparation | Ensures sharp, clean lines | Less risk of overspray on edges | Start with edges for precision |
| Face Coverage | May require touch-ups later | Easier to cover large areas first | Begin with faces for efficiency |
| Dry Spray Risk | Reduced with proper edge prep | Higher if edges aren’t tackled first | Choose based on project needs |
Prioritize edge prep for sharper results or face coverage for smoother finishes. For optimal results, consider application techniques that align with your spray order. Proper spray order can significantly impact the quality of your final finish, so plan accordingly. Additionally, understanding the material properties can help determine the best approach for each project, especially when aiming to prevent dry spray.
How Spray Order Can Prevent Dry Spray and Improve Your Finish
Spray order plays a crucial role in preventing dry spray and achieving a flawless finish. Proper sequencing ensures the paint flows smoothly, especially within a spray booth where control matters. To improve results, consider these points:
Proper spray order ensures a smooth finish and prevents dry spray.
- Start with surfaces that require the most coverage, reducing the risk of dry spray on final layers.
- Maintain consistent paint viscosity to prevent uneven atomization and dry spots.
- Follow a logical order, such as edges first, then faces, to avoid overspray and buildup.
- Utilizing proper airflow and ventilation can further minimize the chances of dry spray and ensure an even coat. Additionally, understanding paint application techniques helps optimize spray order for a superior finish.
Best Spray Sequencing Tips for Smooth, Flawless Results
Start by prioritizing the edges to guarantee clean, sharp lines. Keep a consistent distance from the surface to avoid uneven coverage, and apply light, even coats to prevent drips. Proper spray technique is essential for controlling application and achieving a flawless finish. Understanding the spray pattern can help you control application and prevent dry spray or uneven textures. Additionally, being aware of essential oil properties can inform your approach to specific finishes and protective coatings, ensuring optimal results. Applying the right material compatibility helps prevent issues like dry spray or improper adhesion, leading to a smoother outcome. Following these tips will help you achieve a smooth, flawless finish every time.
Prioritize Edges First
Focusing on the edges first is a crucial step in achieving a smooth, flawless spray finish. Proper edge prioritization ensures sharp, clean lines and prevents overspray from spreading onto adjacent surfaces. Before spraying, make sure your surface preparation is thorough: clean, sand, and mask as needed. When you start with edges, remember these key tips:
- Cover edges completely for sharp definition.
- Use light, even coats to avoid buildup.
- Allow each edge to dry before moving to the face, reducing the risk of dry spray accumulation.
- Incorporating a consistent spray sequence enhances control and overall finish quality.
- Always consider surface preparation as it plays a vital role in preventing dry spray and achieving professional results. Proper dry spray control techniques also contribute significantly to a polished appearance. Paying attention to dry spray and adjusting your spray technique accordingly can help in achieving the best finish.
This approach helps maintain control and reduces dry spray, leading to a more professional-looking finish. Prioritizing edges first streamlines your workflow and guarantees better surface preparation, which is essential for flawless results.
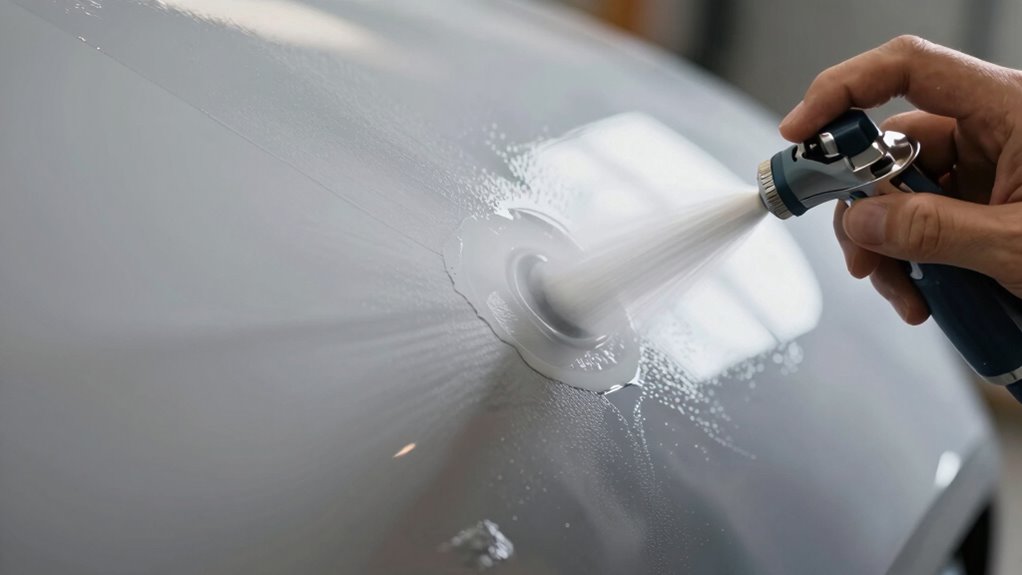
Maintain Consistent Distance
Maintaining a consistent distance between your spray gun and the surface is essential for achieving an even coat and preventing drips or dry spray. When you keep a steady distance, you help manage the surface tension, ensuring the paint flows smoothly and uniformly. If you move too close, the paint may pool, causing runs; too far, and the coating becomes uneven or dry spray occurs. Adjust for paint viscosity, as thicker paints require slightly closer distances for proper atomization, while thinner paints can be sprayed from farther away. Consistent distance helps control the amount of paint applied, minimizes overspray, and promotes a uniform finish. Practice steady, overlapping passes to maintain this consistency throughout your spray job, ultimately leading to flawless results.
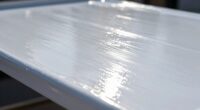
Use Light Coats
Applying multiple light coats instead of one heavy layer guarantees a smoother, more even finish and reduces the risk of runs or dry spray. When you use light coats, you achieve better control over the spray, ensuring even coverage across surfaces. To maximize results, keep these tips in mind:
- Apply thin, consistent layers to prevent pooling and drips.
- Allow each coat to dry thoroughly before adding the next.
- Build up coverage gradually rather than rushing with thick layers.
This approach helps you avoid dry spray and uneven textures. Light coats allow the paint to settle evenly, giving you a flawless finish. Remember, patience and precision are key to achieving professional-looking results with minimal flaws.
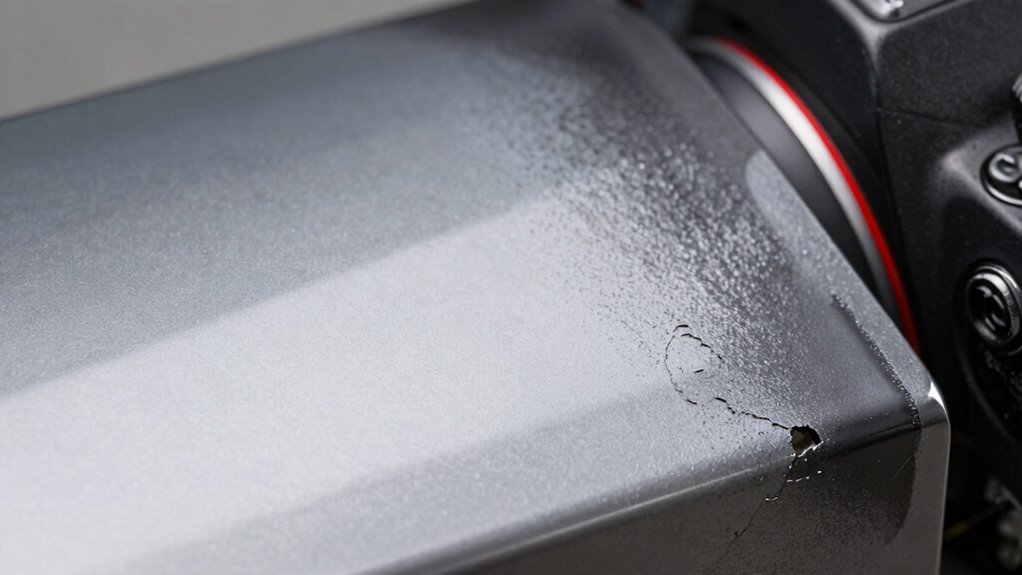
Common Mistakes in Spray Order and How to Avoid Them
One common mistake people make when planning their spray order is skipping the proper sequence of coats, which can lead to uneven coverage or dry spray buildup. Dry spray causes often stem from applying too much paint at once or using excessive spray pressure, which prevents the paint from flowing smoothly. When you rush the process or increase spray pressure unnecessarily, you risk creating dry, rough patches instead of a consistent finish. Another mistake is neglecting to maintain a consistent spray pattern, which can cause uneven layers. To avoid these issues, follow a proper spray sequence, use light coats, and adjust your spray pressure appropriately. This approach guarantees even coverage, prevents dry spray, and results in a professional-looking finish.
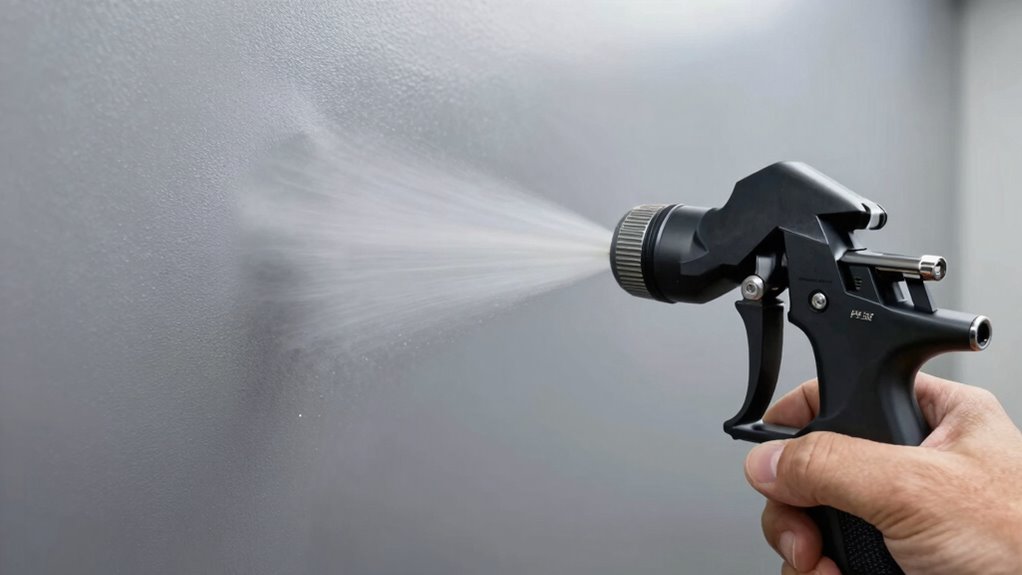
Adjust Your Spray Technique for Different Surfaces and Shapes
Adapting your spray technique to different surfaces and shapes is essential for achieving a smooth, professional finish. Surface texture and shape impact how you should use your spray equipment. To optimize results, consider these tips:
- Adjust your distance: Keep closer for textured surfaces to ensure coverage, and farther for smooth surfaces to prevent over-application.
- Modify spray speed: Slow down on intricate shapes to maintain control, and speed up on flat areas for efficiency.
- Vary your angle: Use different angles to follow contours and prevent buildup or dry spray, especially on edges and curves.
Troubleshooting Dry Spray Problems During Your Project

Dry spray issues often occur when spray techniques aren’t properly adjusted to the surface or shape you’re working on. If your paint isn’t drying smoothly or appears rough, check your spray equipment for proper settings, such as pressure and nozzle size. Too much pressure can cause overspray and dry spray, while too little may lead to uneven coats. Keep your spray gun at the right distance from the surface to avoid uneven application, which can cause dry patches. If you notice dry spray during your project, pause and clean your spray equipment thoroughly to prevent clogs and ensure even paint flow. Adjust your technique based on the surface’s shape, and don’t rush the process—proper spray order and equipment adjustments help achieve a smooth, professional finish.
Final Tips for Achieving a Perfect Finish With the Right Spray Order
To achieve a flawless finish, it’s essential to follow the correct spray order, starting with the most intricate or prominent surfaces first. Proper primer application helps create a smooth base, so don’t skip this step before painting. When paint mixing, guarantee you blend colors thoroughly to avoid inconsistencies. Here are final tips to perfect your spray order:
Achieve a flawless finish by starting with detailed areas, applying primer, and blending colors thoroughly.
- Prioritize edges and detailed areas before faces to prevent dry spray on large surfaces.
- Maintain consistent distance and speed for even coverage, reducing the risk of dry spots.
- Always check your equipment and clean nozzles regularly to avoid uneven spray patterns.
Frequently Asked Questions
How Does Spray Pressure Influence Dry Spray Formation?
Higher spray pressure increases the energy of the spray, making dry spray formation more likely because the droplets hit surfaces with more force and evaporate quickly. Lower spray pressure produces a gentler spray, reducing dry spray chances and ensuring better coverage. You should adjust spray pressure based on the surface and desired finish to minimize dry spray, especially on edges or faces where uneven application is common.
Can Environmental Factors Impact Spray Order Effectiveness?
Imagine your spray as a delicate dance, where environmental conditions and surface temperature set the rhythm. Yes, they impact spray order effectiveness—wind can scatter particles, humidity causes uneven coverage, and surface temperature influences how the coating adheres. When conditions fluctuate, your spray might dry prematurely or unevenly, making it harder to achieve a smooth finish. Modify for these factors ensures your spray flows seamlessly, delivering even, professional results every time.
What Tools Help Monitor Proper Spray Sequence?
You can use tools like a paint thickness gauge and a nozzle selection guide to monitor your spray sequence effectively. The gauge helps you guarantee consistent paint thickness, preventing dry spray issues, while proper nozzle selection ensures even coverage on edges and faces. Regularly checking these tools during your application helps maintain the correct spray order, resulting in a smooth, professional finish without dry spray problems.
How Do Different Paint Types React to Spray Order Techniques?
Think of spray order as a symphony, where each instrument’s timing affects harmony. Different paint types react uniquely; latex adheres well when surfaces are properly prepared, while oil-based paints demand precise application to prevent cracking. To guarantee the best paint adhesion, you must understand surface prep and adjust your spray sequence accordingly. Skipping these steps risks uneven coverage, so always tailor your technique to each paint’s properties for a flawless finish.
Is There a Universal Spray Order for All Projects?
There isn’t a universal spray order for all projects because paint consistency and spray equipment vary. You should always start with lighter coats, focusing on edges first to prevent dry spray, then move to faces. Adjust your spray technique based on the type of paint and equipment used. Testing on a scrap piece helps determine the best order, ensuring smooth coverage and minimizing dry spray regardless of project specifics.
Conclusion
Think of your spray job as painting a masterpiece—each stroke matters. By choosing the right order, especially focusing on edges before faces, you’re guiding the flow to prevent dry spray and achieve a flawless finish. Like a skilled musician hits the notes in perfect harmony, your spray sequence sets the tone for professional results. Master this rhythm, and your project will come together smoothly, leaving behind a surface as polished as a well-composed symphony.