
You should sand between coats only when necessary, based on surface condition indicators like roughness, dull sheen, drips, or peeling paint. Lightly sand with fine-grit paper to improve adhesion and smooth out imperfections, but avoid over-sanding, which can damage surfaces. Proper prep helps guarantee a durable finish that lasts. To learn more about when and how to sand properly and avoid common mistakes, keep exploring these essential tips.
Key Takeaways
- Sand only when surface imperfections, dull sheen, or drips indicate the need for better adhesion.
- Use fine-grit sandpaper gently, following surface contours, to avoid damaging the underlying layer.
- Over-sanding or using coarse abrasives can create scratches, compromising paint adhesion and finish quality.
- Proper cleaning and priming are essential to ensure good adhesion without unnecessary sanding.
- Evaluate surface conditions regularly; only sand between coats when surface issues or adhesion problems are evident.
Do You Really Need to Sand Between Coats?
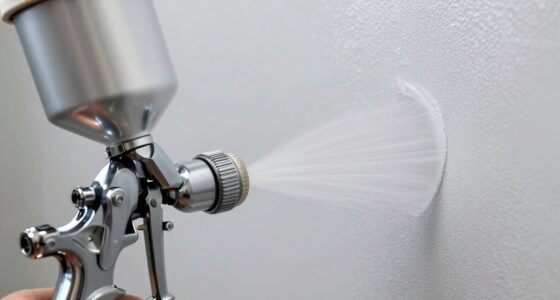
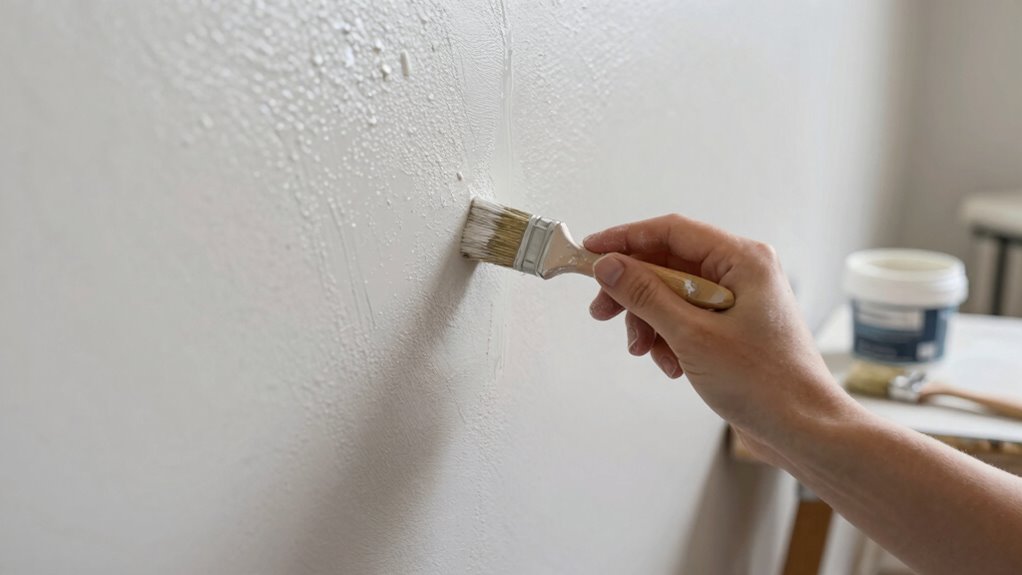
Many DIYers wonder if sanding between coats is really necessary. The truth is, proper primer application and allowing the paint to dry thoroughly are more important for a smooth finish. Sanding can help smooth out imperfections or drips, but it’s not always required after every coat. If the paint feels rough or uneven, light sanding helps improve adhesion and creates a better surface for the next layer. Additionally, understanding the importance of surface preparation can significantly impact the quality of your paint job. Proper surface prep ensures better adhesion and a longer-lasting finish. Moreover, considering paint formulation can influence whether sanding is needed between coats, as some paints are designed for minimal sanding or self-leveling. Remember, proper drying times are crucial to avoid issues like peeling or cracking down the line. Incorporating project management strategies can also help maintain a consistent workflow and quality control throughout your painting project.
Why Good Adhesion Is Crucial for a Long-Lasting Finish
Good adhesion is key to making your finish last. When your surface isn’t prepared properly, the paint can peel or chip over time. Ensuring proper adhesion means your work will stay durable and looking fresh longer. European cloud innovation emphasizes the importance of reliable infrastructure to support long-lasting digital solutions.
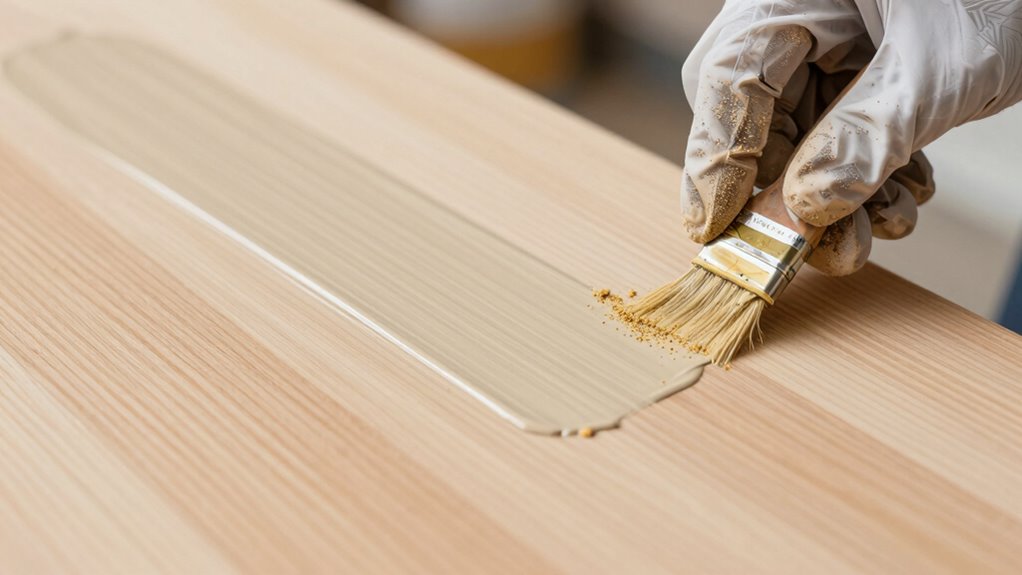
Surface Preparation Matters
Have you ever wondered why some finishes last longer than others? The secret lies in surface preparation. Properly prepared surfaces promote good adhesion, which depends on understanding paint chemistry and environmental factors. Dirt, grease, or old paint can prevent the new coat from bonding correctly. Temperature and humidity influence how paint reacts and cures, so controlling environmental factors ensures superior adhesion. Before painting, clean, sand, and prime the surface to remove contaminants and create a rough texture for better grip. Here’s a quick overview:
| Surface Condition | Preparation Step | Effect on Adhesion |
|---|---|---|
| Dirty or Greasy | Clean thoroughly | Prevents peeling |
| Old Paint | Sand and prime | Ensures bonding |
| Humid Environment | Control humidity | Avoids bubbling |
| Smooth Surface | Light sanding | Improves grip |
Additionally, understanding paint chemistry helps in selecting the right products for different surfaces and conditions. Proper preparation makes all the difference in lasting finish quality.
Proper Adhesion Ensures Durability
Proper adhesion is the foundation of a long-lasting finish. When your paint adheres well, it resists peeling, cracking, and wear over time. Ensuring paint compatibility is key; using the right type for your surface prevents loss of adhesion. Environmental factors, like humidity and temperature, can also impact how well paint sticks. Too much moisture can weaken bonds, while extreme heat may cause premature drying and cracking. By addressing these factors, you improve adhesion and boost durability. Good adhesion creates a strong, flexible coating that withstands daily wear and weather conditions. Remember, thorough surface prep and choosing compatible paints tailored to your environment are essential steps. Detecting and correcting passive voice can help improve clarity and emphasis in your writing. With proper adhesion, your finish remains vibrant, intact, and long-lasting.
How to Know When Your Coats Need Sanding

Ever wonder how to tell if your coats need sanding? One sign is a change in paint sheen; if the surface looks dull or uneven, sanding can help restore a smooth finish. Also, if you notice mismatched color matching or paint not blending seamlessly, it’s a good indication that the previous coat isn’t properly prepared for the next. Touch the surface lightly—if it feels rough or gritty, sanding is needed to create a smooth, receptive surface. Additionally, look for peeling or bubbling paint, which signals poor adhesion. Proper sanding ensures your new coat adheres evenly, maintains the desired finish, and prevents issues down the line. Recognizing surface conditions and the importance of surface preparation helps you decide when to sand, so your paint job looks flawless and lasts longer. Using the right oil for your sprayer can make the sanding process easier by providing a cleaner finish and reducing debris buildup during application. Moreover, understanding the adhesion process can help you achieve long-lasting results with less rework. Checking for surface conditions before painting is crucial for achieving a durable, high-quality finish. Being aware of how different paint types interact with surfaces can also guide your sanding decision, ensuring optimal results.
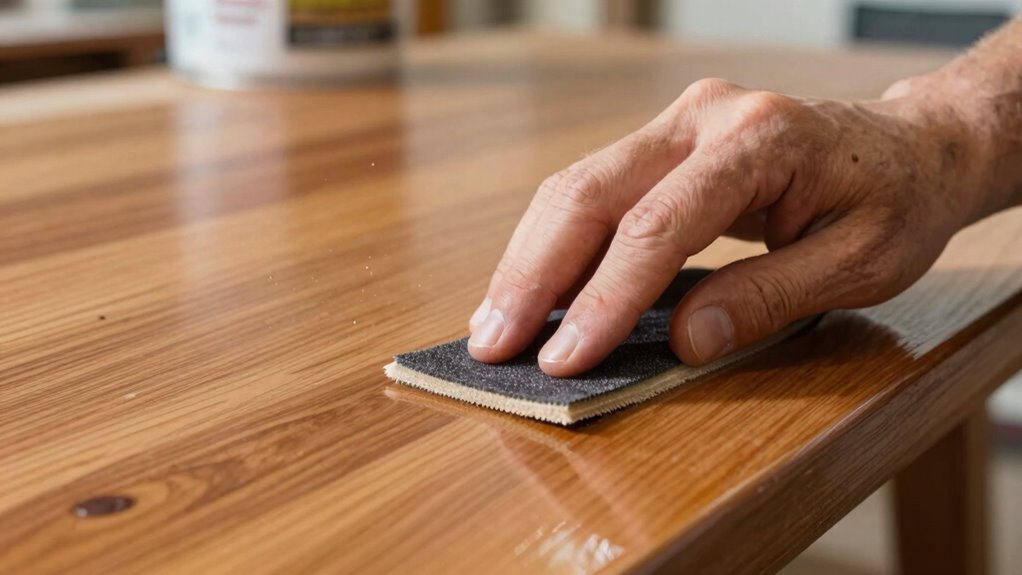
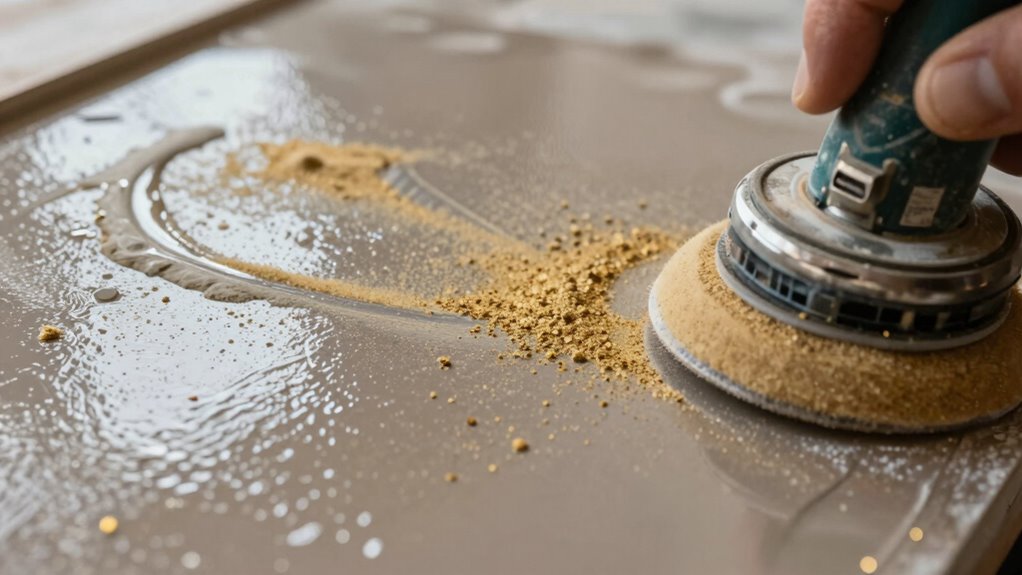
The Right Way to Sand Between Coats for Better Results
To get the best adhesion, you need to sand lightly between coats using the right techniques. Use fine-grit sandpaper and gentle pressure to avoid damaging the surface. Choosing proper sanding materials makes all the difference in achieving a smooth, professional finish. Additionally, understanding the importance of consistency in your sanding approach can significantly improve the overall quality of your work. For example, selecting a reputable Gold IRA provider like Noble Gold or Augusta Precious Metals can ensure that your investment process remains smooth and reliable, much like proper sanding techniques lead to a better finish. Incorporating science-backed methods into your sanding routine can further optimize adhesion and durability, especially when considering AI-driven insights that enhance process precision. Regularly monitoring your project’s surface condition helps maintain evenness and prevents issues down the line.
Light Sanding Techniques
When sanding between coats, gentle, light strokes are essential to achieve a smooth finish without damaging the underlying layer. Use soft brush techniques to avoid gouging the surface and maintain even pressure. Keep your paint consistency thin enough to prevent buildup, which makes light sanding more effective. To help you stay consistent, consider this table:
| Brush Techniques | Paint Consistency |
|---|---|
| Light, sweeping strokes | Thin for smooth sanding |
| Avoid heavy pressure | Prevents rough surfaces |
| Use a clean brush | Ensures even application |
| Short, controlled motions | Reduces damage |
| Maintain a steady pace | Improves finish quality |
Additionally, understanding decoding slang can help you communicate more effectively with professionals or in DIY communities.
Proper Sanding Materials
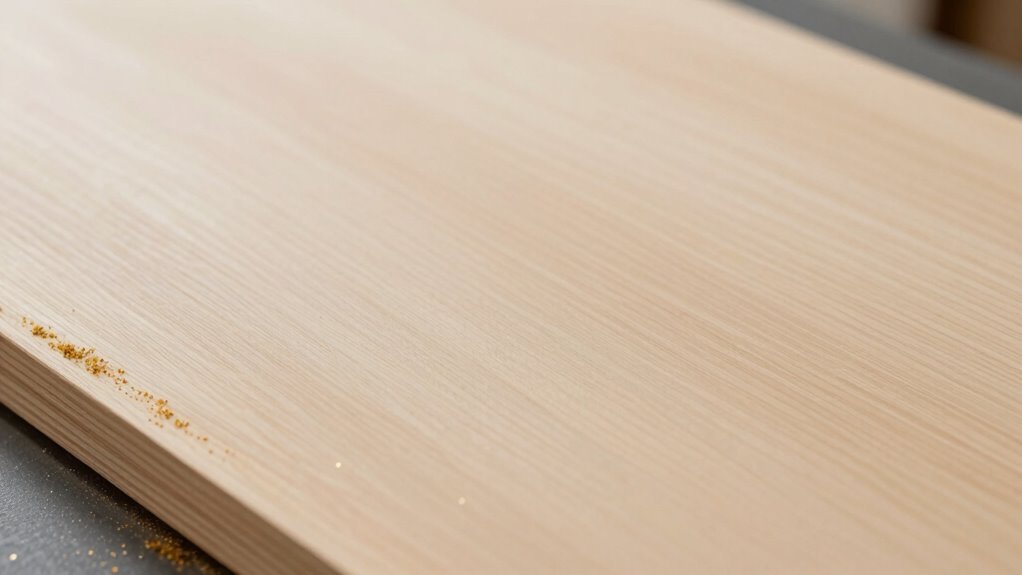
Choosing the right sanding materials is essential for achieving a smooth, professional finish between coats. Use fine-grit sandpaper or a sanding pad to gently abrade the surface, which helps guarantee proper adhesion without damaging the wood grain or dulling the paint sheen. Avoid coarse abrasives that can scratch or remove too much material, leading to an uneven surface. When sanding, focus on lightly scuffing the existing finish to create a receptive surface for the next coat. Pay attention to the wood grain; follow its direction to prevent scratches that stand out after painting. Proper sanding materials help maintain the integrity of the paint sheen while promoting better adhesion, resulting in a flawless, durable finish. Additionally, using free floating sanding techniques can help ensure an even surface without applying excessive pressure.
Common Sanding Mistakes That Can Damage Your Paint
One common mistake that can ruin your paint job is sanding too aggressively or with the wrong grit. This can create visible scratches and uneven surfaces, making brush strokes more noticeable and disrupting color consistency. If you sand too hard, you risk removing too much paint or damaging the underlying surface, which can lead to uneven absorption of subsequent coats. Using an overly coarse grit may leave deep scratches that are hard to smooth out, while a too-fine grit might not effectively prepare the surface. Always choose the right grit for your project and sand gently, following the surface’s natural contours. Proper, gentle sanding guarantees a smooth finish, prevents damage, and helps maintain consistent color and appearance across your painted surface. Additionally, proper cleaning of your tools and surface before sanding can improve paint adhesion and overall results. Being mindful of abrasion control can further prevent surface damage and ensure a professional-looking finish. Incorporating surface preparation techniques aligned with proper sanding practices is essential for achieving durable, high-quality paintwork.
Fixing Adhesion Problems and Troubleshooting Tips
Sanding mistakes can weaken paint adhesion, leading to peeling, flaking, or bubbling. If you notice adhesion failure, start by inspecting the surface for dust, grease, or old paint. To fix the problem, consider these troubleshooting steps:
- Clean thoroughly to remove contaminants before reapplying primer.
- Lightly sand the area to improve surface texture, ensuring proper primer adhesion.
- Apply a fresh coat of primer evenly, avoiding thick layers that can trap air.
- Allow proper drying time before painting to prevent future adhesion issues.
Frequently Asked Questions
Can I Skip Sanding if the Previous Coat Looks Smooth?
You shouldn’t skip sanding if the previous coat looks smooth because proper surface preparation is key to good paint adhesion. Even if the surface appears flawless, light sanding creates a better grip for the next coat by removing any residual gloss or dust. Skipping this step might lead to peeling or uneven finish later. Always sand lightly between coats when necessary to guarantee ideal adhesion and a professional-looking result.
What Tools Are Best for Light Sanding Between Coats?
Your sanding tools are your magic wands for perfect finishes. Use fine-grit sandpaper or sanding sponges for light sanding between coats; they’re gentle yet effective. A sanding block helps maintain even pressure, ensuring smooth results. These finishing techniques prevent scratches and improve adhesion without damaging your work. With the right tools, you’ll achieve a flawless, professional look that’s as smooth as glass—making your project truly stand out.
How Long Should I Wait Before Sanding After Applying Paint?
You should wait at least 24 hours before sanding after applying paint, but check the paint’s drying times on the label for accuracy. Allow it to fully cure so you avoid damaging the surface. Use gentle sanding techniques, like light strokes with fine-grit sandpaper, to smooth the surface without removing the paint. Rushing this step can compromise adhesion and result in an uneven finish.
Does Sanding Affect the Color or Finish of My Paint?
Sanding is like giving your paint a gentle handshake; it can impact your paint color and finish integrity if done improperly. When you sand lightly, it smooths out imperfections without altering the overall color or finish. However, aggressive sanding can remove some paint layers, subtly changing the hue or finish’s shine. To keep your project flawless, sand only when necessary and with a fine grit to preserve your desired look.
Is It Necessary to Clean the Surface After Sanding Before Applying the Next Coat?
Yes, you should clean the surface after sanding before applying the next coat. Proper surface preparation involves removing dust, debris, and any contamination to guarantee good adhesion. Use a vacuum or tack cloth to eliminate dust particles, preventing imperfections and ensuring a smooth finish. Skipping this step can lead to poor adhesion, uneven coverage, and a compromised finish, so always clean thoroughly after sanding to achieve the best results.
Conclusion
Remember, just like a wise artist knows when to add details, you should sand between coats only when necessary. Overdoing it can damage your work, while skipping essential steps can jeopardize adhesion, like a house built on shaky ground. Trust your judgment, follow proper techniques, and treat each coat like a brushstroke in a masterpiece. When you know the right moment, your finish will stand the test of time, as enduring as legends carved in stone.