Removing wax and polish residue is a vital step that guarantees proper adhesion of coatings or adhesives. If any contaminants remain, they form a slick barrier that prevents bonding, leading to peeling or bubbling later. Use gentle cleaners like alcohol or mild soap with soft applicators, and thoroughly wipe the surface until it feels smooth and clean. Pay attention to details, as mastering this step helps you achieve a long-lasting, flawless finish. Keep going to discover the best techniques and tips.
Key Takeaways
- Properly removing wax and polish residues ensures a clean surface, essential for optimal adhesion of new coatings or adhesives.
- Residual wax creates a slick barrier that can cause peeling, bubbling, or premature wear of the finish.
- Use gentle, non-abrasive cleaners like isopropyl alcohol with soft cloths to effectively lift residues without damaging the surface.
- Detect leftover residues by feeling for stickiness or visual dullness, and thoroughly inspect corners and edges during cleaning.
- Skipping residue removal compromises adhesion, leading to poor finish quality and reducing the durability of the applied coatings.
Why Removing Wax and Polish Residue Is Key to Better Adhesion

Removing wax and polish residue is essential because these layers can prevent new coatings from bonding properly. Proper surface preparation is crucial to ensure the coating adheres firmly. Residual wax or polish creates a slick barrier that hinders adhesion, leading to uneven or weak bonds. By thoroughly cleaning and removing these residues, you give your surface a clean slate, which significantly boosts adhesion. This step minimizes the risk of peeling, bubbling, or premature wear. When you clear away old wax and polish, you enhance the surface’s ability to hold onto new coatings, making your finishing work last longer. Additionally, understanding the importance of color accuracy and how it affects overall image quality can help ensure the applied coatings contribute to a professional finish. In short, removing residue isn’t just cleaning; it’s a vital step to achieve a smoother, more durable, and professional-looking result. Proper surface preparation is also aligned with sustainable practices, reducing the need for frequent recoating and waste. Taking the time to remove these residues also supports long-term durability, ensuring your coatings stand up to environmental wear.
How to Recognize Residual Wax and Polish on Your Surface
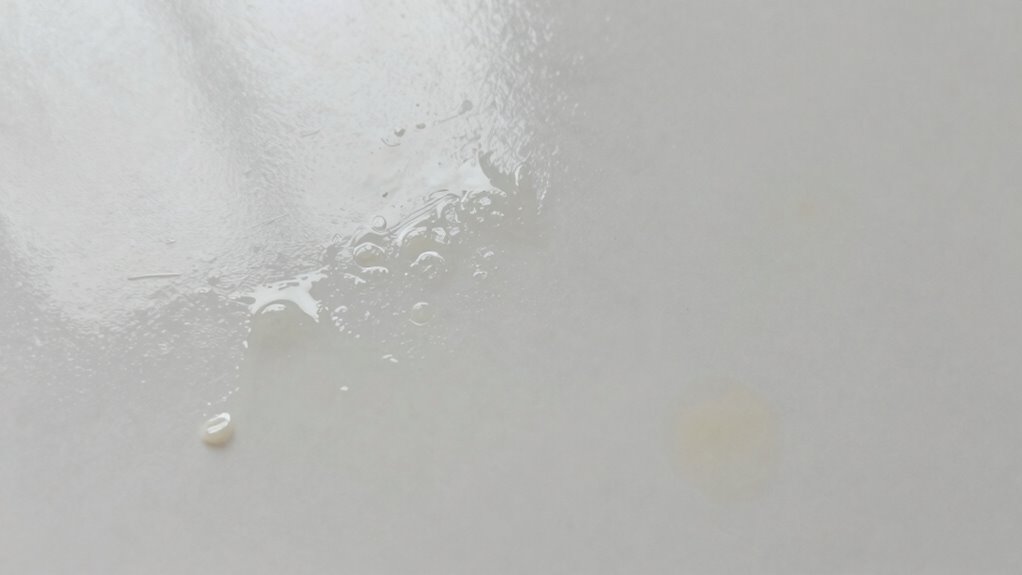
Before you start removing wax and polish residue, it’s important to know how to identify if it’s still present on your surface. Perform a visual inspection by closely examining the area. Look for a dull or hazy appearance, which signals leftover wax or polish. Surface dullness often appears as a lack of shine or clarity, even after cleaning. Run your hand gently over the surface; if it feels sticky or greasy, residue is likely still there. Also, check for streaks or uneven patches that don’t match the surrounding finish. Recognizing these signs helps you determine whether further cleaning is necessary. Proper identification ensures you don’t miss residue that could compromise adhesion later on, saving you time and effort in the long run. Being aware of air quality and how residual substances can affect it is also essential for maintaining a safe environment. Additionally, understanding how cleaning residues can impact surface longevity enables more effective maintenance.
Which Products and Tools Are Safe for Residue Removal

Choosing the right products and tools is key to safely removing residue without damaging your surface. You should look for gentle, non-abrasive cleaners and soft applicators to protect the finish. By selecting the proper supplies, you guarantee effective cleaning while maintaining your surface’s integrity. Additionally, understanding water chemistry can help prevent future buildup and ensure your pool remains safe and inviting. Being familiar with surface compatibility can further help you select the most suitable cleaning methods for your specific finish. Incorporating knowledge of essential oils can also be useful, as some natural remedies may aid in gentle residue removal without harsh chemicals. Maintaining awareness of air purifier maintenance dos and don’ts can serve as a useful analogy for using appropriate cleaning techniques to avoid damage. Recognizing the importance of residue types can guide you in choosing the most effective removal methods for different residues.
Safe Cleaning Products
When selecting cleaning products for residue removal, it’s vital to choose options that are gentle yet effective. You want to avoid harsh chemicals that could damage the surface or interfere with proper surface preparation. Safe cleaning products help you remove wax and polish residues without leaving behind harmful chemical residues. Look for solutions specifically designed for delicate surfaces, such as mild soap, isopropyl alcohol, or specialized residue cleaners. These options effectively dissolve residues while maintaining the integrity of the surface.
Here are some safe choices:
- Mild dish soap diluted with water
- 70% isopropyl alcohol
- Commercial residue removers labeled safe for your surface type
Using safe products ensures effective cleaning and preserves adhesion.
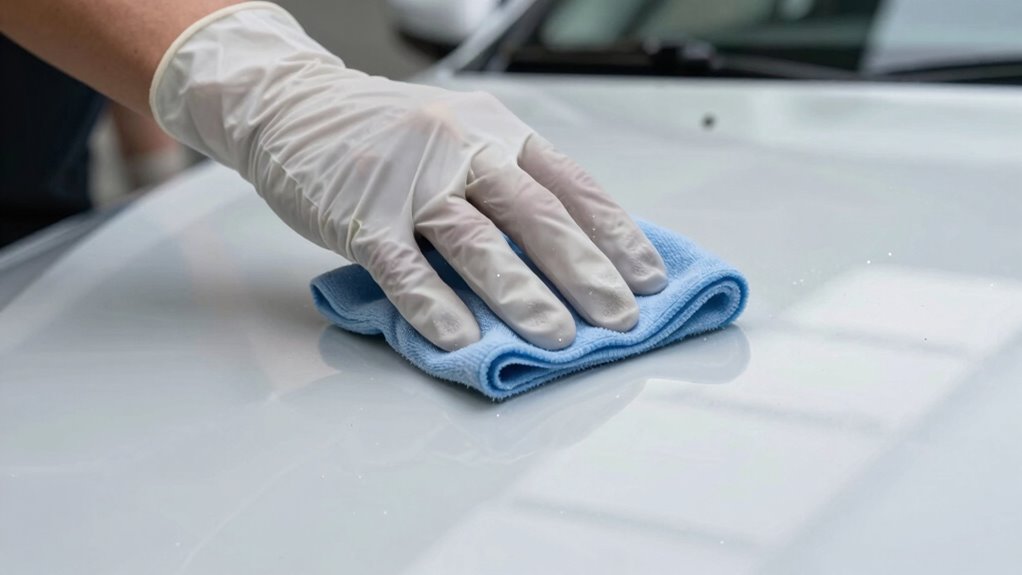
Appropriate Application Tools
Selecting the right application tools is essential for safe and effective residue removal. Using proper tools guarantees you can apply cleaning products precisely, minimizing damage to surrounding surfaces. Soft microfiber cloths, foam applicators, or gentle brushes are ideal for residue detection and removal. These tools allow you to perform controlled application techniques, helping you identify where residue lingers and ensuring thorough cleaning. Avoid abrasive or overly stiff tools that can scratch or damage surfaces. When applying cleaners, use light pressure and consistent motion to prevent streaks or missed spots. Incorporating proper application techniques ensures cleaner results and prevents surface damage. Using tools with non-abrasive surfaces further enhances your ability to remove residue safely. Employing appropriate cleaning methods can significantly improve your residue removal process. Additionally, selecting tools with ergonomic design can reduce user fatigue and improve precision during cleaning. Choosing the right tools also involves considering surface compatibility to prevent unintended damage. By choosing appropriate application tools, you improve residue detection and removal accuracy, ensuring your surface remains smooth and prepared for the next step in your finishing process.
The Best Techniques for Removing Wax and Polish Residue Effectively
Removing wax and polish residue can be straightforward if you use the right techniques. First, employ circular buffing with a clean, soft cloth to lift residues without scratching the surface. This method evenly distributes pressure, guaranteeing thorough removal. Second, consider conducting a chemical analysis of the residue; different products may require specific solvents for effective cleaning. Using appropriate cleaners dissolves stubborn wax or polish without damaging the surface. Additionally, understanding the properties of cleaning agents can help select the most effective solvent for each type of residue. It is also beneficial to understand how surface types respond to different cleaning methods to prevent damage. Proper knowledge of cleaning techniques can further improve your results. Carefully selecting the right tools and methods can prevent surface damage during cleaning. Finally, avoid aggressive scrubbing, which can embed residues further. Instead, use gentle, consistent motions and test small areas first. These techniques help ensure all remnants are eliminated, creating a clean surface ready for the next step. Incorporating proper cleaning techniques ensures effective residue removal and prevents damage. Combining circular buffing, chemical analysis, and gentle handling guarantees the best results in residue removal.
Step-by-Step: How to Properly Clear Residue for a Smooth Finish
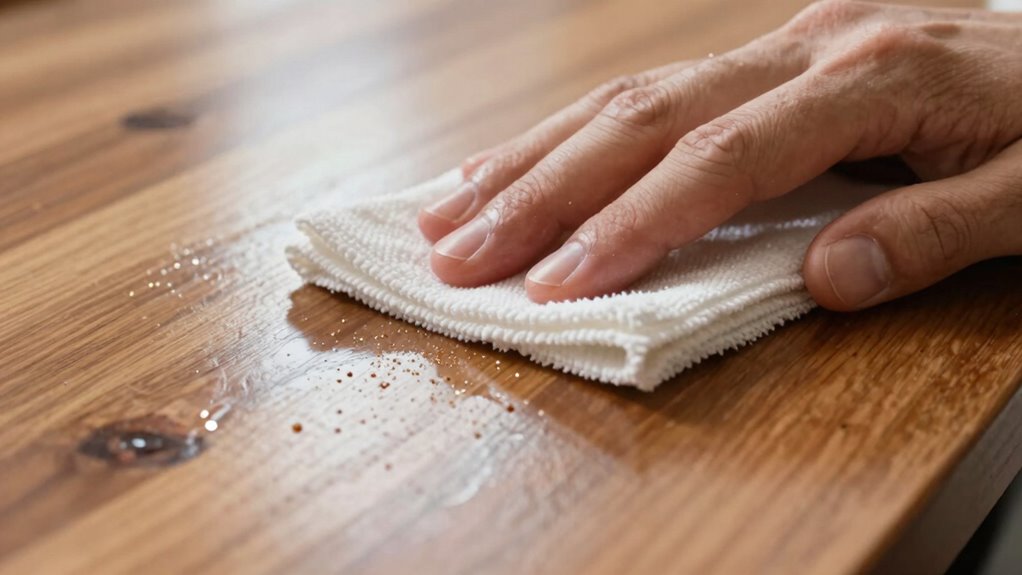
Achieving a smooth finish requires careful steps to make certain all residue is properly cleared. Start with thorough surface preparation by cleaning the area with a suitable, residue-free cleaner. Residue detection is key; run your hand or a lint-free cloth over the surface to feel for any roughness or stickiness. Use a clean, damp cloth to gently wipe the surface, ensuring you remove any lingering wax or polish. Pay close attention to corners and edges where residue can hide. Repeat the process if needed until the surface feels smooth and consistent. Proper residue detection helps you identify spots that need extra attention, ensuring no hidden film remains. Understanding residue-free cleaning can also influence the products you choose for cleaning, helping you select effective, residue-free solutions. Incorporating cleaning techniques that eliminate all traces of residue is essential for optimal adhesion and a flawless finish. This meticulous approach creates an ideal base, promoting better adhesion and a flawless finish.
Common Mistakes to Avoid When Removing Residue and Improving Adhesion

One common mistake is rushing the cleaning process, which can leave behind stubborn residue that hampers adhesion. Overlooking surface contamination means not thoroughly inspecting or cleaning hidden dirt, oil, or old wax that can cause adhesion issues. Neglecting proper curing of the primer or adhesive can also weaken the bond. To avoid these pitfalls, pay close attention to detail and take your time.
Rushing cleaning or skipping surface prep can weaken adhesion and cause bonding failures.
- Skipping a proper cleaning step, leaving contaminants behind
- Using the wrong cleaning agents that don’t remove wax or polish residue effectively
- Ignoring the importance of proper curing times before applying new coatings
These mistakes can compromise adhesion, so make certain surfaces are spotless and fully cured before proceeding.
Frequently Asked Questions
Can Residue Removal Harm the Underlying Surface or Paint?
Residue removal can harm the underlying surface or paint if you use harsh chemicals that cause chemical damage. To avoid this, guarantee the cleaning products are surface compatible and designed for automotive finishes. Always test a small, hidden area first. Properly removing wax and polish residue enhances adhesion without risking damage, but rushing or using incompatible products can lead to issues like dulling or stripping paint.
How Often Should I Repeat the Residue Removal Process?
You should repeat the residue removal process only when necessary, based on application frequency and surface compatibility. Typically, it’s best after every few waxing or polishing sessions to ensure proper adhesion. If you notice leftover wax or polish, go ahead and reapply. However, avoid overdoing it, as excessive residue removal can harm the surface. Monitor your surface’s condition and modify the frequency accordingly to maintain its integrity.
Are There Eco-Friendly Options for Wax and Polish Residue Removal?
Yes, you can use eco-friendly options like biodegradable solvents and plant-based cleaners to remove wax and polish residue. These products are gentle on the environment and safe for your vehicle. Apply them as directed, ensuring thorough removal to preserve adhesion. Opting for eco-friendly solutions not only protects the planet but also keeps your car’s surface clean without harsh chemicals, making your maintenance routine more sustainable and effective.
Does Temperature Affect the Effectiveness of Residue Removal Techniques?
Temperature effects can substantially influence residue adhesion and removal efficiency. Warmer conditions often soften wax and polish, making residues easier to lift and wipe away. Conversely, cooler temperatures may cause residues to harden, requiring more effort for removal. You should consider ambient temperature during cleaning, as ideal temperatures help guarantee effective residue removal, preventing adhesion issues that could compromise surface preparation and subsequent finishing steps.
What Signs Indicate That Residue Removal Was Unsuccessful?
If residue detection shows lingering wax or polish, your removal was unsuccessful. Look for signs like uneven surface texture, streaks, or a greasy feel, which indicate residue remains. Surface damage such as scratches or dullness may also suggest improper cleaning. These indicators mean you should re-clean the area thoroughly, ensuring all residue is eliminated to improve adhesion and prevent future issues.
Conclusion
By ensuring all wax and polish residue is thoroughly removed, you boost adhesion and achieve a flawless finish. Skipping this step can reduce bonding strength by up to 50%, leading to premature failure. Taking the time to properly clean your surface not only saves you time in the long run but also guarantees professional-looking results. Remember, a clean surface is the foundation for lasting adhesion, so don’t overlook this essential step in your process.