
To refinish kitchen cabinets with an HVLP sprayer, start by thoroughly cleaning and organizing your workspace for a flawless finish. Choose the right sprayer settings, test on scrap, and adjust for ideal spray pattern. Apply primer and base coats in light, even layers, maintaining steady hand movements and proper distance. Finish with sanding, sealing, and hardware updates. Keep practicing techniques and fine-tuning your process to achieve professional results—more tips await to help perfect your project.
Key Takeaways
- Thoroughly clean and prep cabinets, ensuring surfaces are free of grease and dust for optimal paint adhesion.
- Set up and test the HVLP sprayer, adjusting nozzle size and pressure for smooth, even application.
- Apply thin, even primer and base coats with proper spray technique, allowing each to dry fully.
- Maintain consistent distance and overlap during spraying, practicing smooth, sweeping motions for a professional finish.
- Finish with light sanding, sealing, and secure hardware for durability and a polished, long-lasting result.
Preparing Your Cabinets and Workspace for a Flawless Finish

Before you begin refinishing your cabinets, it’s essential to prepare both the cabinets and your workspace to guarantee a smooth, professional-looking finish. Start with cabinet cleaning—remove grease, dust, and grime using a degreaser or mild soap. Proper cleaning ensures paint or stain adheres evenly. Next, organize your workspace by clearing clutter and covering nearby surfaces with drop cloths or plastic sheets. Good workspace organization not only keeps your tools and materials within reach but also prevents debris from contaminating the finish. Additionally, assure proper ventilation and lighting to work efficiently and safely. Taking these steps helps create an ideal environment for refinishing, reducing mistakes and achieving a flawless result. Proper preparation is the foundation for a professional-looking cabinet transformation. Incorporating proper workspace organization can significantly improve your workflow and final results. To ensure optimal results, consider the reliability and features of your tools and materials to avoid issues during the project. Using high-quality HVLP sprayers can also make a noticeable difference in achieving a smooth, even finish. Moreover, selecting the right finishing techniques can enhance the durability and appearance of your cabinets. Additionally, understanding how color accuracy affects the visual outcome can help you choose the best paint or stain for your project.
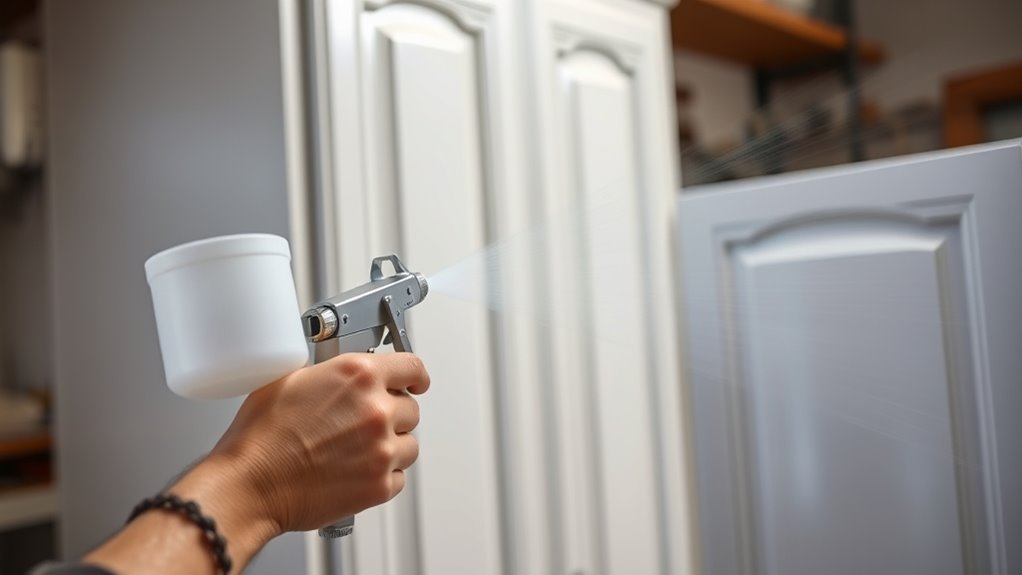
Selecting and Setting Up the Right HVLP Sprayer Equipment

Choosing the right HVLP sprayer is vital for achieving a smooth, even finish on your cabinets. Start by considering the sprayer’s capacity and spray pattern to match your project size. Make sure it’s compatible with the paint viscosity you’ll be using; thinner paints require less pressure, while thicker paints may need adjustments. Proper setup involves selecting the correct nozzle size and adjusting the air pressure for ideal atomization. Regular sprayer maintenance is essential to prevent clogs and guarantee consistent performance. Before starting, test the sprayer on scrap material to fine-tune spray patterns and paint flow. Additionally, understanding Soul Sanctuaries can inspire a mindful approach to your DIY projects, fostering patience and attention to detail. Investing time in choosing and setting up your equipment correctly will lead to a professional-looking finish and make your refinishing project more efficient and enjoyable. Incorporating the use of filtration and pump protection can further ensure a smooth application process and prolong your sprayer’s lifespan, as proper sprayer maintenance plays a crucial role in long-term performance. Paying attention to equipment compatibility ensures that all parts work harmoniously for optimal results. Moreover, selecting the appropriate air cap and nozzle configurations can significantly influence the quality of your spray finish, especially when working with different paint types and project sizes.
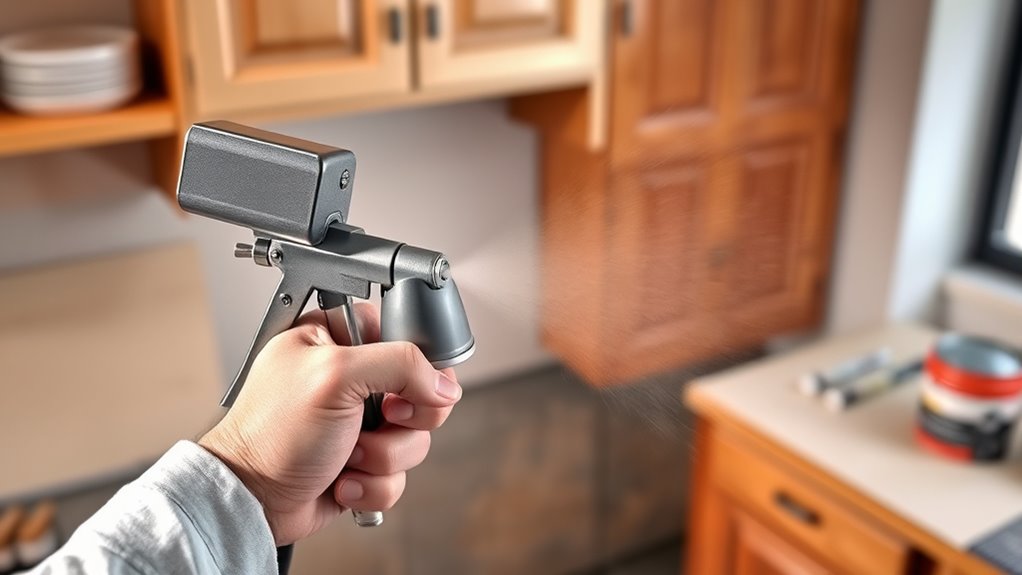
Applying Primer and Base Coats for a Smooth Foundation

Applying primer and base coats is an essential step in creating a smooth, durable foundation for your cabinets. Start by ensuring your primer matches the cabinet color or is suitable for your chosen topcoat; proper color matching helps prevent uneven tones. Before spraying, thin your paint according to the manufacturer’s instructions to achieve ideal flow and atomization with your HVLP sprayer. Keep your coats light and even, overlapping each pass slightly to avoid drips or streaks. Allow each coat to dry thoroughly before applying the next. Using the right consistency through paint thinning enhances spray performance and results in a smoother finish. Proper surface preparation is crucial for optimal paint adhesion and a professional-looking, long-lasting refinishing job. Additionally, understanding the Kia Tuning options can help you select the best upgrades for your vehicle, whether you’re enhancing performance or aesthetics. Regular cleaning and proper maintenance routines can also improve spray quality and extend the lifespan of your sprayer. To achieve the best results, consider the specific material properties of the paint you are using, as different formulations may require adjustments in thinning or spraying techniques. Being aware of paint type characteristics can help you optimize your spraying process for a flawless finish.
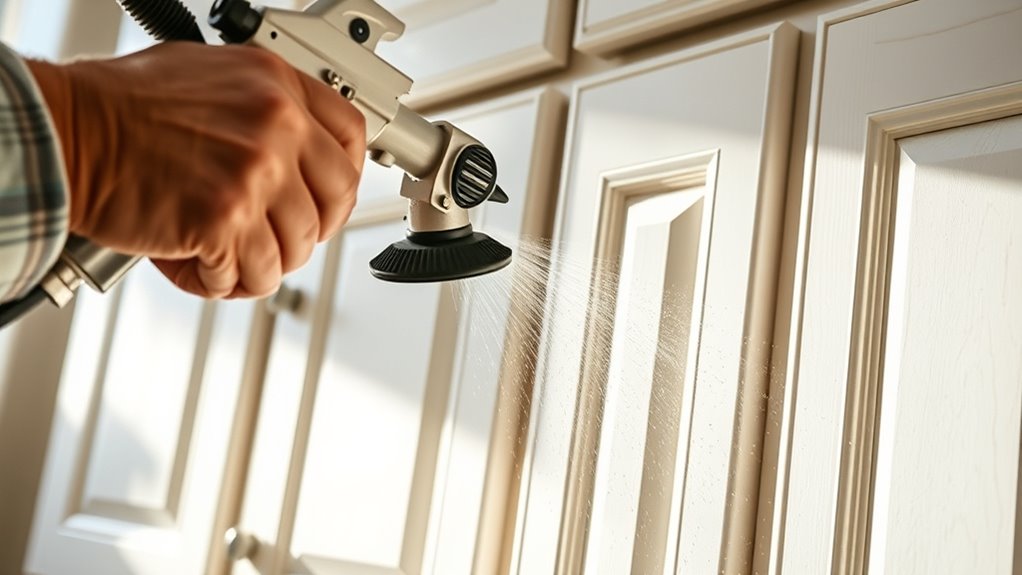
Mastering the Fine Art of Spraying: Techniques for a Professional Look
Mastering the art of spraying is essential for achieving a flawless, professional finish on your cabinets. To do this, focus on consistent paint consistency; thin your paint properly to prevent drips and uneven coverage. Use smooth, sweeping brush techniques to steady your hand and maintain even pressure on the sprayer trigger. Keep a consistent distance from the surface—usually about 6 to 8 inches—to avoid runs or thin spots. Practice overlapping each pass by 50% to ensure seamless coverage. Adjust your HVLP sprayer’s settings to suit the paint’s viscosity, and move steadily to prevent splotches. Remember, patience and precision are key—taking your time with proper technique delivers the smooth, high-quality finish that makes your refinishing project stand out. Additionally, be mindful of support hours and plan your project accordingly to ensure you have enough time and assistance if needed. Proper preparation and technique are crucial for achieving the best results in refinishing cabinets, including maintaining optimal paint consistency throughout the process. Being aware of market growth projections for AI tech can also inspire innovative tools to enhance your DIY projects.
Finishing Touches: Sanding, Sealing, and Ensuring Durability
Once you’ve achieved a smooth spray finish, the next step is to prepare your cabinets for long-lasting beauty by adding finishing touches. Start by lightly sanding the surface with fine-grit sandpaper to eliminate any imperfections and create a smooth base for sealing. Apply a clear sealant or topcoat to protect your paint and enhance durability. As you work, consider color matching any new hardware to your cabinet finish for a cohesive look. When installing hardware, ensure it’s securely fastened to prevent loosening over time. These finishing touches not only improve appearance but also prolong the life of your refinished cabinets. Taking the time for proper sanding, sealing, and hardware installation guarantees a professional, durable finish that stands up to daily use.
Frequently Asked Questions
How Long Does It Typically Take to Complete a Cabinet Refinishing Project?
You’ll want to factor in your project planning, as cabinet refinishing usually takes around 2 to 4 days. This includes prep work, applying primer and paint, and drying time between coats. Drying time varies depending on the type of paint and humidity, so don’t rush. Be patient and allow sufficient drying time to achieve a smooth, durable finish. Planning ahead helps you stay on schedule and get professional results.
What Are the Best Safety Precautions When Using an HVLP Sprayer Indoors?
Thinking about indoor HVLP spraying? Well, don’t forget ventilation safety—crucial for avoiding a paint-induced euphoria. You’ll want to open windows, use fans, and guarantee fresh air flows freely. Never skip respirator requirements; your lungs will thank you. Protect your eyes and skin too. With these precautions, you’ll avoid turning your home into a cloud of paint fumes and stay safe while achieving a flawless finish.
Can I Use Latex or Oil-Based Paints With an HVLP Sprayer?
You can use latex or oil-based paints with your HVLP sprayer, but paint compatibility is key. Latex paints often spray smoothly, while oil-based paints provide a durable finish but may require special thinning. Always check the manufacturer’s recommendations. After use, guarantee proper sprayer cleaning to prevent clogs and maintain performance. Proper cleaning also helps avoid cross-contamination if switching between paint types.
How Do I Prevent Paint Drips and Runs During Spraying?
To prevent paint drips and runs during spraying, focus on maintaining proper paint consistency—thin it enough for smooth application. Use a steady, even spray technique, keeping the sprayer at a consistent distance from the surface. Avoid overloading the spray tip, and overlap passes slightly. These steps help guarantee a flawless finish, minimizing drips and runs while achieving even coverage.
What Maintenance Is Required for the HVLP Sprayer After Use?
Did you know proper maintenance guarantees your HVLP sprayer’s life by up to 50%? After each use, you should follow cleaning tips like flushing the system with water or solvent, depending on your paint. Disassemble and clean all parts thoroughly, then dry and store in a safe, dry storage solution to prevent corrosion. Regular maintenance ensures your sprayer remains in top condition for flawless finishes every time.
Conclusion
And there you have it—your kitchen cabinets transformed from drab to fab, all thanks to your newfound HVLP sprayer skills. Who knew that a little paint, some sanding, and a dash of patience could make you feel like a professional? Now, go ahead and enjoy the sweet smell of victory—and maybe a little leftover paint, just in case you decide to redo the bathroom cabinets next week. Happy spraying!

A seasoned painter with over 15 years in the industry, Mike transitioned from hands-on painting projects to the digital world of paint sprayers. His extensive experience gives him a unique perspective on what users truly need when it comes to painting tools. As the Editor in Chief of Paint Sprayer Zone, Mike ensures that every piece of content not only provides value but also reflects the realities of painting — the challenges, the joys, and the intricate details.